
There was much thought and time spent trying to find a suitable design/construction procedure for a radar reflector. There are several ones on the Internet, e.g. Instructables one, but they did not seem that practical/suitable. This post describes how our Radar Reflector was built.
The requirements of a reflector are:-
- It is light weight
- It is able to perform its function regardless of the orientation
- It is strong (rigid)
- It is easy to construct and not overly expensive.
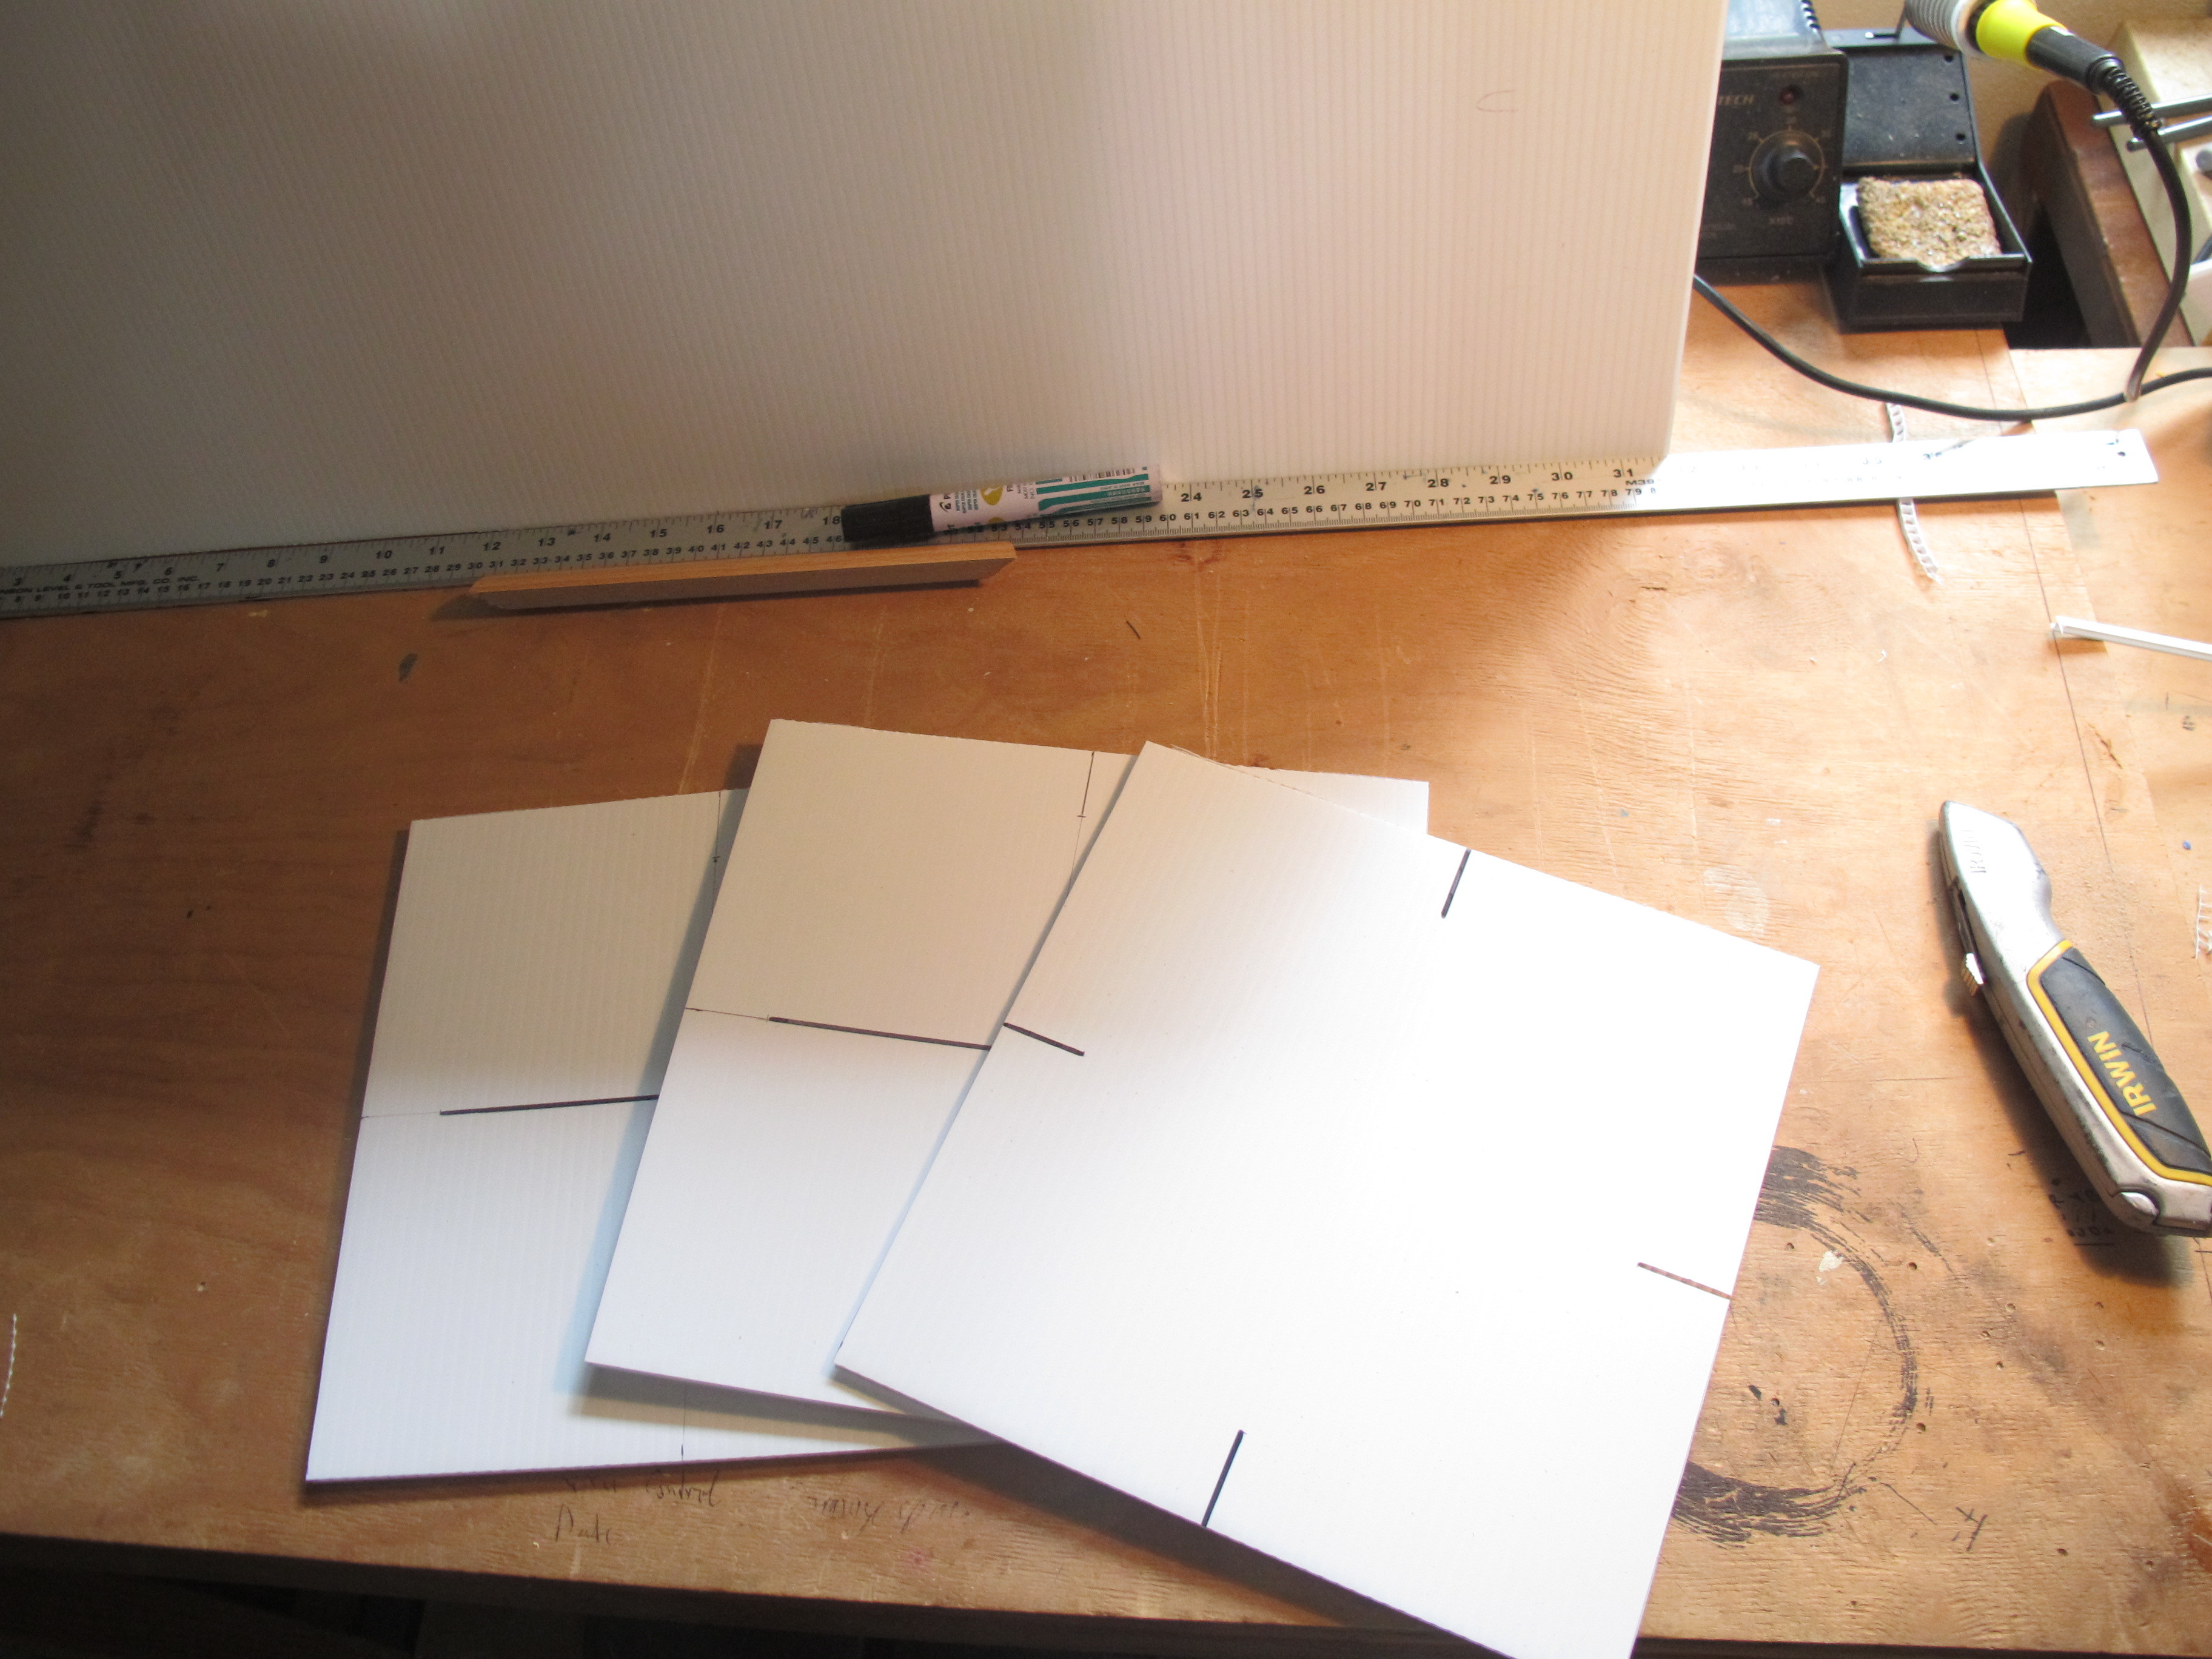
For materials I decided to use core-flute material (Sold at companies that create signs) and Aluminium tape (50mm x 5metre) from Jaycar and two cable ties.
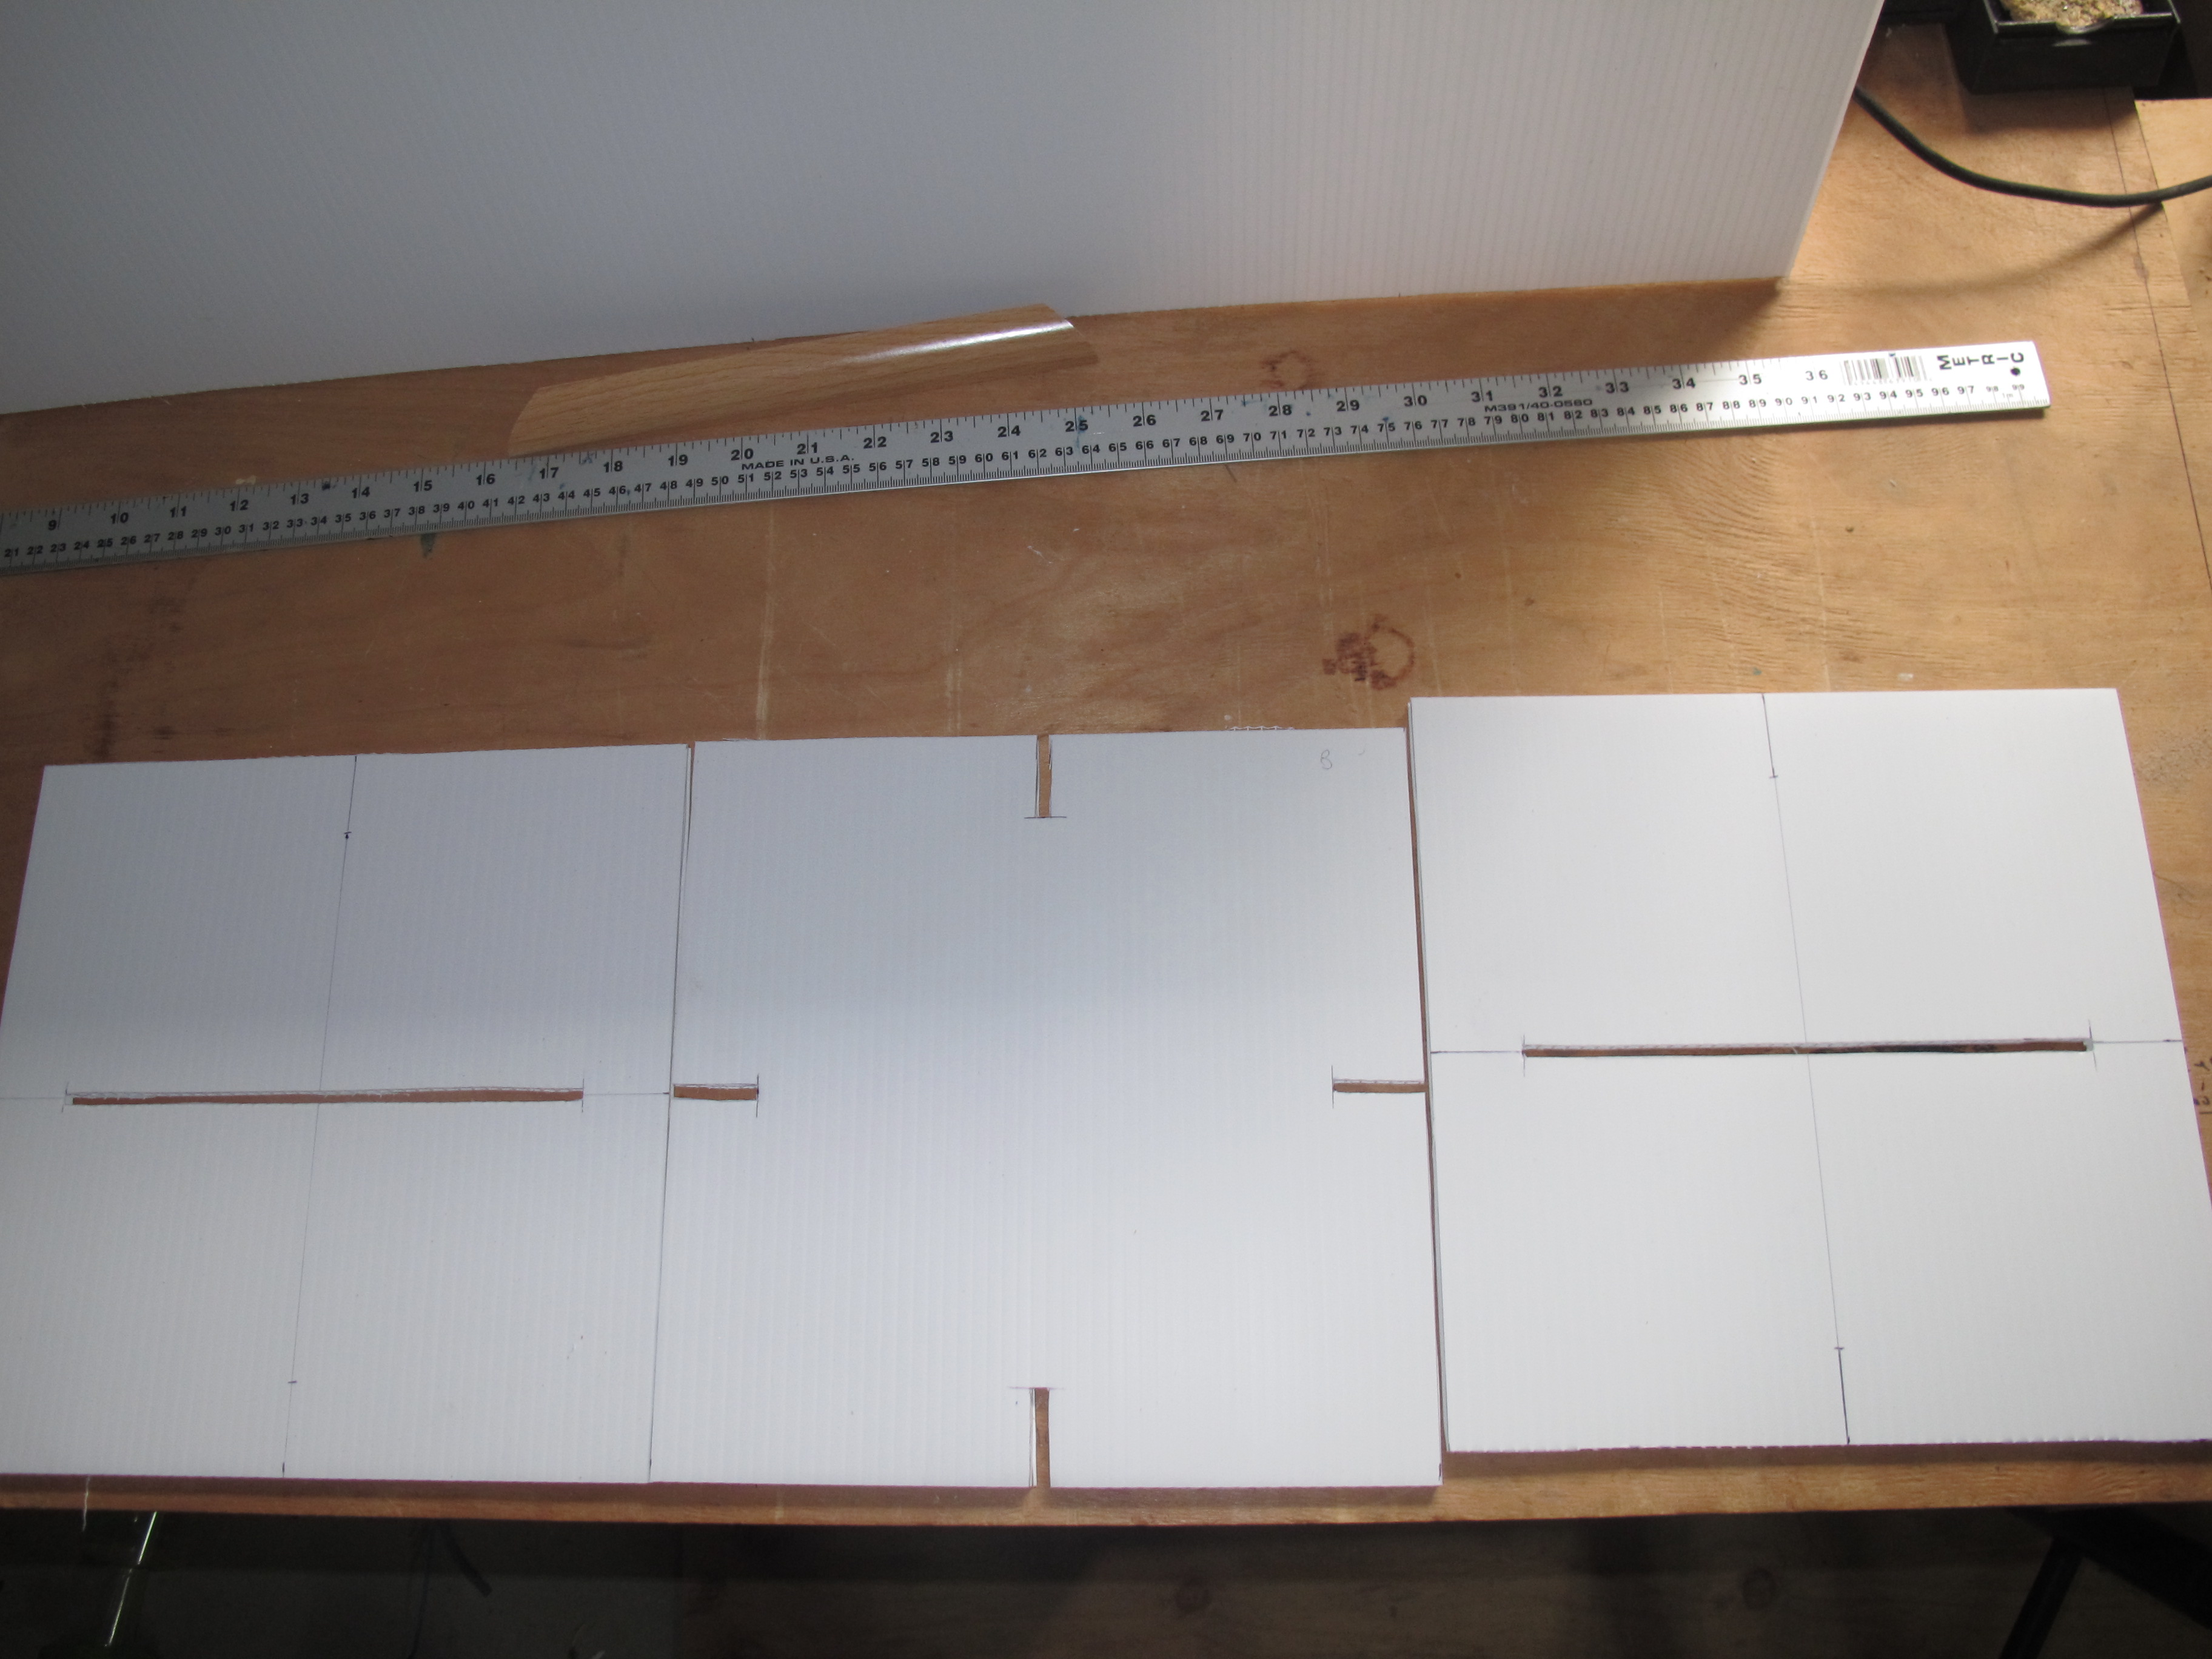
The construction is best illustrated I think using some photos. Please see below:-

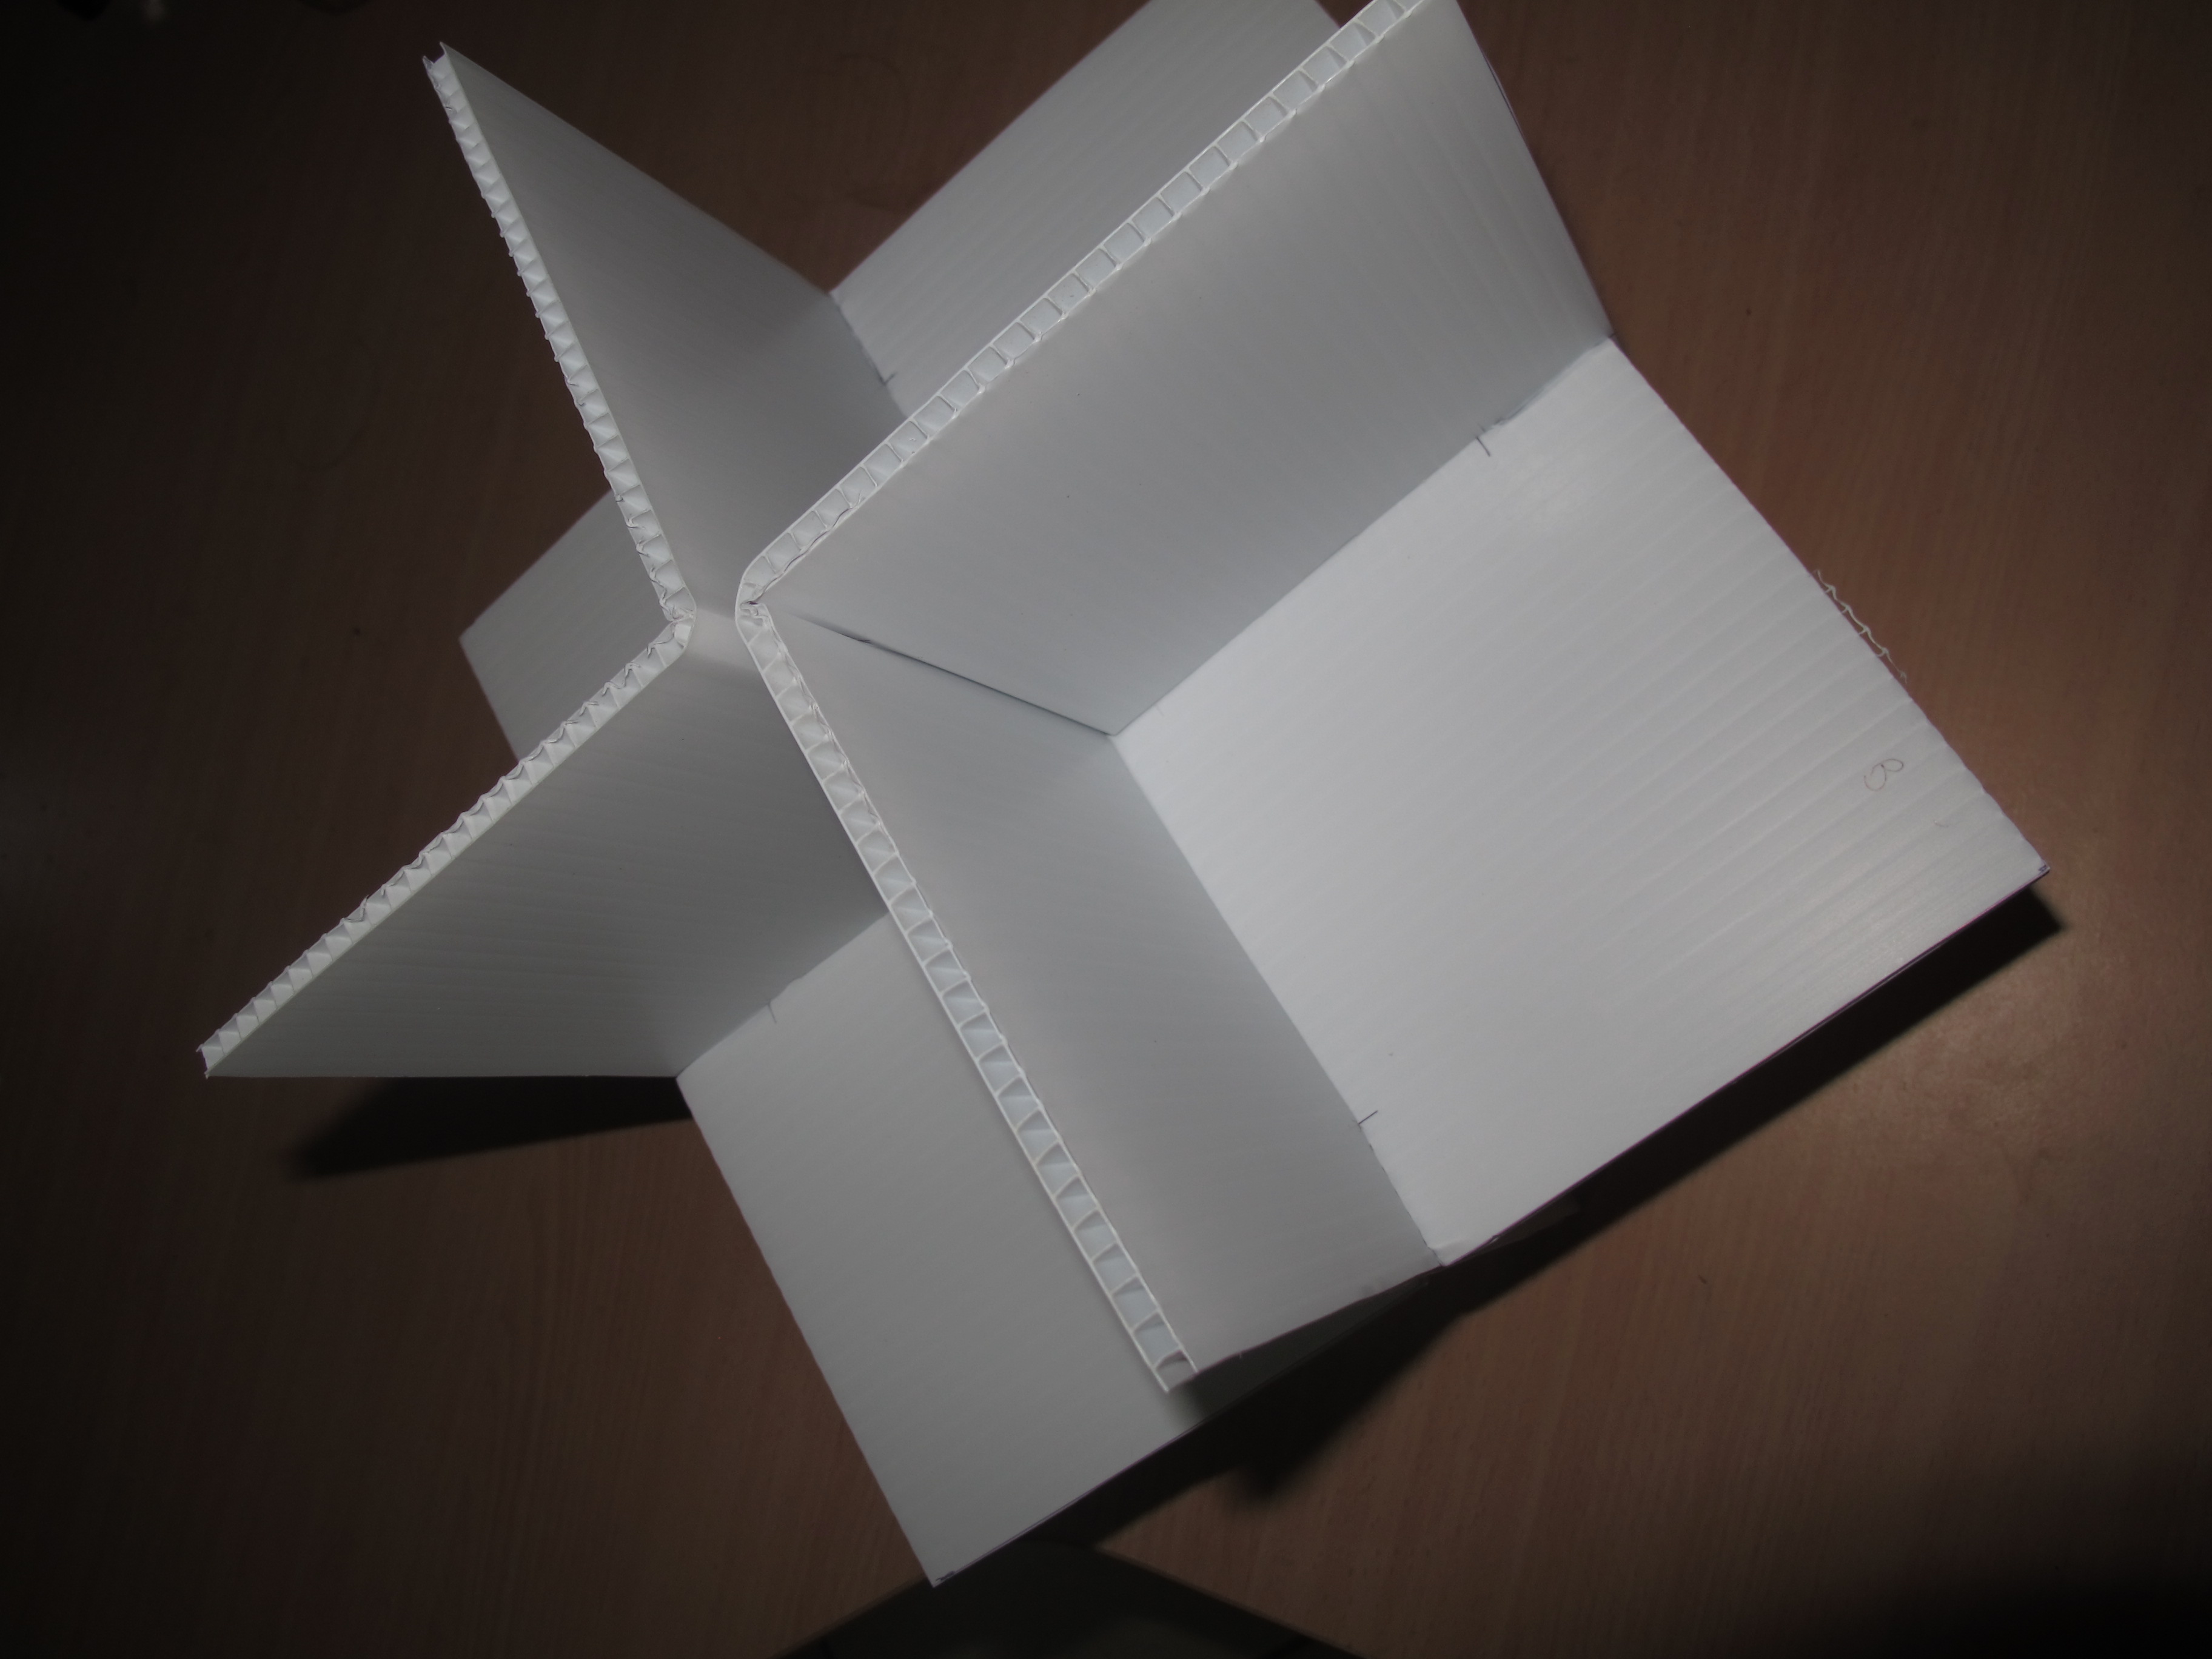

We will drill a hole later on in a corner for the thread. Will re-enforce this hole with additional Aluminium tape.
It became obvious that there are probably some ways to make the build process a lot easier. Possibly putting tape on initially before cutting and putting together.
I do also wonder if we “really” need to have Aluminium tape on both sides of the Coreflute; but decided in the end to apply it to both anyhow.
But it is strong/rigid, light, not too difficult to make and inexpensive.