Ground Station Power Supply Modifications

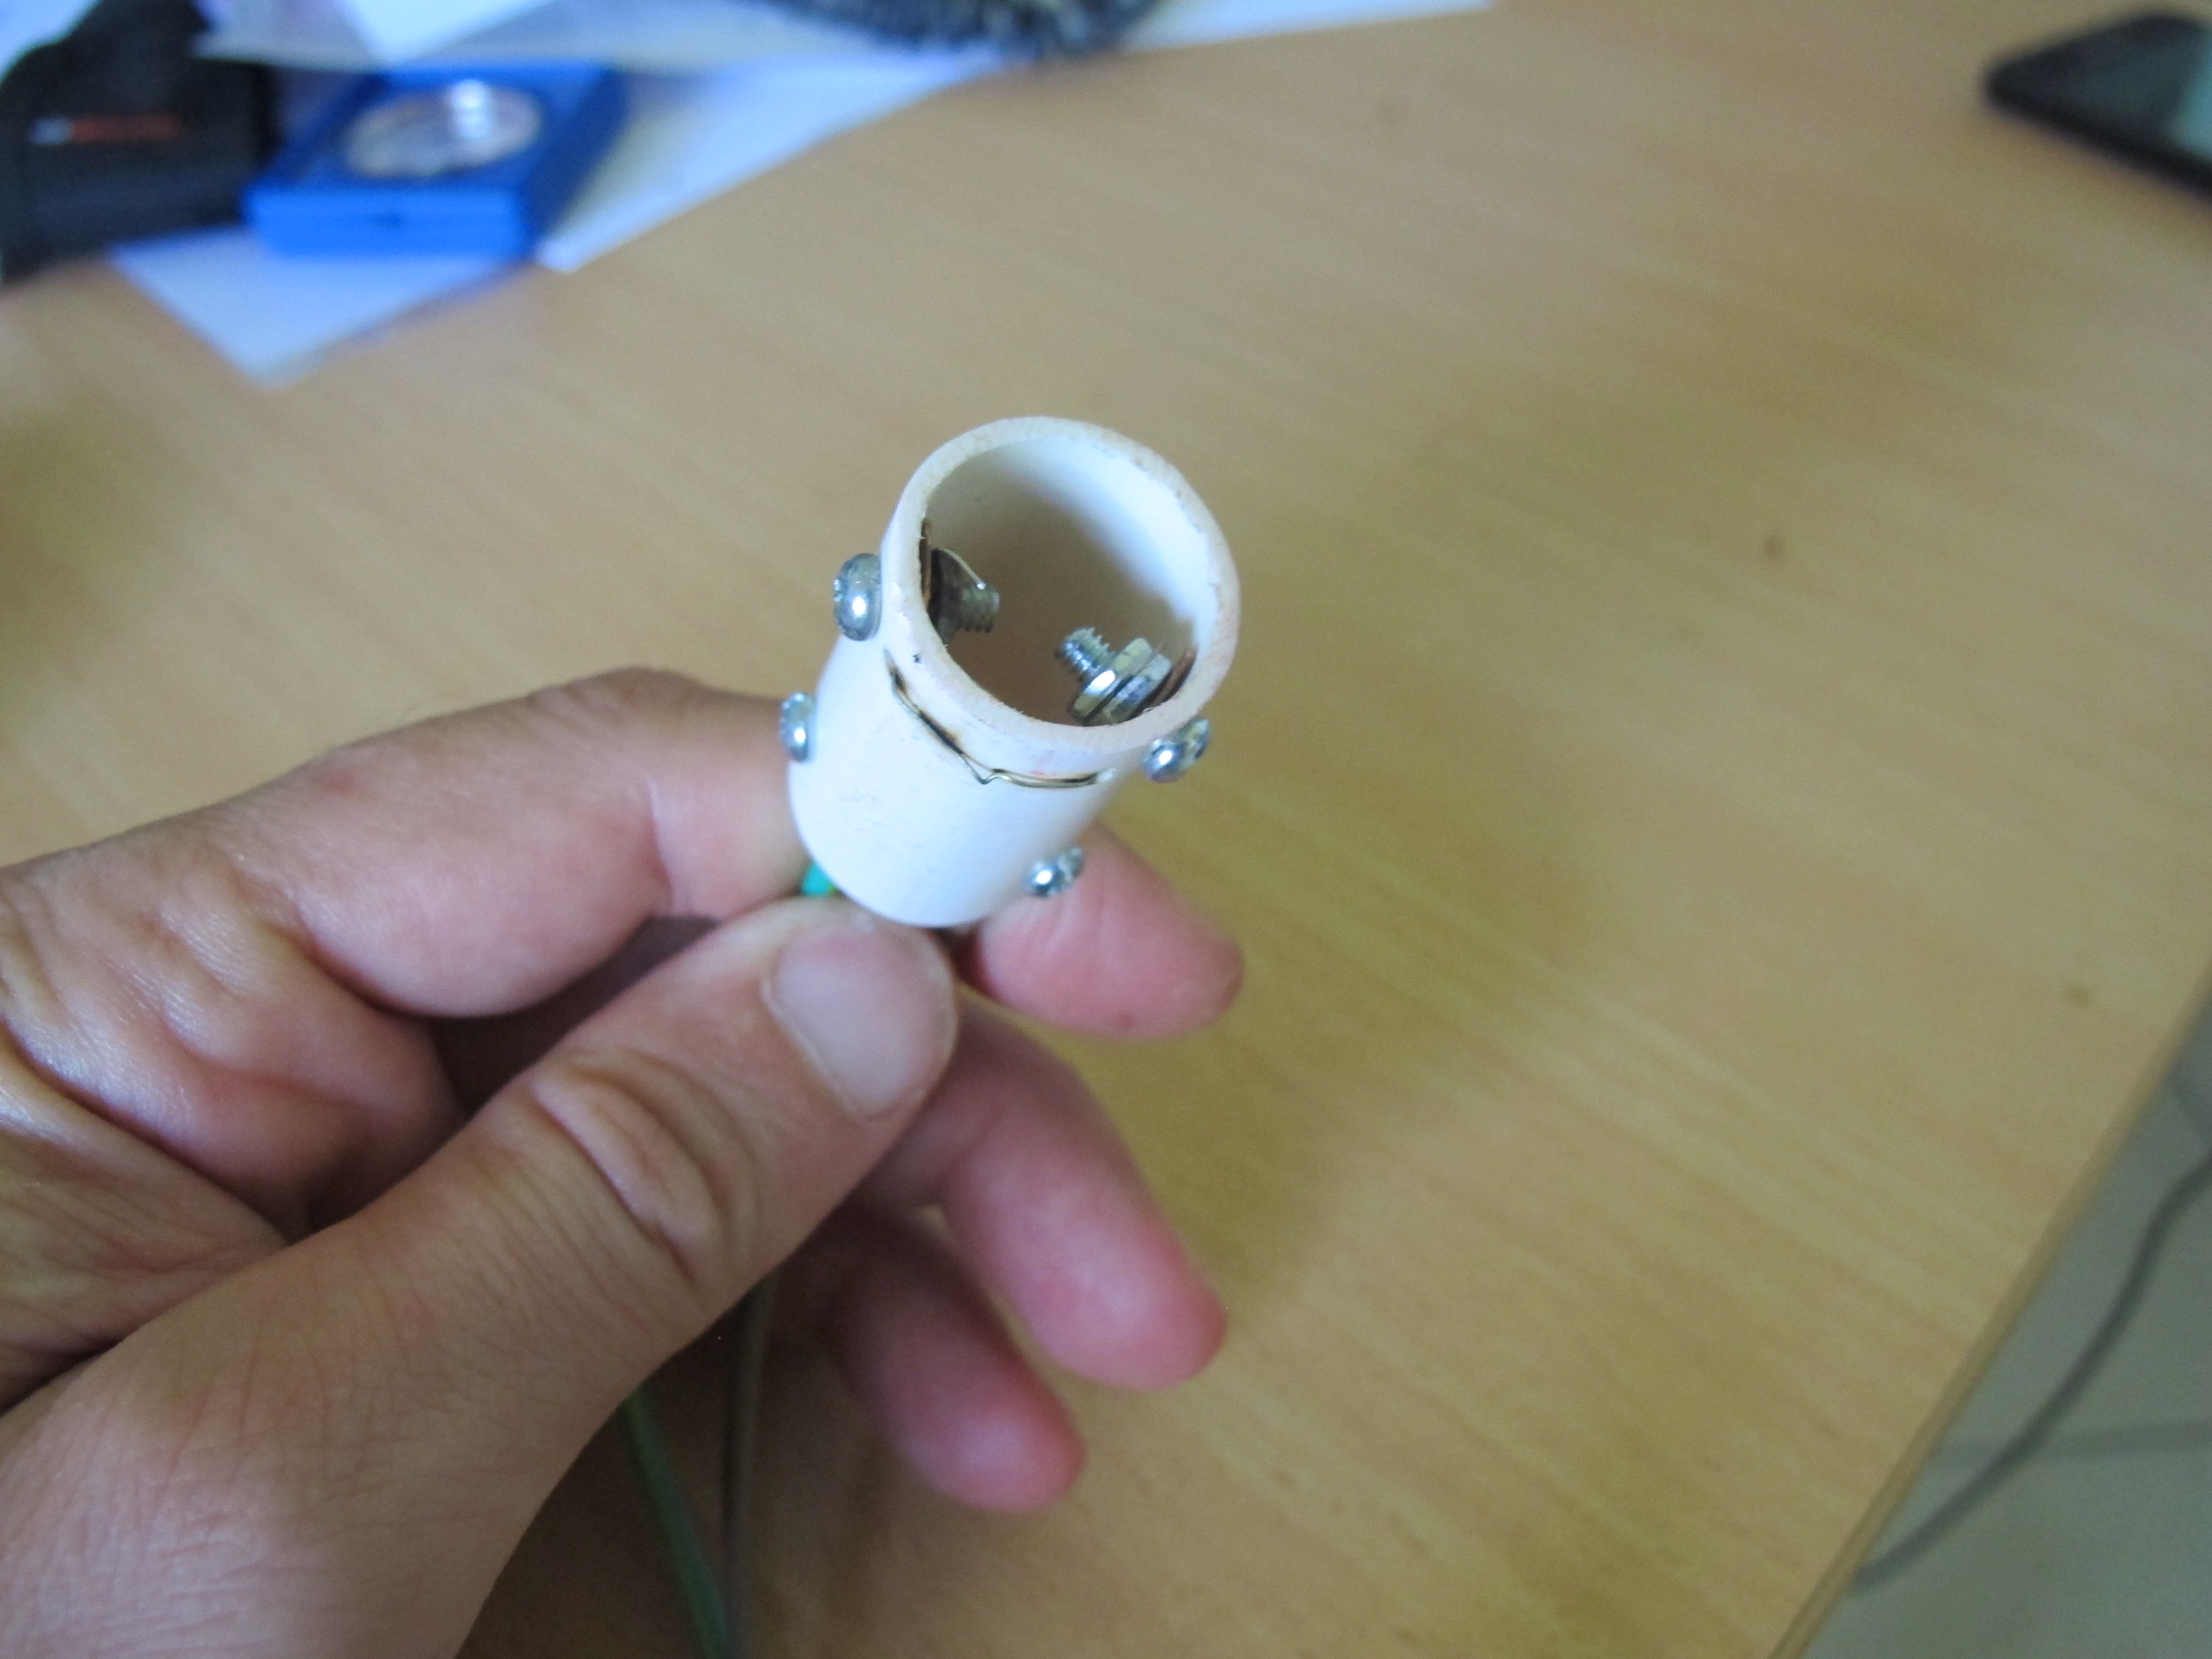
I initially used a 3amp LM7805 regulator to provide the 5 volts to the Beaglebone Black (BBB). This regulator will not work unless the input voltage is at-least 6.5 volts. So a 6 volt battery is not much use. So the original configuration had 2 x 6 volt batteries (in series) producing 12 volts which meant that the regulator was generating a LOT of heat. Very wasteful and not good if we have to go out to places where it is very hot and the regulator gets too hot.

I discovered that the is a regulator that has lower voltage offsets, about 0.5 volts. LM2940CT-5. When the input voltage drops below 5.5 volts, the output voltage is INPUT VOLTAGE – 0.5V. This device can only supply 1amp. I measured the current draw by the BBB and discovered that it was only about 60 mA! Of course, there could be fluctuations that my cheap meter can’t pick up, but obviously 3A is probably overkill. So I switched the LM7805 with the LM2940Ct-5 and it functions very well, off just one 6 volt battery. I’ll continue to do tests to see how long the groundstation works for off one battery, but I expect it to be pretty long.

This means that the groundstation should be more reliable and will weigh less which will be good for when we track the High Altitude Balloon.

Creating the Balloon cutdown Mechanism

The cut-down mechanism is an extremely important component of the high altitude balloon. Getting a reliable cutdown mechanism is something that was considered difficult. Initial thoughts were to have some external ‘sleeve’ that would wrap around the balloon throat, using a rubber band, or string, velcro or some other material to keep it mated to the balloon. It was however decided that a piece of PCB tube inserted into the balloon to provide a means of attaching the payload could be modified to provide a way to bring a Nichrome wire in touch with the balloon.

The only issue I can see is tying of the bolloon end to stop the Helium gas from escaping. The wires _may_ lead to gaps being present. However if we have sufficient cable ties, each tied up sufficiently, and twist the balloon end around the wires, we should be able to stop any significant amount of gas from leaking.

Take a look at some of the pictures below.

Top view of cutdown mechanism showing Nichrome wire
View from the bottom of the cutdown mechanism with wires coming out.


Initial tests show that 6 volts is more then adequate to get the nichrome wire red-hot in a few milliseconds. Enough to heat and burst the balloon.

Current flowing through the wires was measured at about 3.5amps.


Installing the new GPS Module

I’ve realised the that the current GPS module only goes up to about 18km. This is not high enough. So I discovered a module that can go up 50km. This module is different from the current one because it doesn’t come with an antenna built-in (on top of it) and it is definitely not a module you can easily get up and running.

The module also needed some TTL converters to convert 3.3v to 5 volt and the 5 volt to 3.3volts. This all takes up a lot of realestate so it became apparent that we need to mount the new GPS module on its own in the PolyCarbonate box, away from the Arduino (where the old one was installed).

Below is a picture of HAB electronics box with new GPS module.

Install of new GPS module in HAB Electronics Box

The GPS module is mounted about 1cm above the PCB below it and below Serial Voltage level converter. The board requires 5 v, 3.3v, ground RX and TX.

The antenna is attached to the top of the Arduindo GPS shield using double sided tape. I actually had a problem with the antenna shorting out wires on the Arduino initially. All was okay.

Radio Test 3

I’ve devised my own firmware for the RFD900 with changes I shall not divulge here. Fortunately the changes have been effective. I’ve been able to download an image 4.5km away in 8 minutes. The link was substantially more stable. It was extremely pleasing to start to see some success after such a very dis-satisfying start.

There are many enhancements that I still wish to make to make use of the hardware/software easier for myself, in terms of ease of use and in terms of getting more feedback, so I know how ‘well’ it is performing.