HackHD Camera Temperature

The HackHD camera is a cost-effective light camera chosen for the mission. It does have oneĀ  drawback; it gets extremely hot during operation. This post identifies the issues this poses and puts forward a possible solutions to _try_ and mitigate these issues.

The Problem

As the payload ascends, it will experience extreme temperatures and pressures. During the initial ascent, there will be a drop in temperature and the pressure will drop slowly. There will be a chance that the camera can cool from radiation and a little bit of convection. As the payload continues to ascend into the Stratosphere, the air pressure drops off to almost zero. Convection isn’t going to work. Radiation of the heat is the only mechanism by which it can cool. There is absolutely no point having a ‘fan’ installed to cool it down because there won’t be anything to ‘blow’ on to the hot chips.

The Solution

We need to ensure that the HackHD can radiate heat as effectively as possible. Remember that we just want to make the HackHD last as possible. It may be close to impossible to allow it to operate the whole time. Ways to address this are:-

1. Keep the journey as short as possible up in the Stratosphere

2. Take video for a few minutes, then turn off to allow it to cool down, then turn it back on again. Or alternatively, take photos instead of video

3. Add heat-sink to transfer heat away, to increase area of surface radiating heat. The flow of heat is directly proportional to the surface area of the object.

The heat Sink

Below are some pictures of the device that ‘hugs’ the HackHD camera.


Look inside between bottom bottom veraboard and HackHD


Bottom view
Bottom view
Top View
Top View

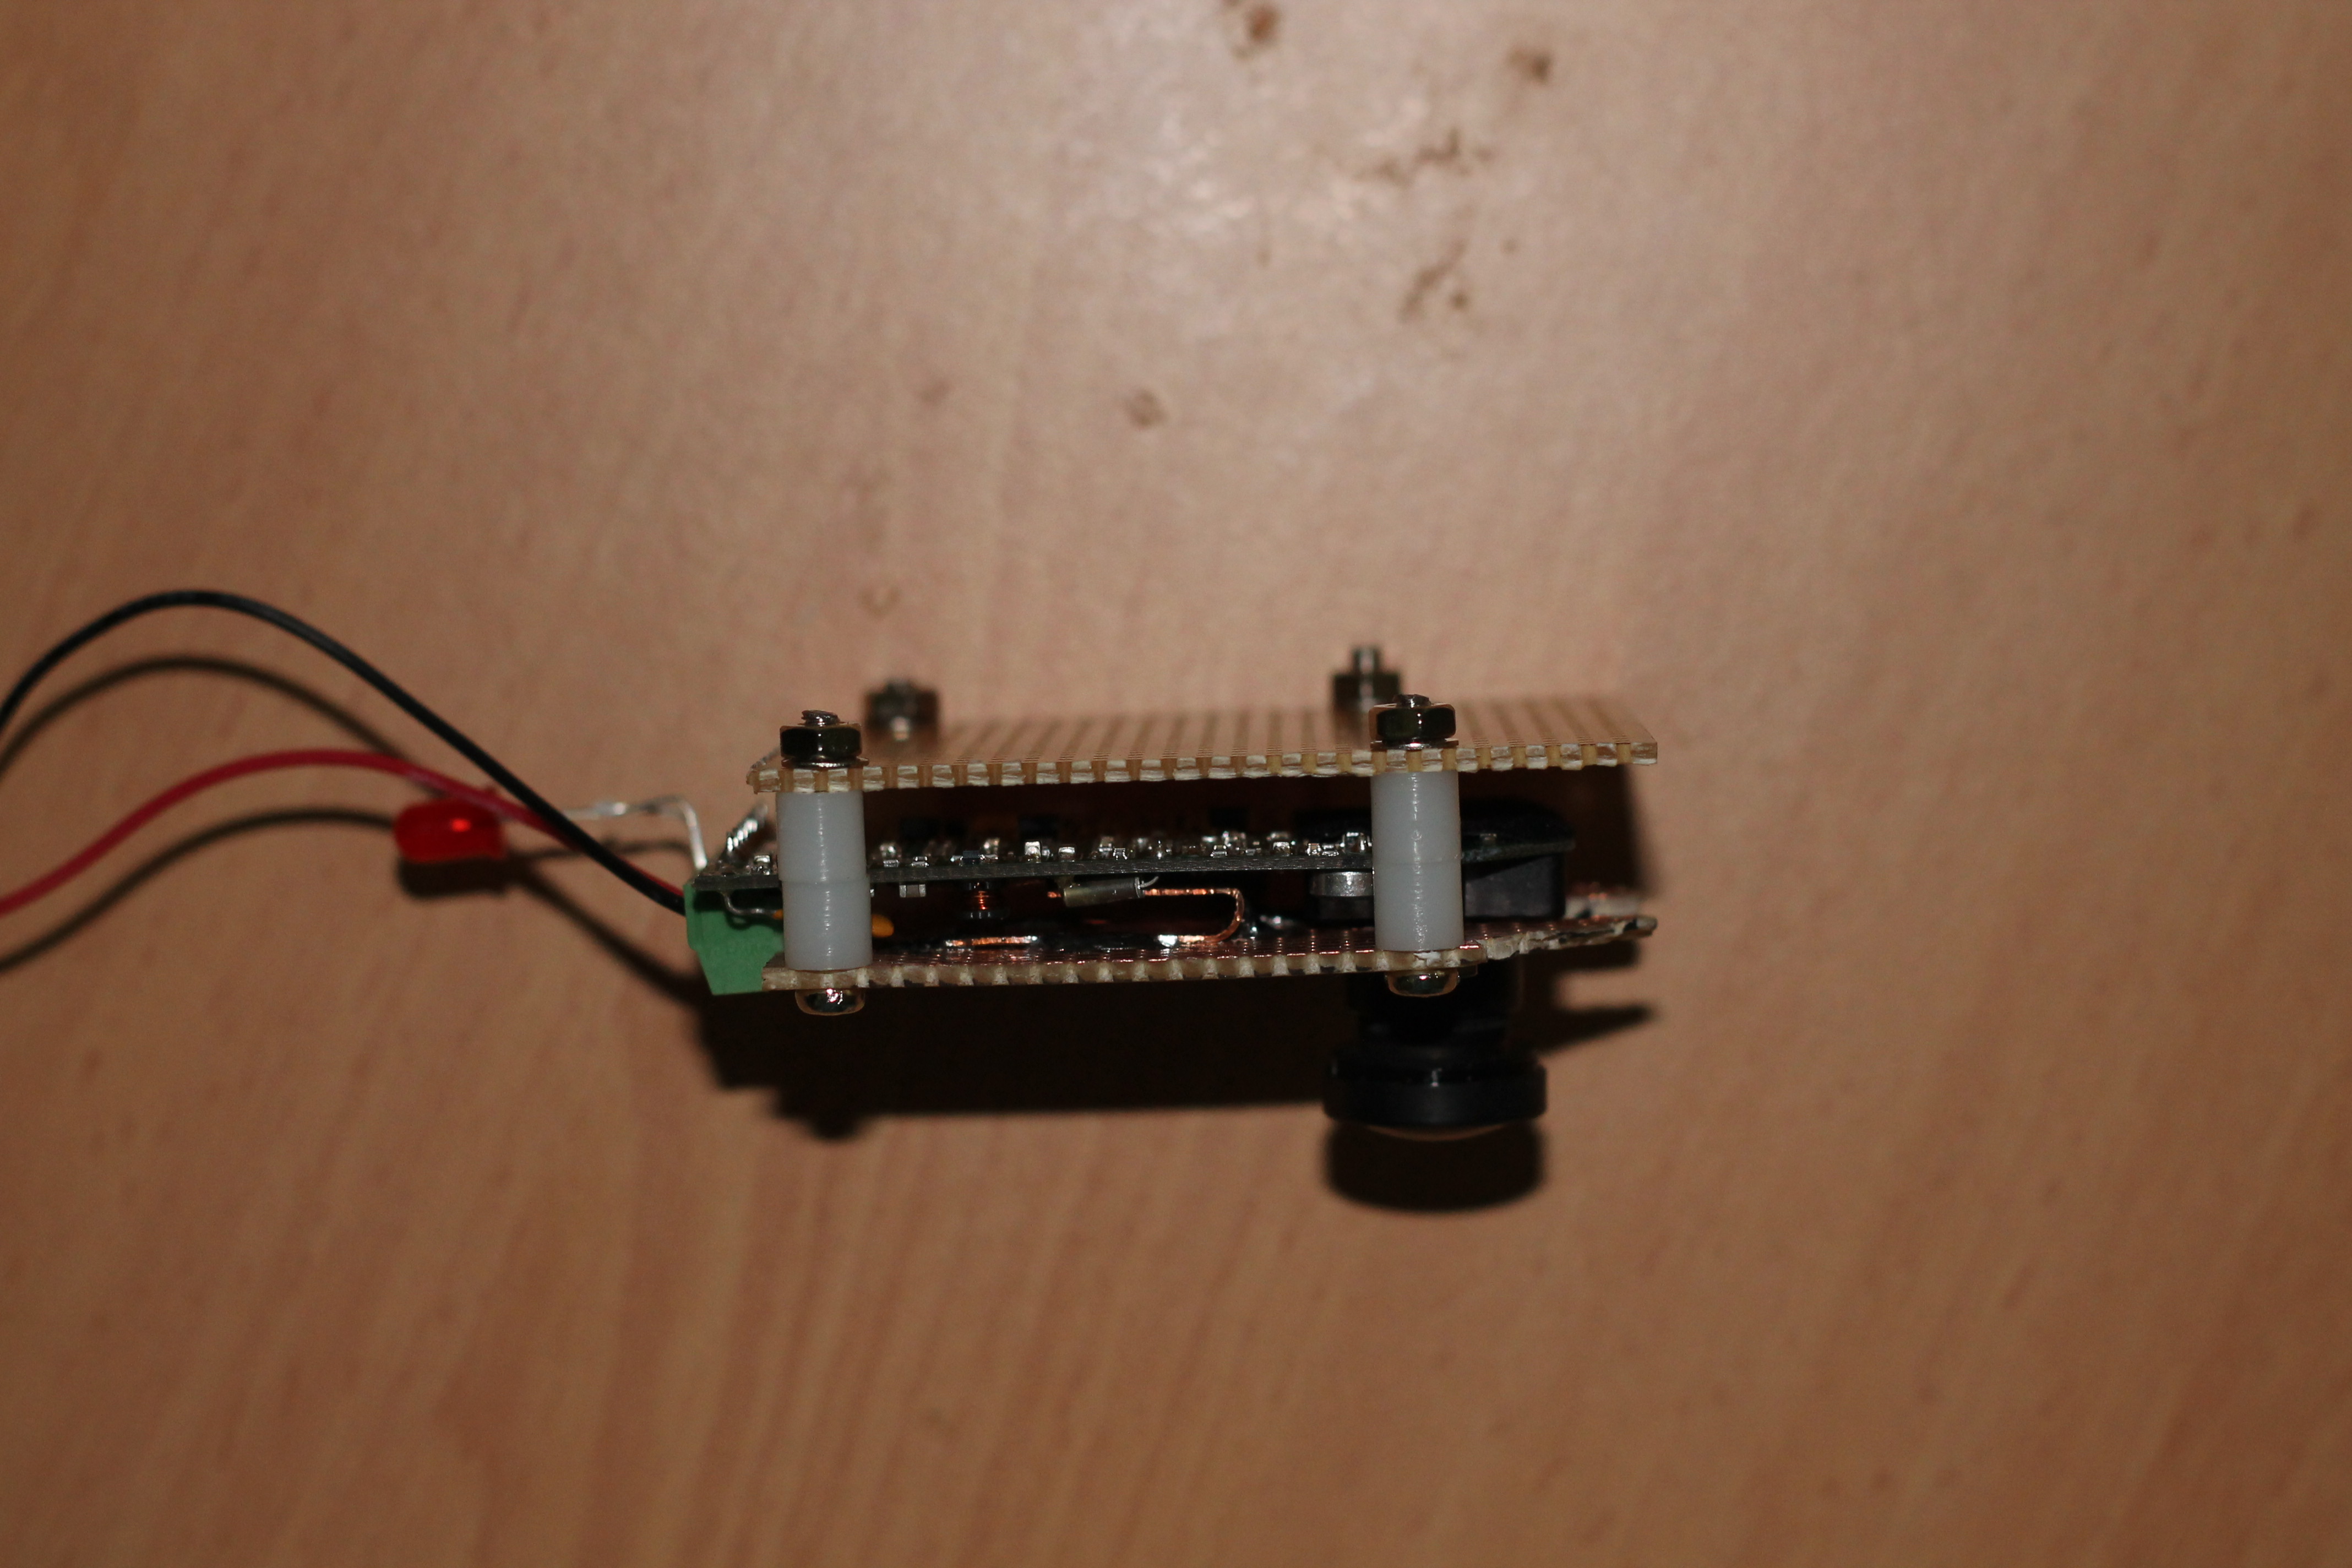
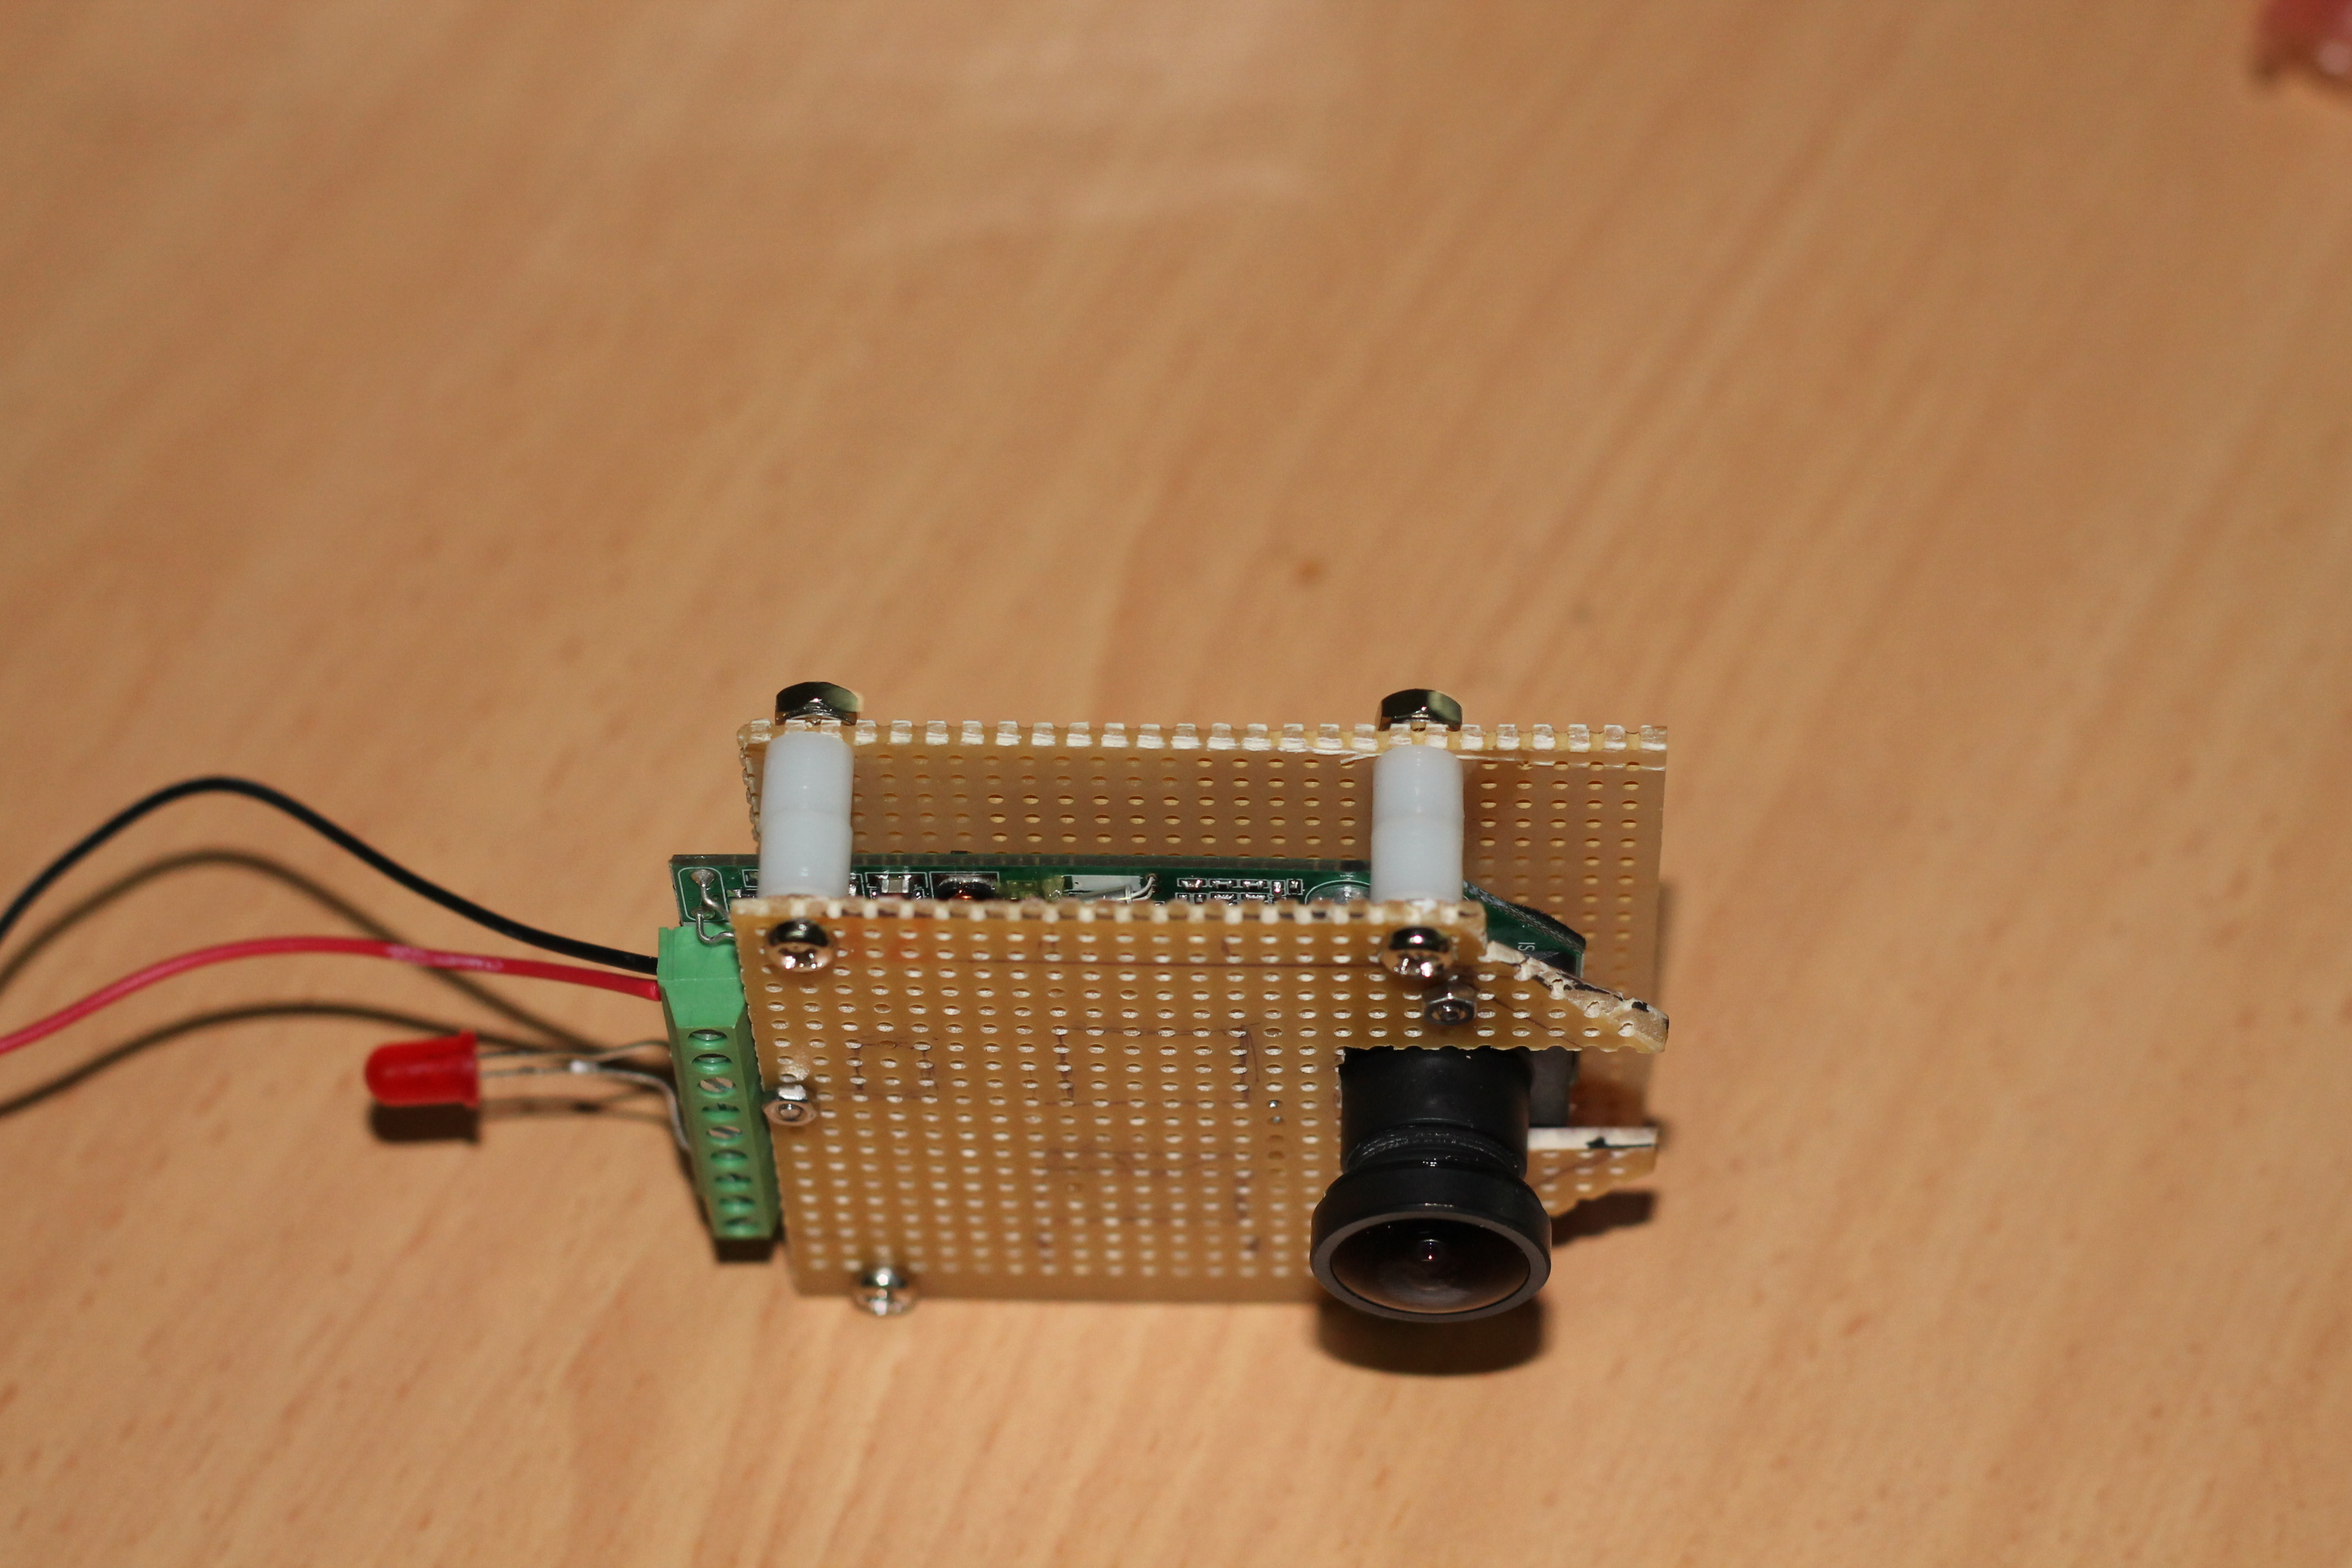
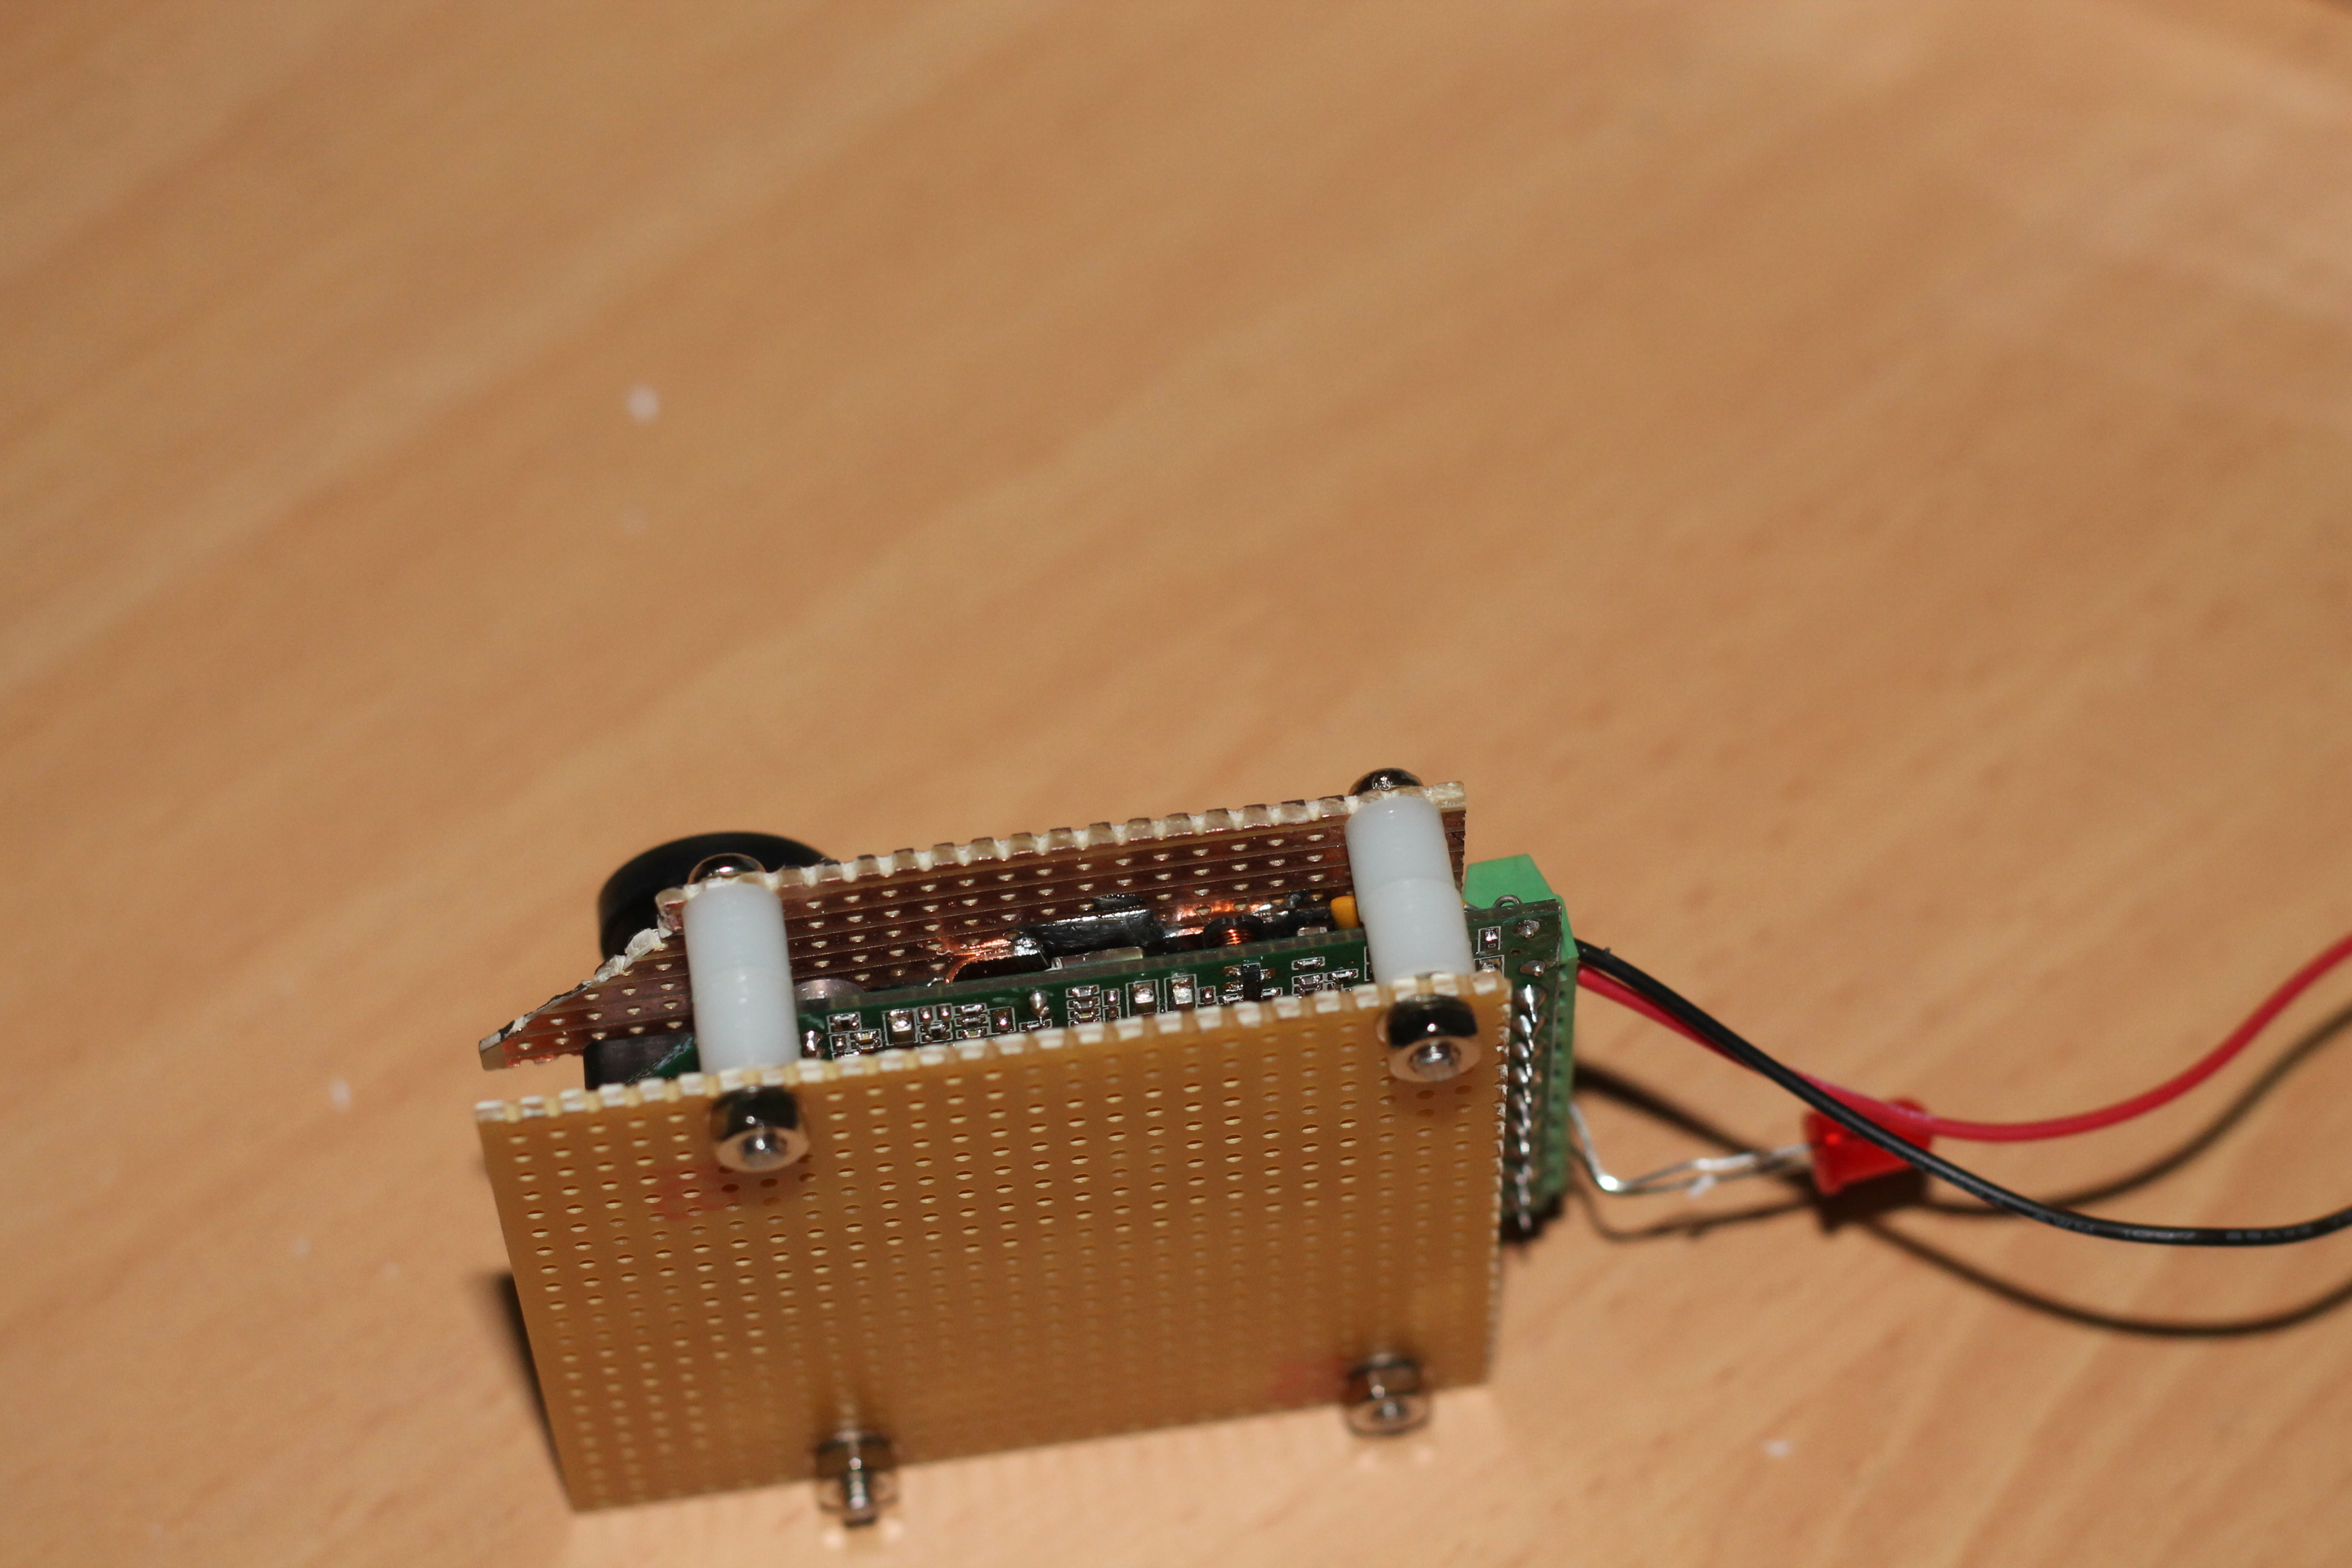
We have 2mm screws that connect the veroboard to the HackHD using the three holes it has. We have bent copper plate soldered to the veroboard making physical contact with the three chips. We use heat conducting paste to improve heat flow. We then have another piece of veroboard (no copper on any side) attached to the other veroboad using 3mm screw/nuts. We have two spaces to give an appropriate gap. This last bit of veroboard helps to keep hands away from the underside of the HackHD, reducing chance of damage (static), etc.


Trial Launch (without the Launch)

It was decided that a “Trial” launch should be performed to:-

  • Test and refine deployment procedures
  • Test cut-down mechanism
  • Confirm all the components work altogether
  • Familarise the team with procedures

In terms of outcomes, the documented procedures were not too far off what was followed on the day. It does appear that some of the preparation tasks, like inserting the cut-down mechanism will be done on the day of the launch, rather then trying to install the previous night to save time.

It would be beneficial to have an additional team member to assist in the launch, particularly ensuring we follow all documentation and assisting in cleaning up quickly just before we let go of the balloon.

The cut-down mechanism unfortunately did not work as hoped. The first time it fired off, it was unable to burn/melt through the thick throat of the balloon. We moved the cut-down mechanism approximately 10mm further up. We then fired off the cut-down mechanism and a small slit was produced, from which Helium escaped. It did not create the rupture we were hoping for. We eventually popped the balloon manually. What we do know is that if the balloon expands more, then the likelihood of a successful cut-down increases, but it is quite conceivable that a cut-down at a lower altitude may be required, and the balloon may not have expanded much by then. So we will need to put some thought into the cut-down mechanism.

All other components seemed to work:-

  • Spot Messenger produced 5 way-points, 3 to 5minutes between them. This is quite satisfactory.
  • HackHD camera worked
  • Communication worked – good signal strength (210)
  • LinkSprite camera worked okay (was downloading a picture)
  • GPS worked well – 7 satellites “seen” very early on.
  • Temperature/pressure sensors worked
  • Health indicators worked

Below are are some photos of the day:-

Helping inflate or watching on with curious eyes


Almost finished inflating


Sealing balloon throat prior to "dummy" launch.
Sealing balloon throat prior to “dummy” launch.

I believe we worked very well effectively as a team. This was helped by an initial brief with the team before the “pretend” launch. I believe it was a very rewarding experience for all involved.


Initial Spot Messenger Testing

A Spot Messenger account has been purchased and some initial testing has been done to see how the Spot Messenger fairs with the other electronics. Other Balloon launches have been plagued with interference issues between the SPOT messengers and the other Electronics. Initial testing suggests that the Spot Messenger works fine with other electronic components.

The “Extreme” plan has been purchased which allows Messages every 2.5 minutes. This means that when the balloon is descending, at a fairly quick pace, the chance of getting a message through is going to be reasonably large. One calculation had a time of 13minutes to descend from 6500metres to approximately 0, which means up to 5 ‘way-points’.

We will need to do more testing on how forgiving(or unforgiving) the SPOT Messenger is when orientated in a non-horizontal orientation.


The ‘pretend’ launch (Testing Procedures)

If we had more people launching balloons around Cairns, then attending such events would help to give one the knowledge/experience required to launch a balloon. In the absence of this, we will perform a ‘pretend’ launch.

I’ve been working on a ‘pretend’ launch, where we go through all the motions of inflating a balloon, but we don’t do the final step, and that is ‘let it go’. This I feel is an important part of the project because when we travel 3hrs inland, we don’t want to have to turn around to get a missing part, or pop the balloon when it is two thirds full.

The instructions generated for performing the launch have been mostly done, but there will be several refinements made and there will be complimentary video, pictures to assist in analysing/refreshing our minds on the whole process. It should all be relatively straight-forward, but we leave nothing to chance.

With this ‘pretend’ launch, we will use Helium like at go-live…we will try and keep everything as realistic as possible. We will also conduct a trial ‘cut-down’ to confirm that this part works satisfactorily.