The Fillet Epoxy
I created the fillets using West Systems. The products used were:-
- 105 Epoxy
- 206 Hardener
- 413 Filler (this supersedes 403 filler)
- Masking tape
Tool used to shape the Fillets
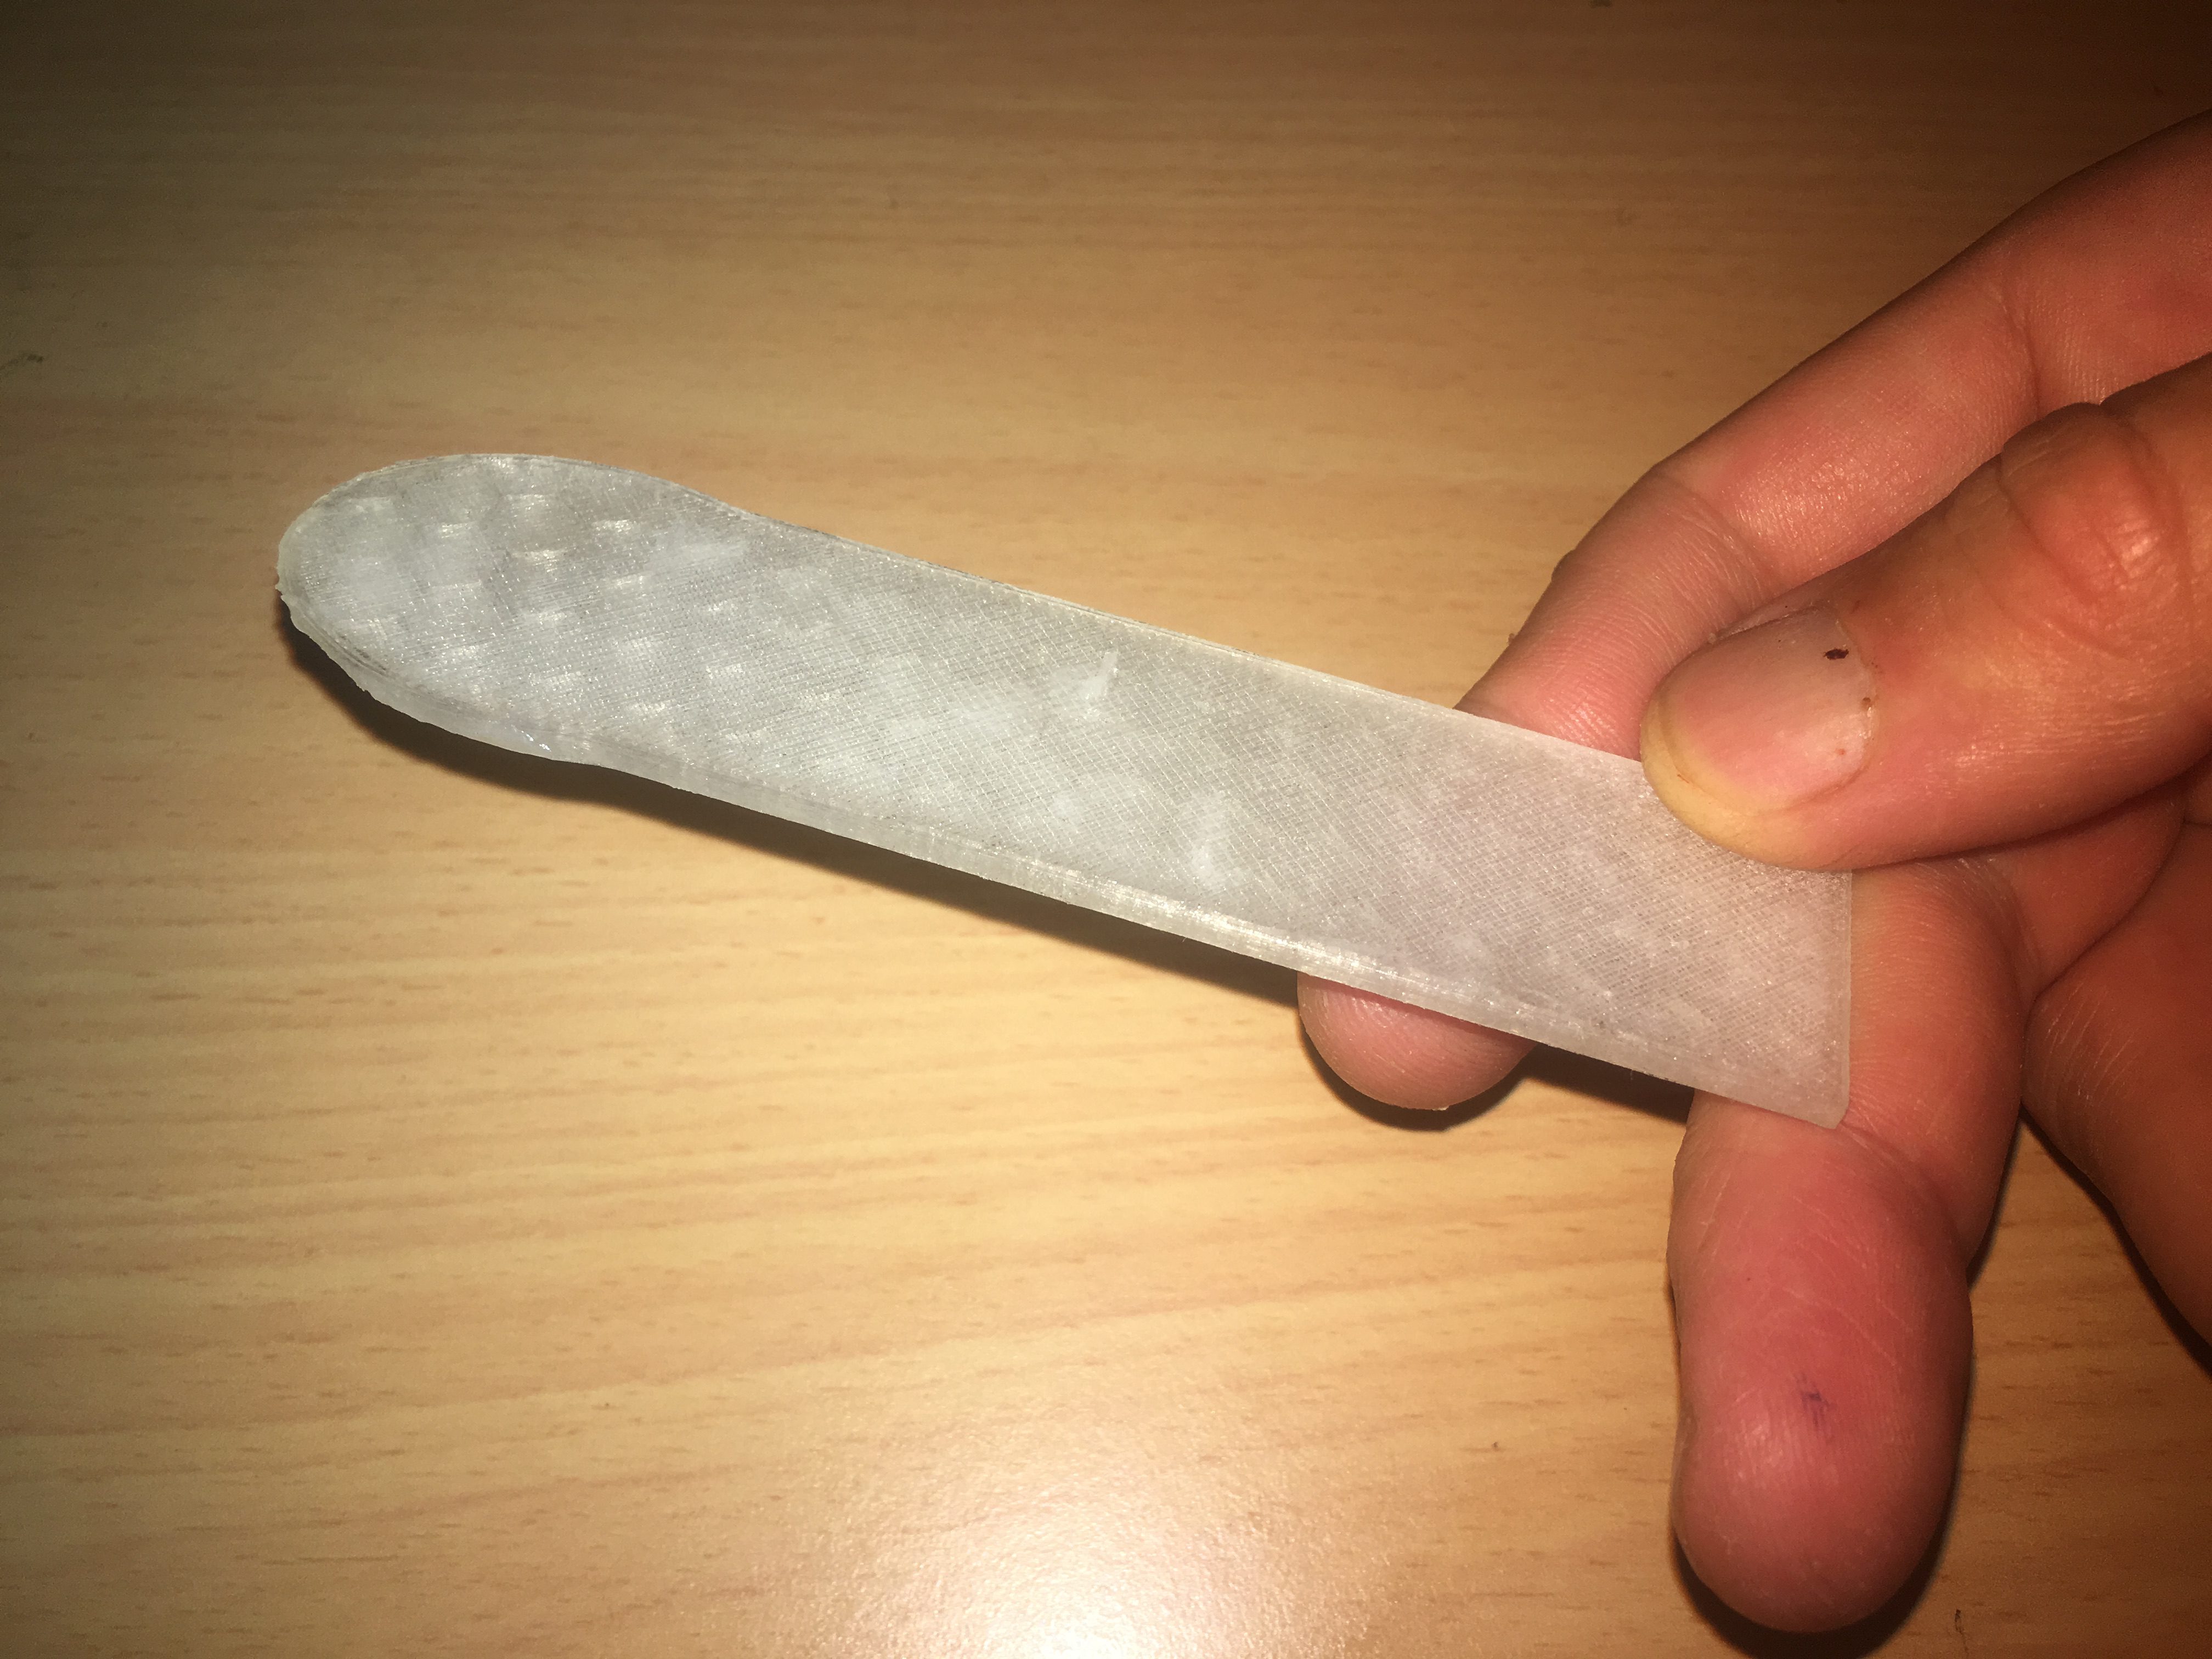
I created a special tool (pictured below) to help shape the fillets. This tool was created using my 3-D printer. It was shaped to give a fillet of radius approx 6 to 7mm.

The tool was created in FreeCad using a cylinder of radius of 7mm sliced at 45 degrees and attached to a “handle”. This allows me to drag the tool along the surface at 45 degrees, knowing that the curvature of the fillet is approx 7mm.
Here is a photo of it:-
The Procedure
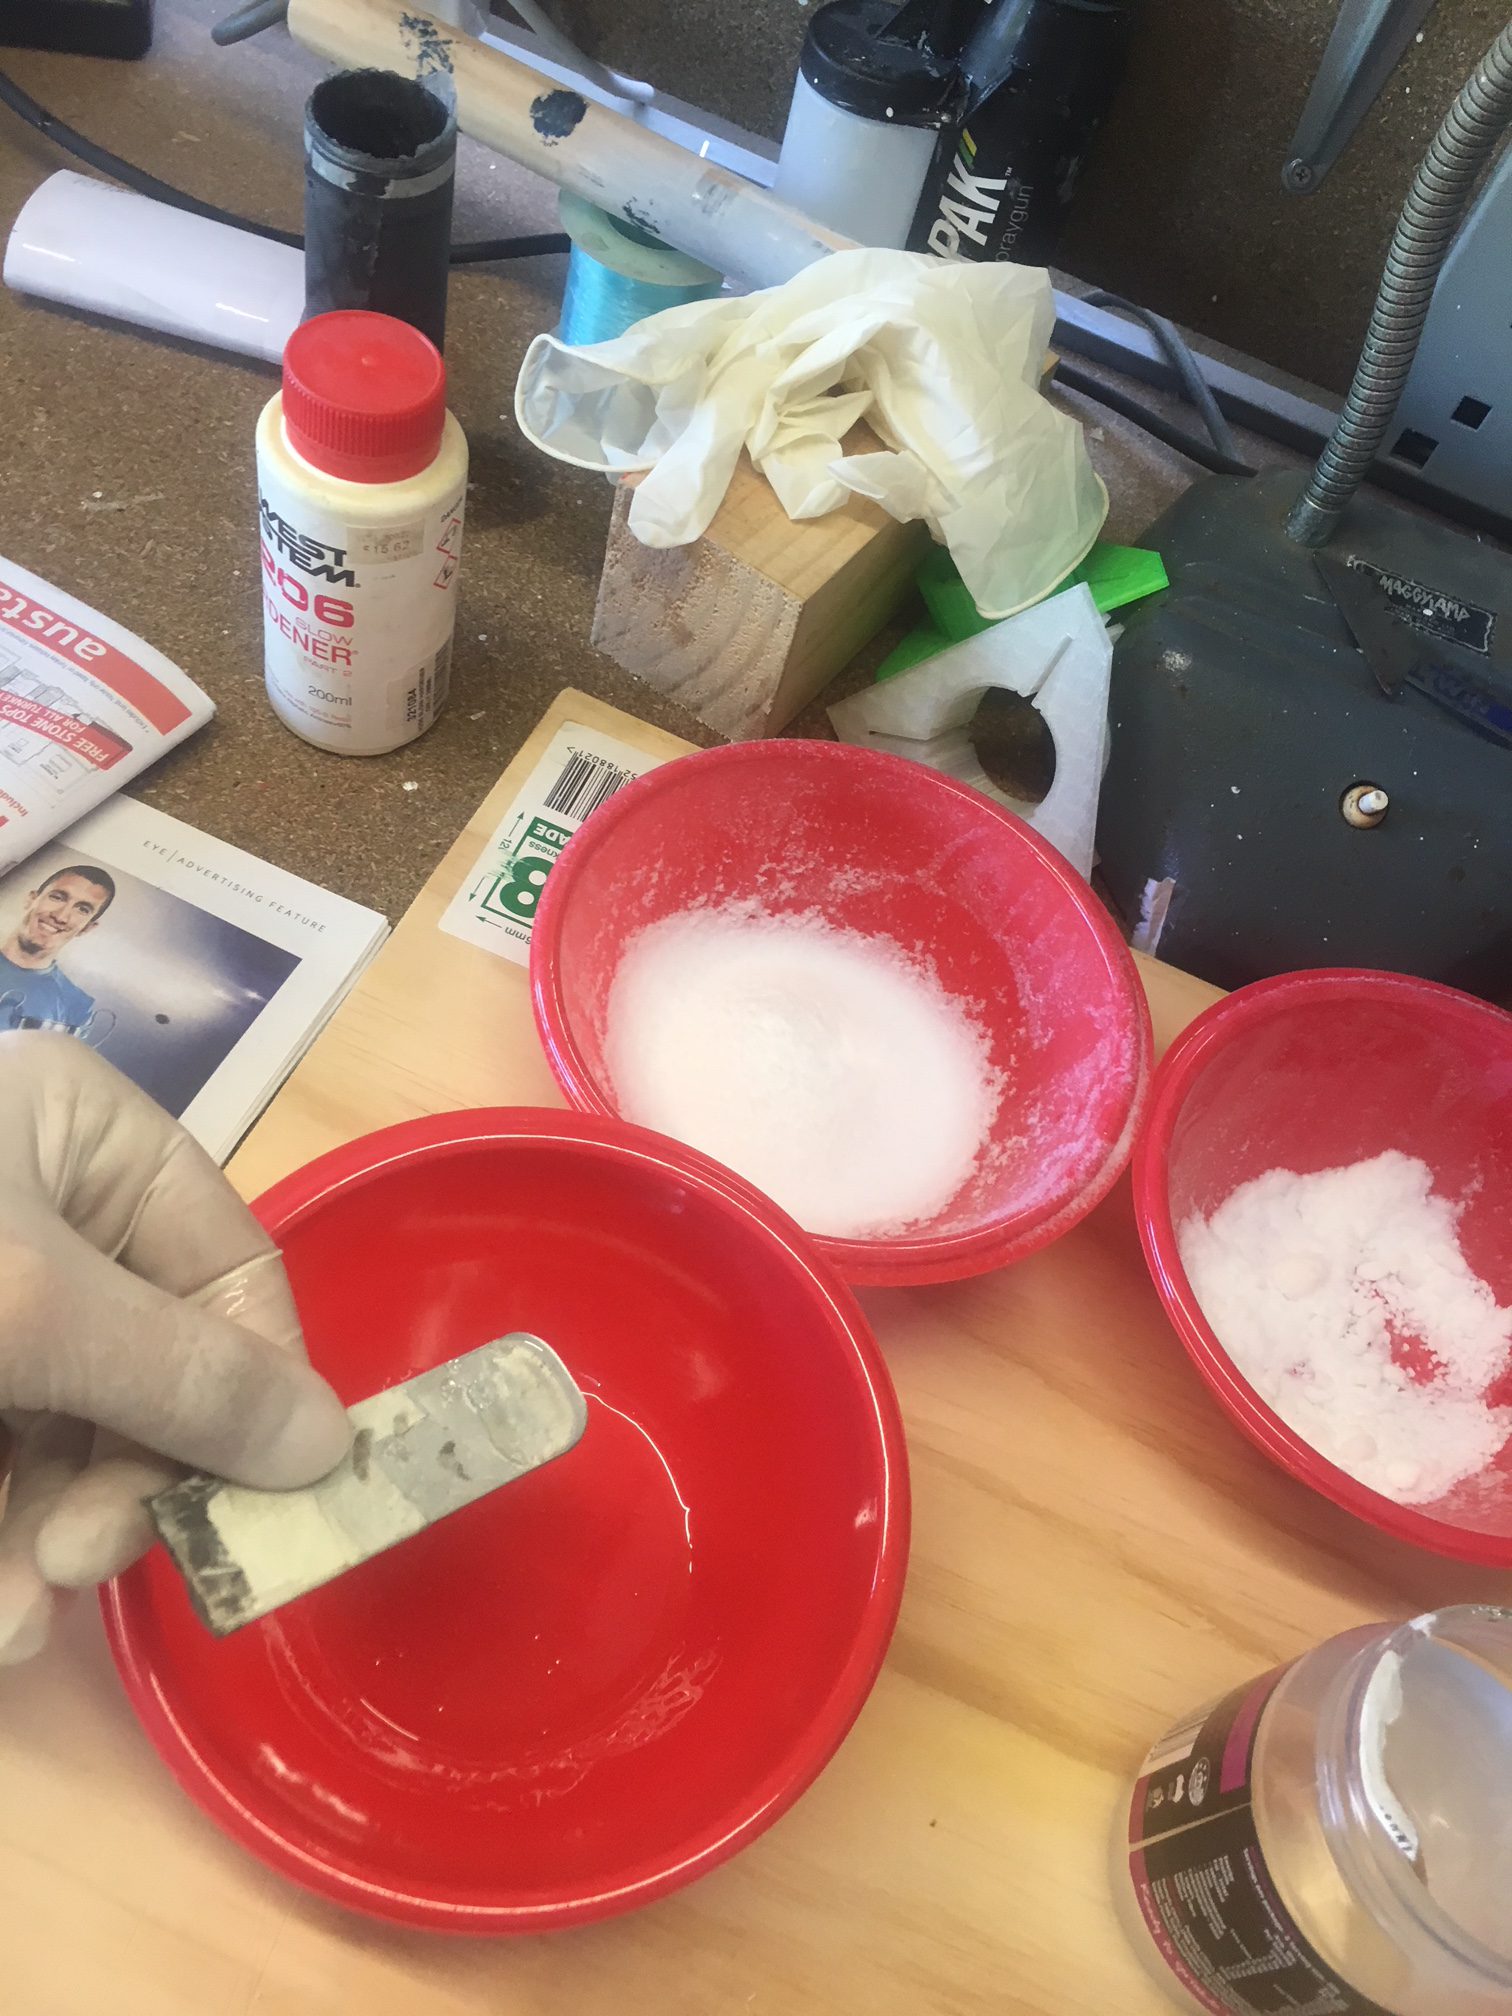
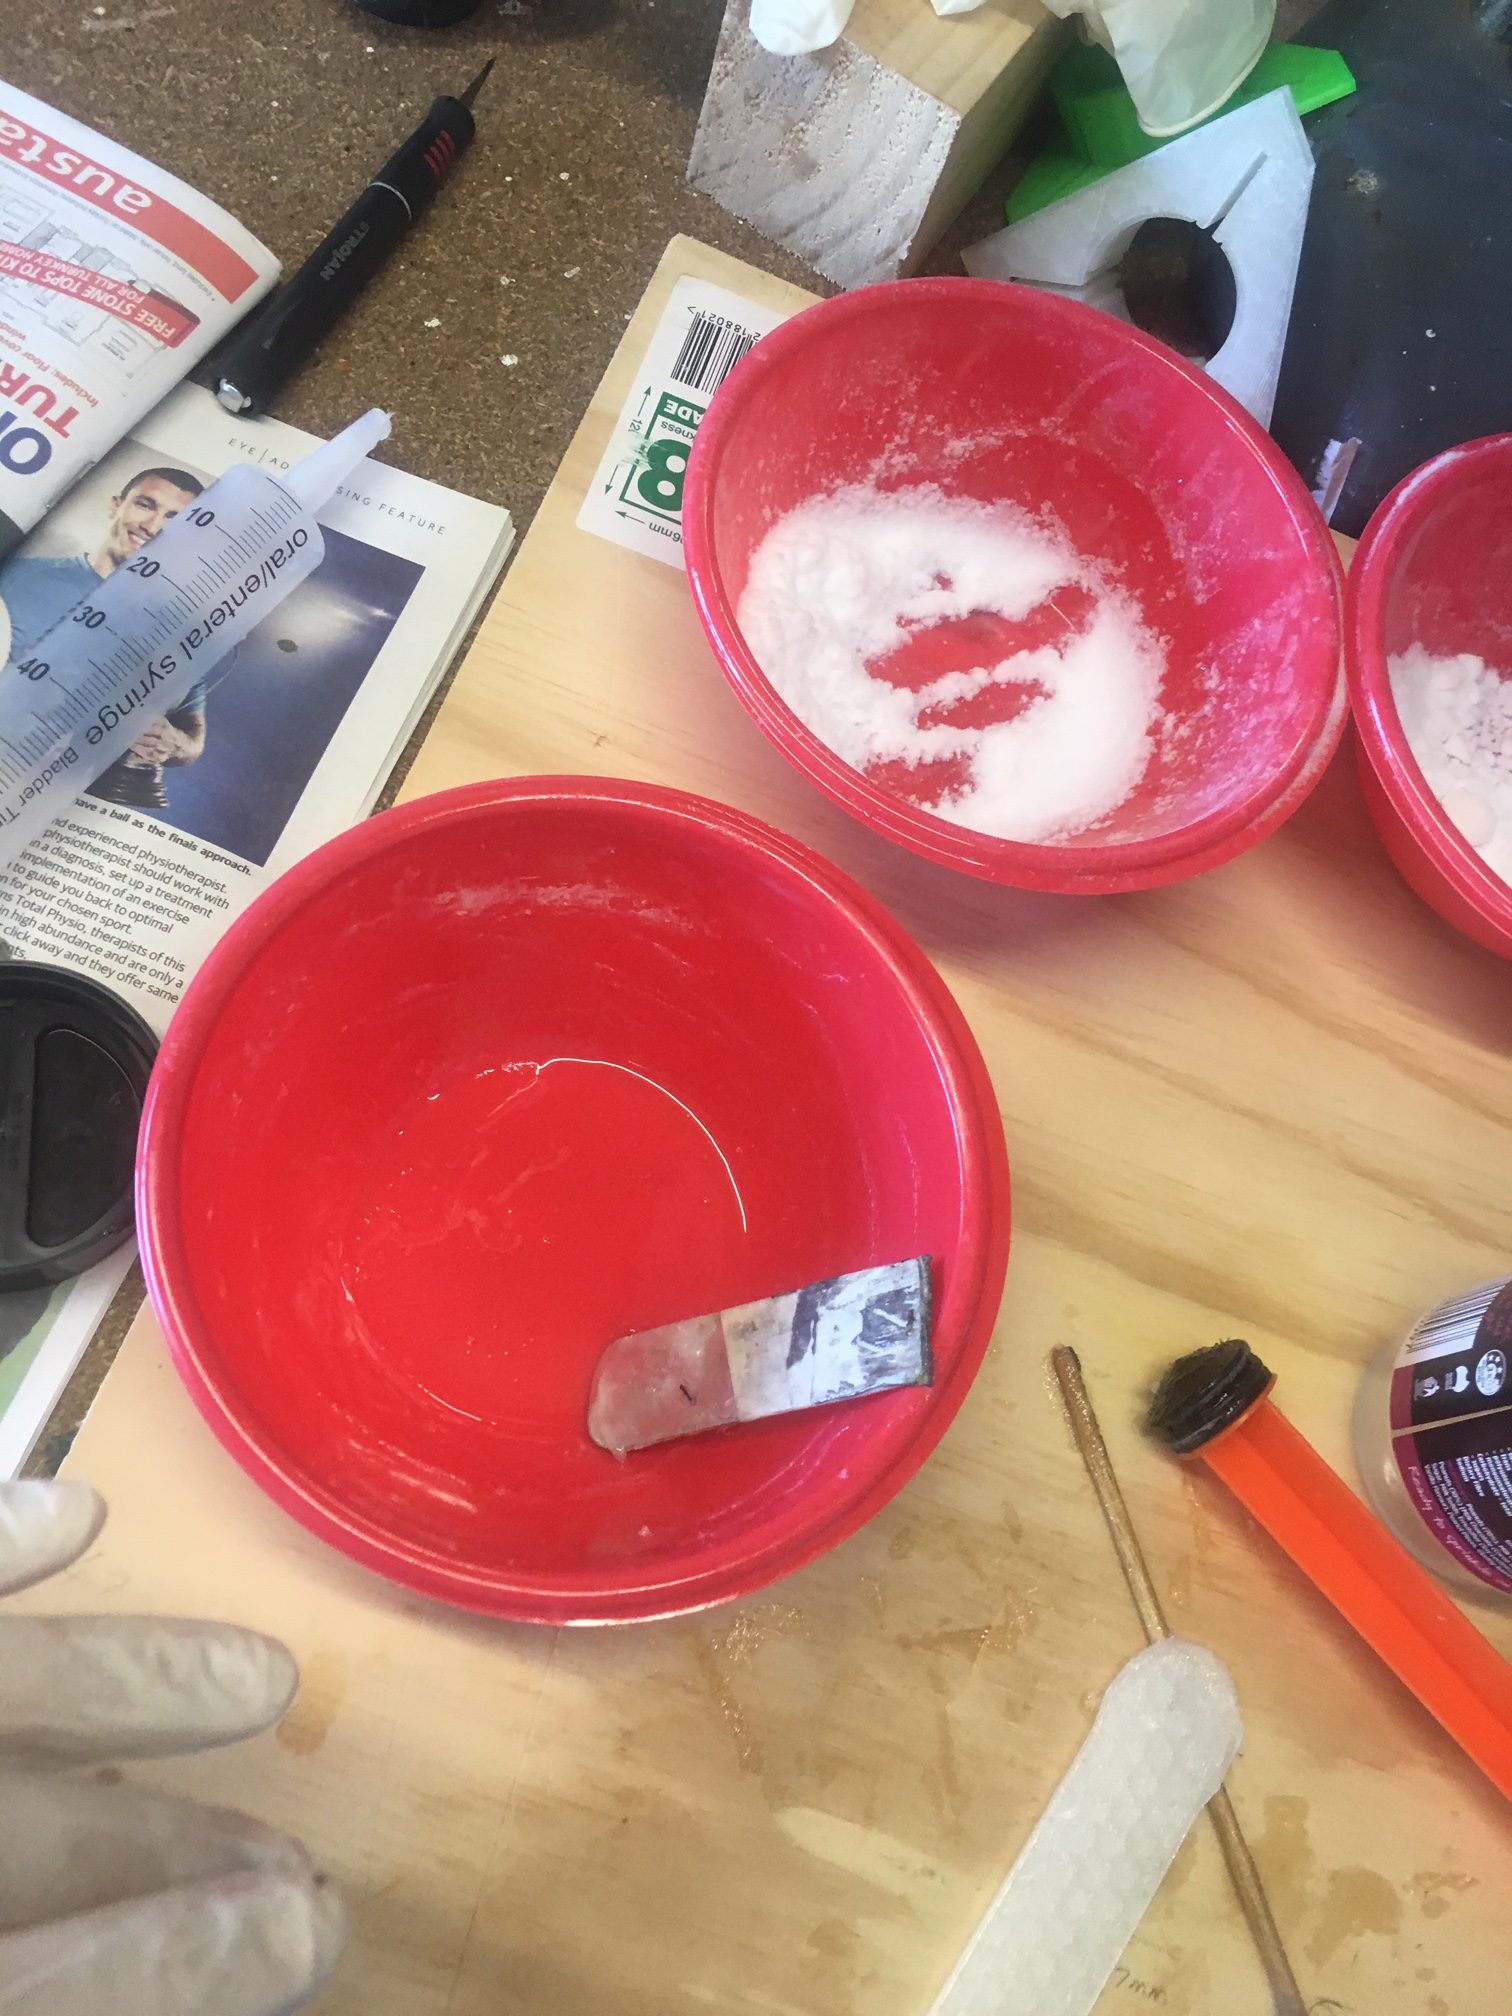
I measured 105 Epoxy and 206 Hardener materials by volume using a syringe. I passed the 413 through a sieve to remove the lumps. Then I introduced 413 filler in small quantities, until it’s consistency was that it JUST held its shape. Then I loaded this Epoxy into another syringe and squeezed it into the fin roots and shaped them.

Creating the fillets
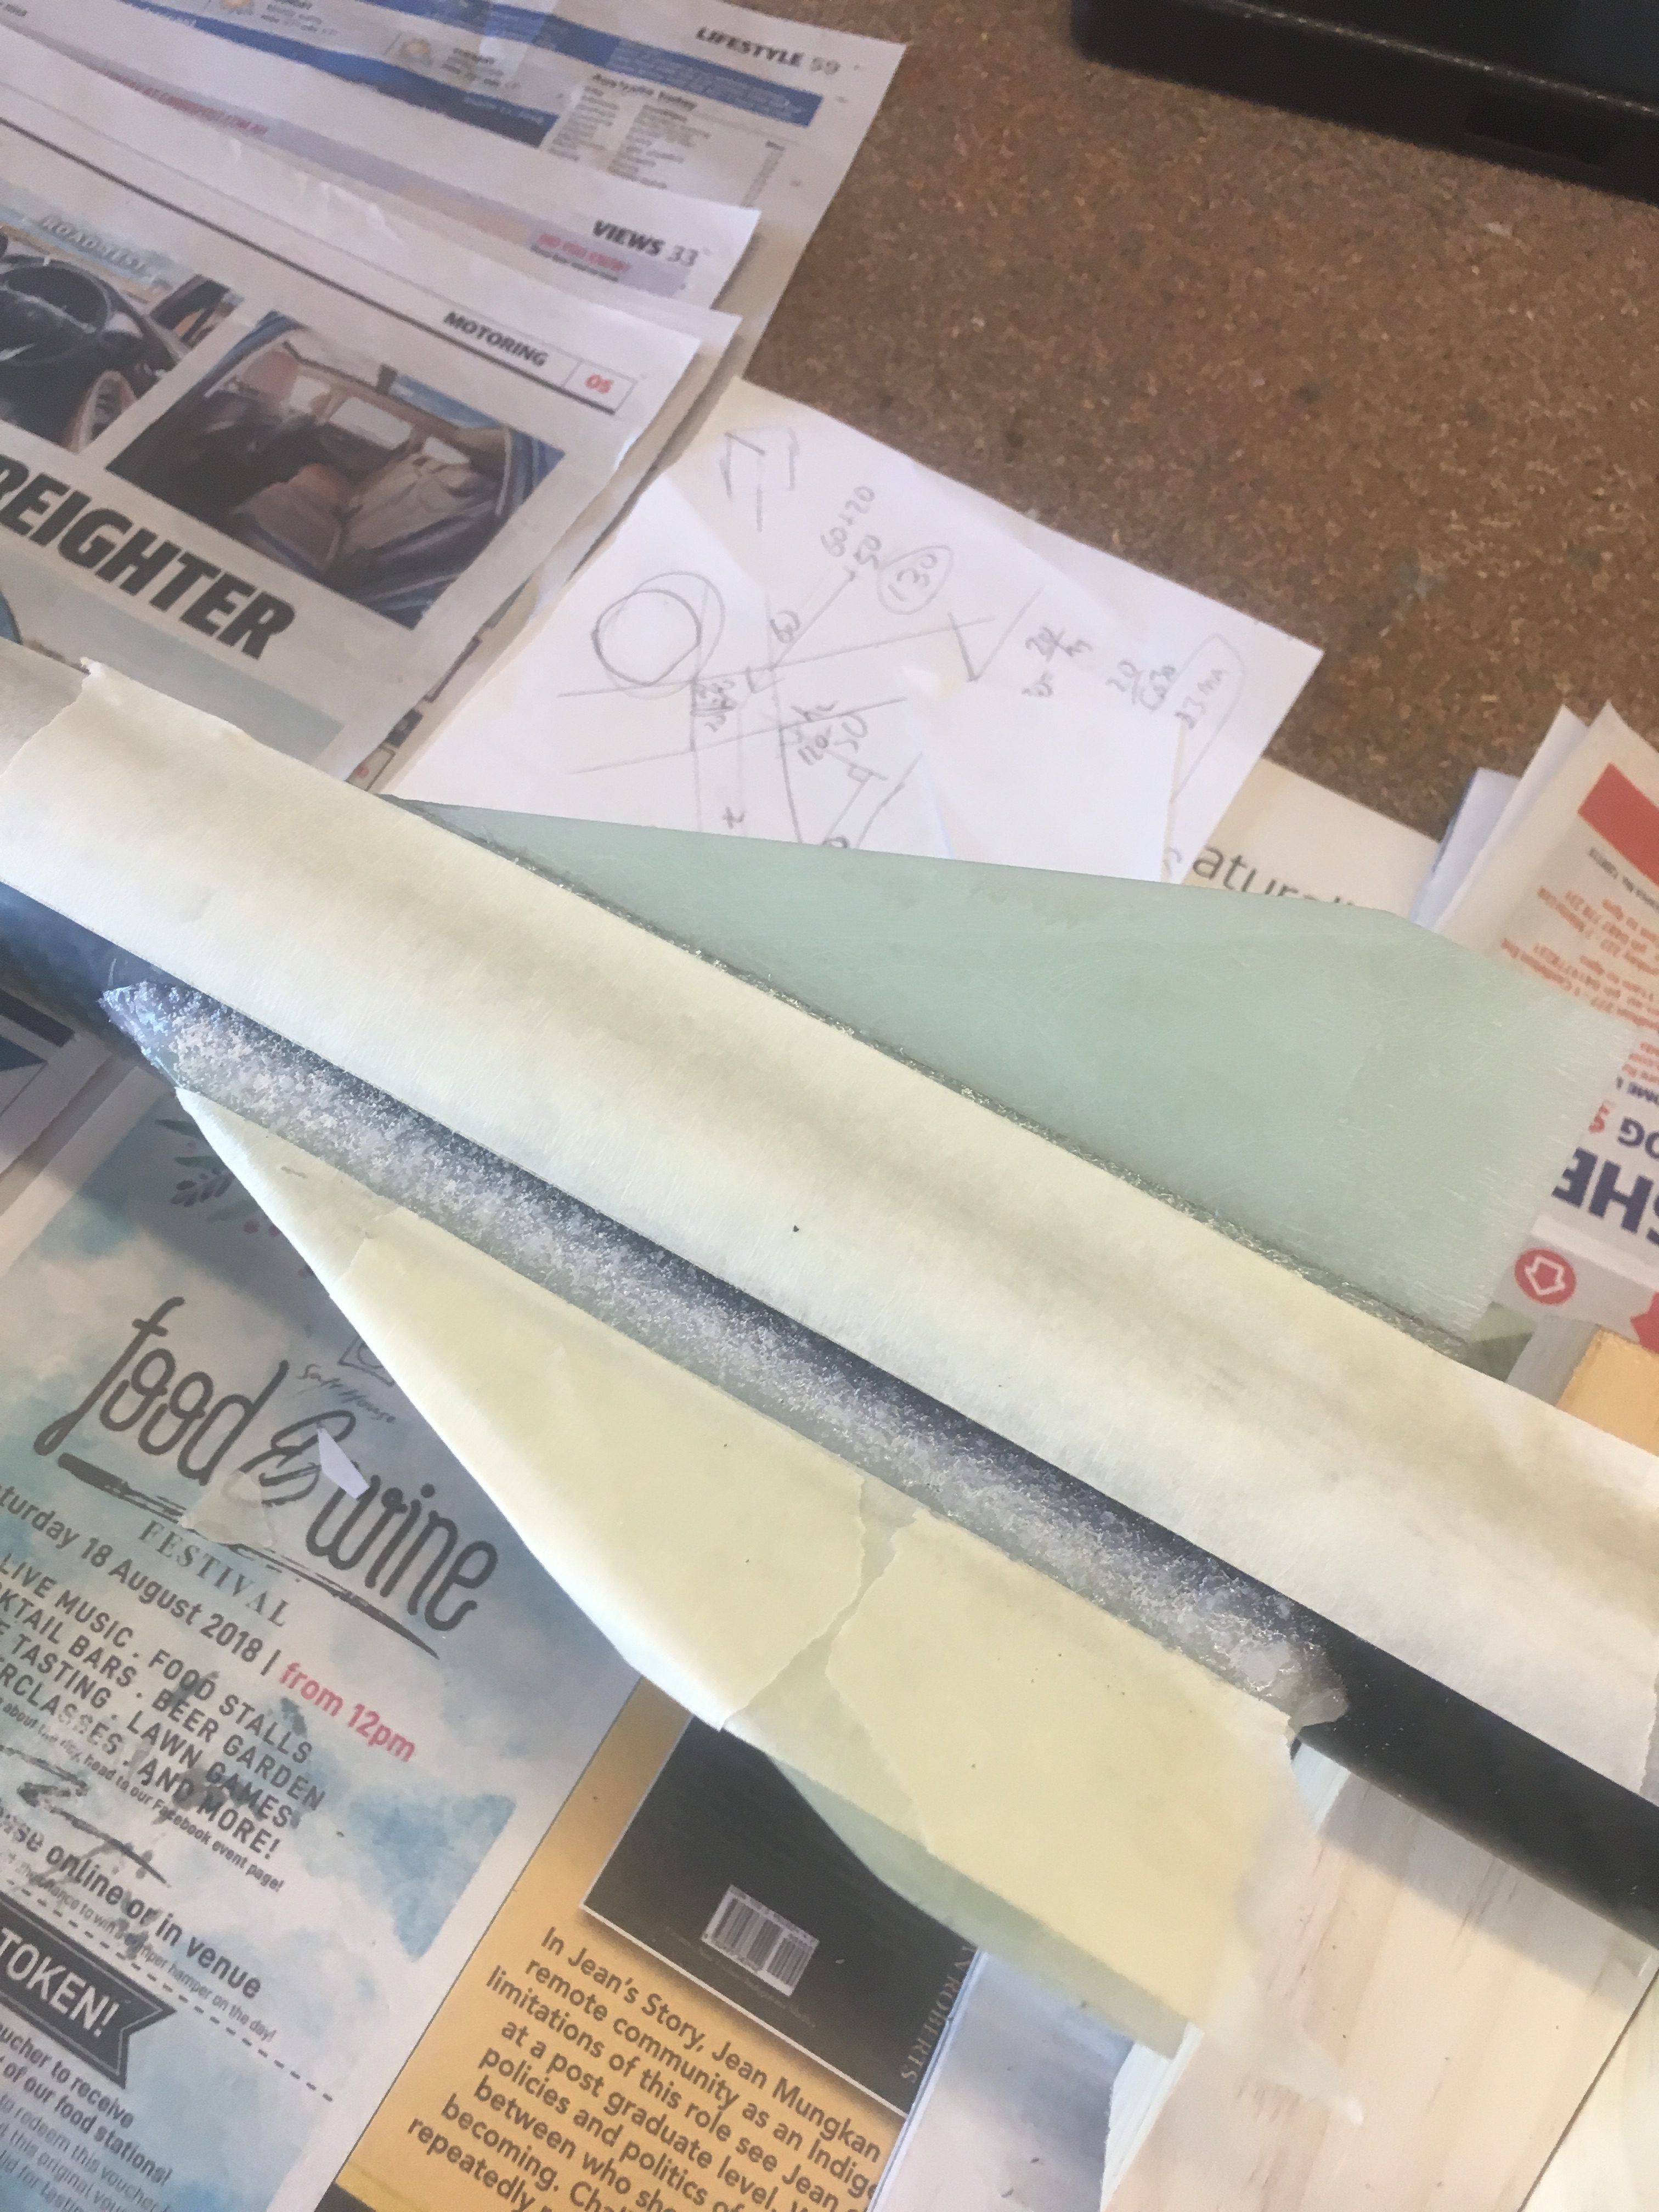
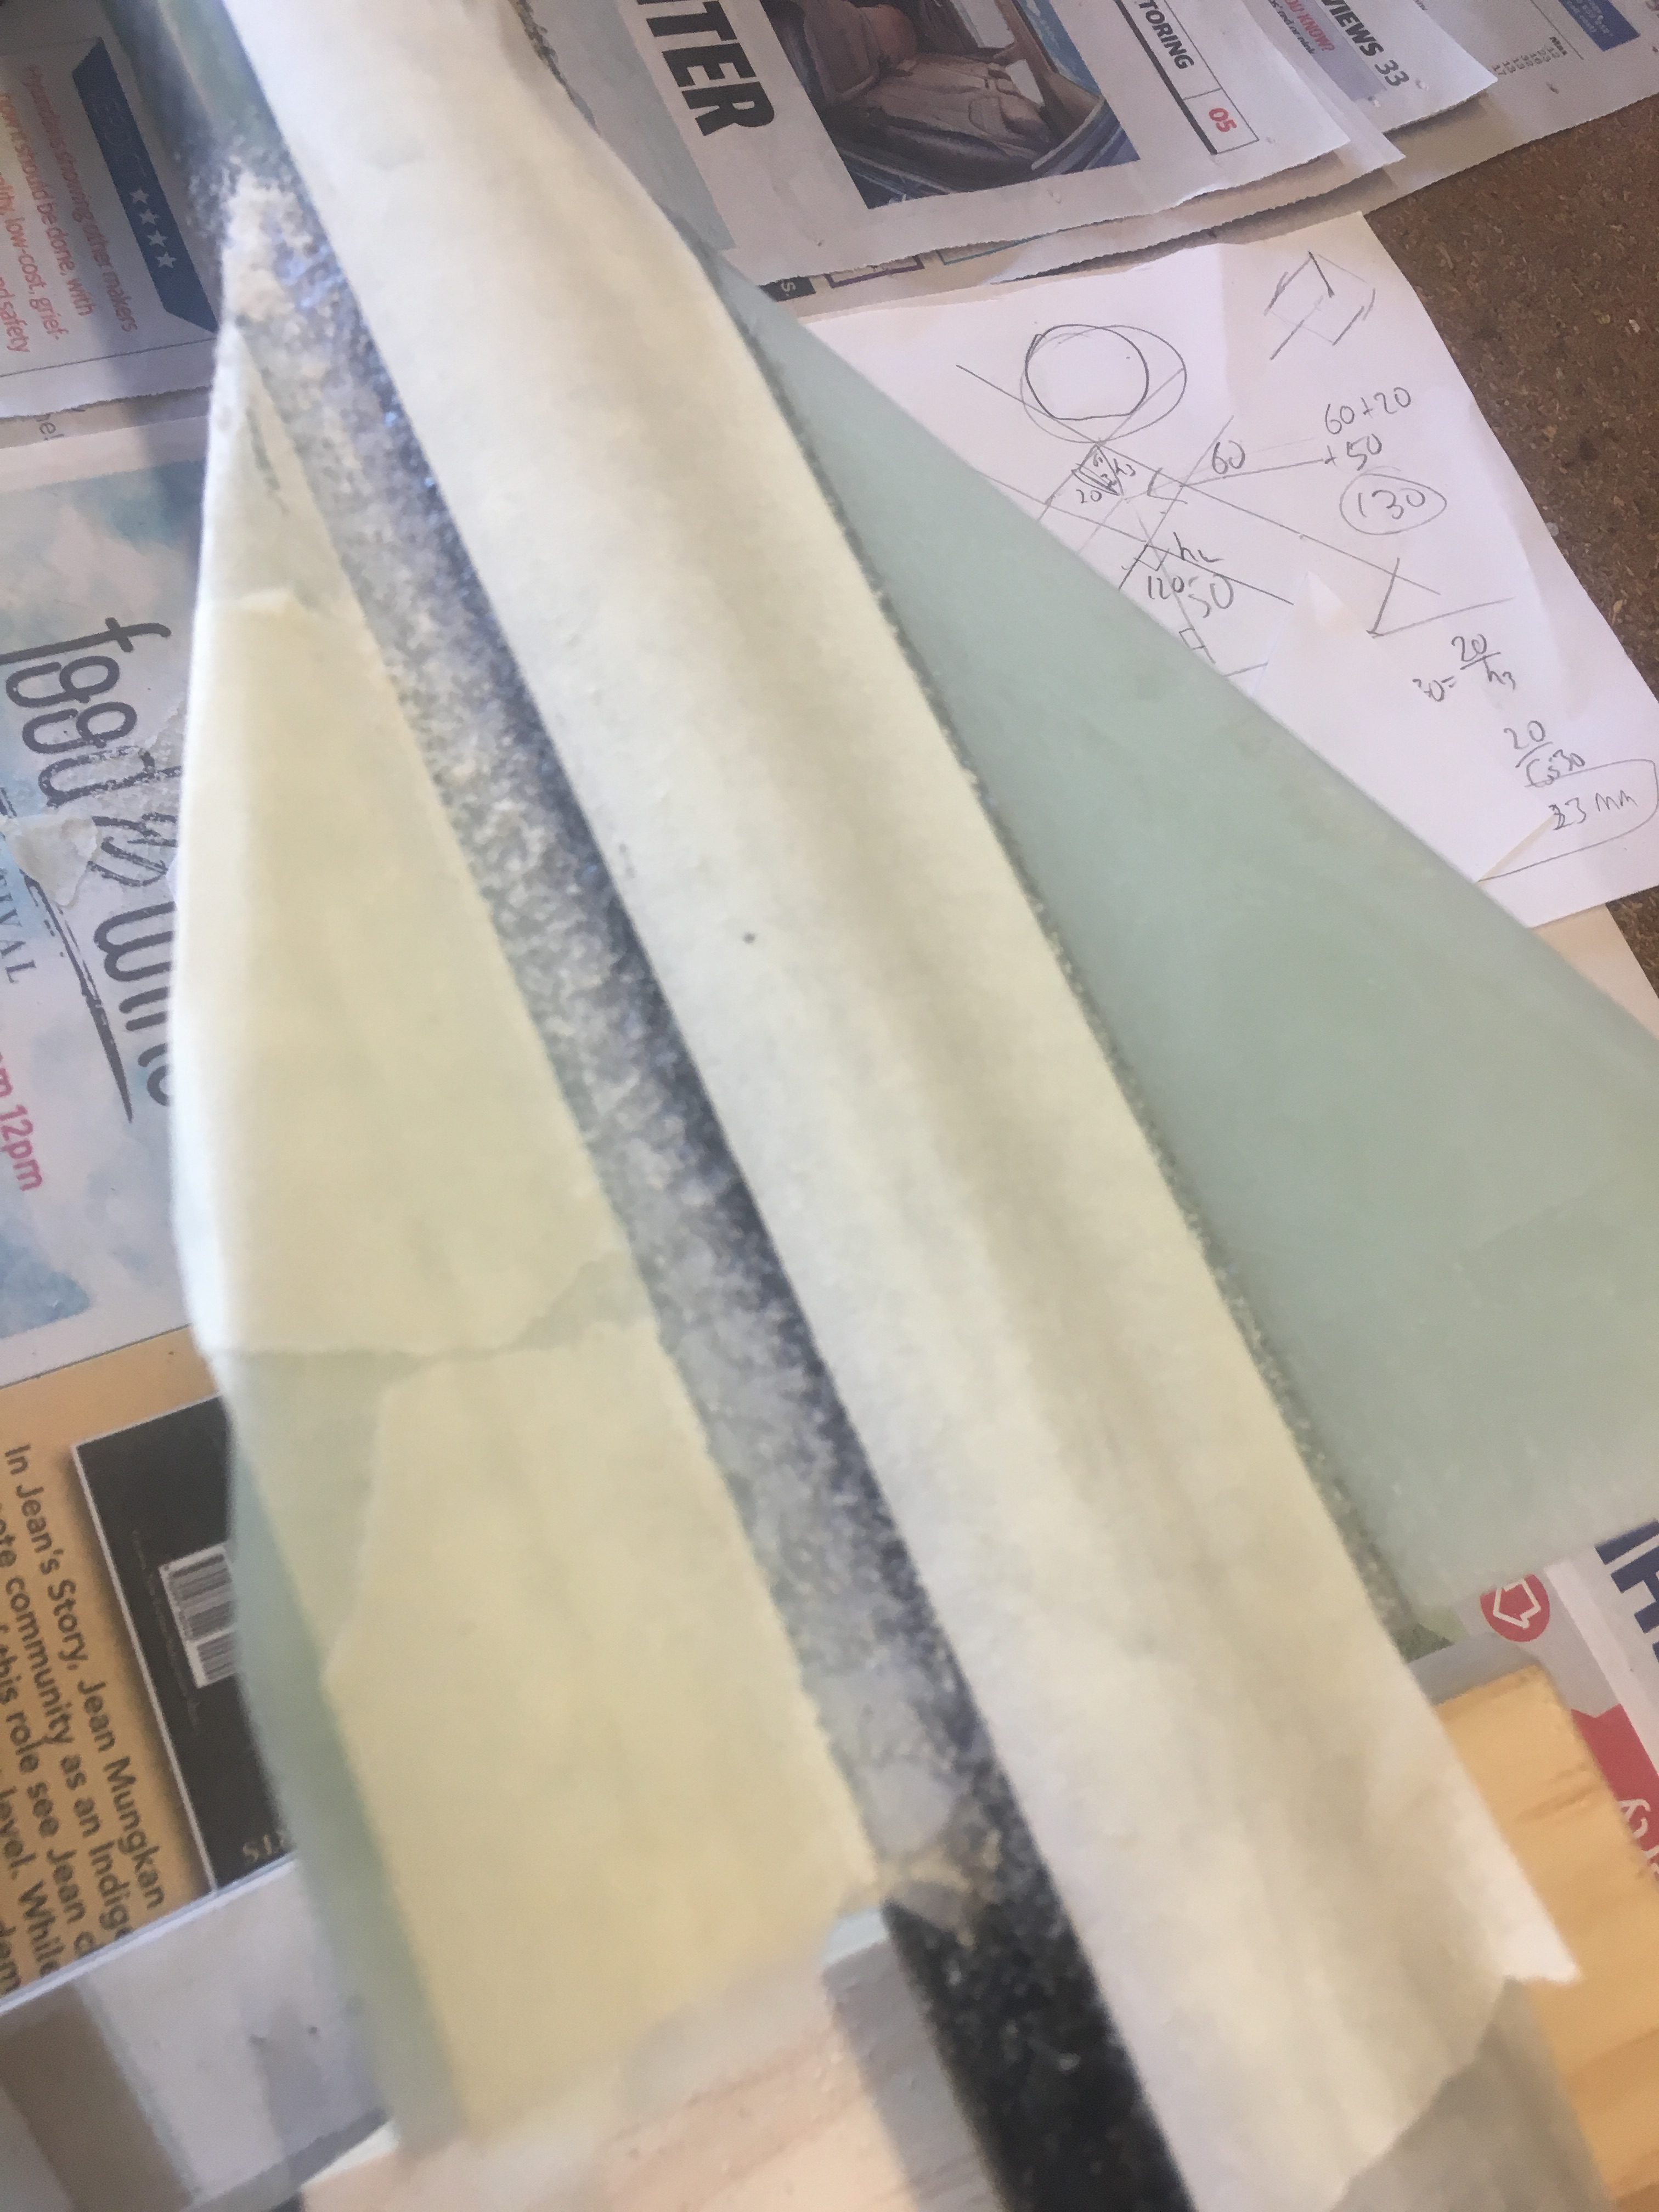
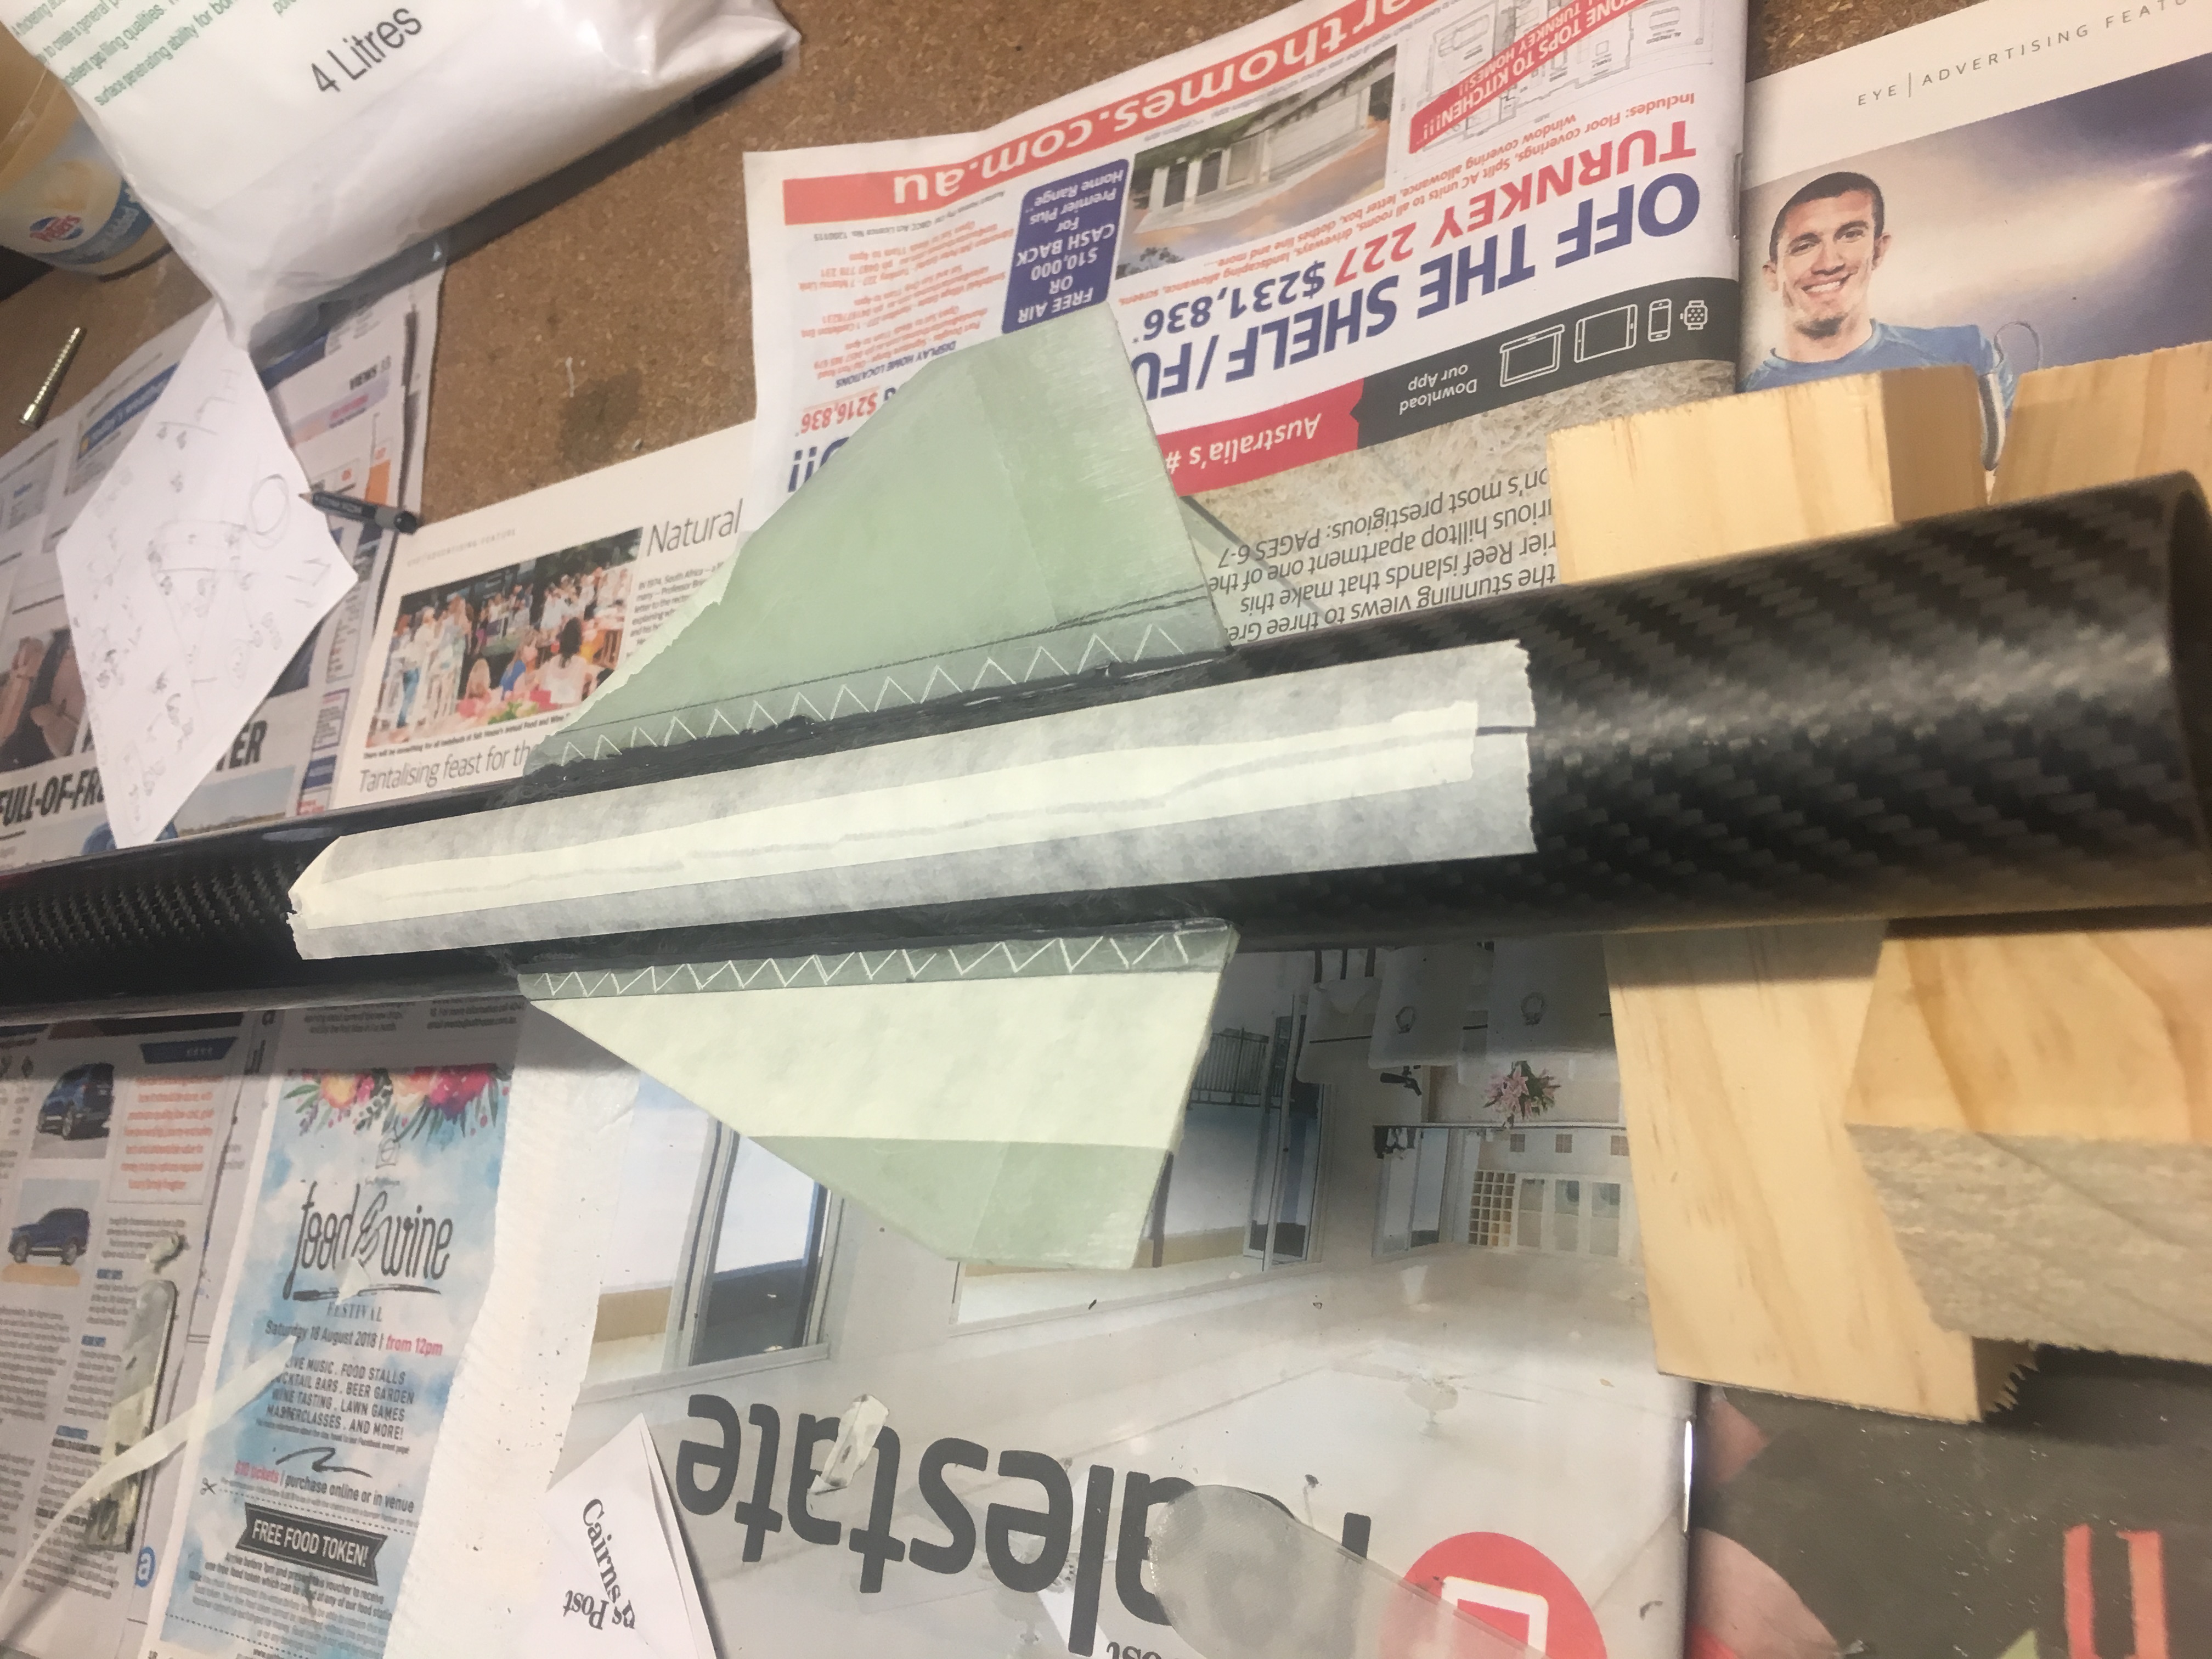
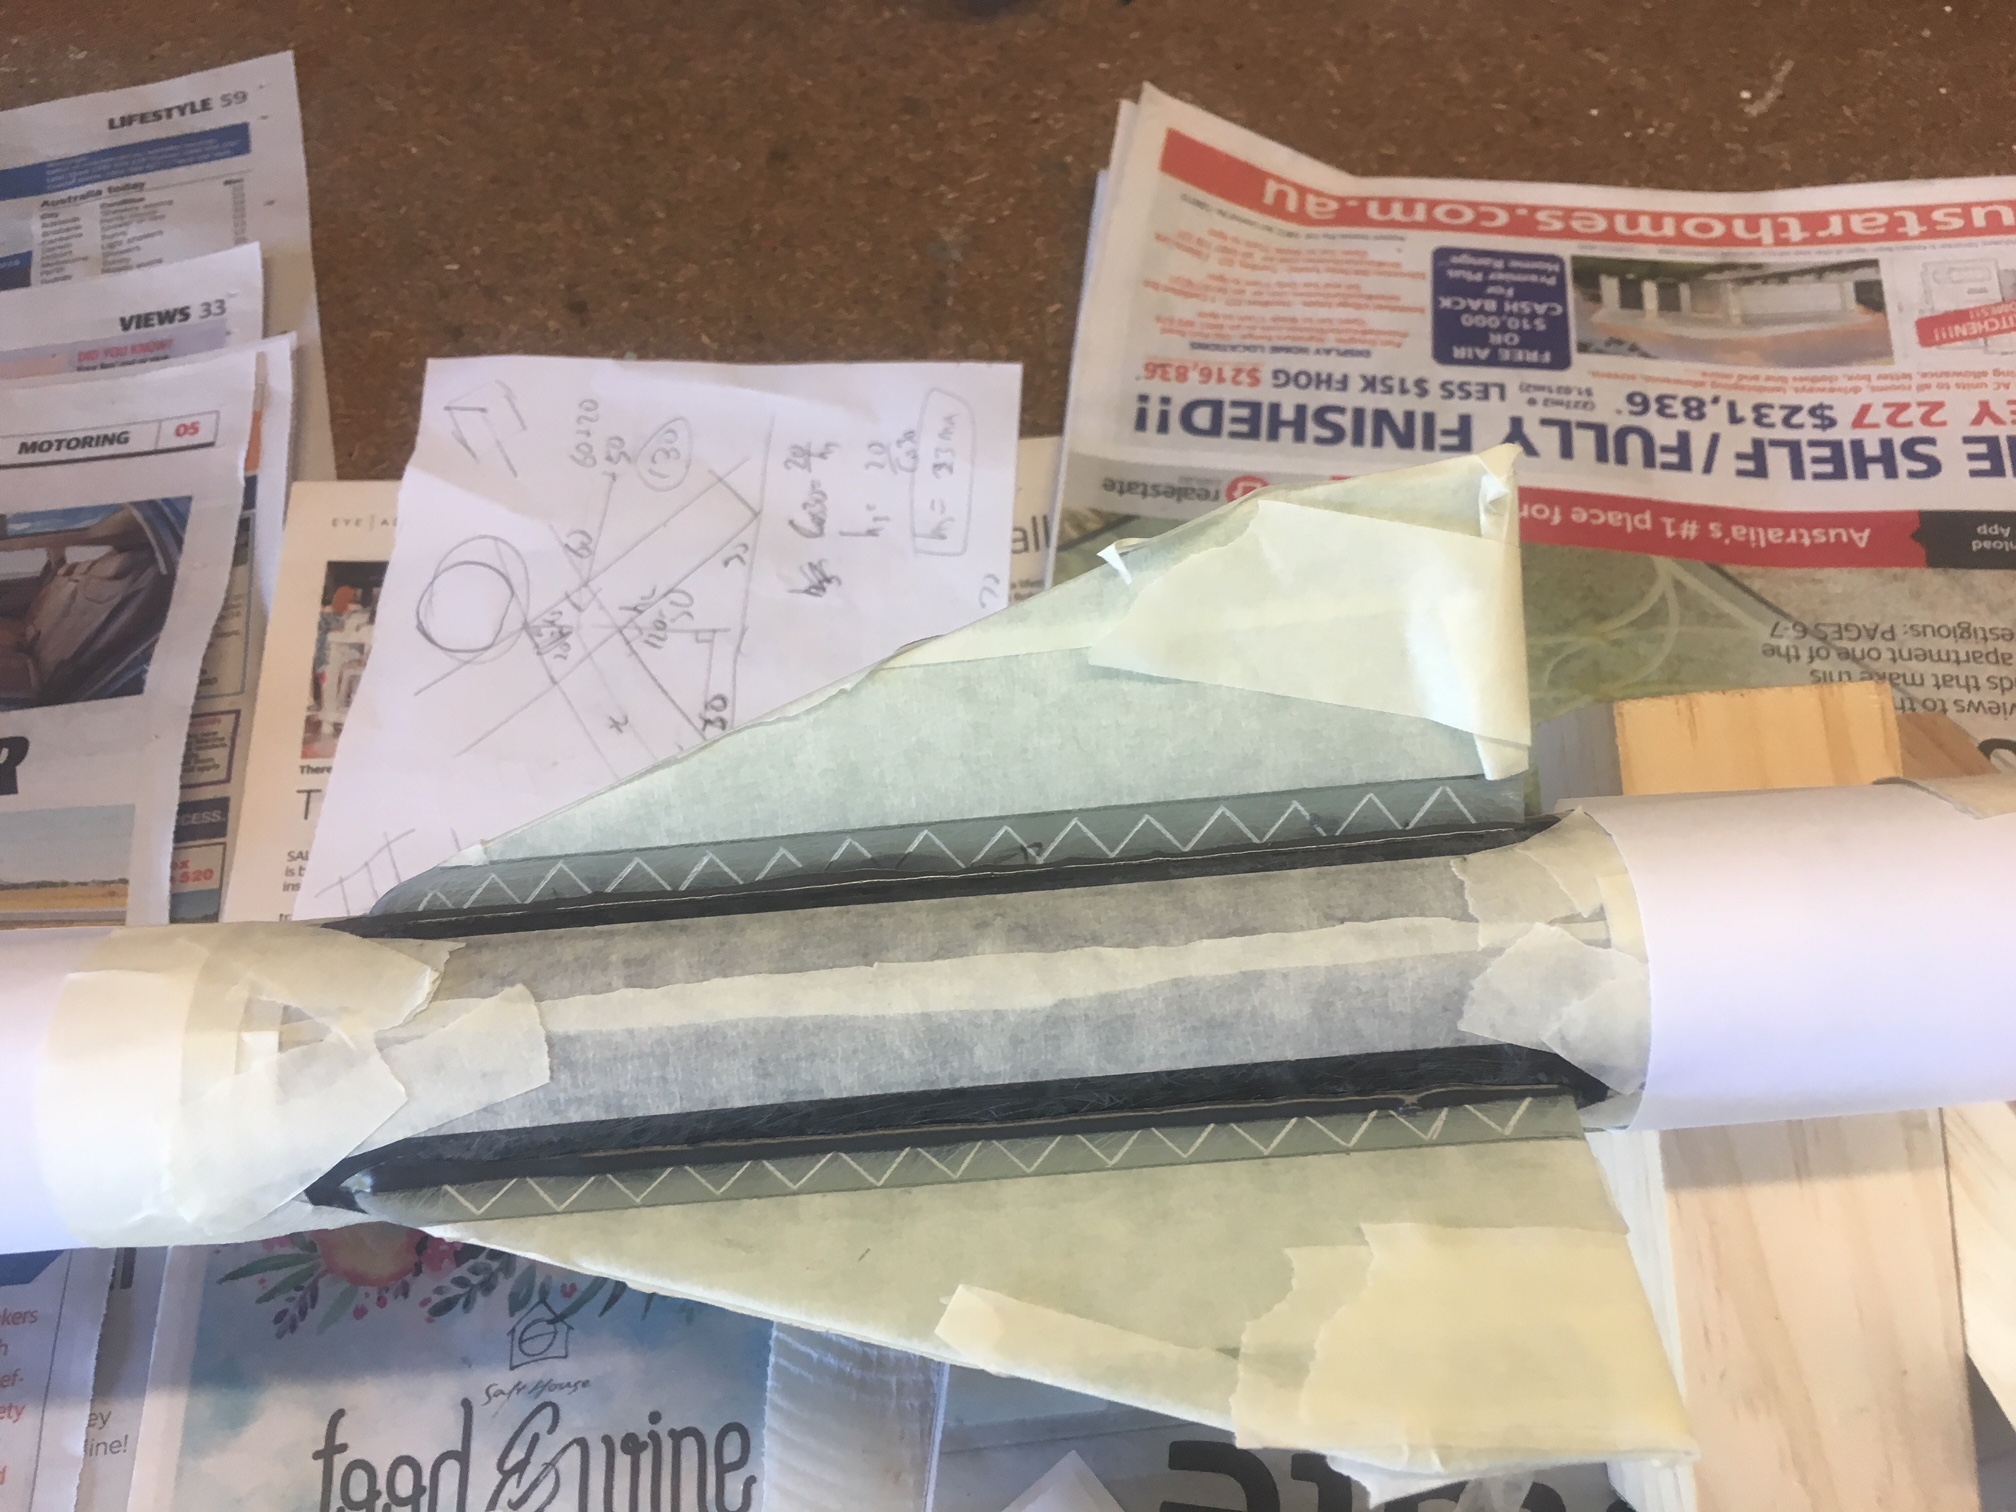
Because the fin fillets are so small, I created ALL the fillets in one go. I actually ran out of epoxy and had to create a small second batch. I have it a few days to cure. Below are some photos of me preparing the rocket for filleting, by taping it up.
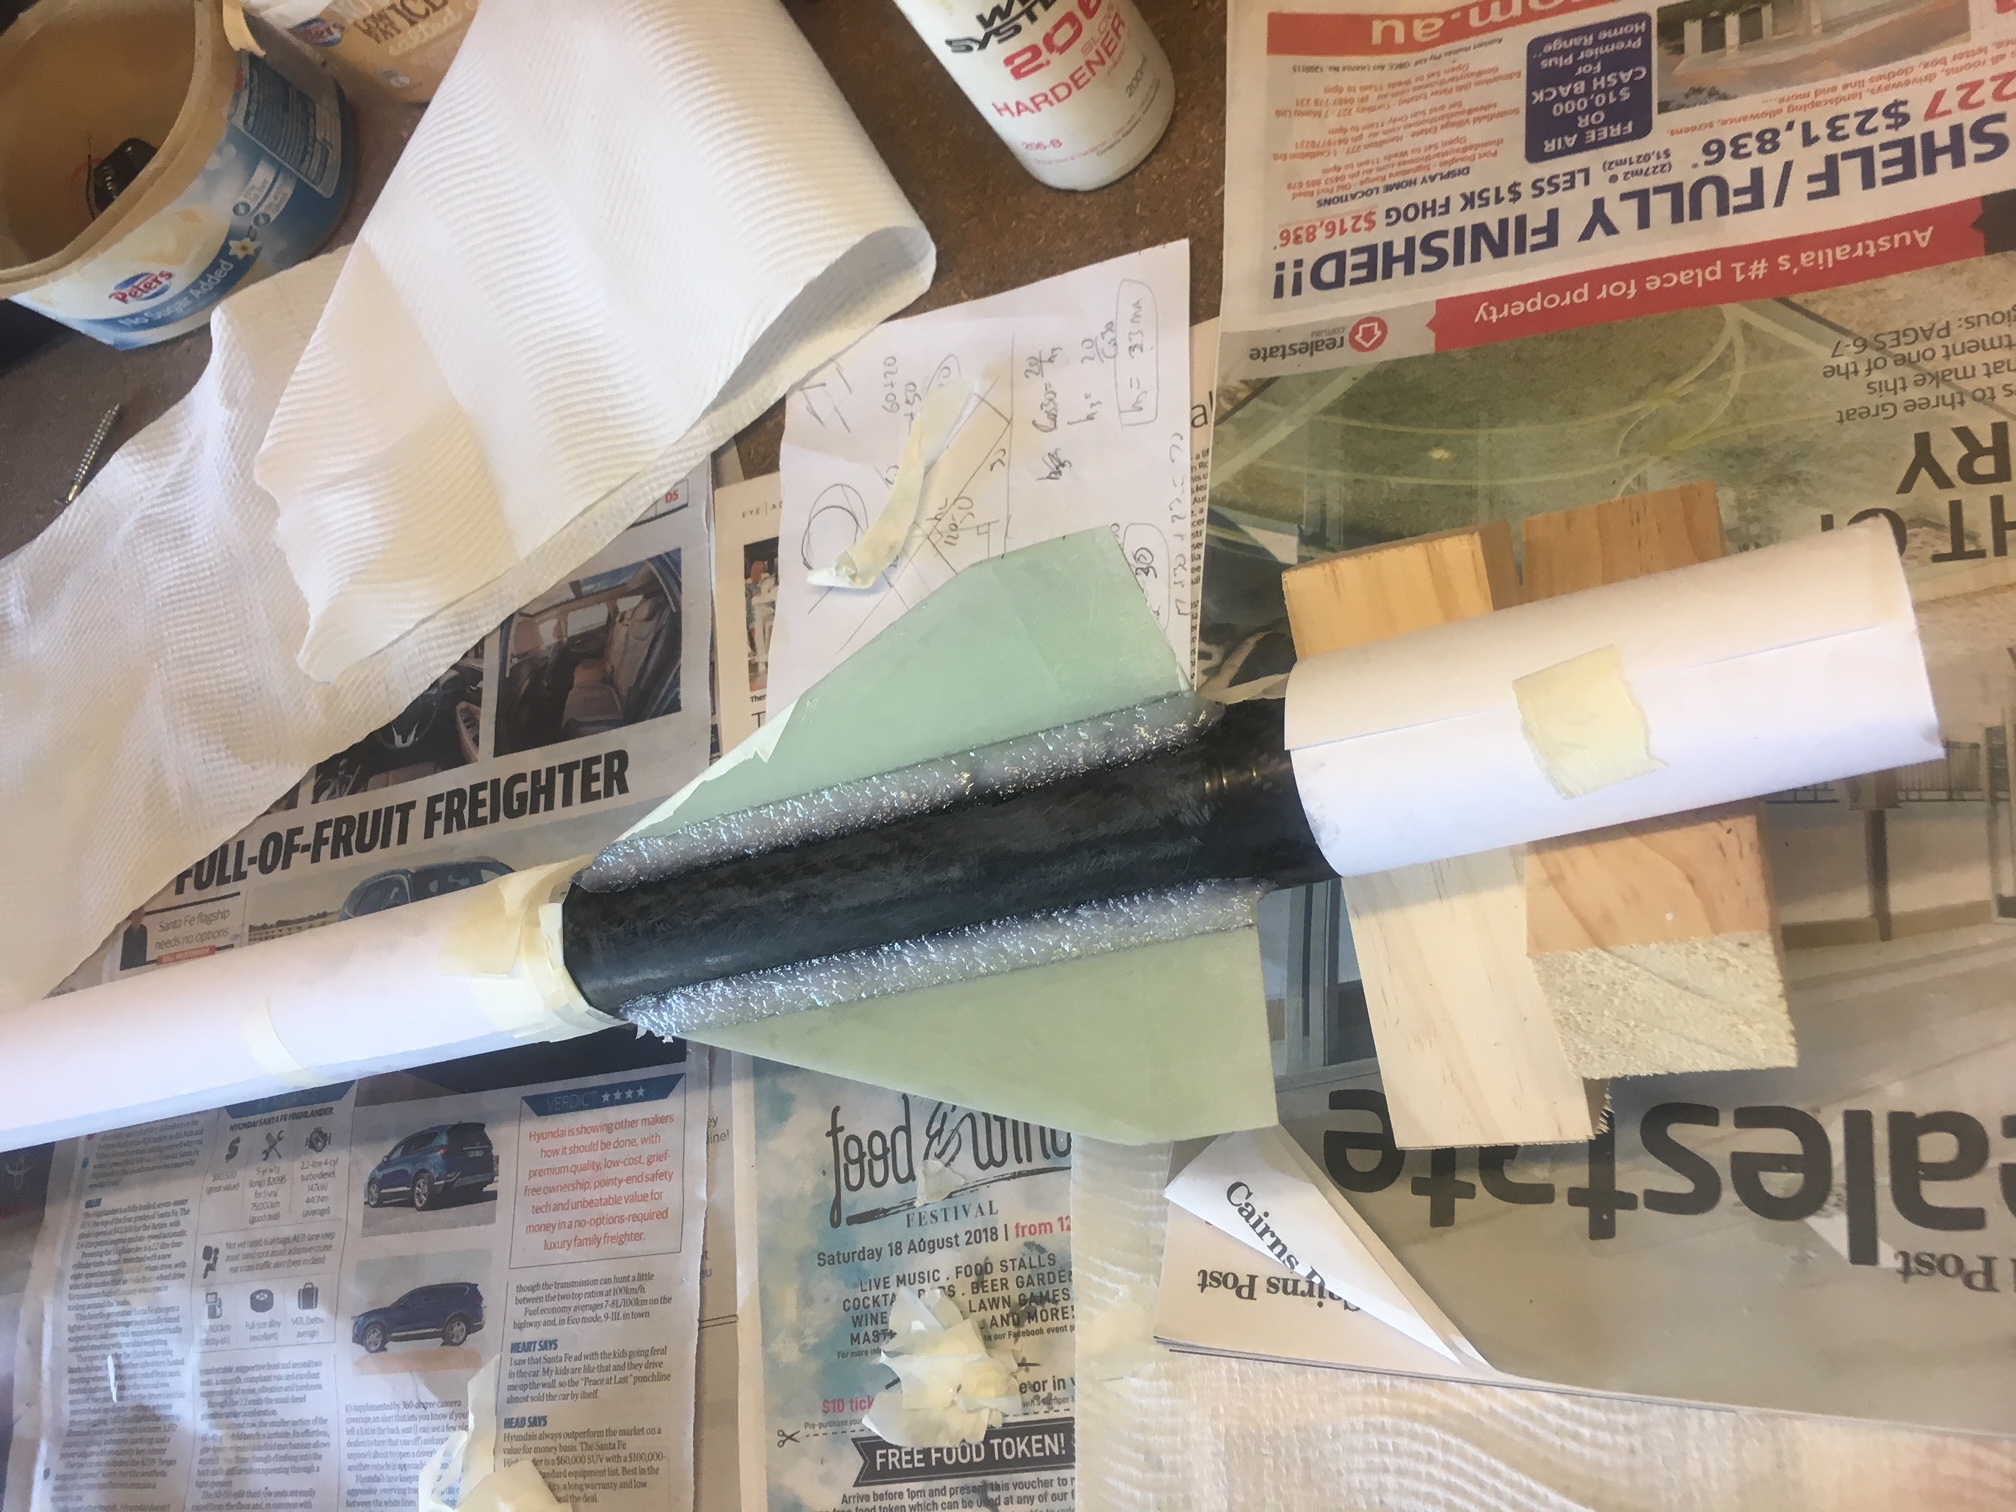
Below are photos of the finished job.

Sanding it down
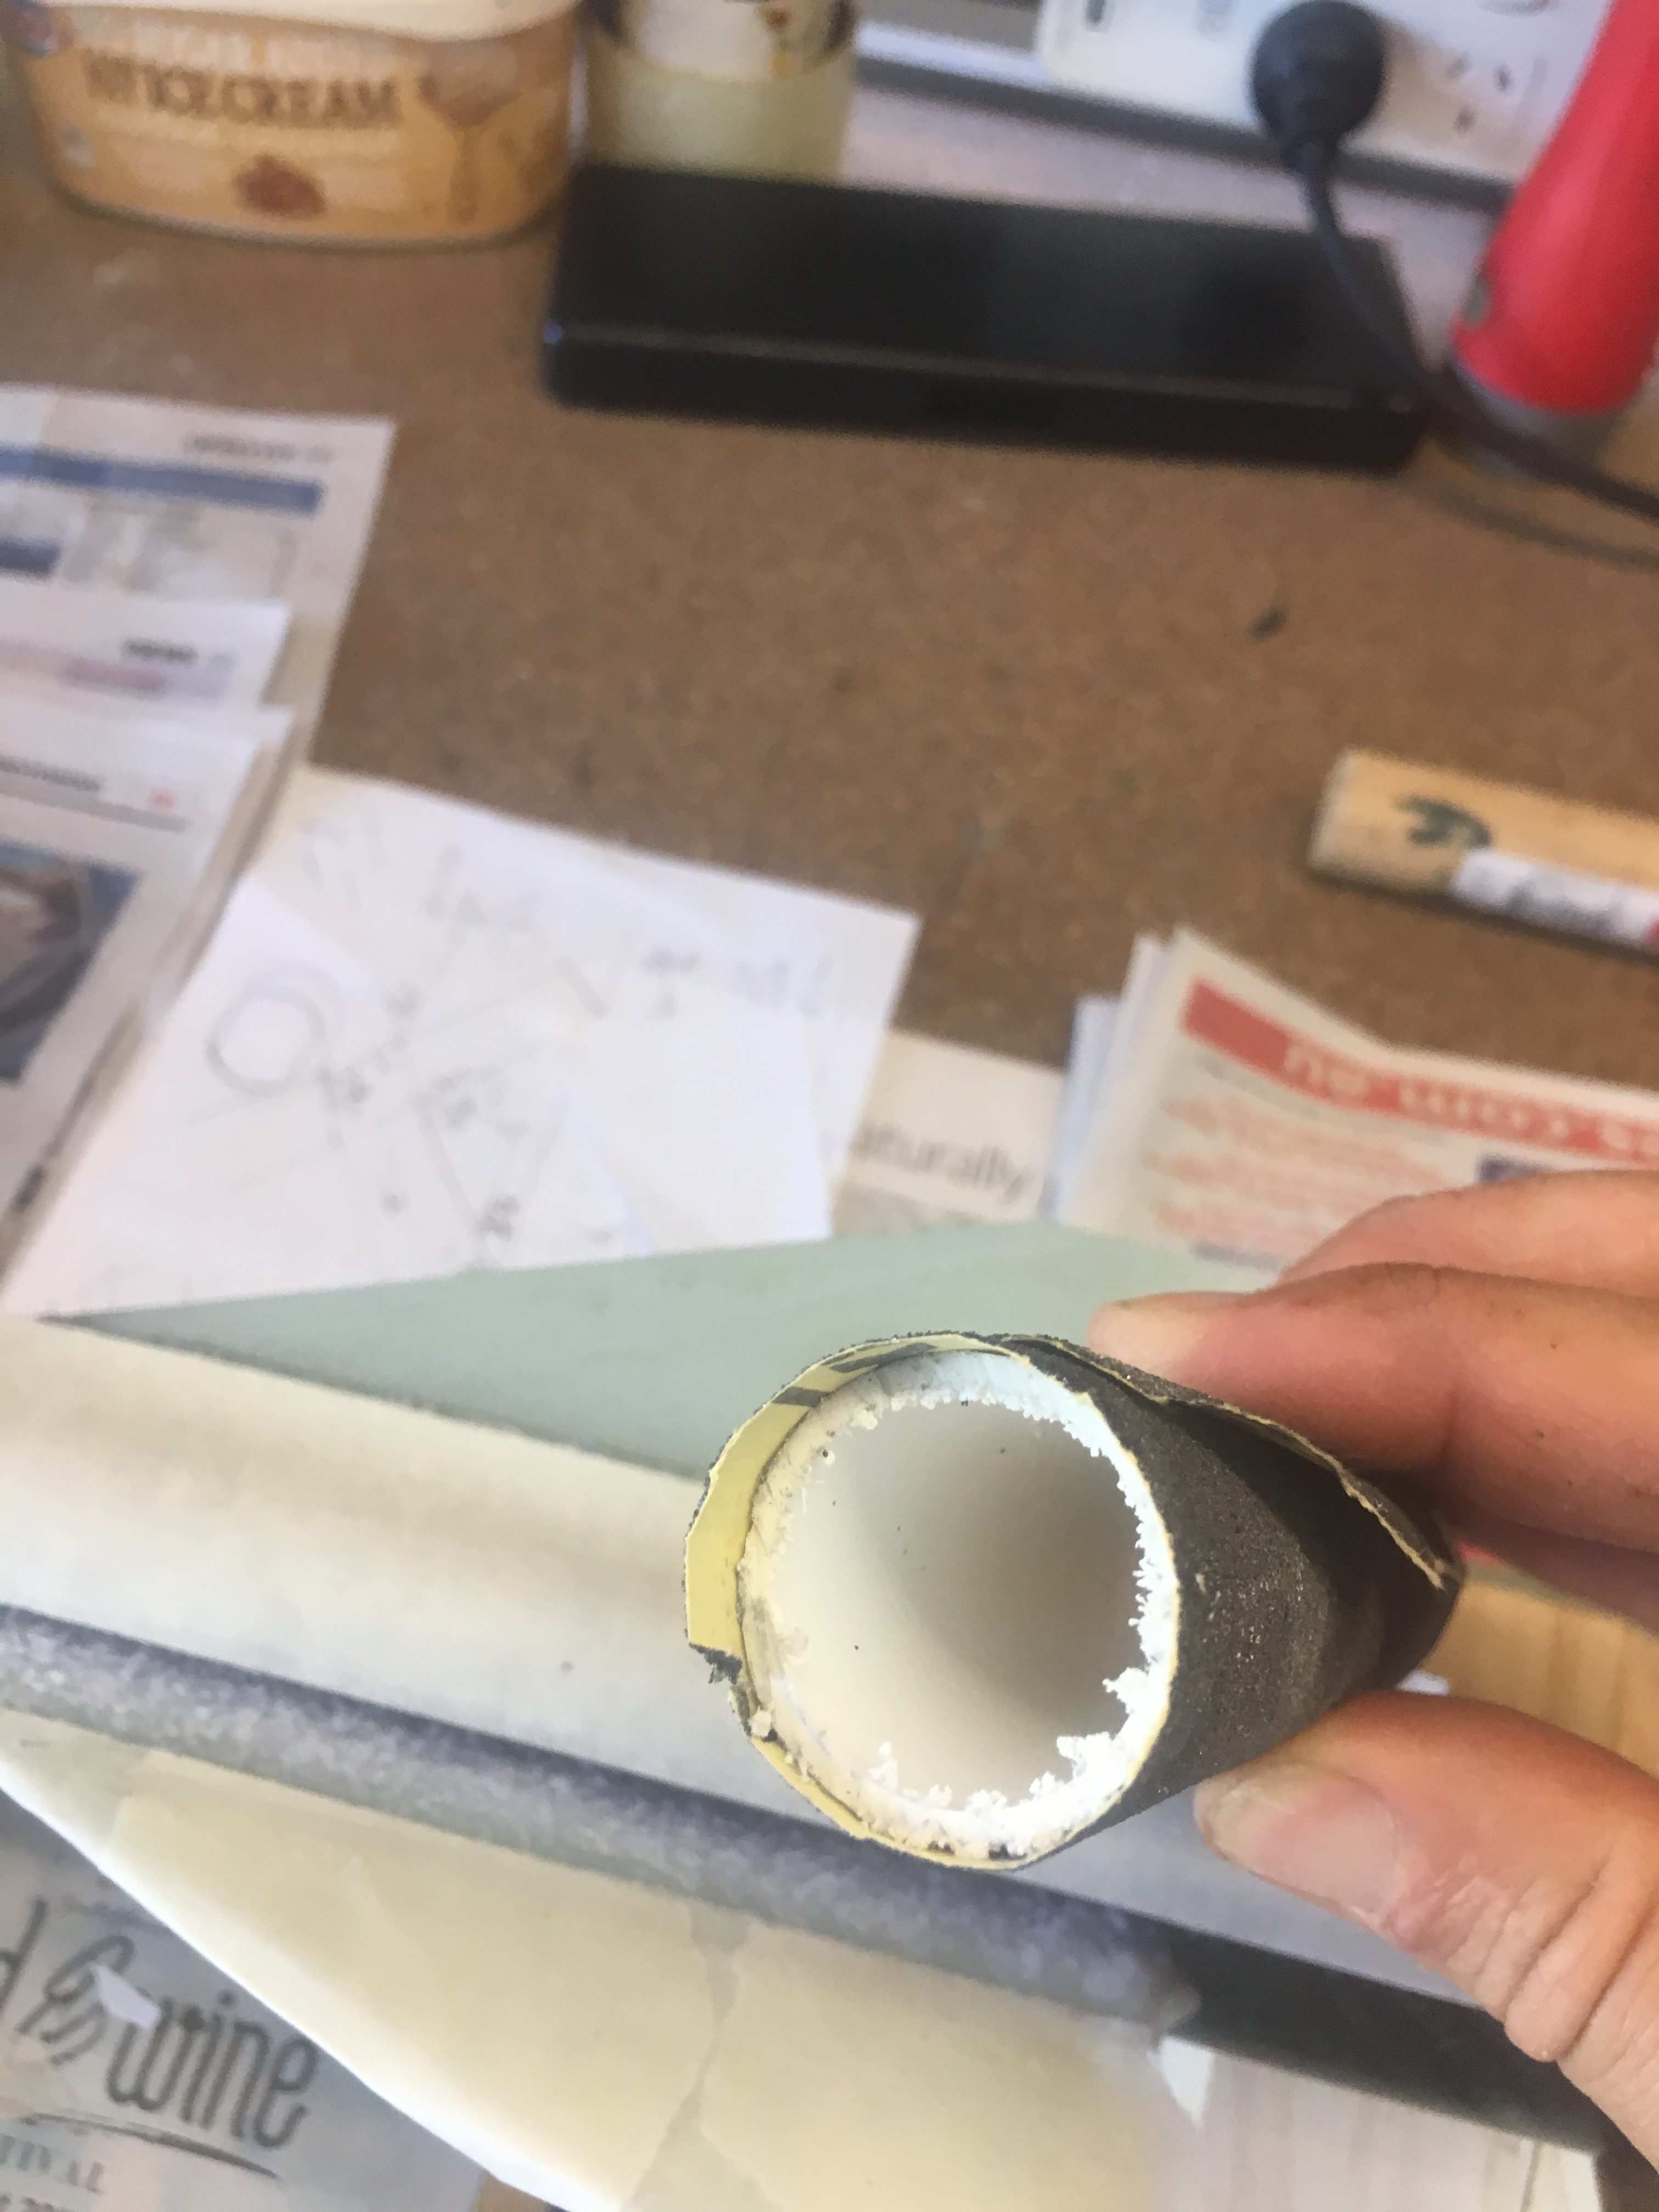
The finish wasn’t flash, so I decided some sanding was required so that bumps to show through the tip-to-tip. NOTE: The aim was not to sand it down to completely remove the holes; The Tip-to-tip will handle this. I used a AA battery with Grit 60 sand paper.
