
I’ve managed to create a single layer tube ~500mm long using Peel Ply to finish off the layer. It worked quite well and was easily able to take it off. I decided it was time to create a 2-meter tube! (With Peel Ply)
Preparation of Aluminium Mandrel
I’ve purchased 2.5 meter long Aluminium tube and I’ve done ALL preparation. Preparation includes: –
- Sanding down tube with ever increasing Grit sizes
- Polishing with Brasso
- Waxing it with TR-108
- Visual inspection
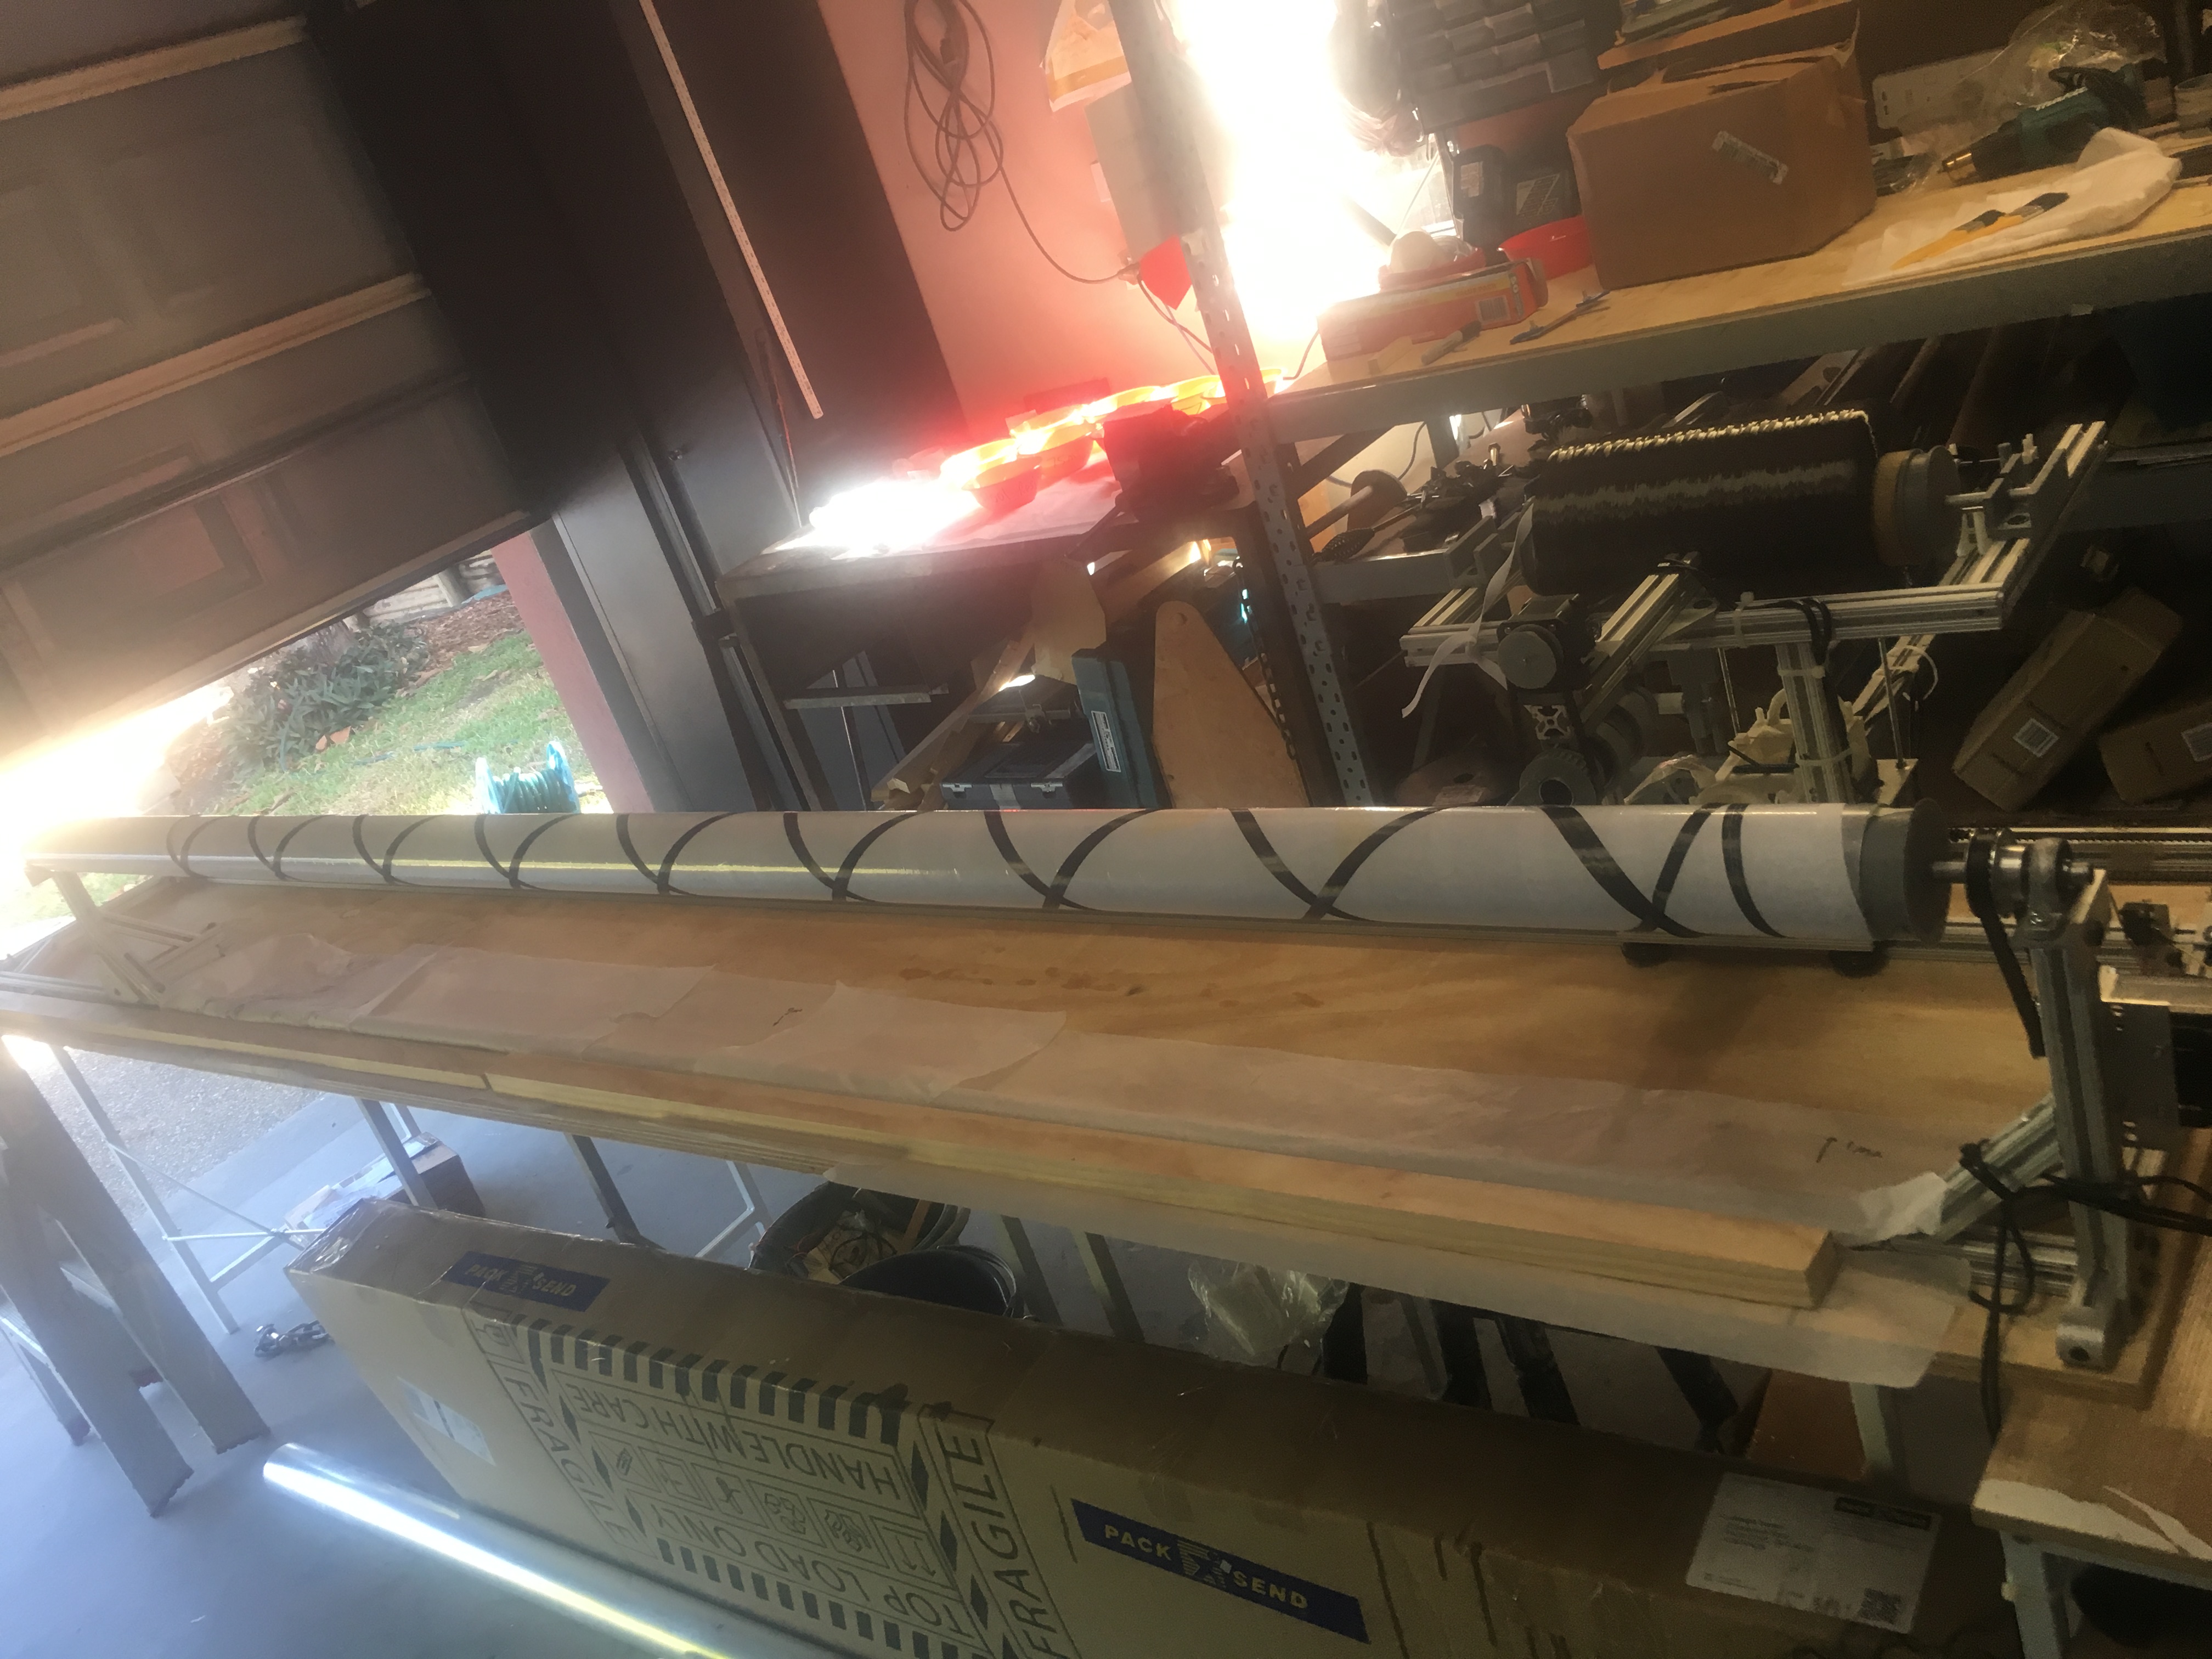
- Set-up on Mandrel and align with respect to Carbon Fiber Delivery Head
Paper Liner
Then I wound paper around the entire tube very carefully. I have gone for the following approach: –
- Use 2 x 1 meter strips of paper , 1cm wide (reinforced with packing tape) as spacers between Aluminum Mandrel and paper winding.
- Wind the paper in 3 sections, so we don’t get too much double up on paper, as pitch changes
- Use additional paper winding to connect three pieces
- Wrap packing tape over ENTIRE length of paper windings, going back over it to ensure good adhesion and no gaps
- Removal of the paper strips
- Test that we can move the paper Liner
I’m able to move the liner with a single hand. While it isn’t easy, it is clearly moving without serious obstruction/opposition. I’ve noticed that it is very important to PULL the liner, not push, because if I push, it can bunch up.
The result is: –
- A paper liner that slides and can be removed BEFORE any Carbon Fiber is applied (in initial winds, it was so tightly wound, even with no Carbon Fiber, it was impossible to remove WITHOUT the use of Dry Ice
- A paper liner that is smooth on the outside – ANY imperfections show on the inner side of the Carbon Fiber Tube
- A paper liner that is about the same thickness along the whole section. True, some parts might be an extra 1 or 2 paper widths thicker, but this is a tradeoff for smooth liner that can be removed.
The Big Day!
What happened
There was about 3 hours of preparation: –
- Making sure the winder was in suitable health.
- Preparing Epoxy
- Filling out the “worksheet”
- Performing the calculations
- Cutting the Peel Ply to length
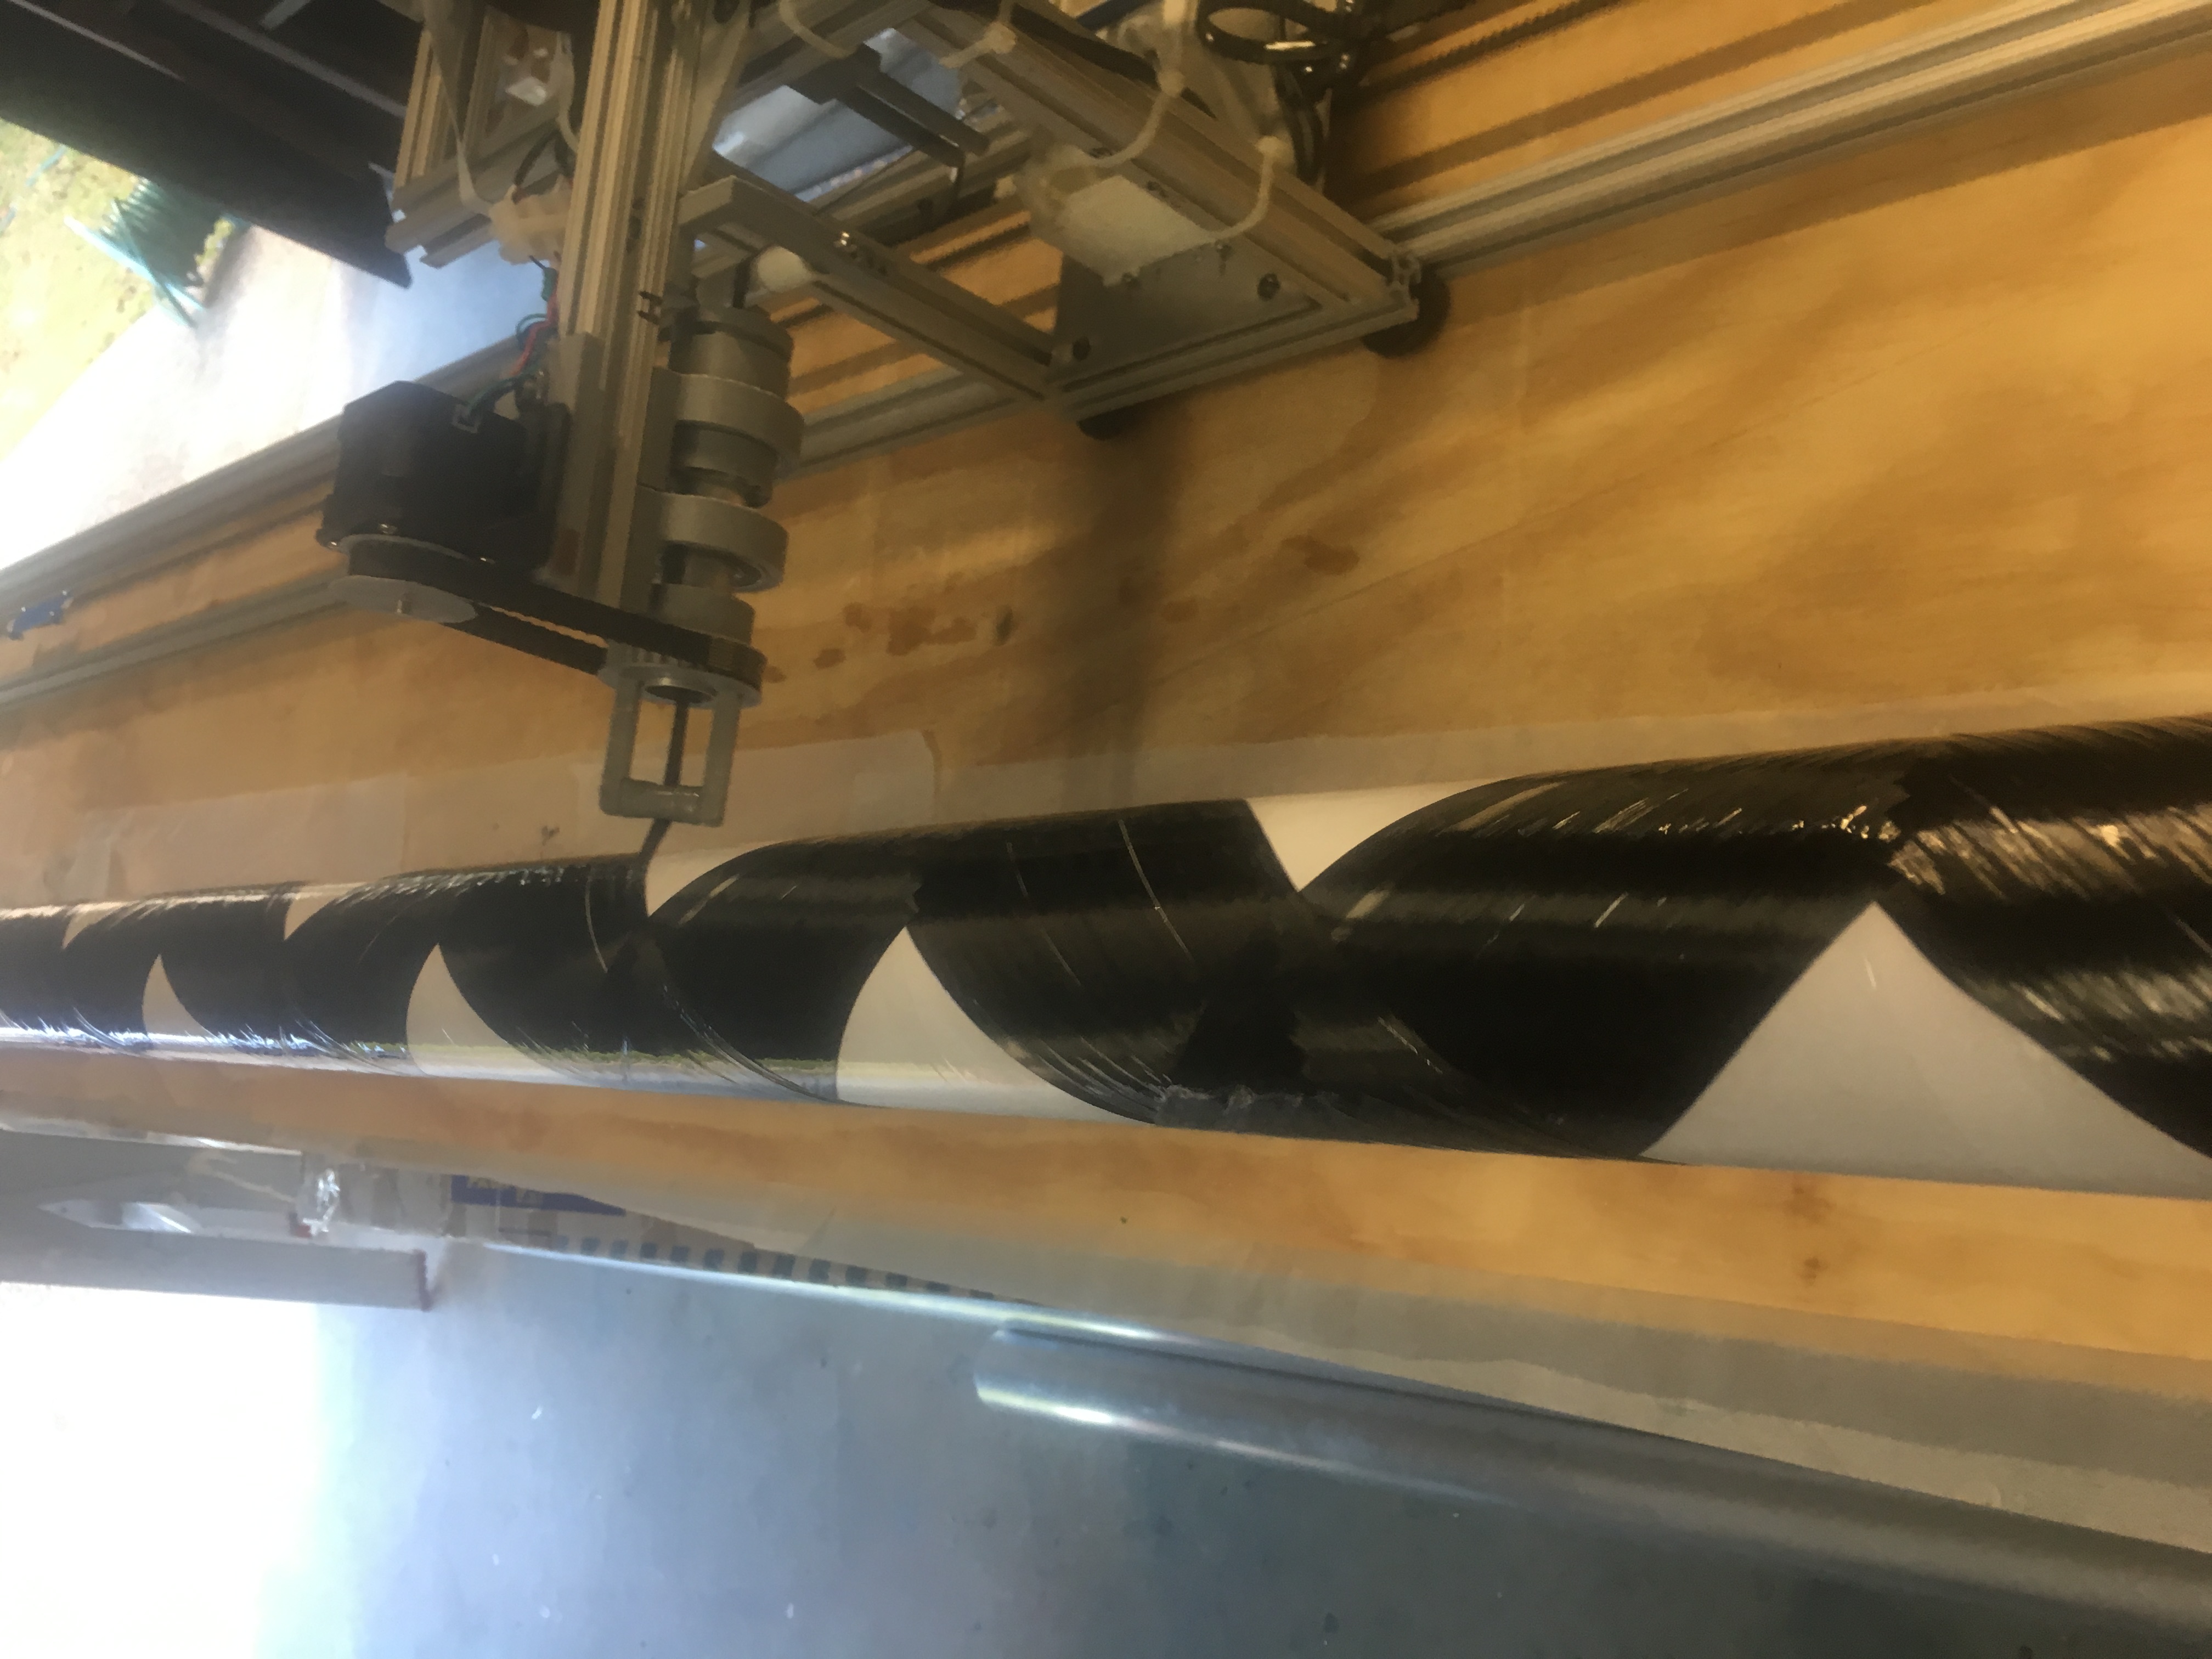
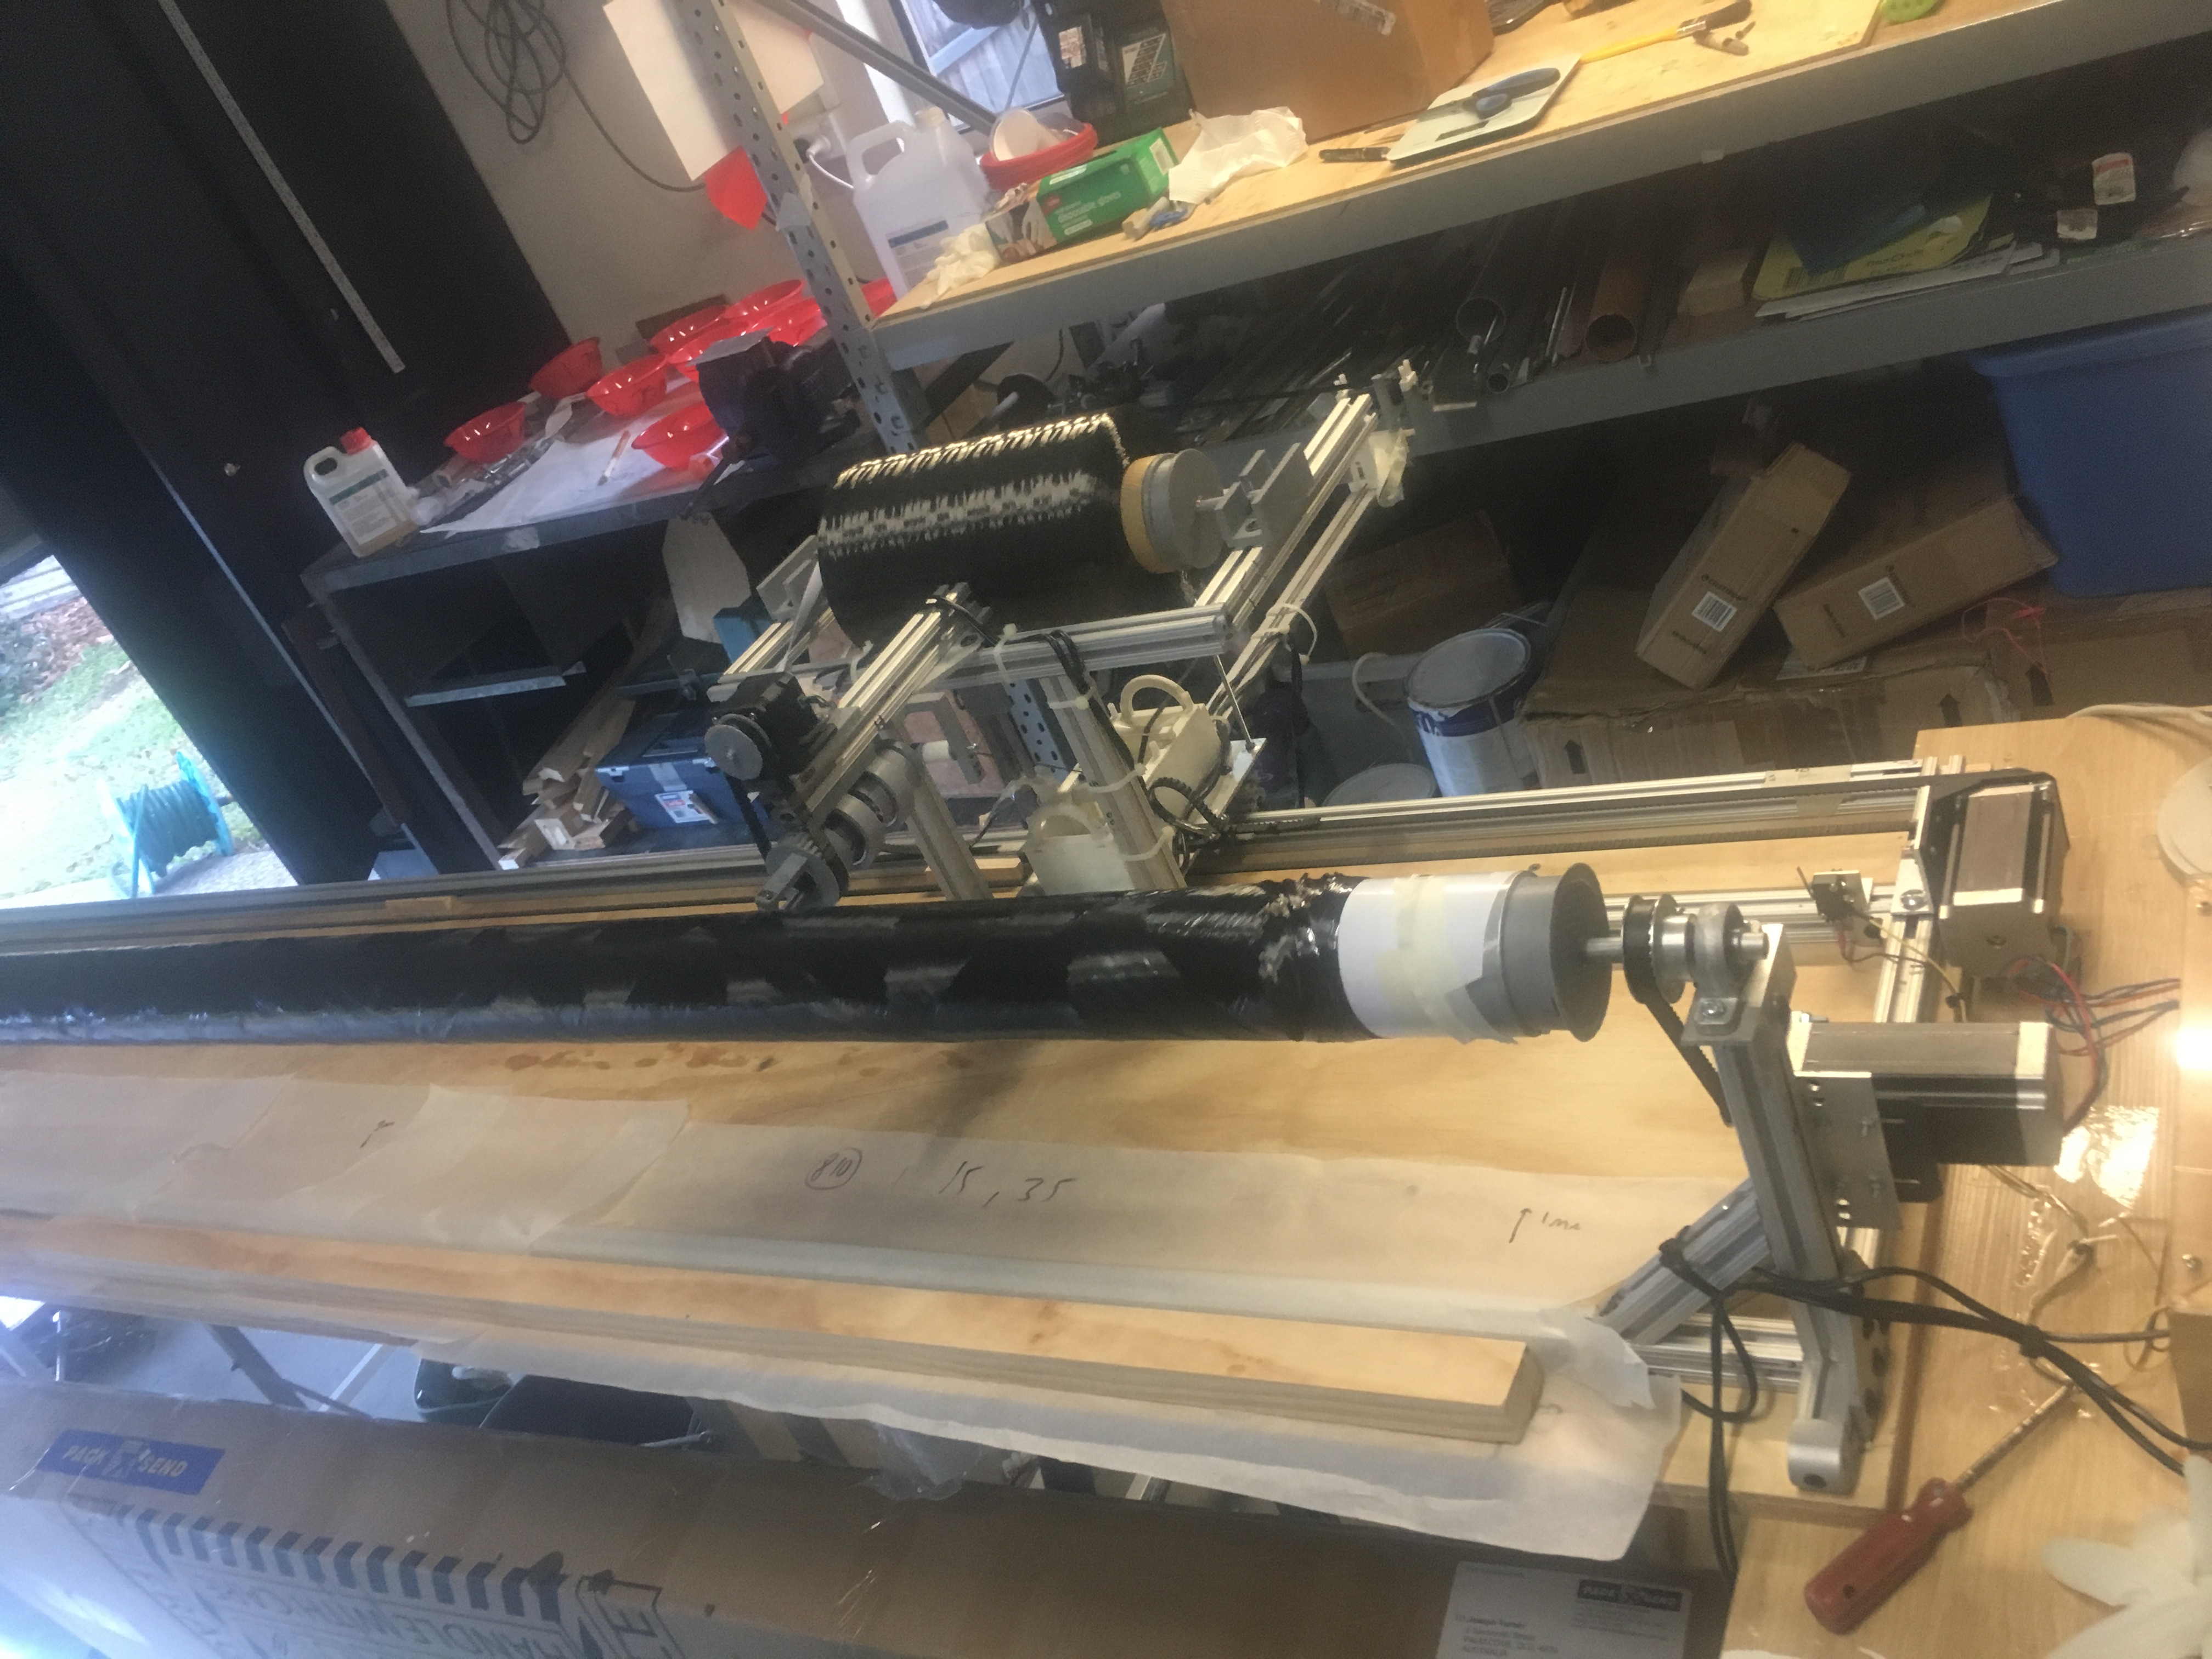
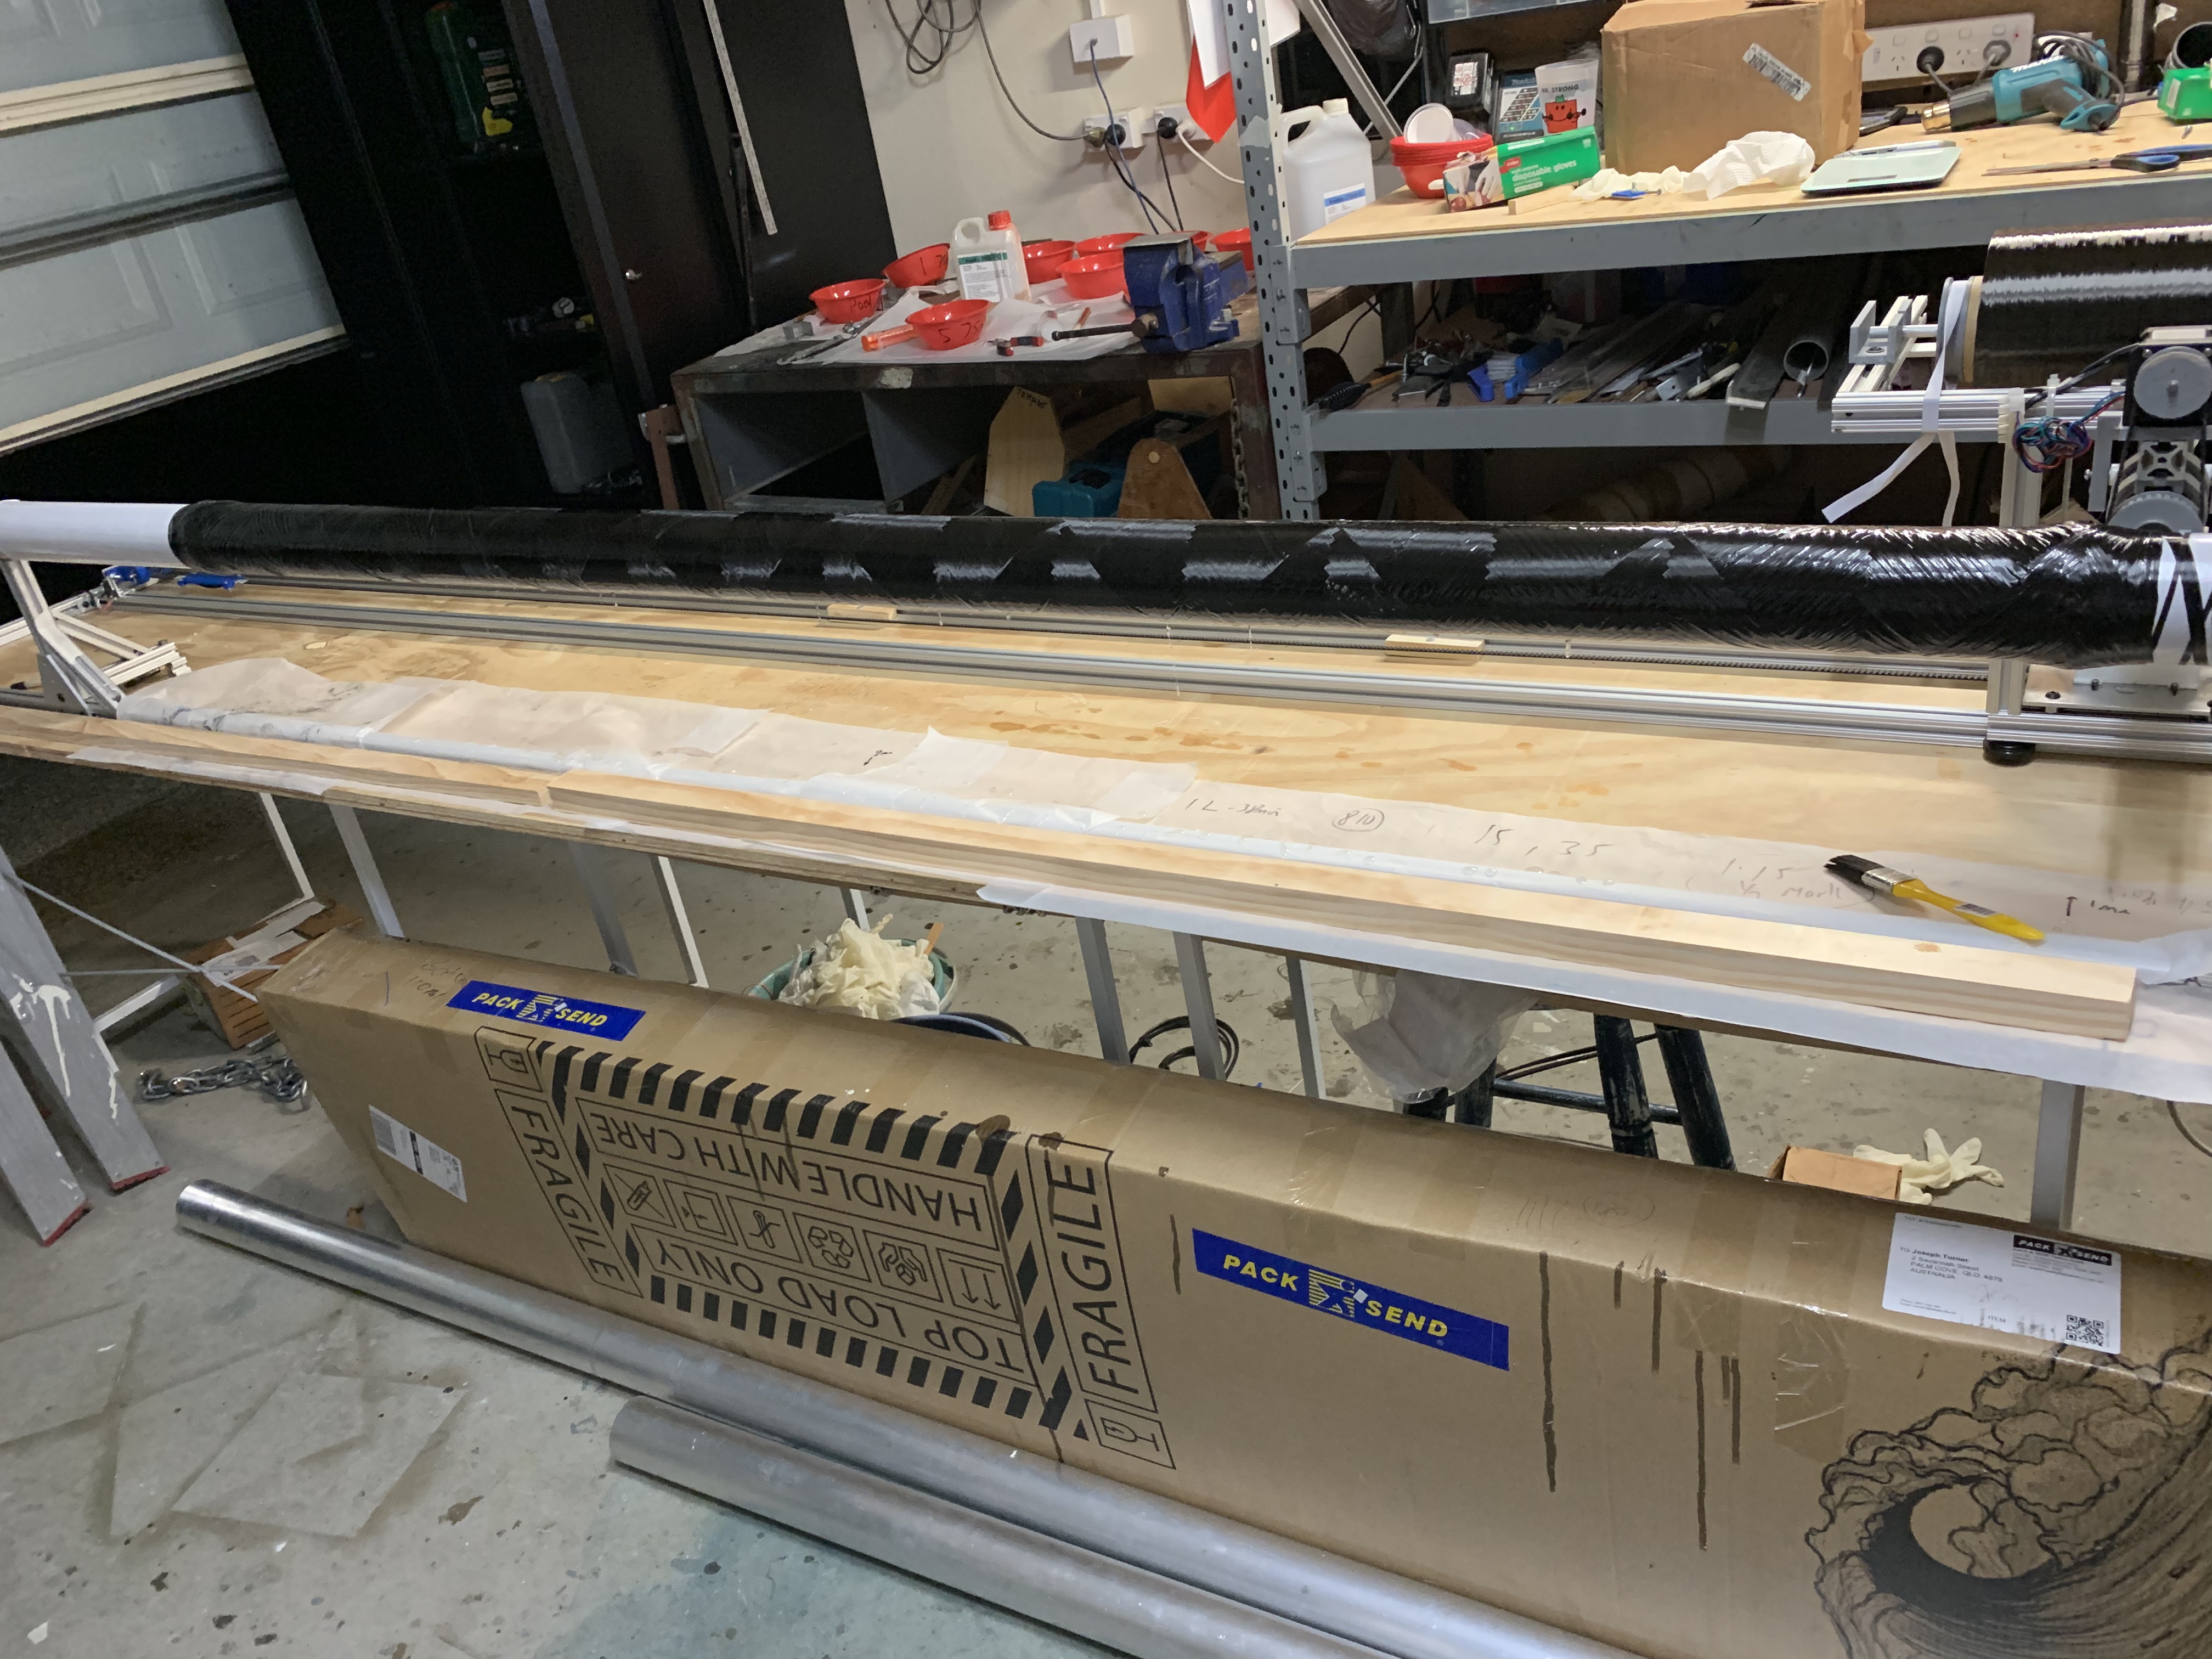
Then there was the wind: –
- The Wind of Carbon Fiber took 2.5 hours – About 40mins per layer.
- The Peel Ply took about 1 hr
- The cleanup about 2 hours.
IT was truly a massive effort.
It wasn’t smooth sailing. The Carbon Fiber got caught in the rear roller several times and fortunately was able to recover it and keep the winding going. Very fortunate indeed. I have since created higher barriers, closer together to prevent this from occurring again.
Here it is in pictures
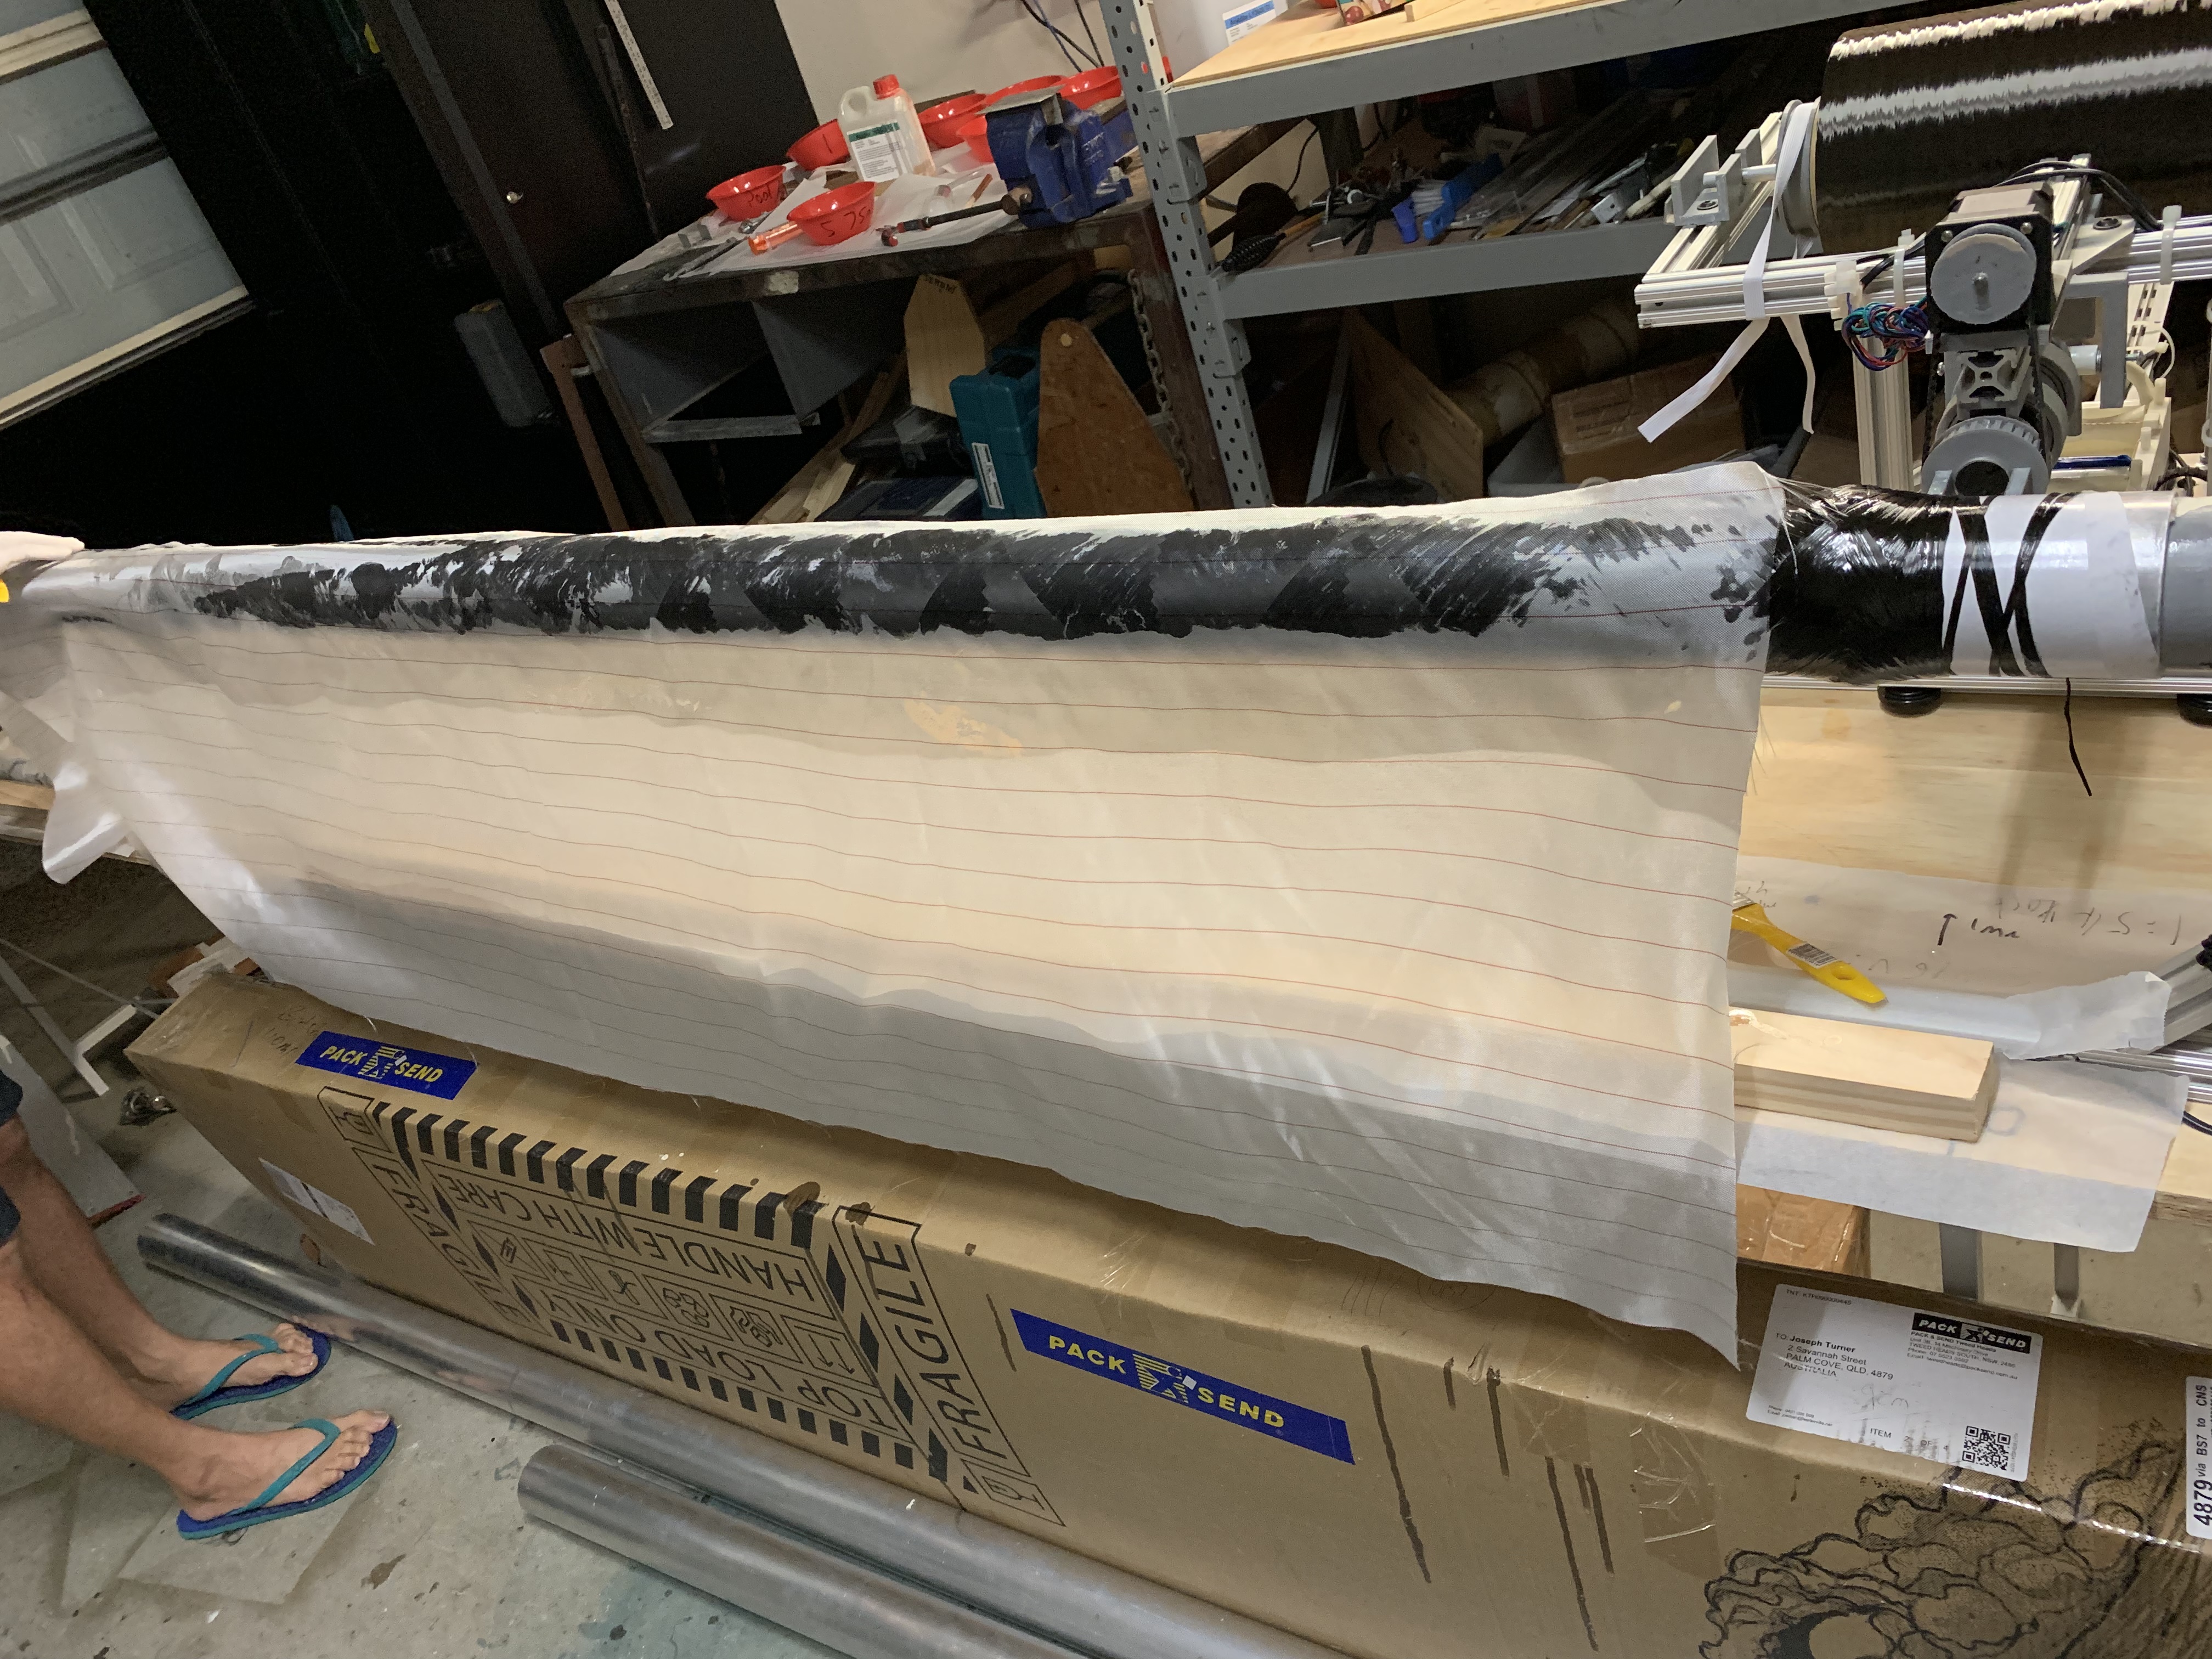
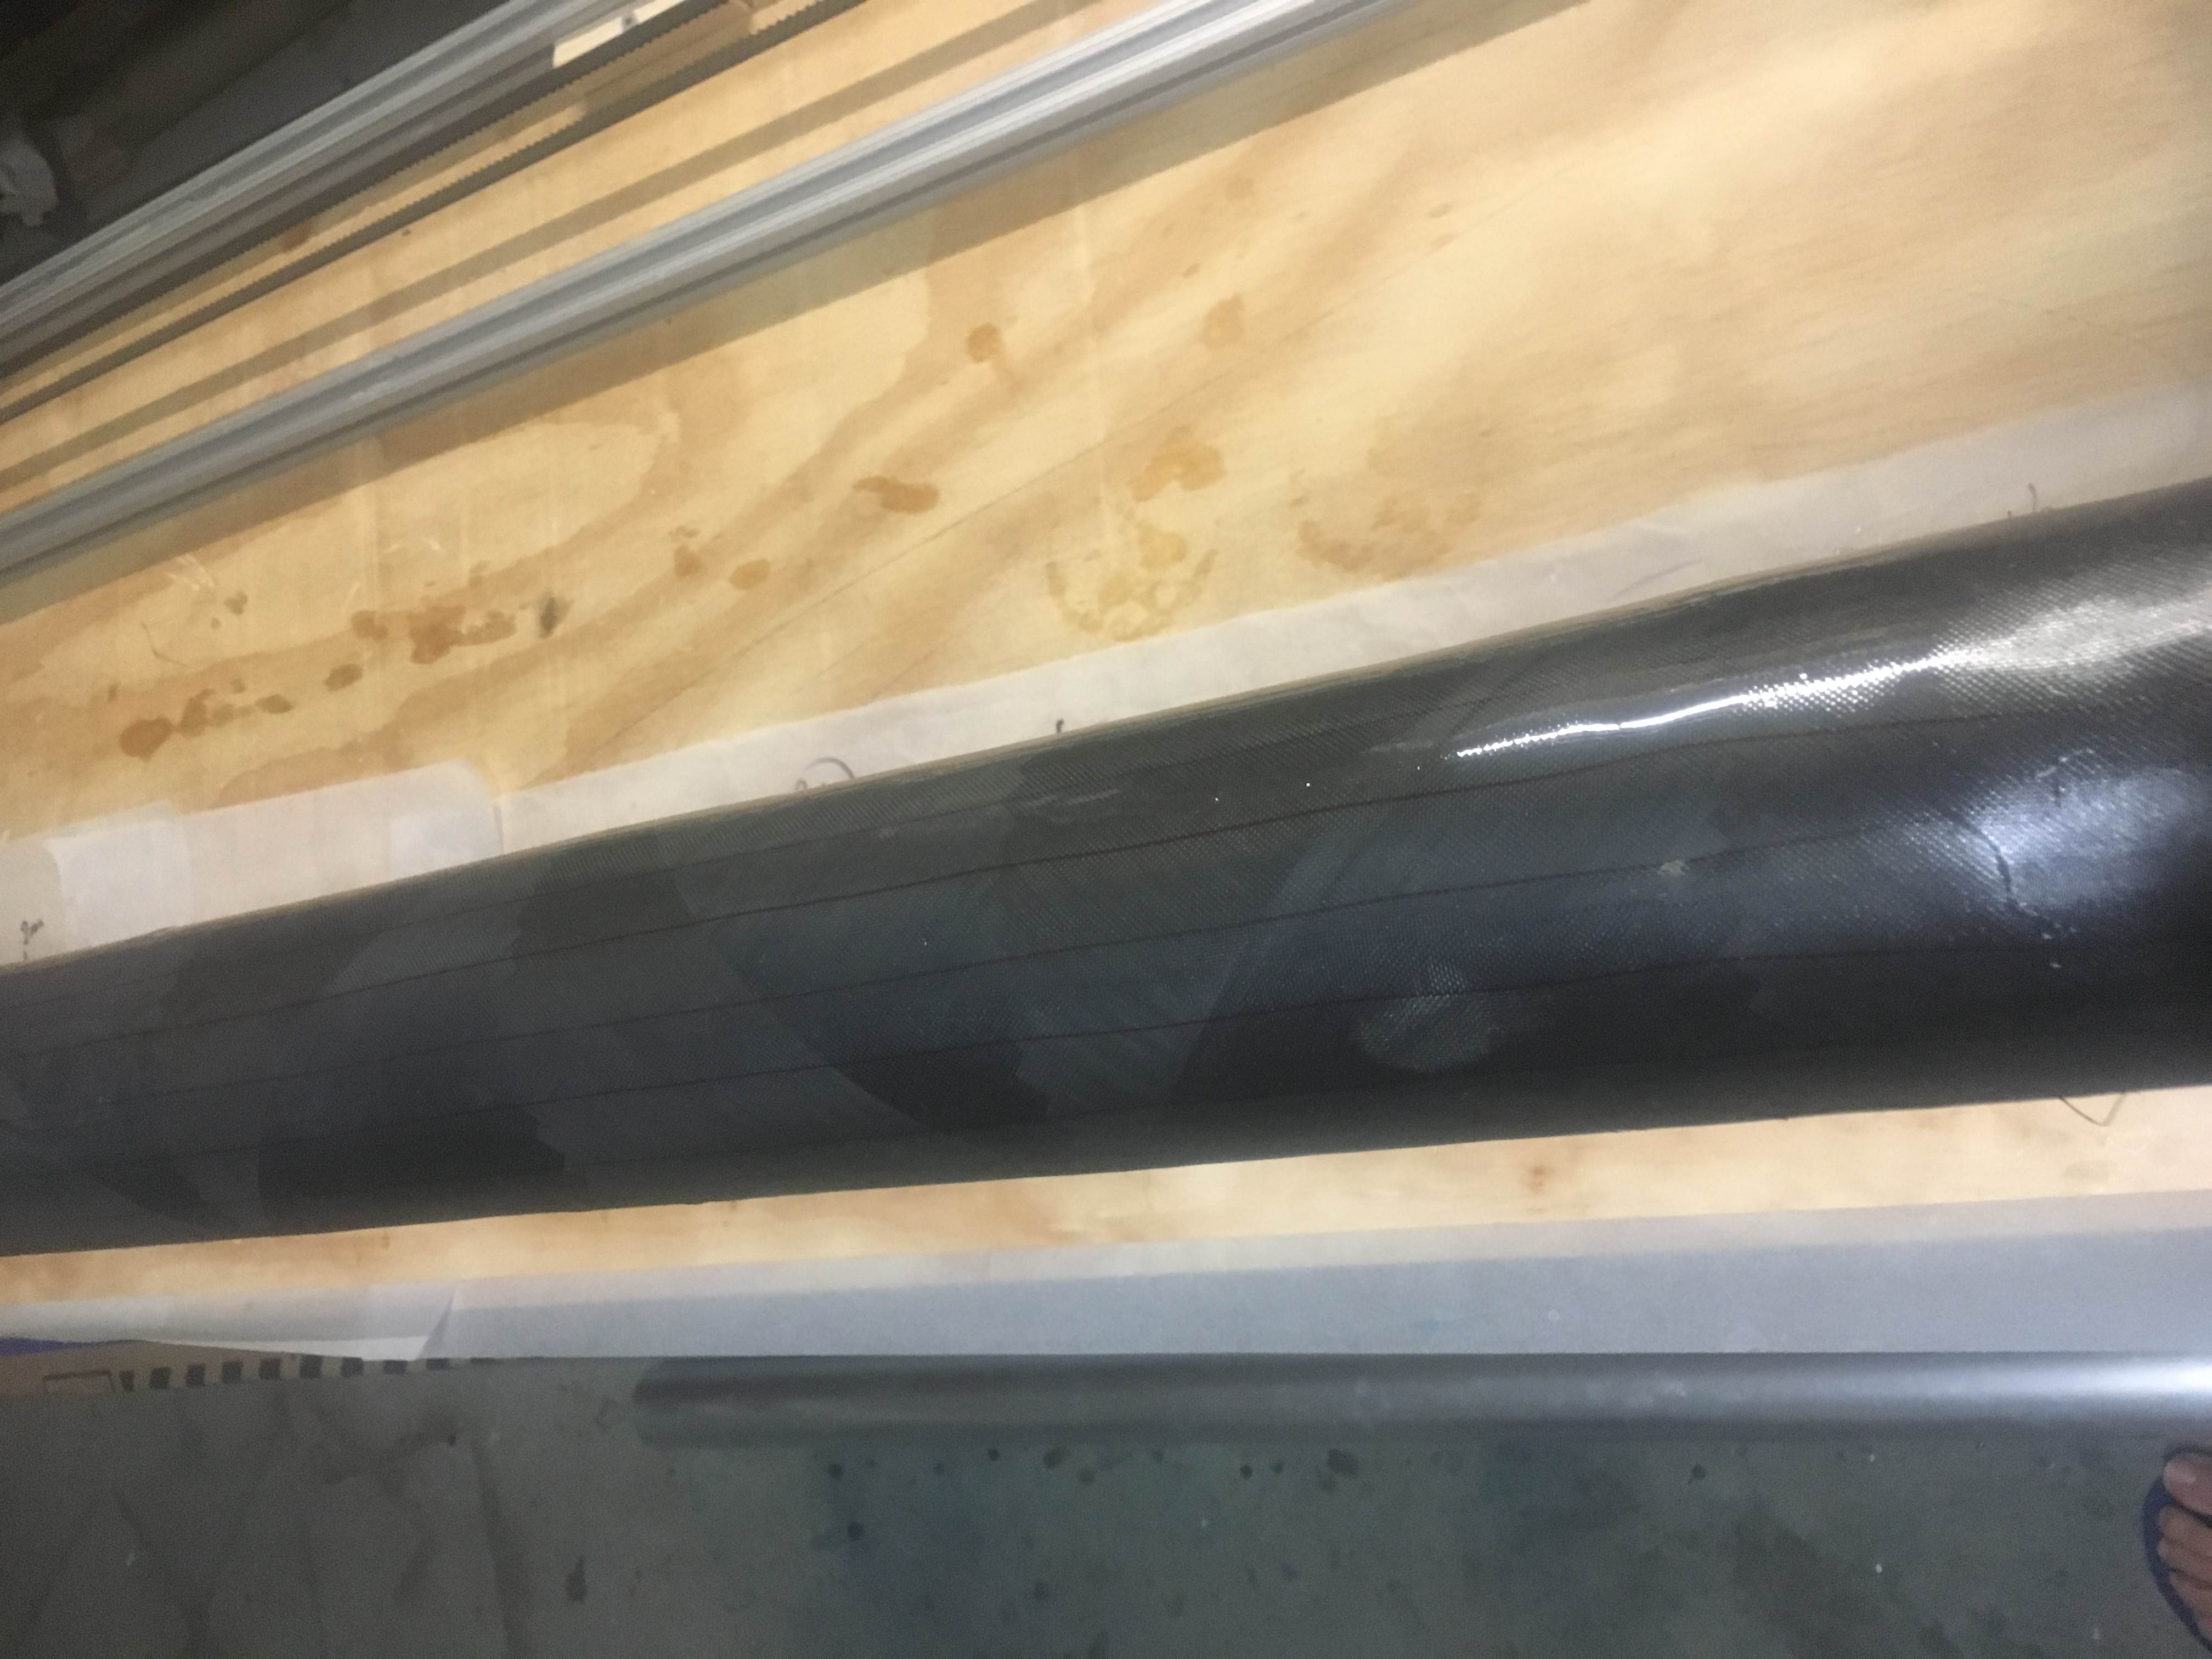
Removal of the Carbon Fiber Tube from the Mandrel
Here is a movie of the removal: –
Post Wind
Since creating the winding, we have verified that a 75mm case will fit inside the tube. This is not unexpected, but needed to confirm. It is a magnificent fit. Easy sliding, but no perceptible rattle.
The next step is to give it a better finish. This will likely be several layers of Epoxy and then a lot of wet sanding.