Polishing the rocket

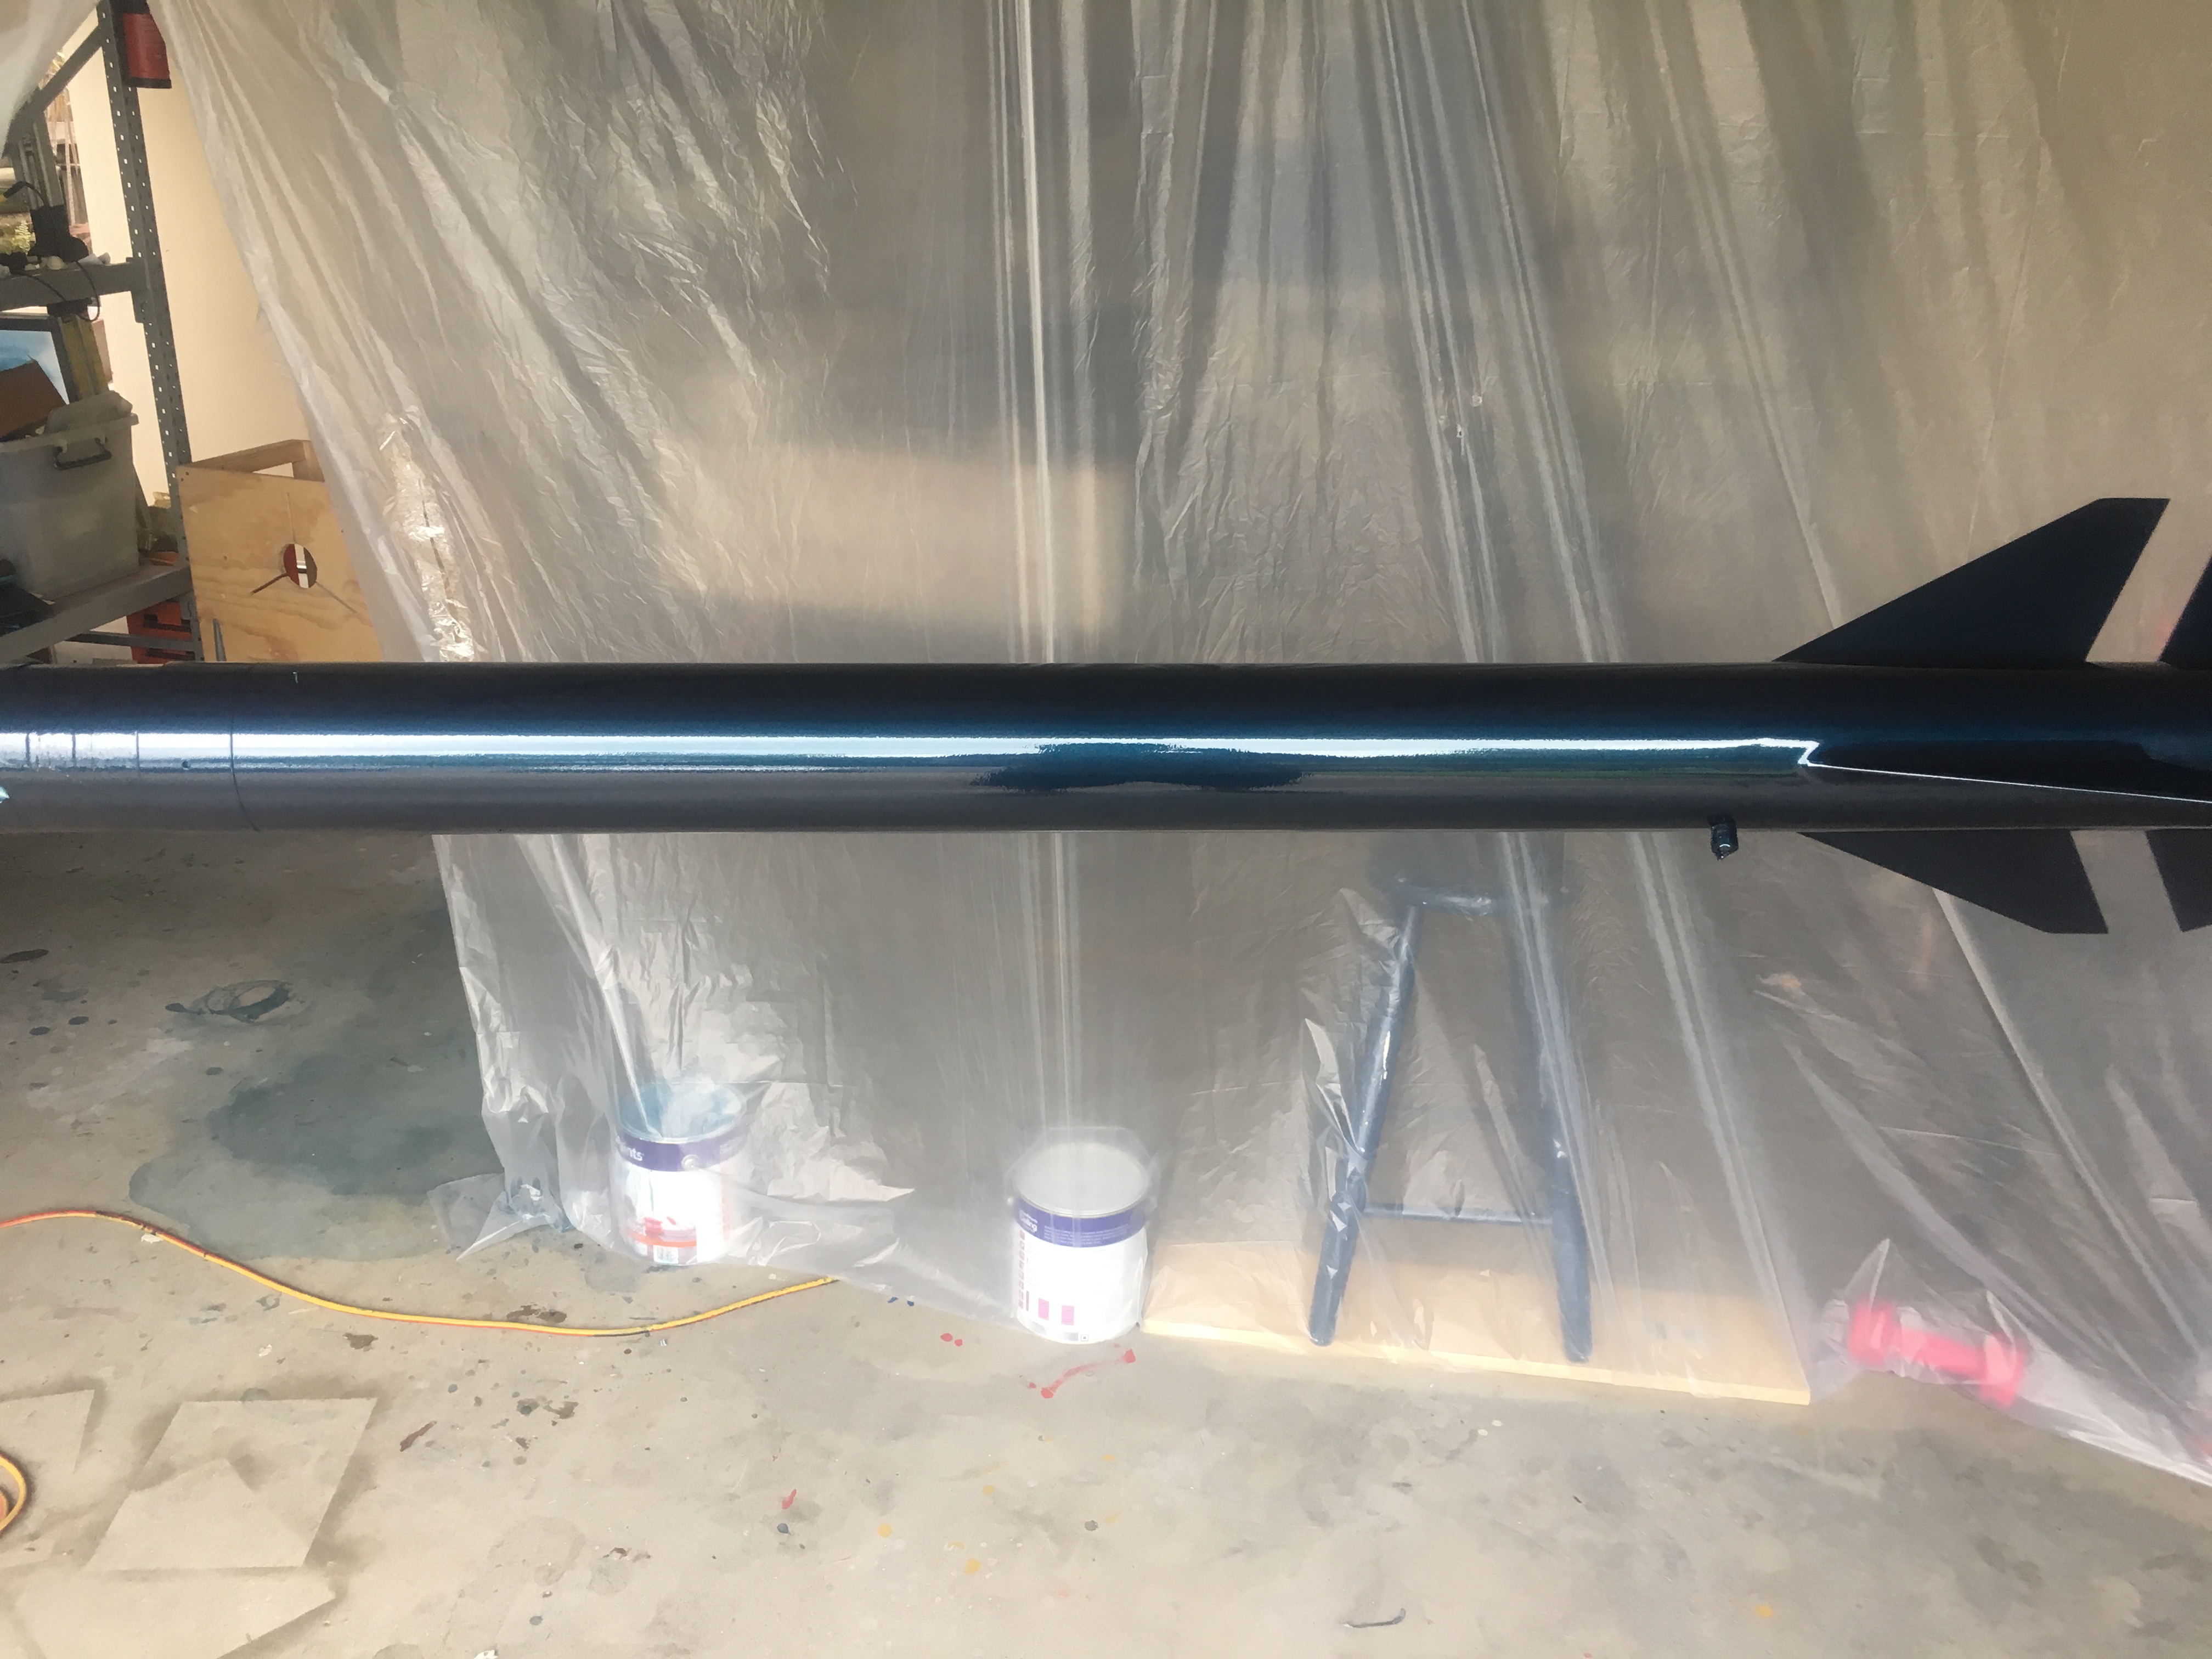
The sprayed clear coat, while rather flat, is nevertheless pitted. So I decided that I should try and improve the finish. To do this I needed to sand and polish it.

What the clear coat looks like

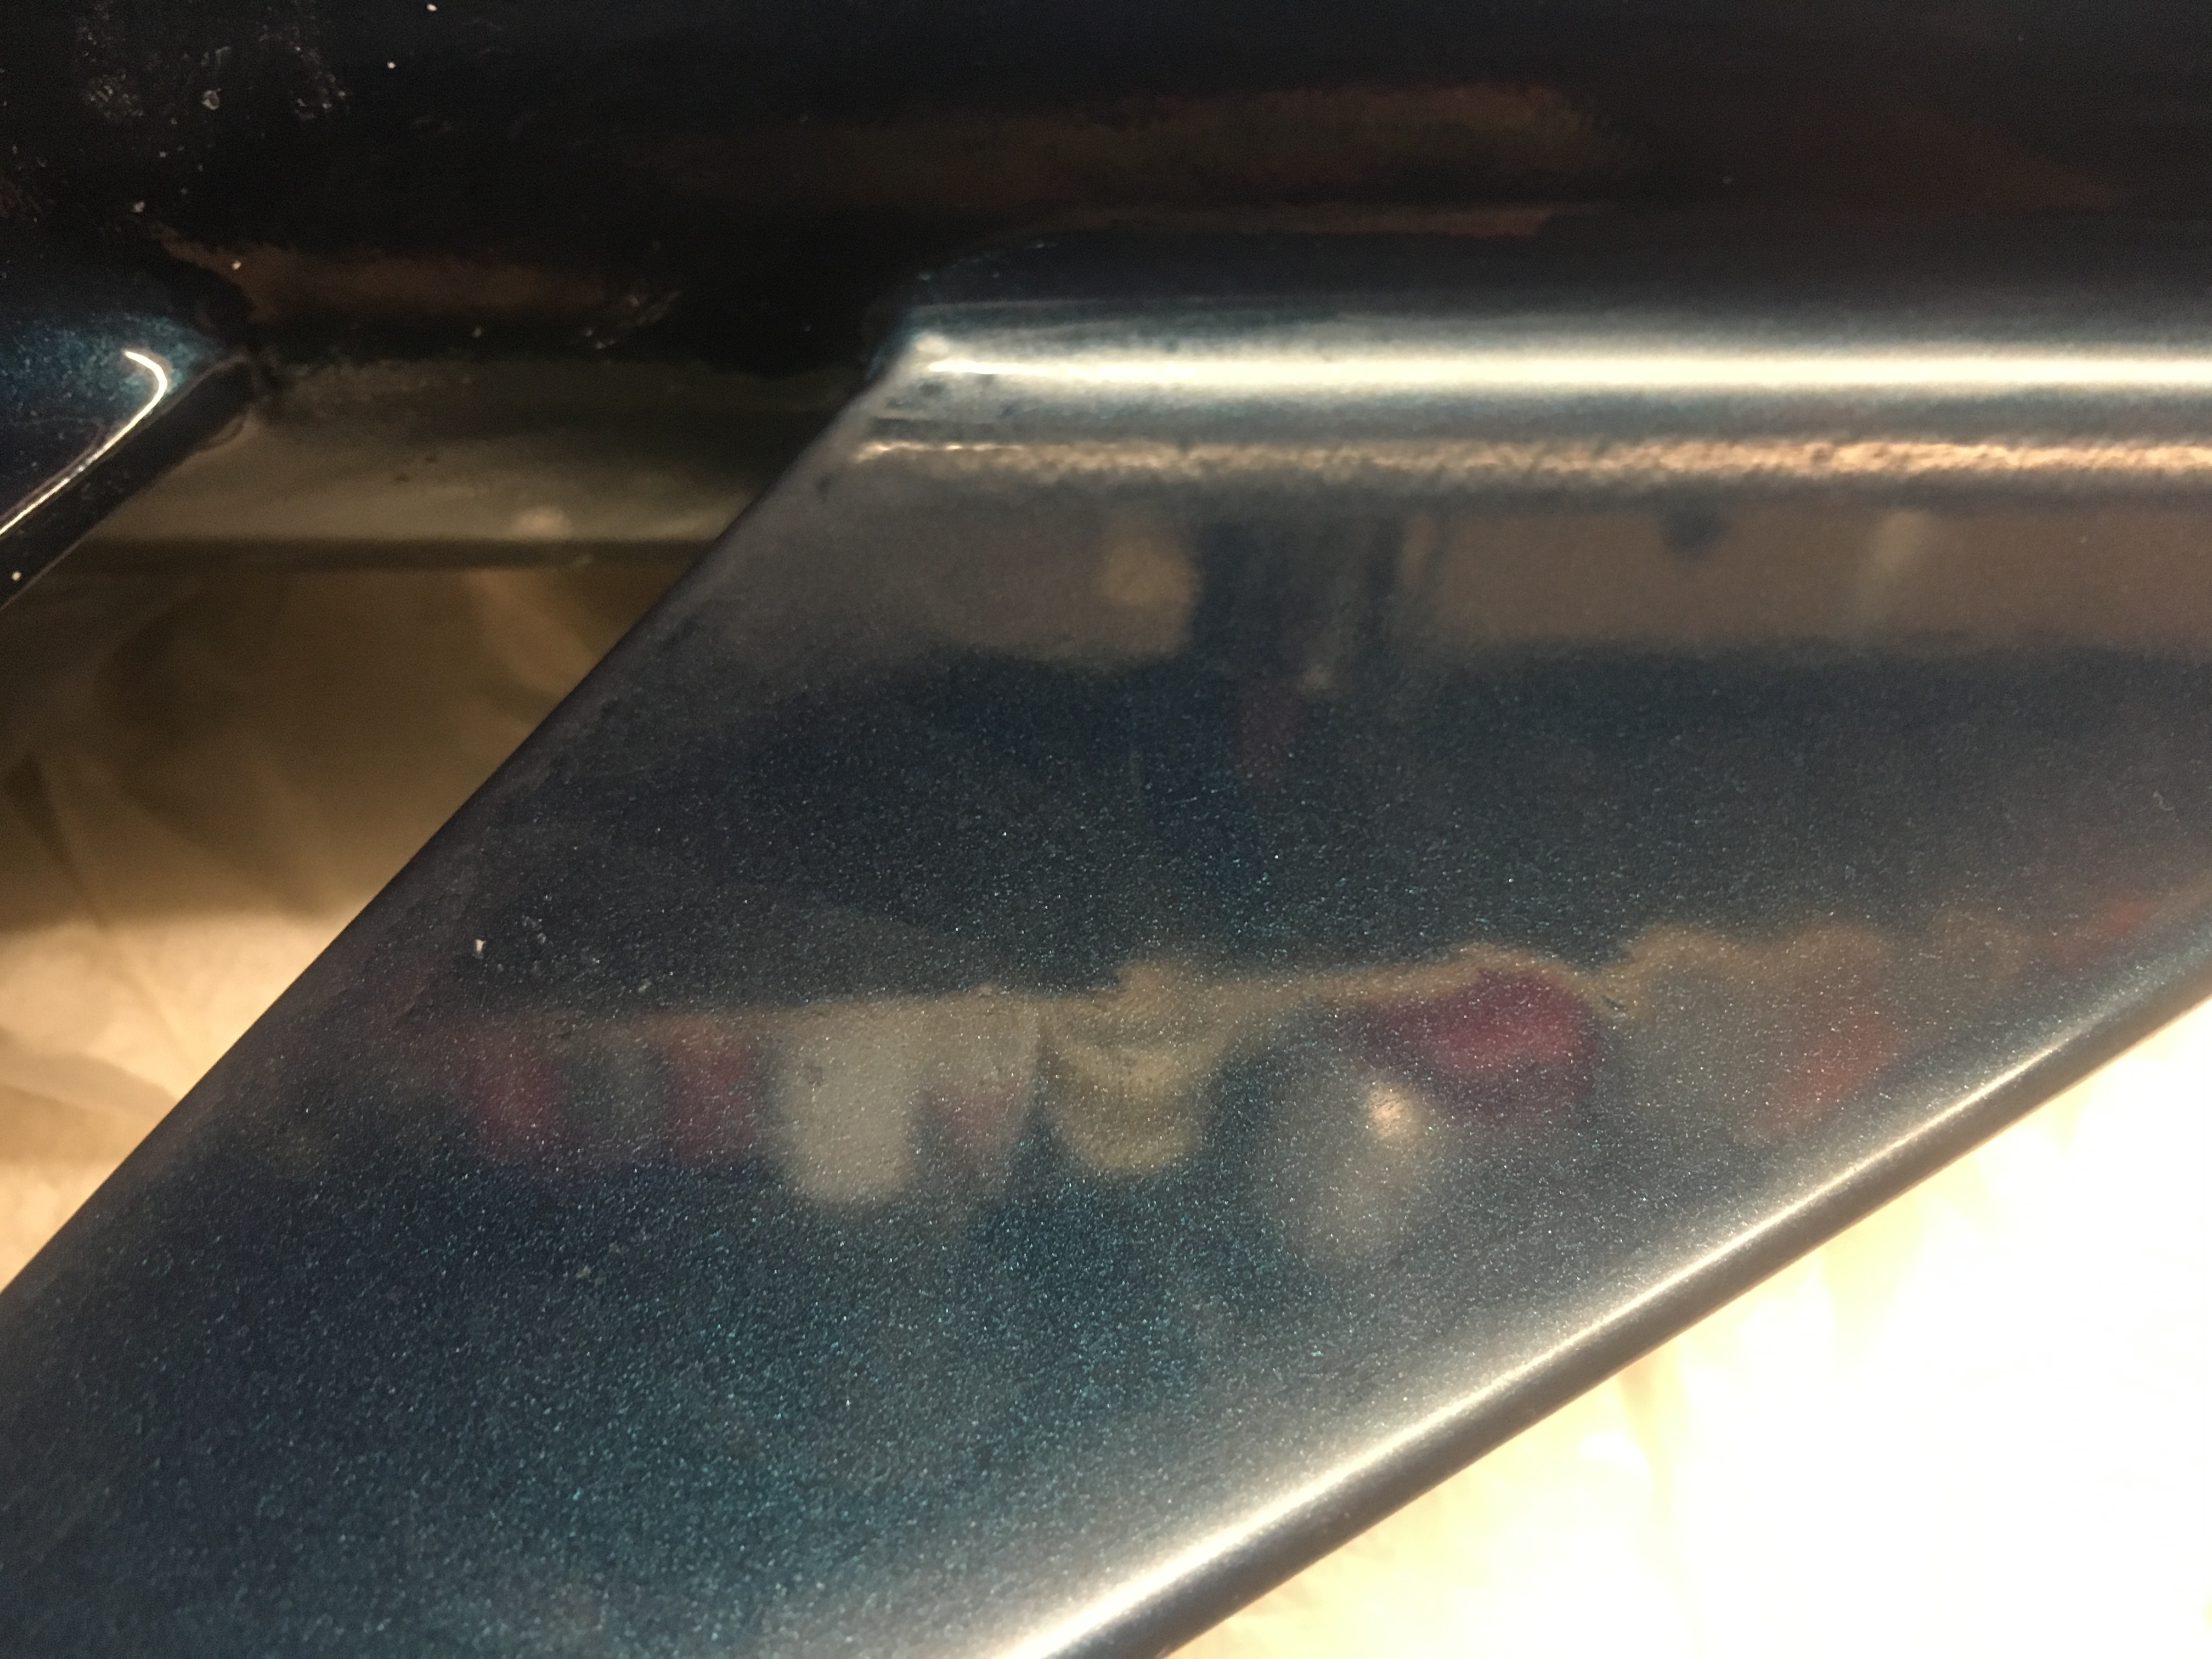
The clear coat looks like the surface of orange. This makes the light look distorted. The eye piece was very good at showing me the imperfections.

Photo of unpolished paint work through eye piece. Note the distortion in the light.

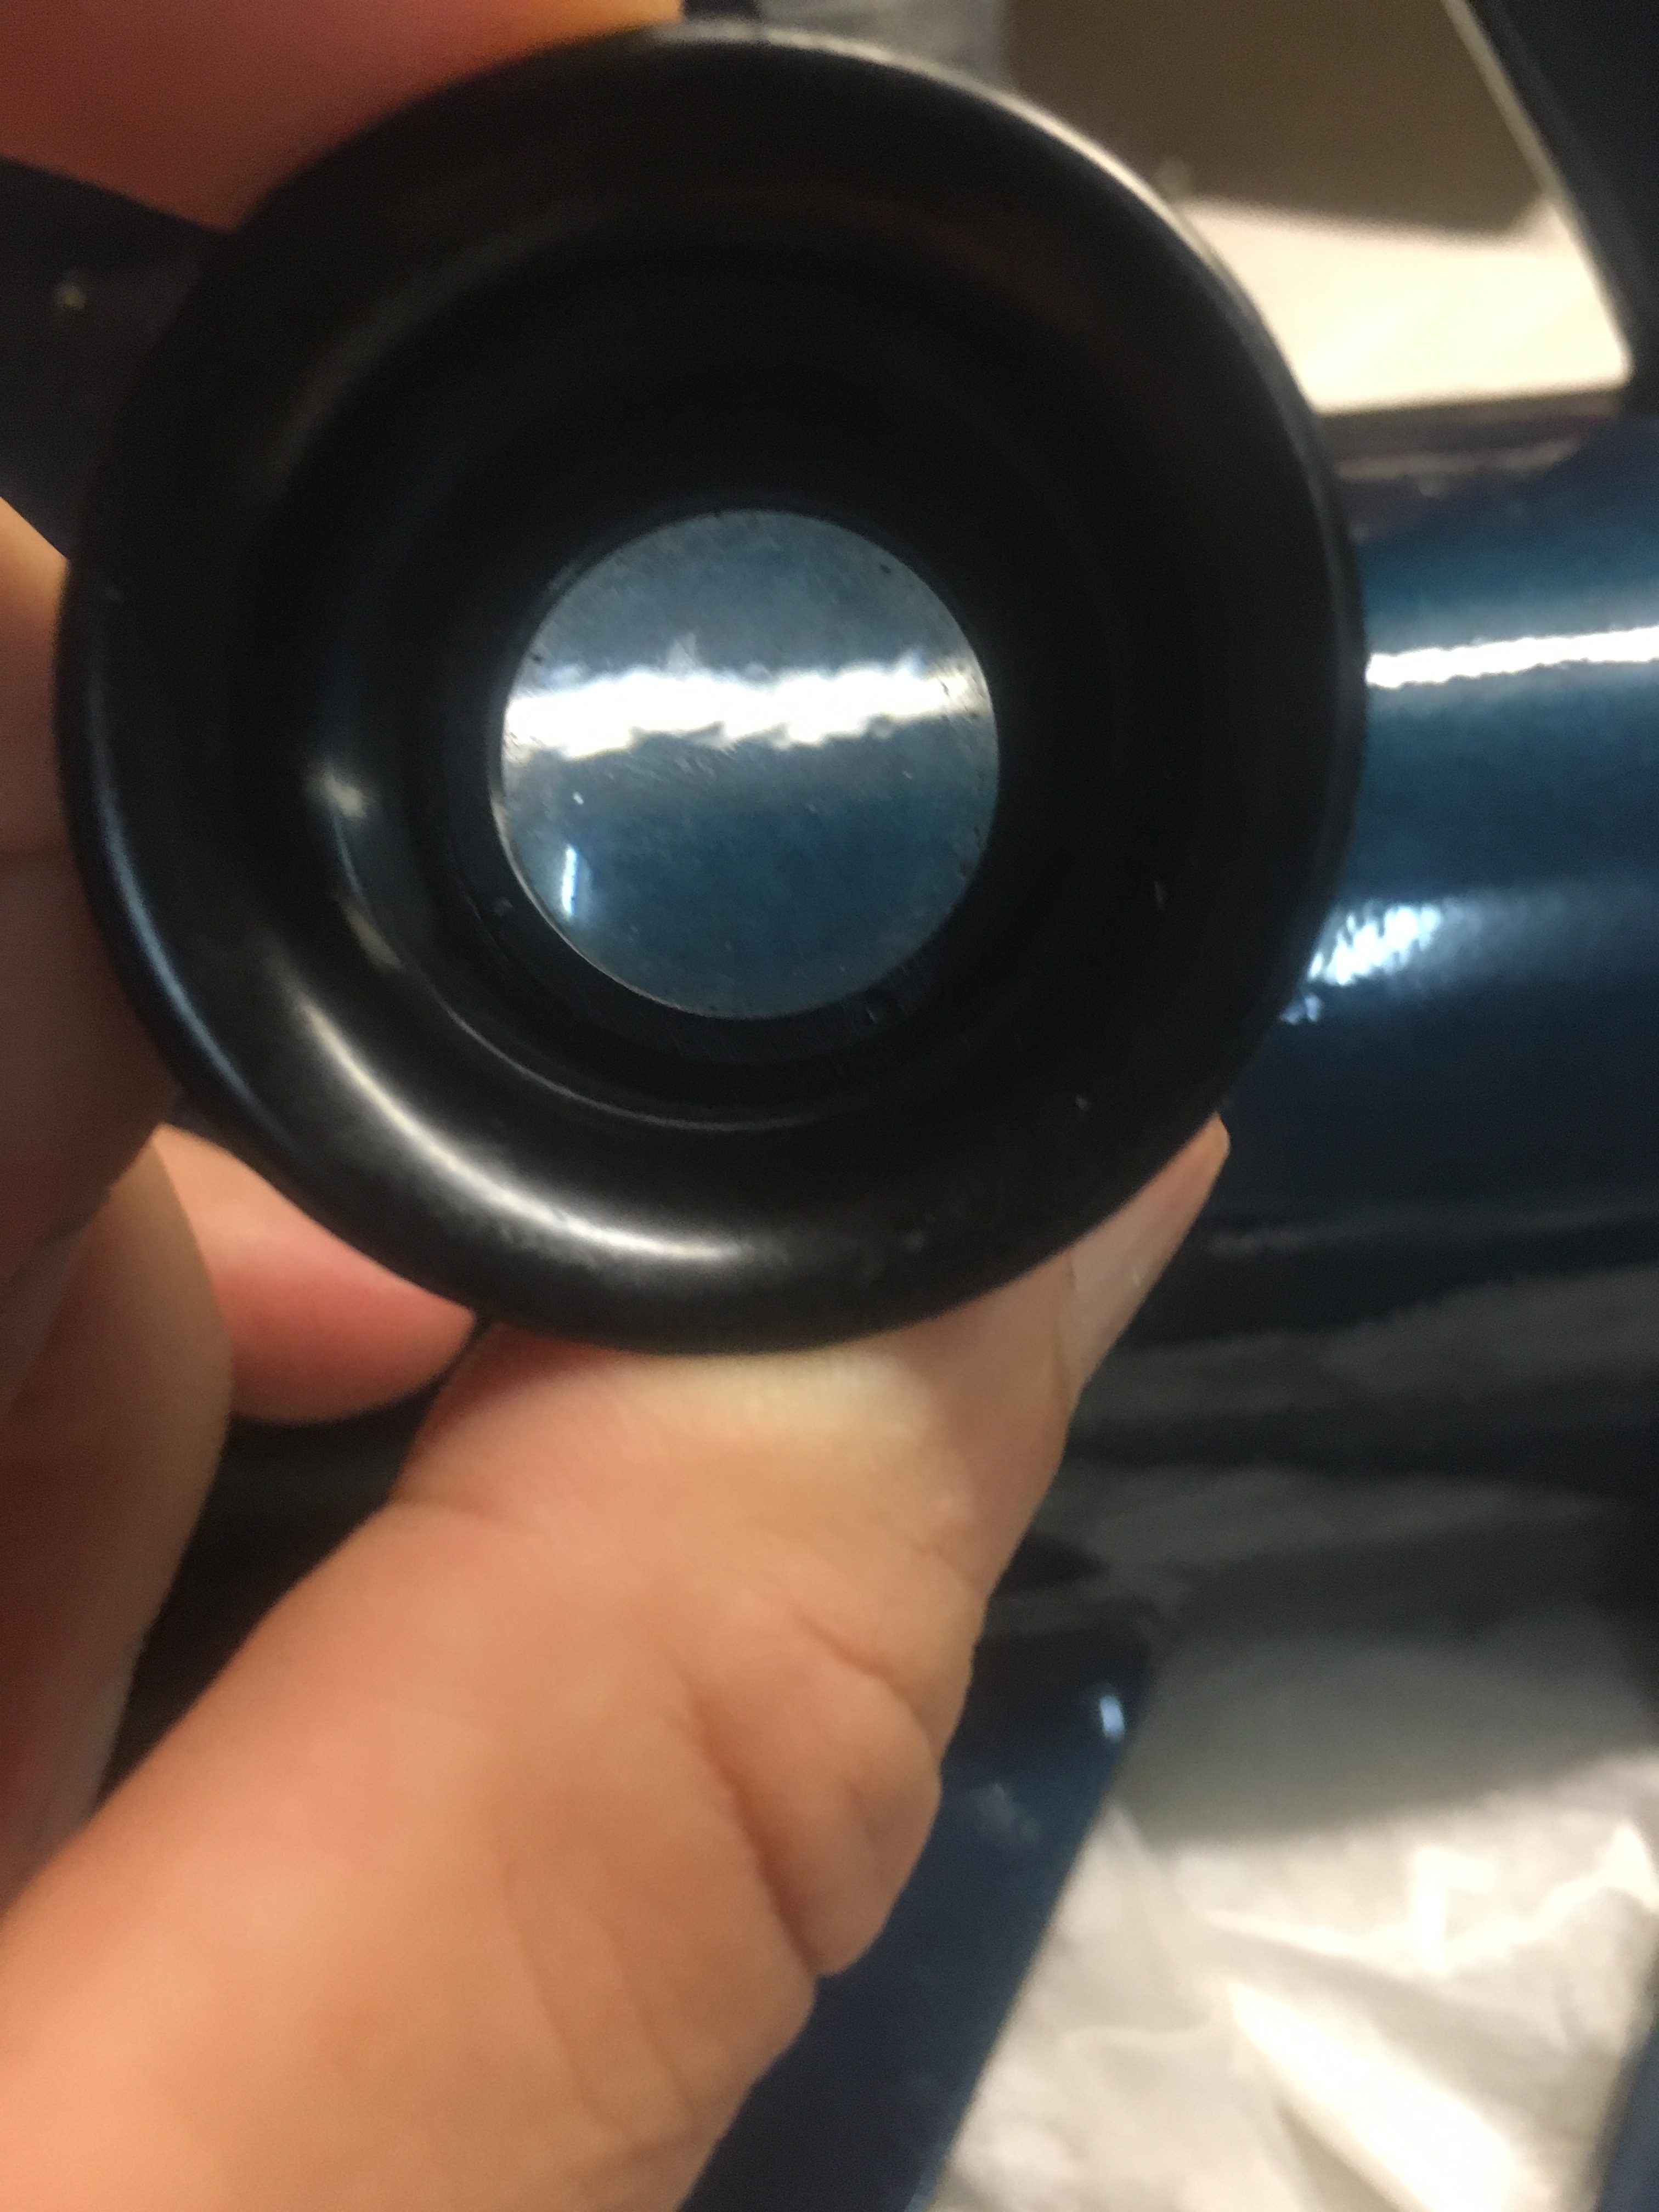
Infact this is often referred to as “Orange Peel”. I suspect the Orange Peel I see isn’t as bad as some coats, but I still wanted to remove it.

Removing the imperfections

The first thing I have to do is remove the imperfections. This I did by using 1200, 1500 and finally 2000 grit sand paper.

1200, 1500 and 2000 grit sand paper.

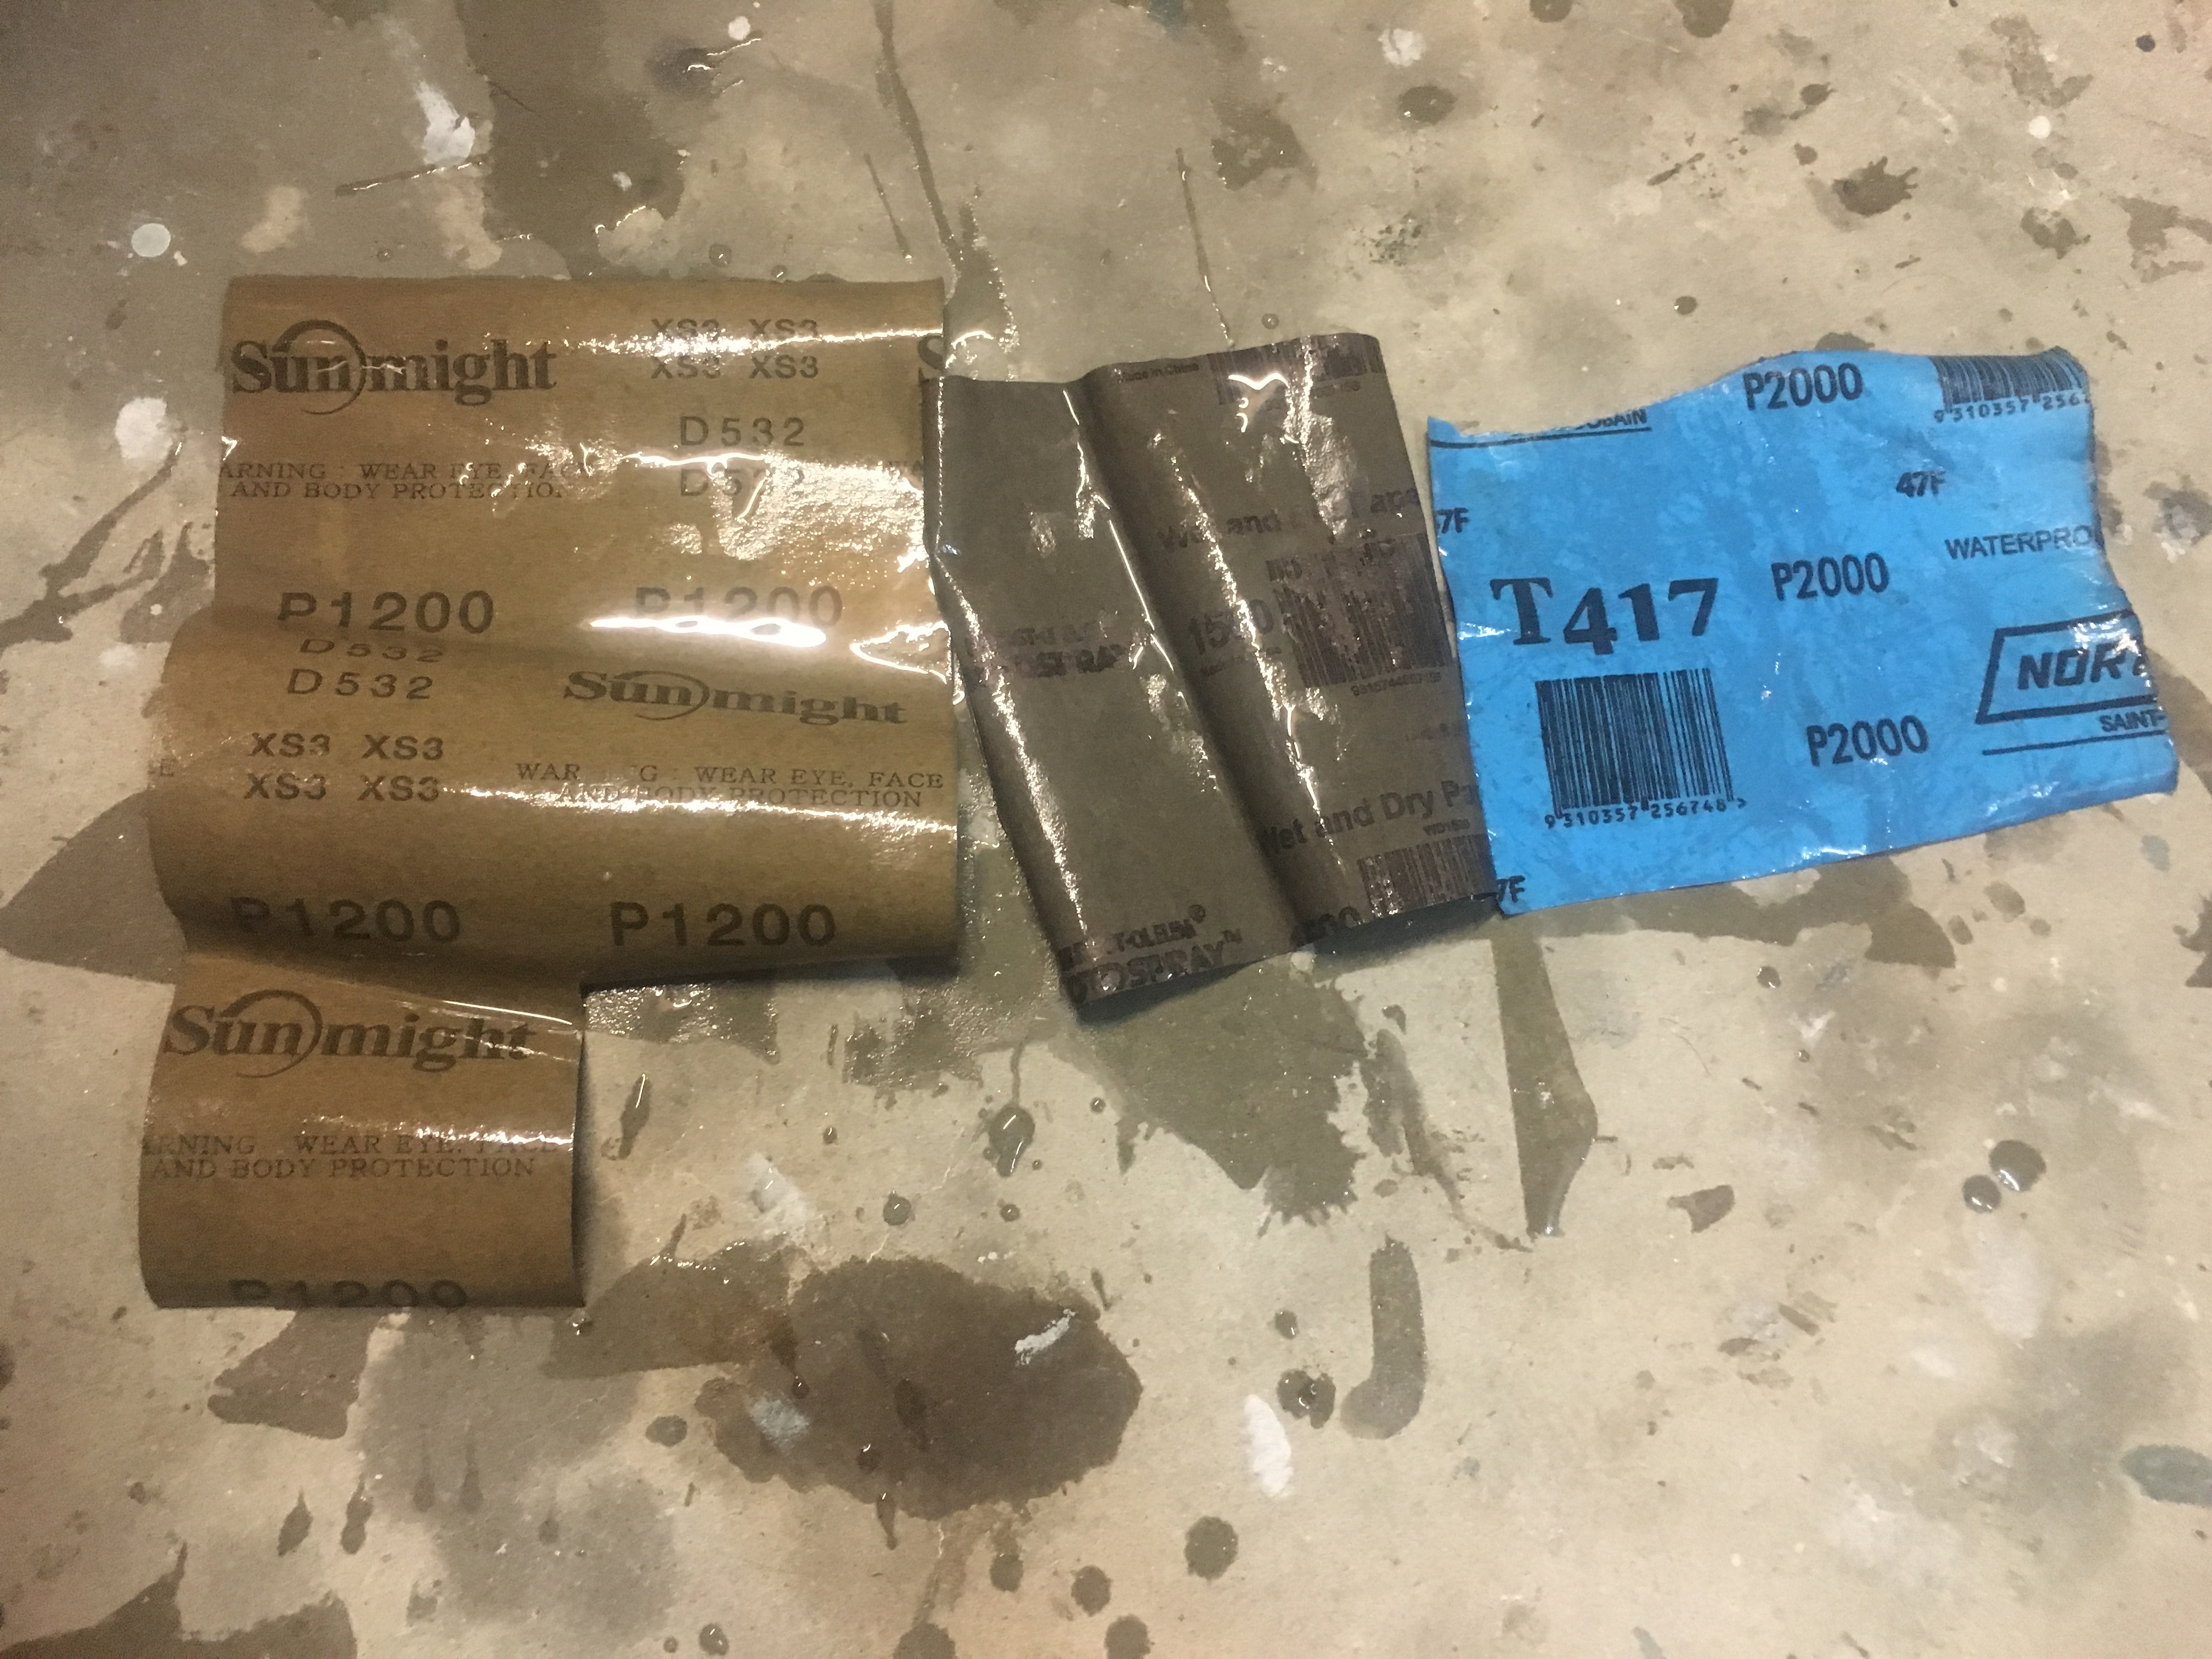
I could probably have used 1000 grit come to think of it, but using 1200 grit made me feel a bit better as I didn’t want to risk going through the clear (though there is almost no risk because of the thickness of the clear coat).

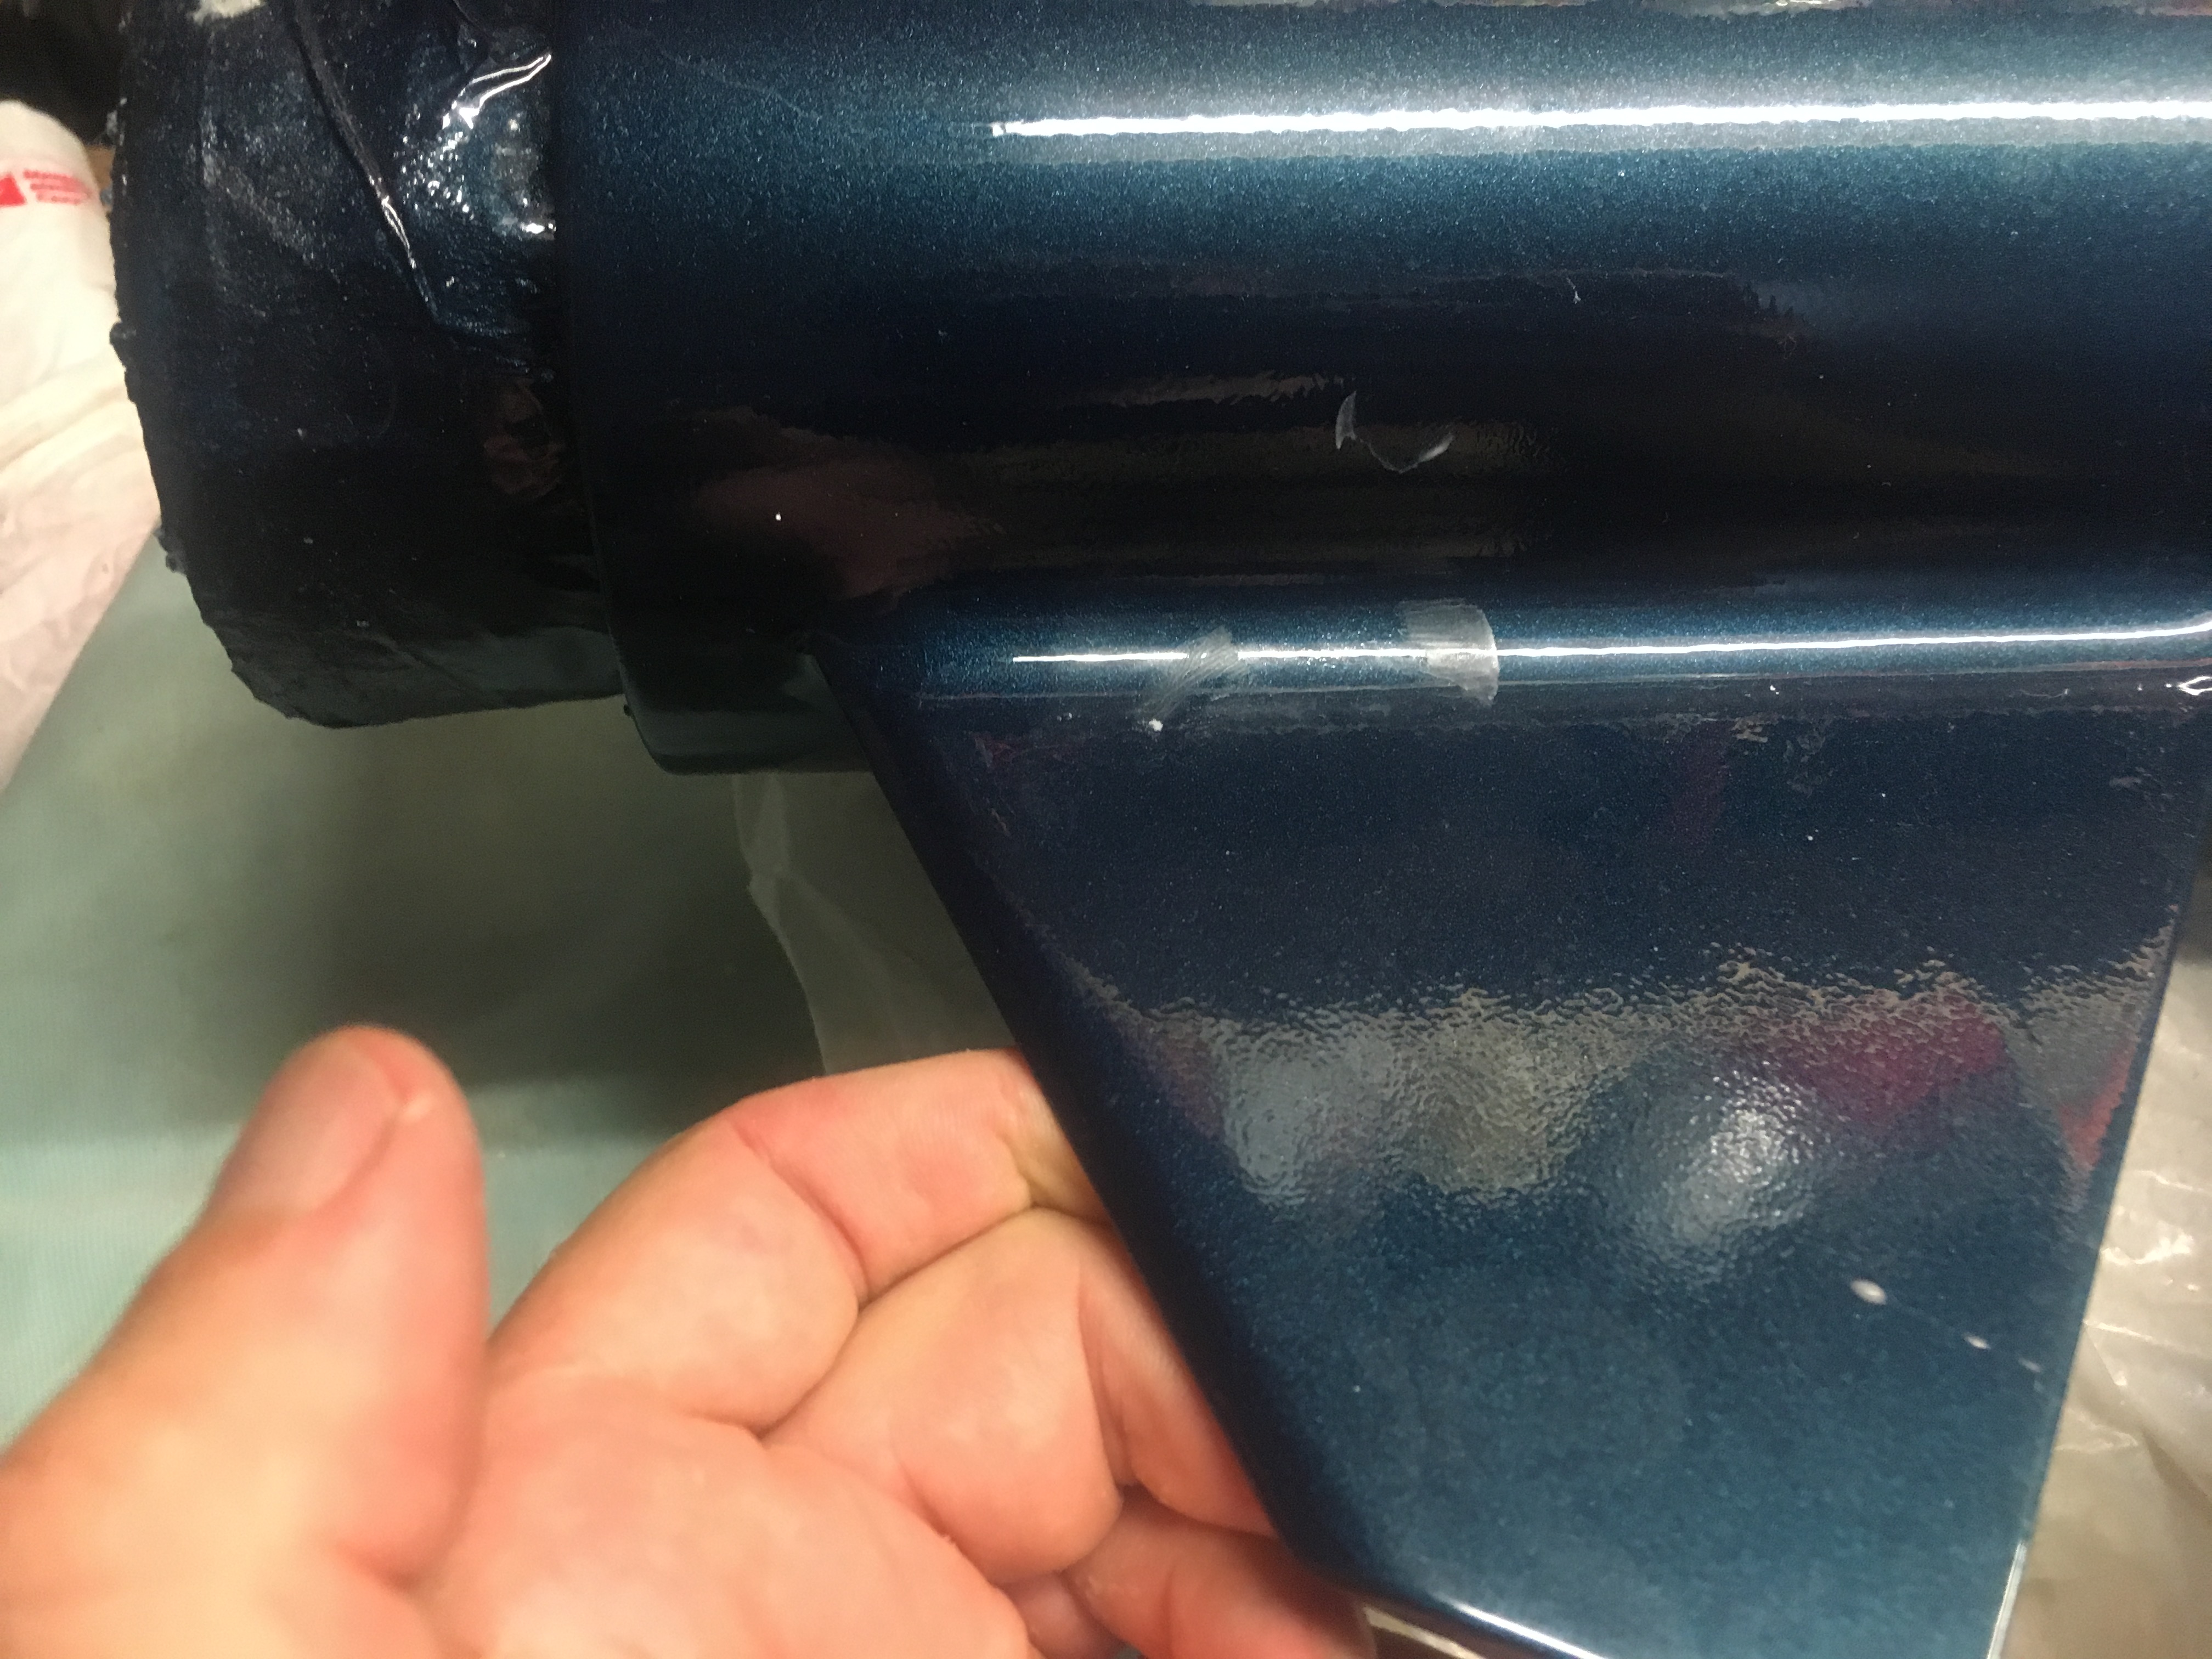
The result was a smooth surface without any pitting that was very dull. I admit the dullness did concern me a little. Would I really be able to get that shine back?

Polishing

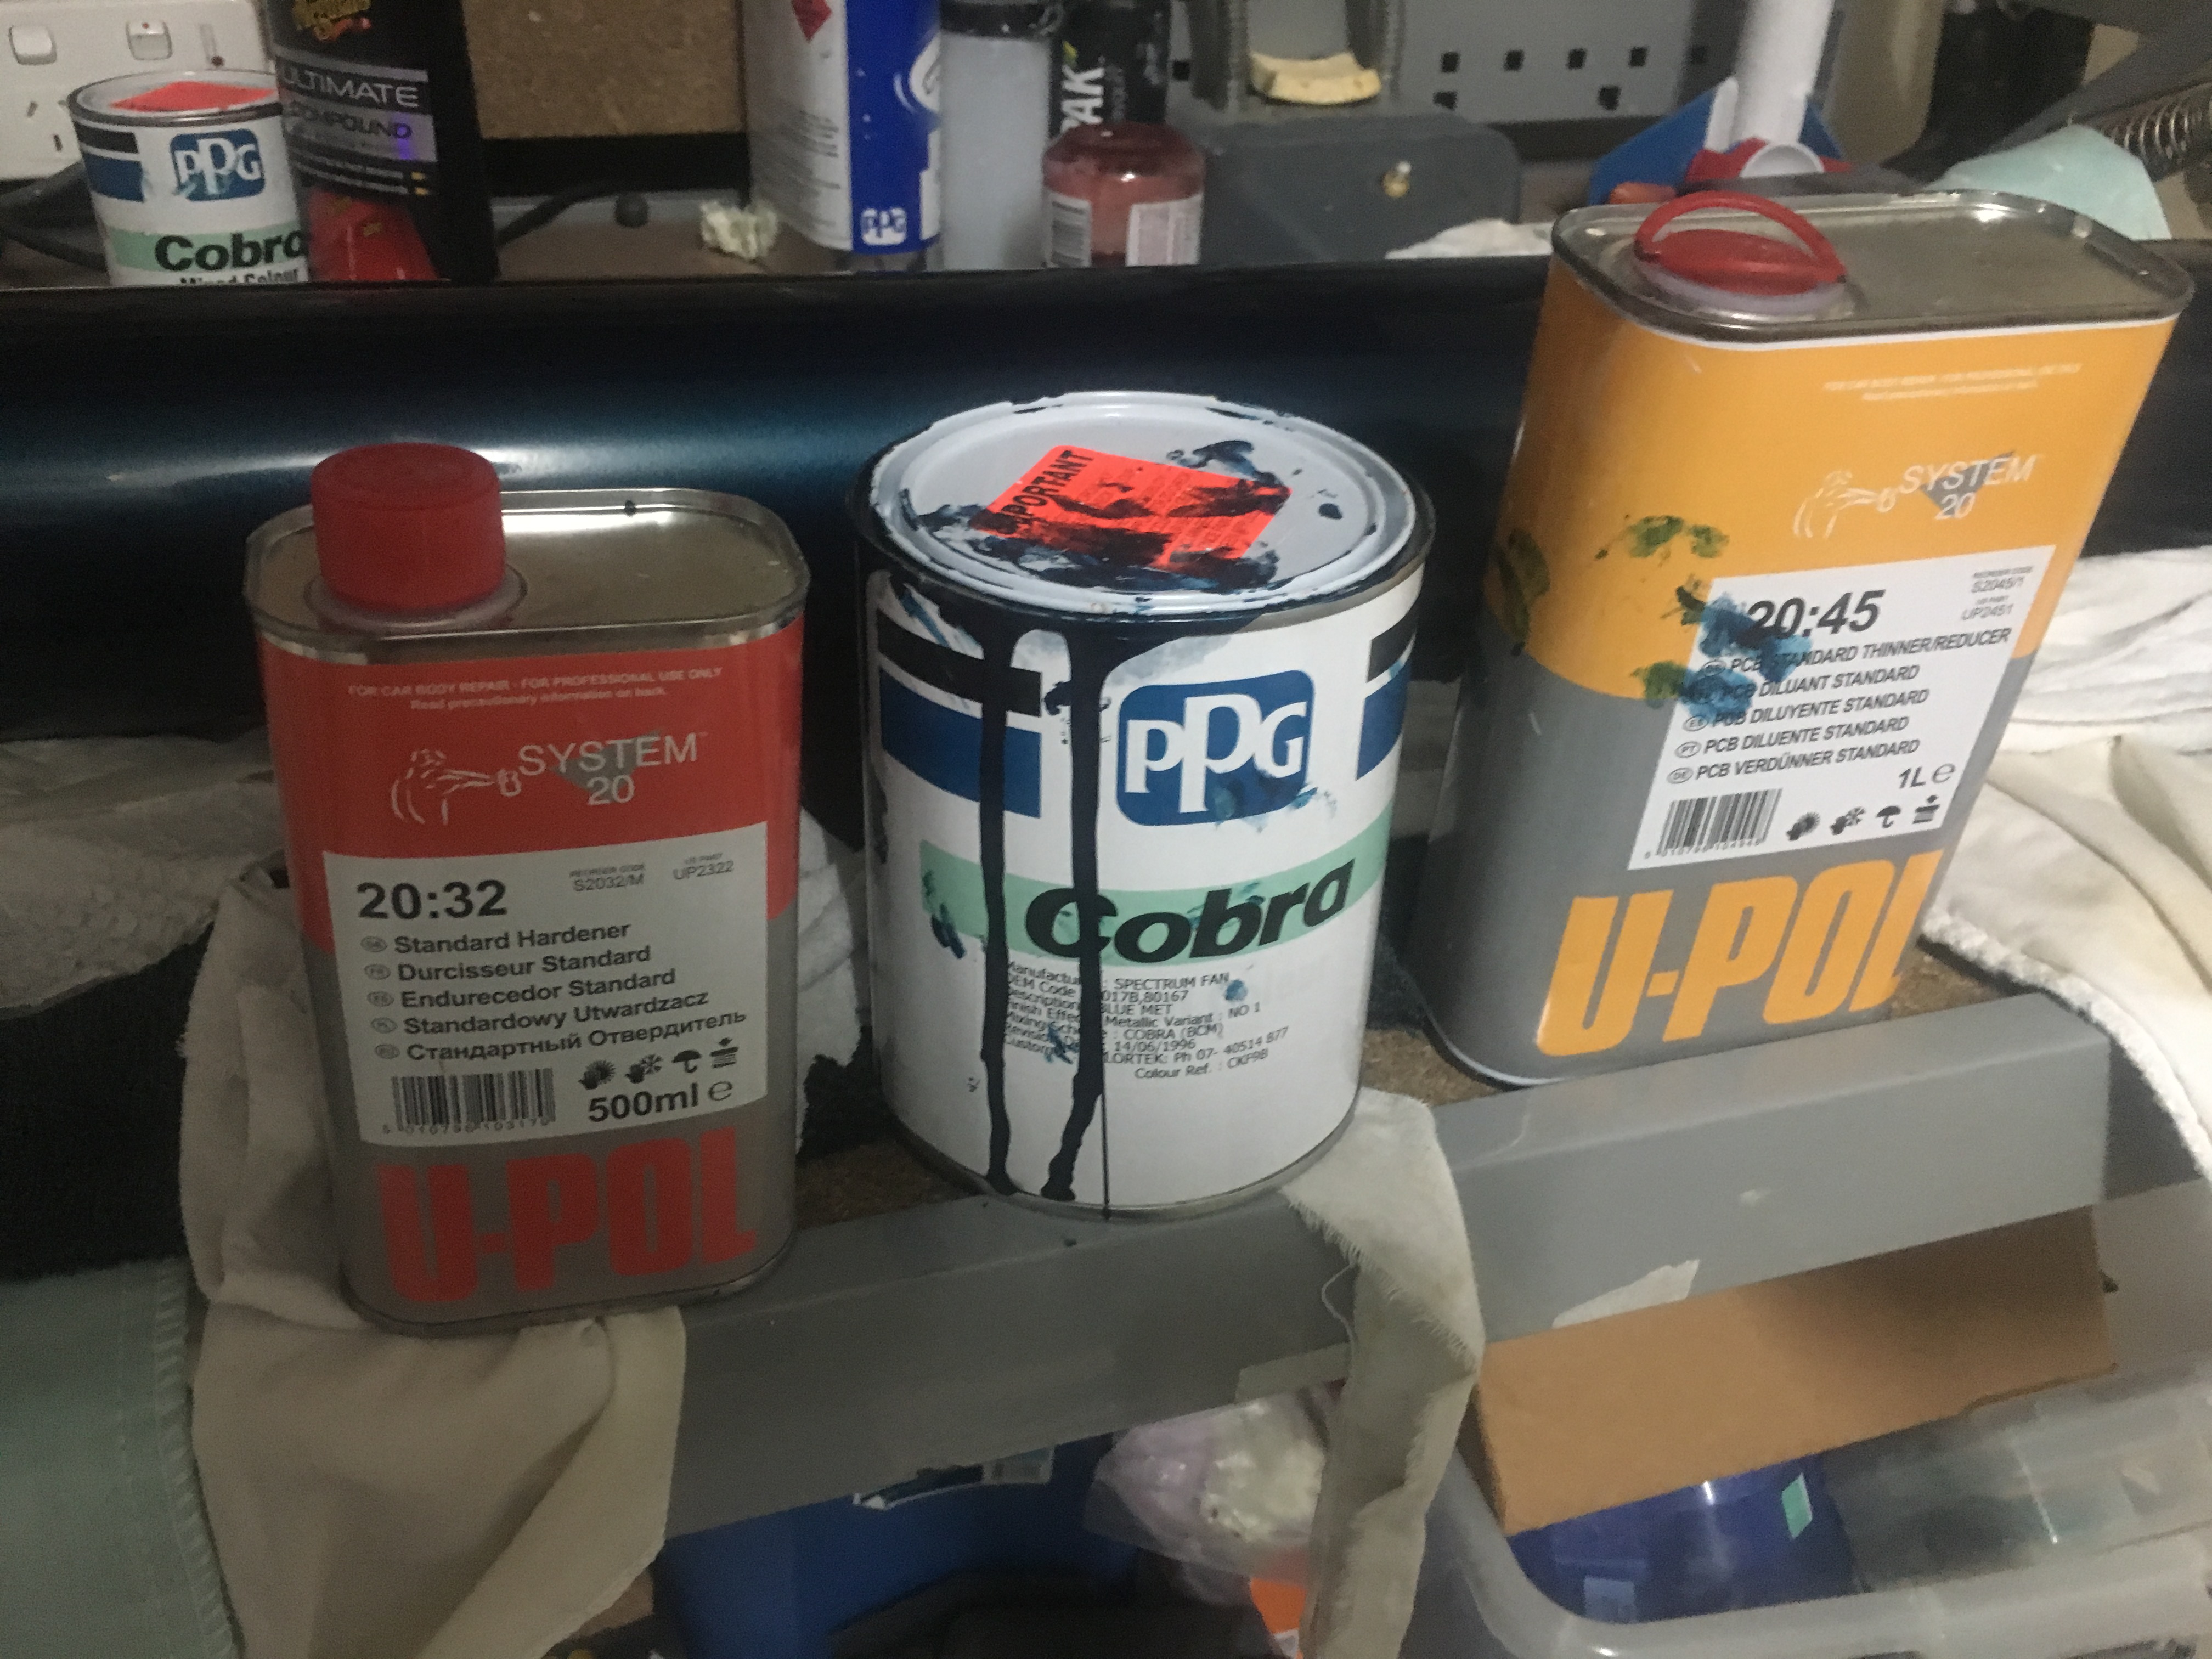
I used the following product for polishing.

This is the polish I used to bring up the shine. I had to use a LOT of elbow grease. Fingers get very sore.

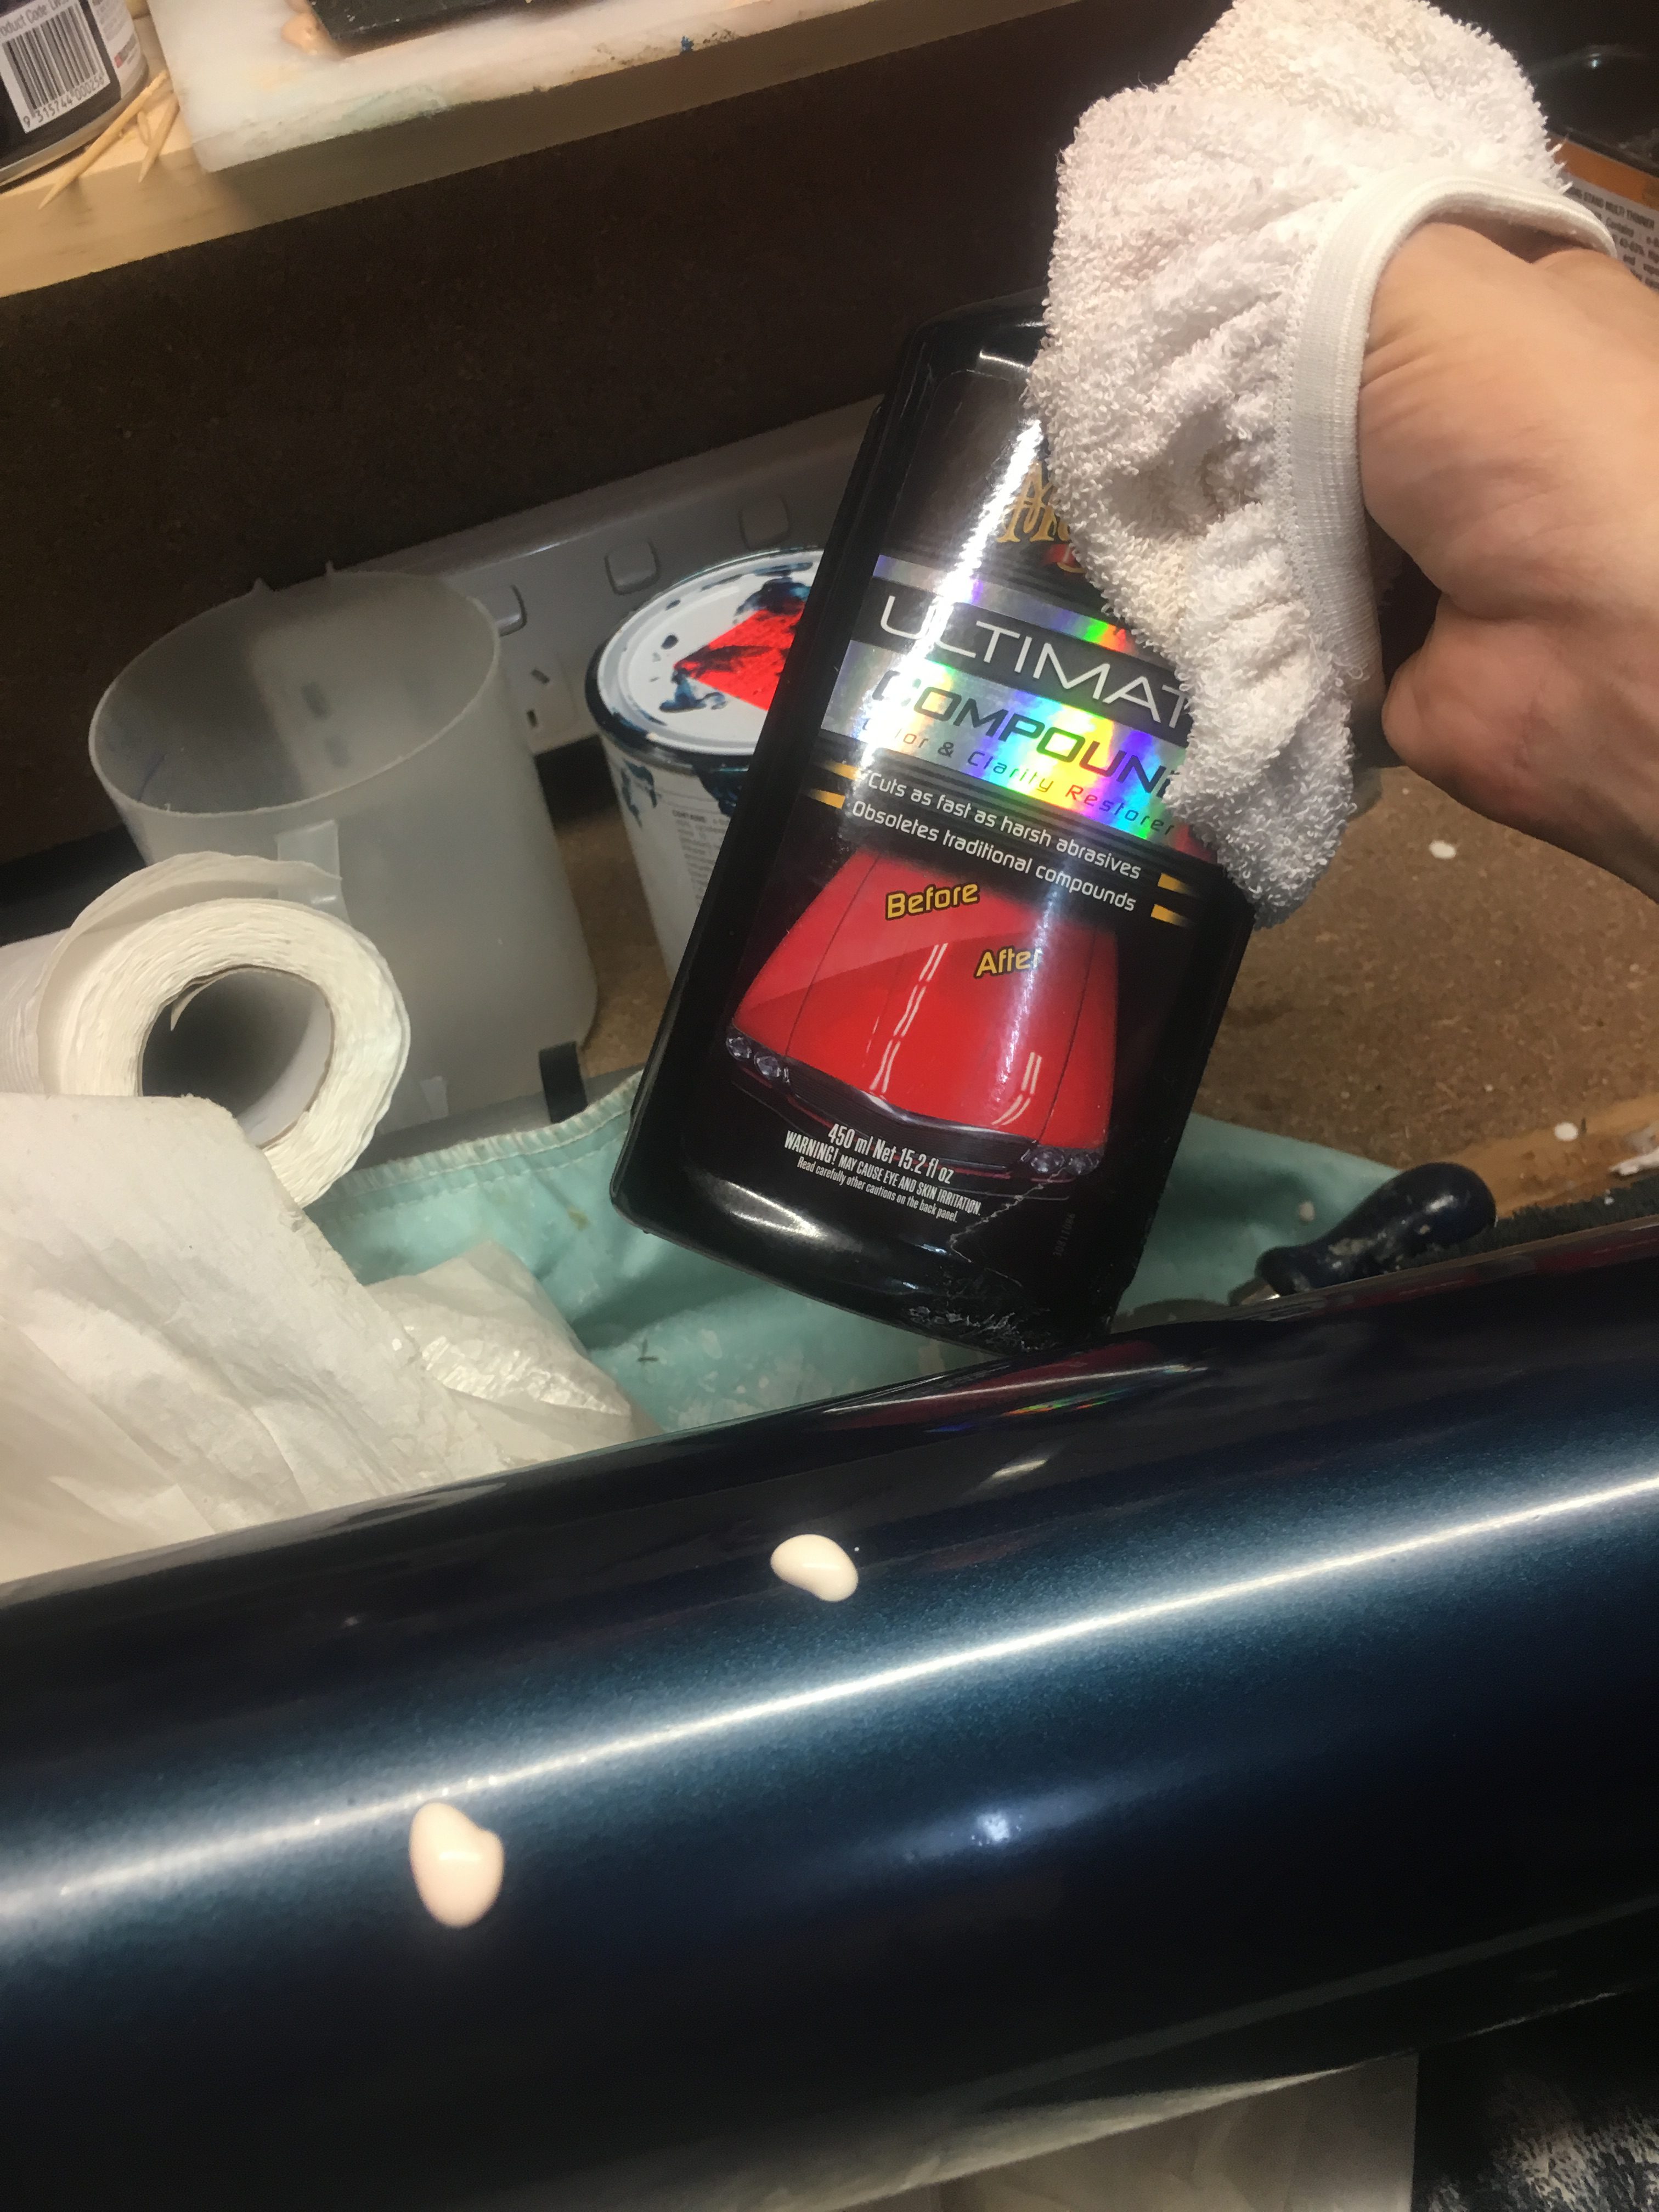
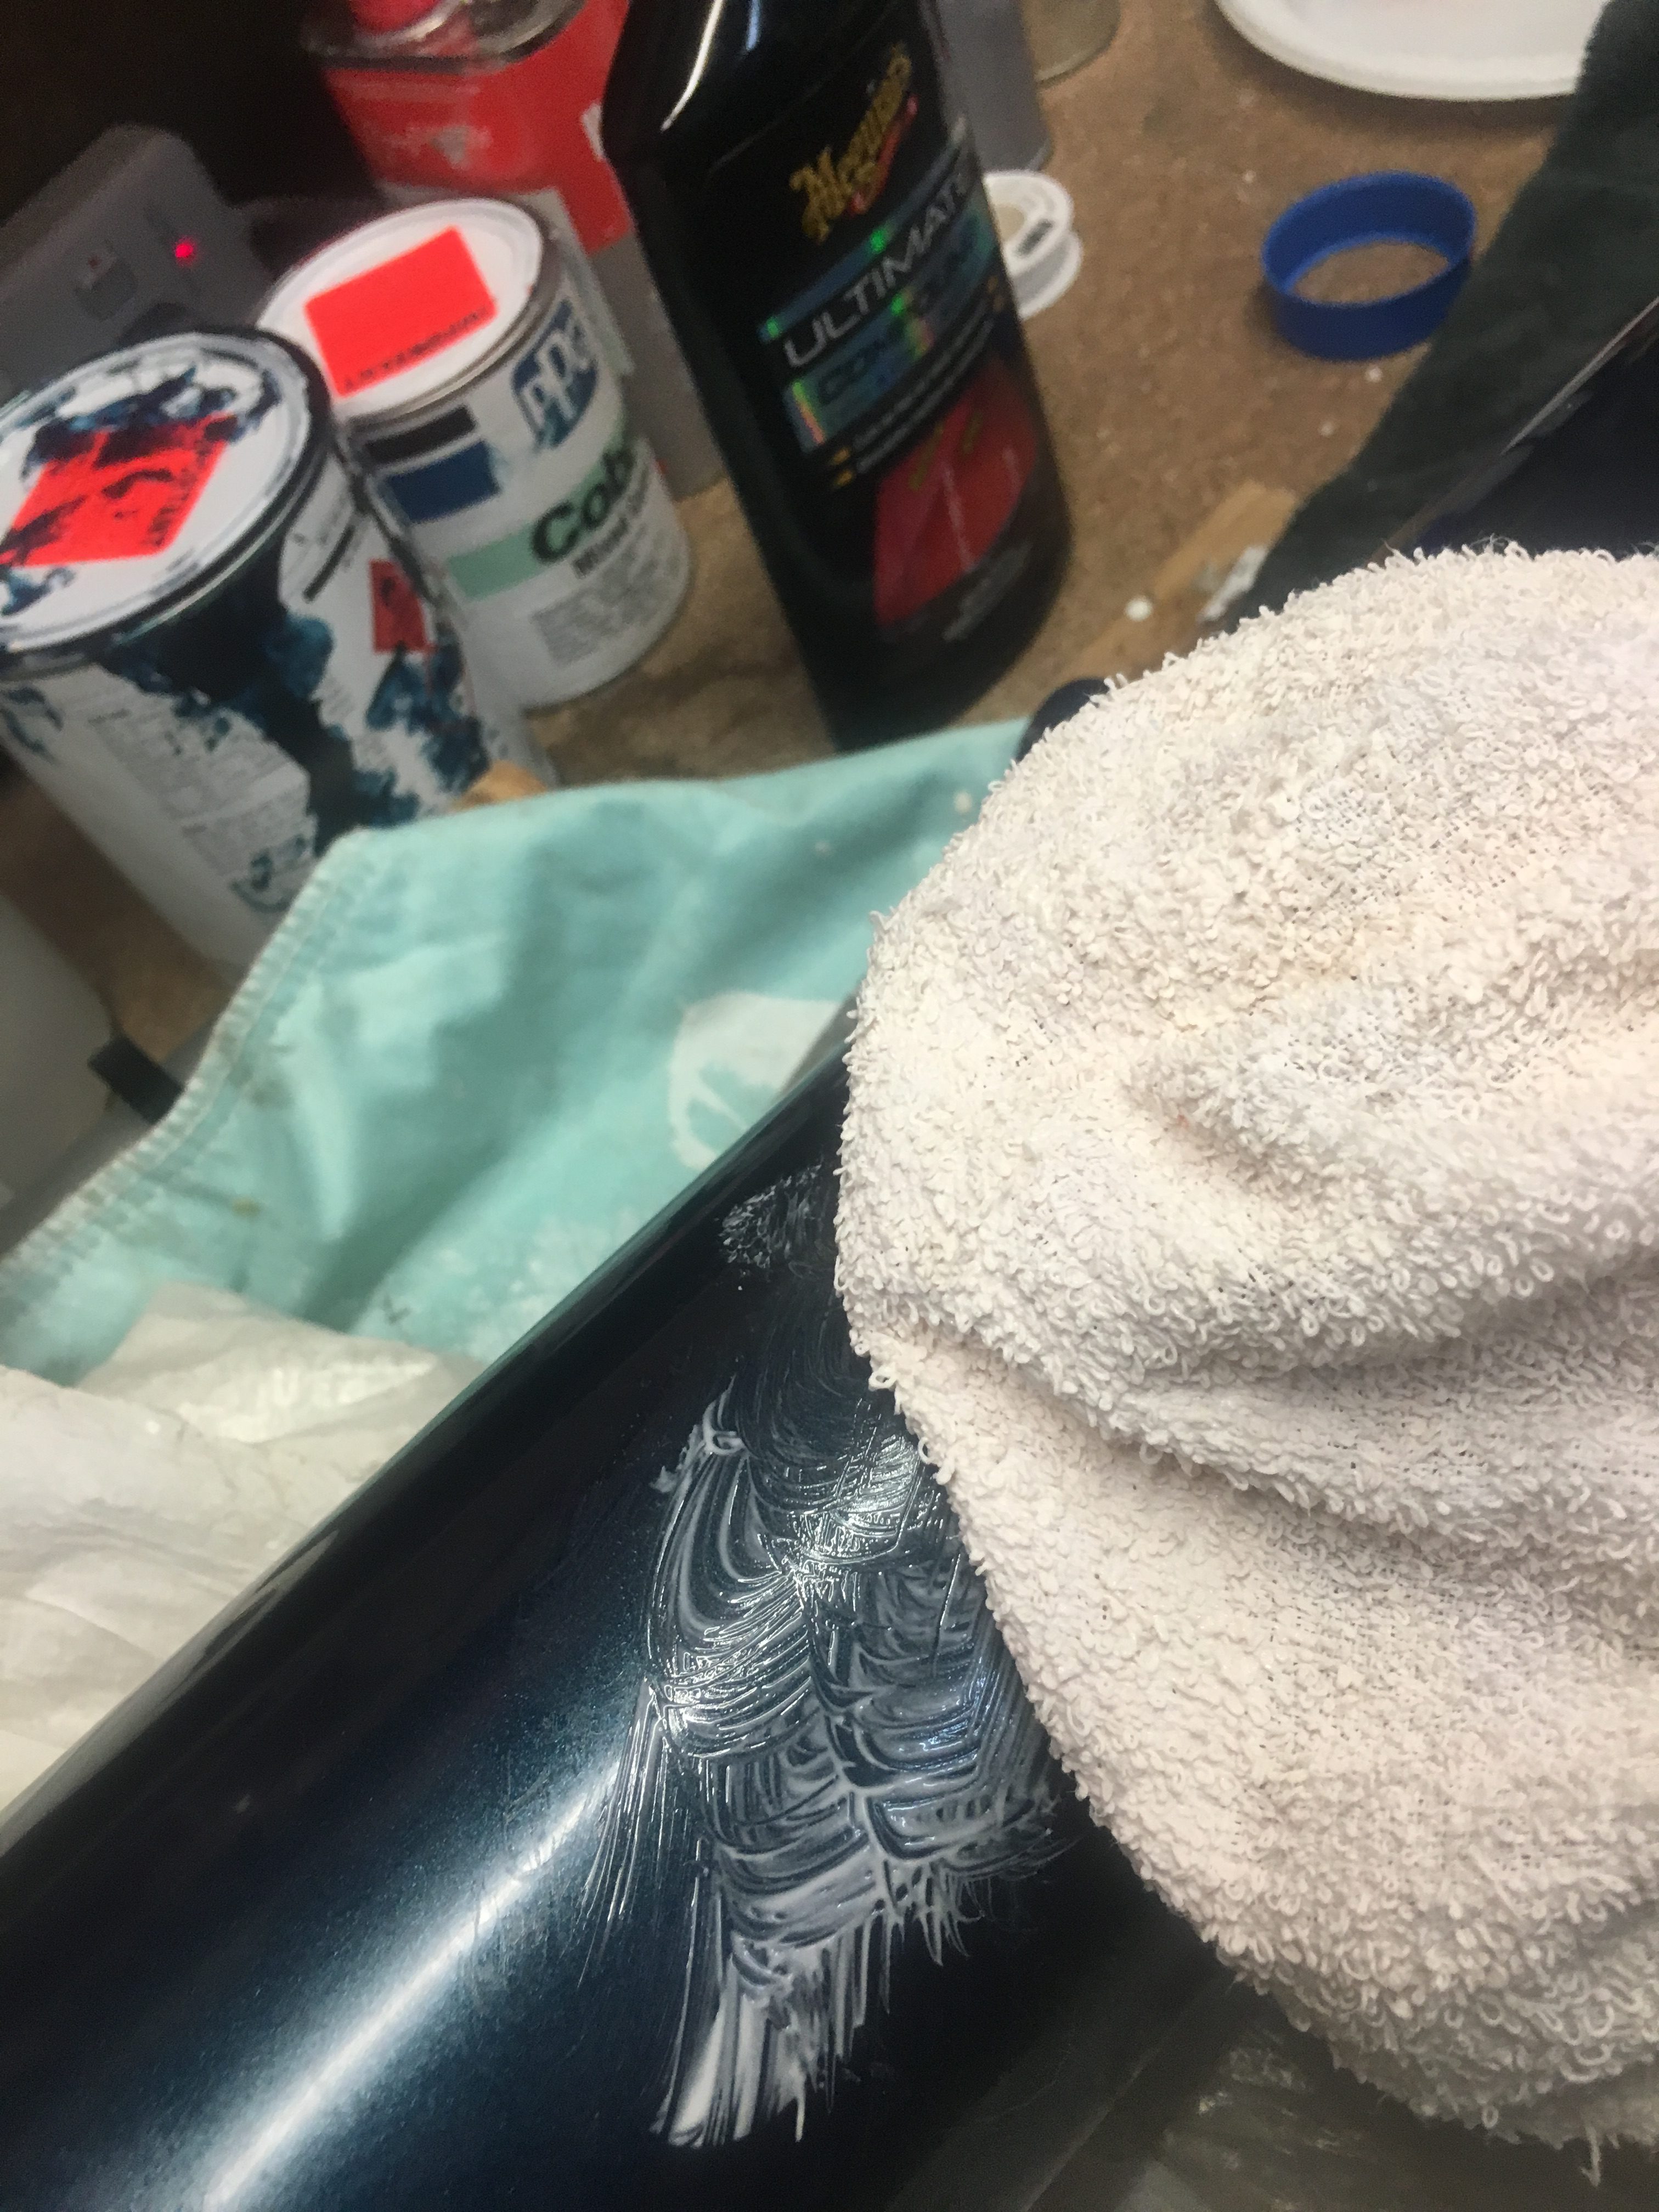
And I used a lot of manual rubbing (circular motion) to bring out the shine.

Madly polishing away.

I decided against a machine to polish it. I just didn’t want to risk ruining the paint work. Even if I had a machine, I still needed to get into some of the hard spots.

Occasionally, the result was poor and this was because I had not sanded the surface sufficiently. So I sanded it a bit more and this resulted in excellent results. See two photos below, one of an un-polished fin and the other of a polished fin.

Fin that hasn't been sanded and polished. Note the blurred appearance of items in the reflection.
Fin that hasn’t been sanded and polished. Note the blurred appearance of items in the reflection.
This fin has been sanded and polished. Note how we have a cleared view of objects in its reflection.

The Nose cone

The orange peel on the nose coat was much less a problem. Not sure why. Anyhow, I decided to polish this as well and got pretty good results.

A Second Paint Job

In the first paint session I managed to paint the nose coat with base coat and clear coat. I base coated the booster, but had some issues and ran out of blue base paint.

The second paint job is to complete the painting tasks. For the second paint session I decided to purchase a gravity-fed spray gun.

$30 dollar spray gun - Gravity fed. Well worth the investment.
$30 dollar spray gun – Gravity fed. Well worth the investment.

For the second paint session I purchased new :-

  • 1 litre of blue paint
  • 0.5 litres of thinner
  • 0.5 litres of hardener (activator)
Second batch of paint products for painting booster using new Gravity Fed spray gun.

Unfortunately I didn’t take too many pictures during the second paint session. I was too busy concentrating on the job. The base coat (blue) went fairly well. I have a photo of the booster hung up below.

Photo during painting. Using the gravity fed spray gun.

The big differences this time was :-

  • The use of gravity fed spray gun with regulator. This meant I could actually get the air coming out at the right pressure. With the previous gun, I had no really control over the pressure (well I had no knowledge of what it was set to).
  • More base coat to experiment with
  • Lowered the whole rocket about 15cm to make it easier to paint. Arm won’t get as sore.
  • Had special tray for cleaning gun between base and clear coat
  • Purchased 4 litres of thinner specifically for cleaning the gun. So now I don’t have to use the precious thinner that is supposed to be used for the paints.
Rather than waste valuable thinners used in painting, decided to purchase some, just for cleaning.

Problems experienced during painting

Unfortunately I did get a few runs with the clear coat and I’m very sure it is because I went over the fin-cam too many times. i.e. three passes, when two passes would have been sufficient. The spray was open wide and there was more overlap than I expected. This is due to my inexperience.

I decided not to sand back down to base and do it all again. I decided to just remove the obvious runs and polish the rocket.

Removing the Runs

I removed the large runs by applying some polyster filler compound. After 20 mins it was set and I sanded it down using grit 400 sand paper. This meant I was only sanding the runs and not the area around them. It worked very well. Then I sanded it down with 1200, 1500 and then 2000 to removal all remaining traces of the runs. There is still some undulation of the clear coat because of the flow of the clearcoat, but it is only slightly undulating and is very smooth.

Reflecting on the results

So while I didn’t get the best result, I did learn a lot on what went wrong and how to remedy some of the issues I created. I have to remind myself this is my second paint job in my life. It went reasonably well considering!

Testing out the Ejection charges

I purchased the following eMatches to test out the ejection charges.

https://ausrocketry.com.au/igniters-e-matches/j-tek-lf-electric-match-24-inch-60cm-1.html

The recommended firing current is 1 Amp. The Duracell battery I want to use should be able to supply this without any trouble. I wish to conduct three tests:-

  • Test 1 – firing igniter standalone
  • Test 2 – Fire igniters from the Raven 3
  • Test 3 – Ejection test of drogue parachute.
  • Test 4 – Ejection test of main parachute.

To perform all these tests I created a test-fire box using old Cat-5 cable and some old parts lying around. Here is a movie describing what I made.

It isn’t neat/tidy, but very functional and safe. I can install all deployment charges without having the battery connected at all.

Test 1

I wanted to convince myself that the igniter would work on one of these nine volt batteries with this ignition system. Below is a video showing this.


The remaining tests will come in other posts.