What I wish to create
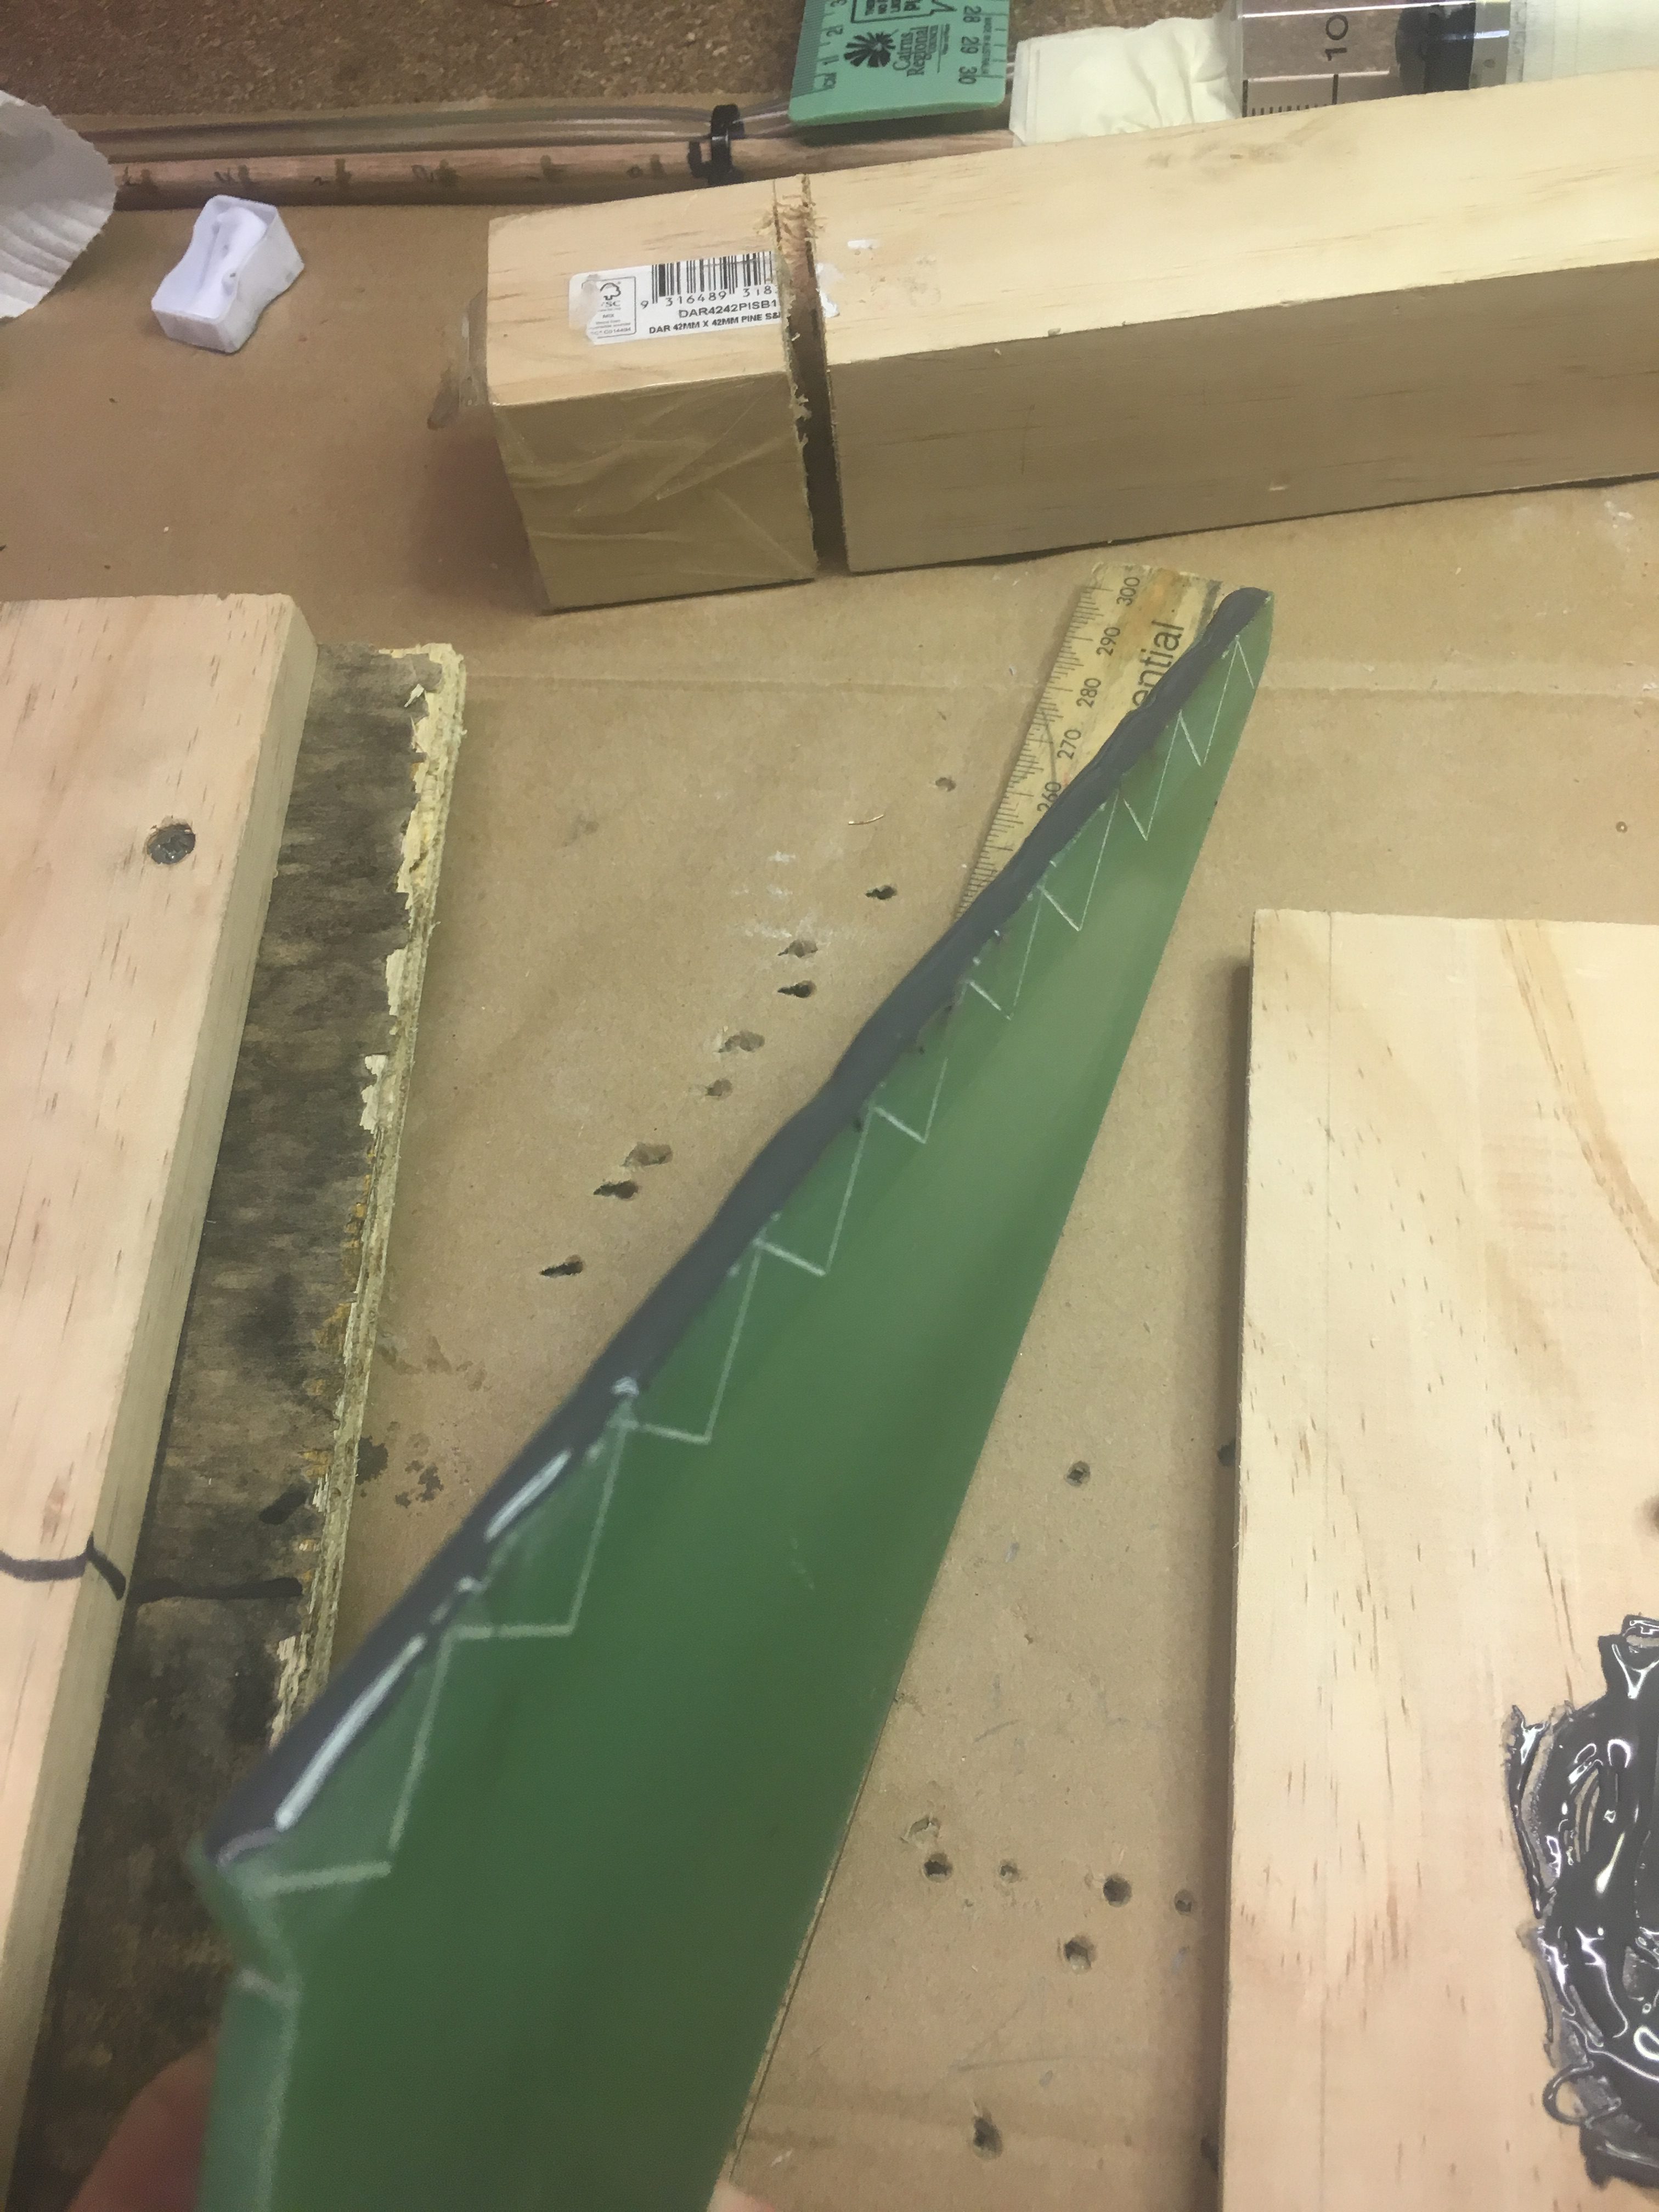
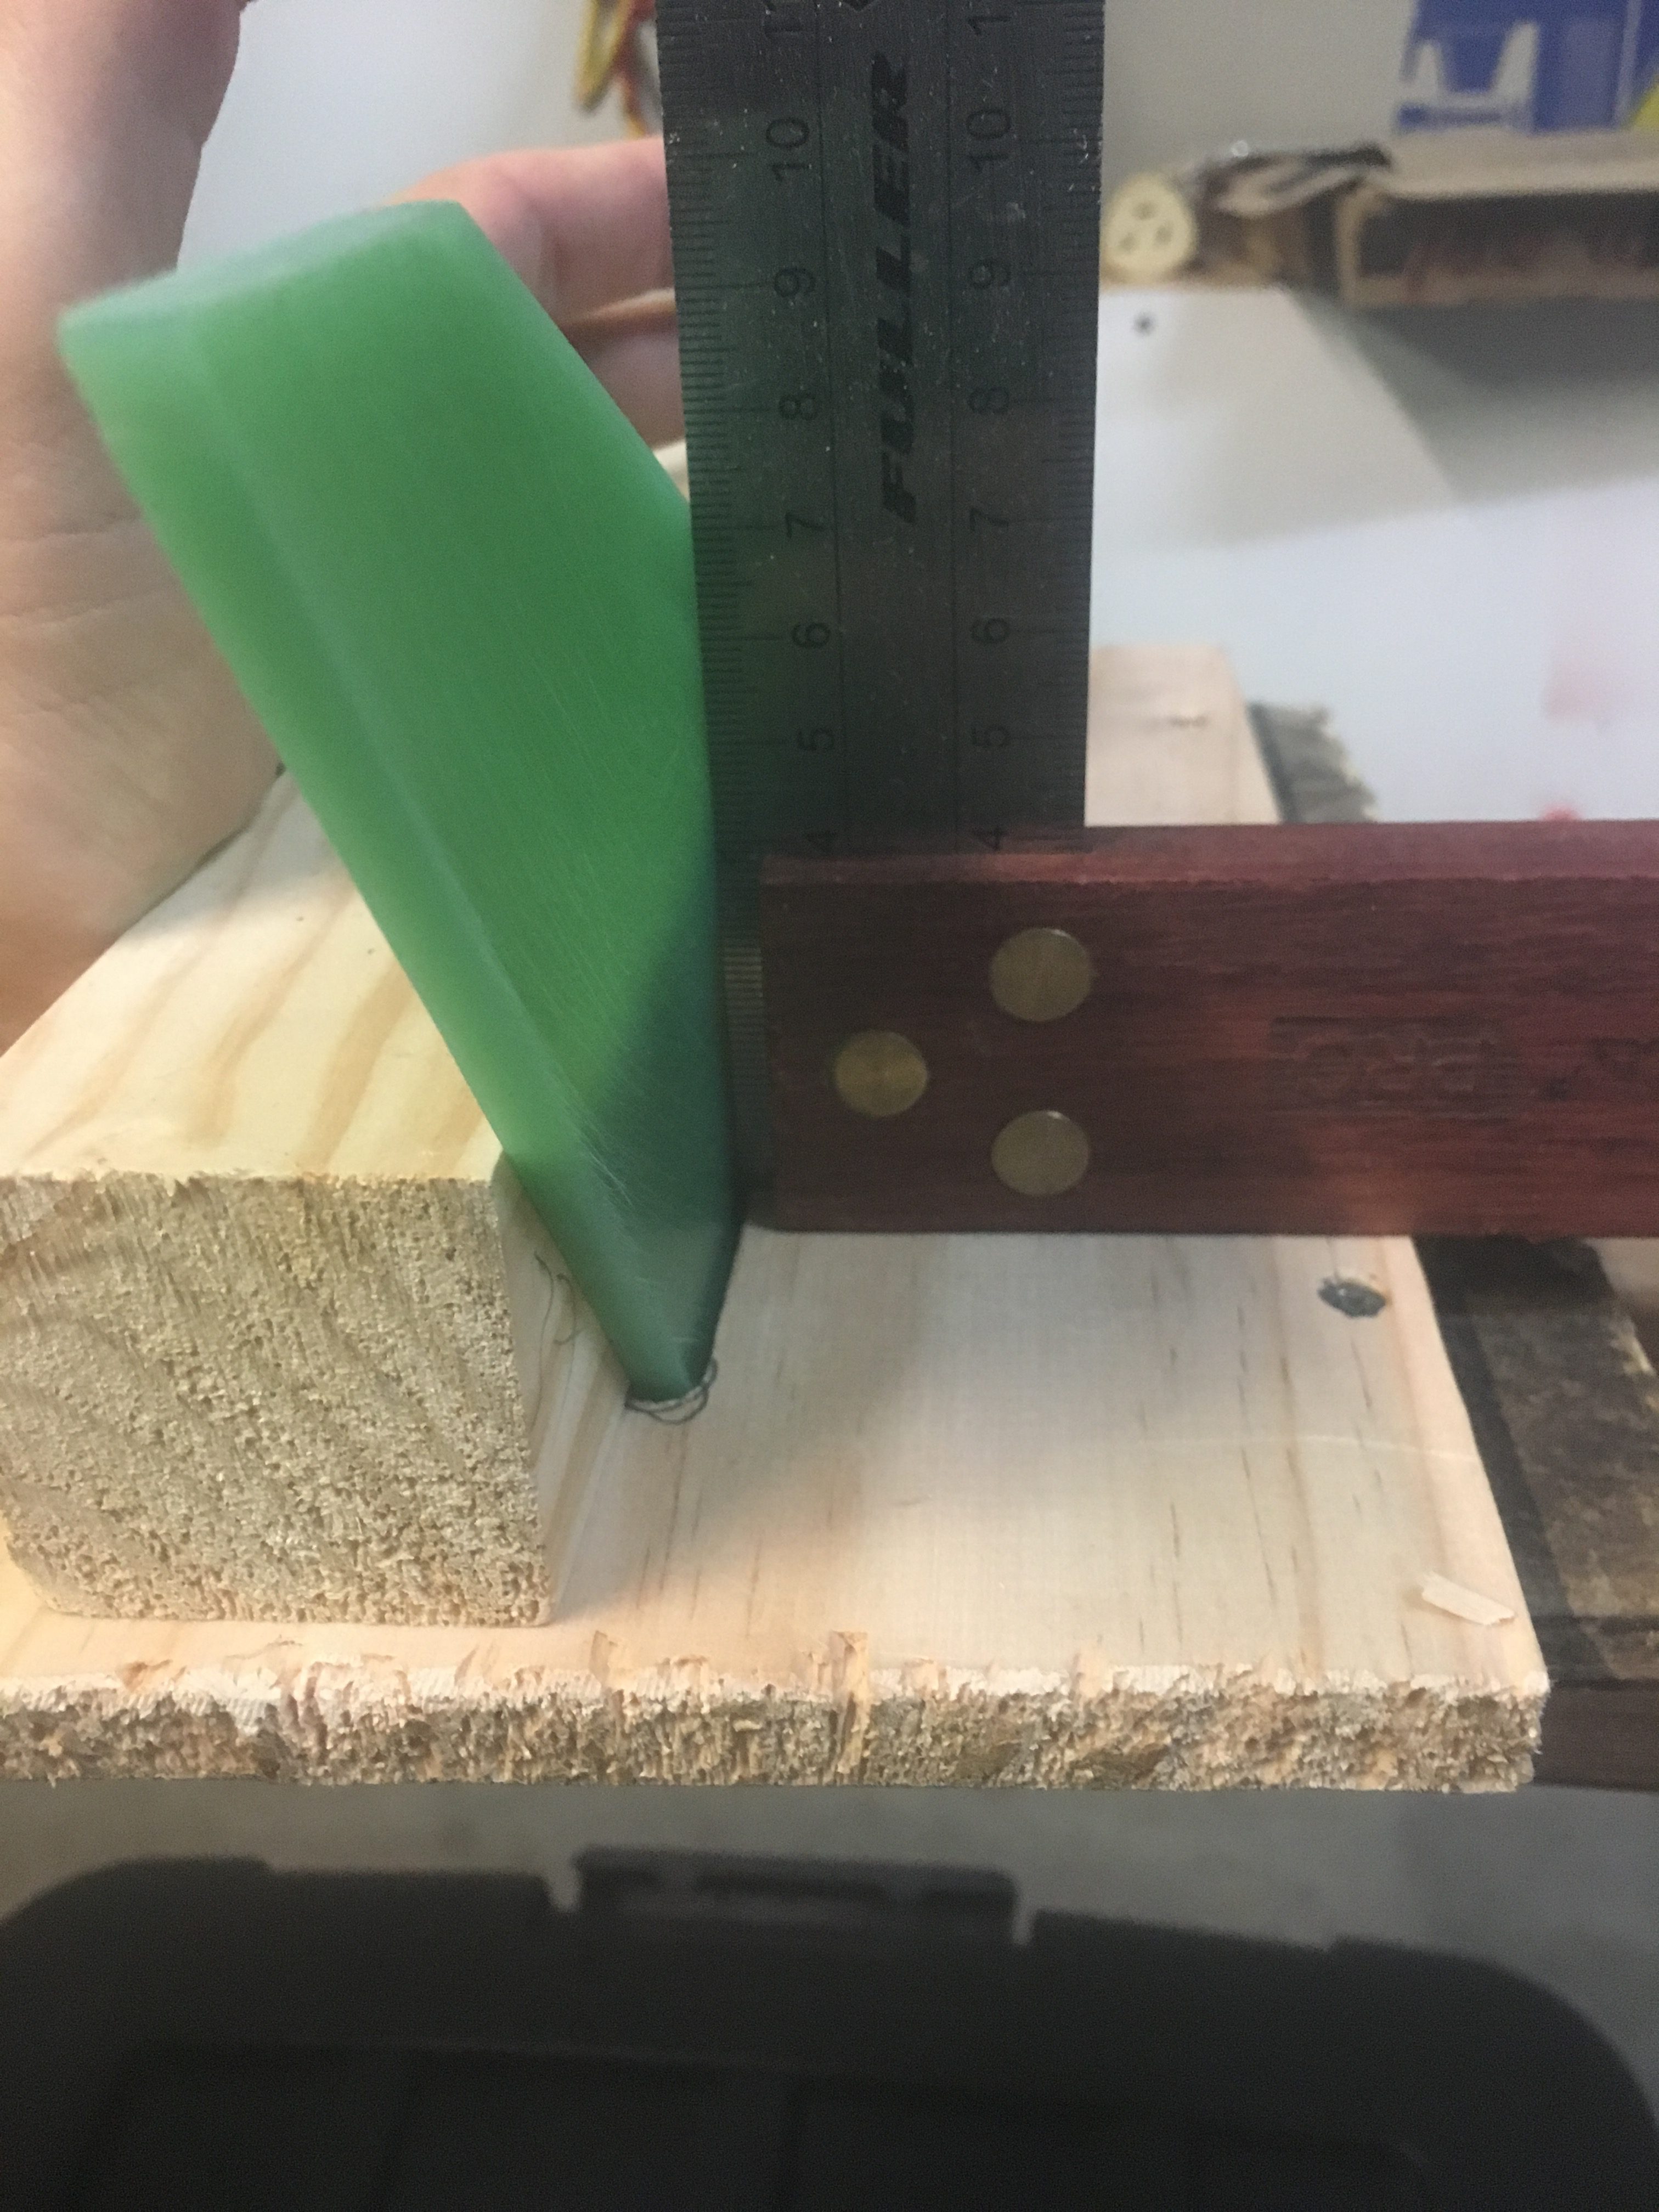
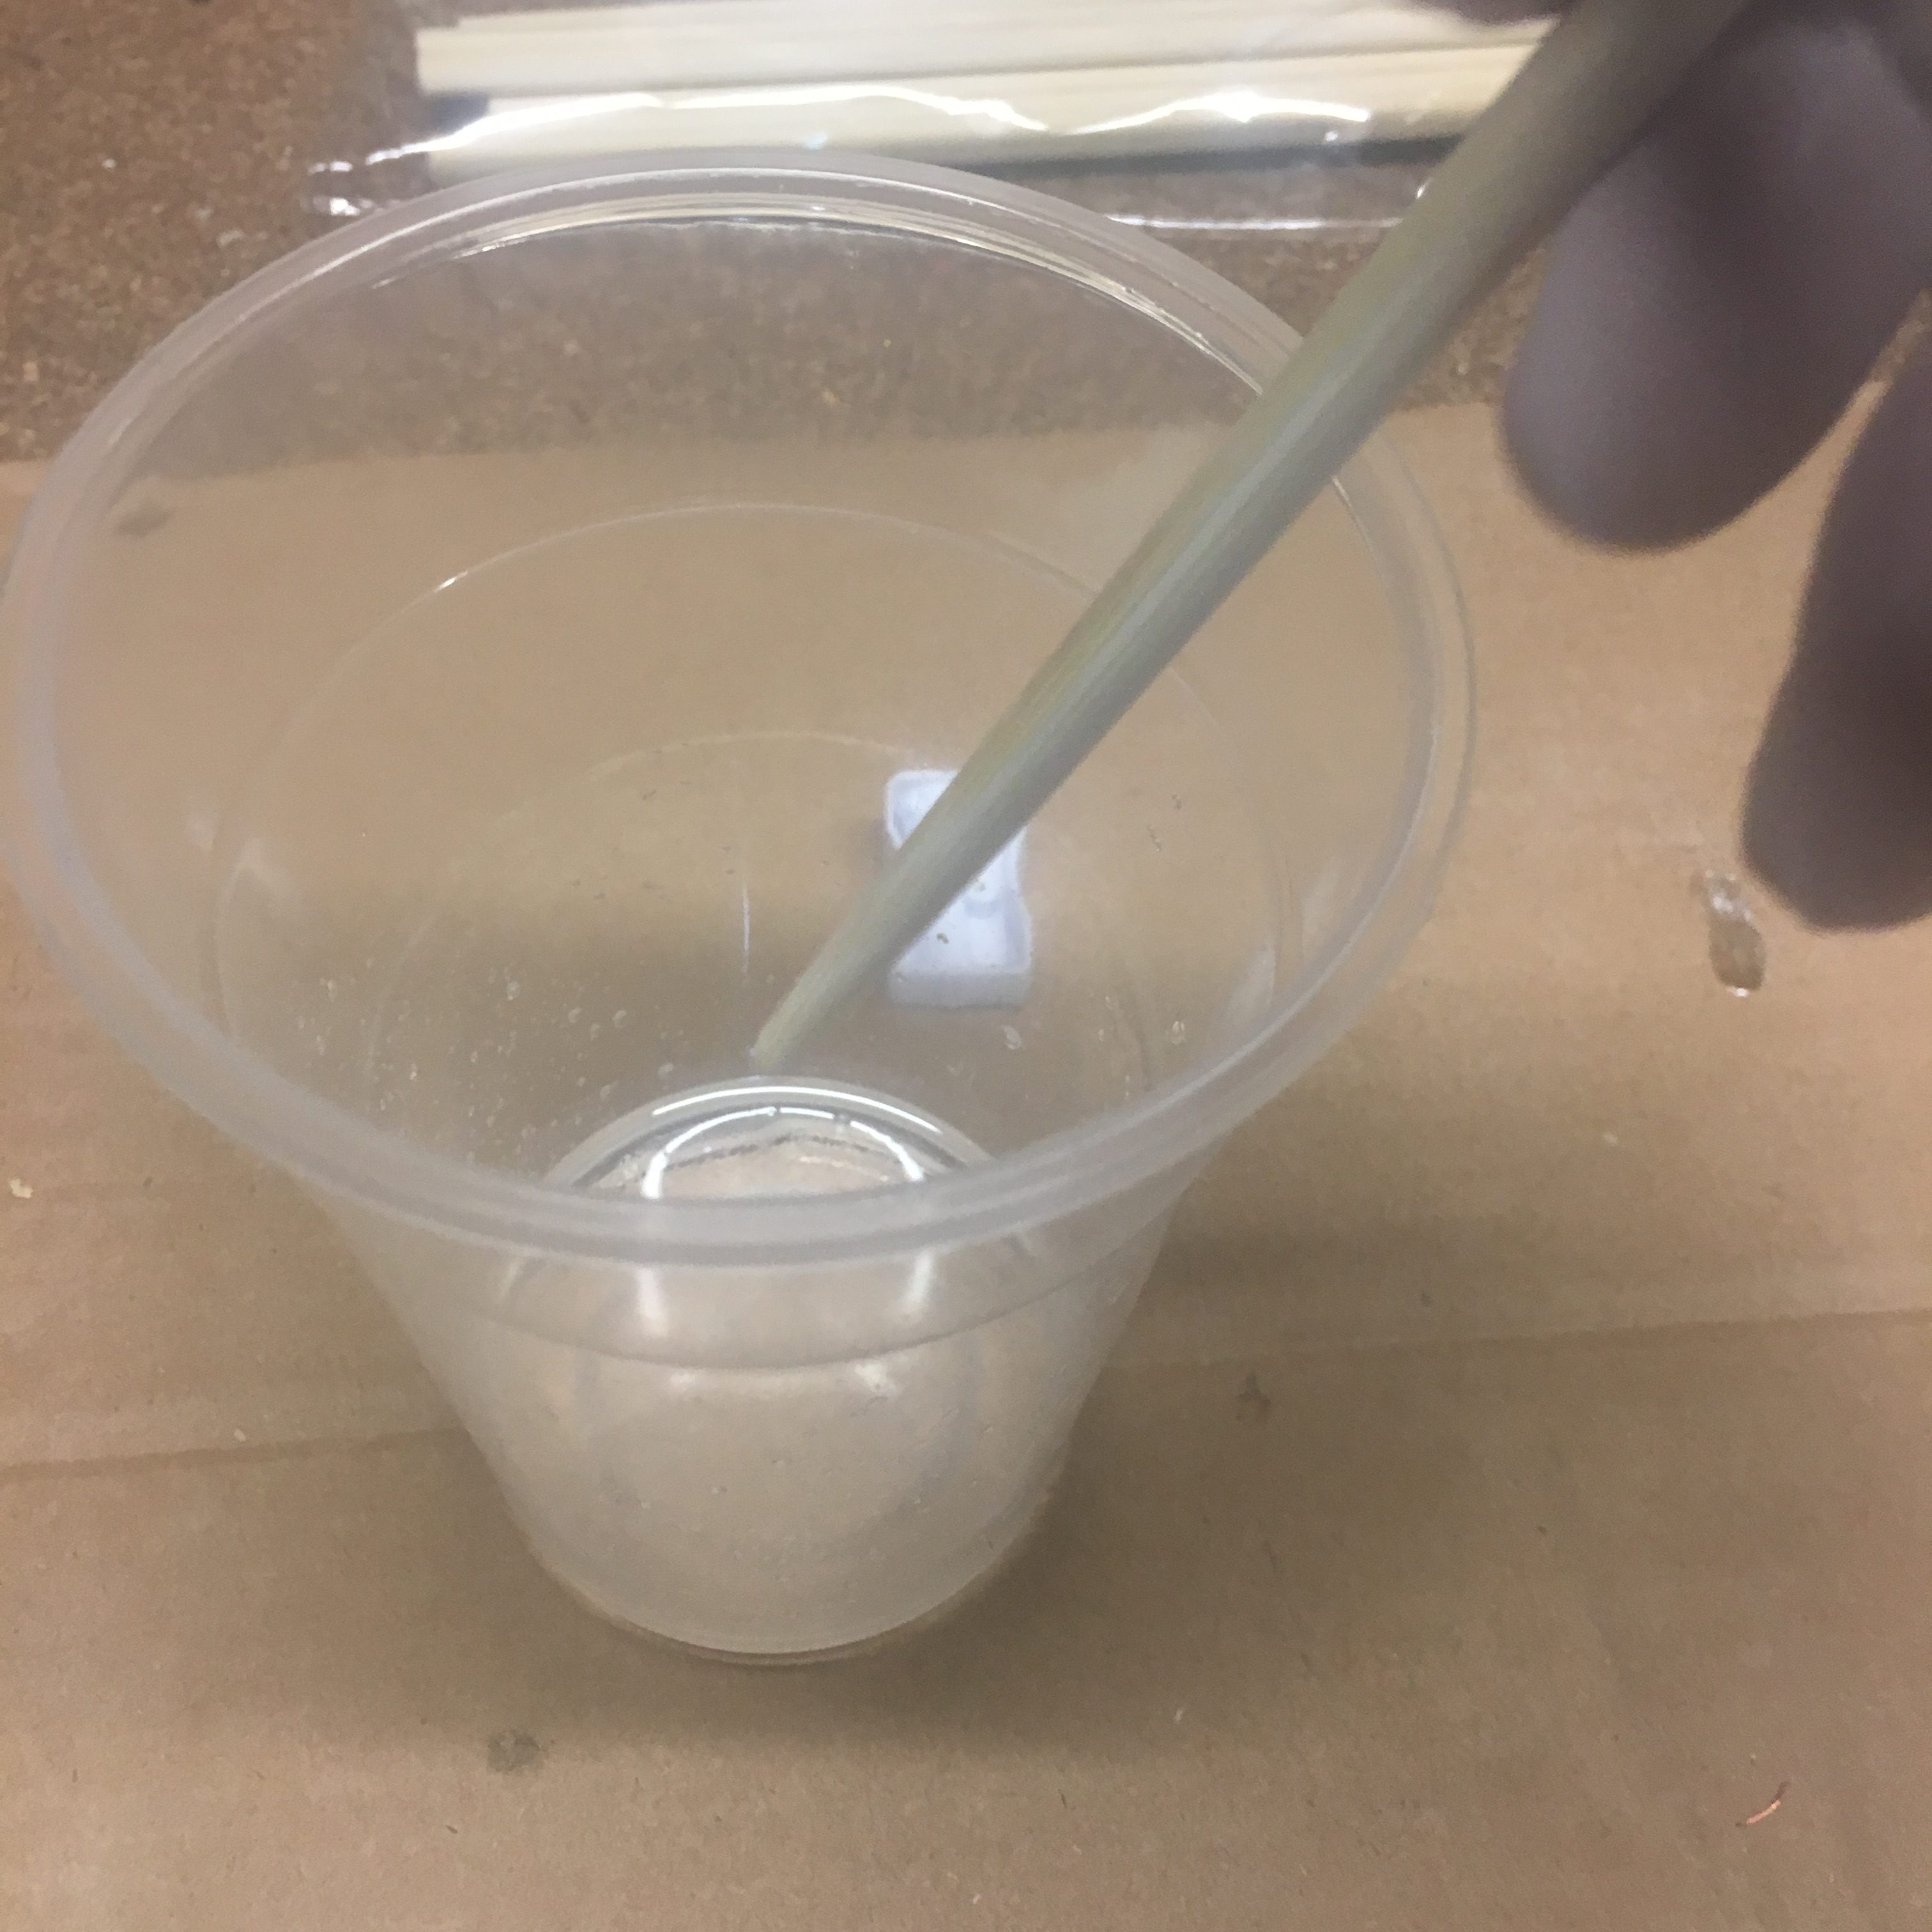
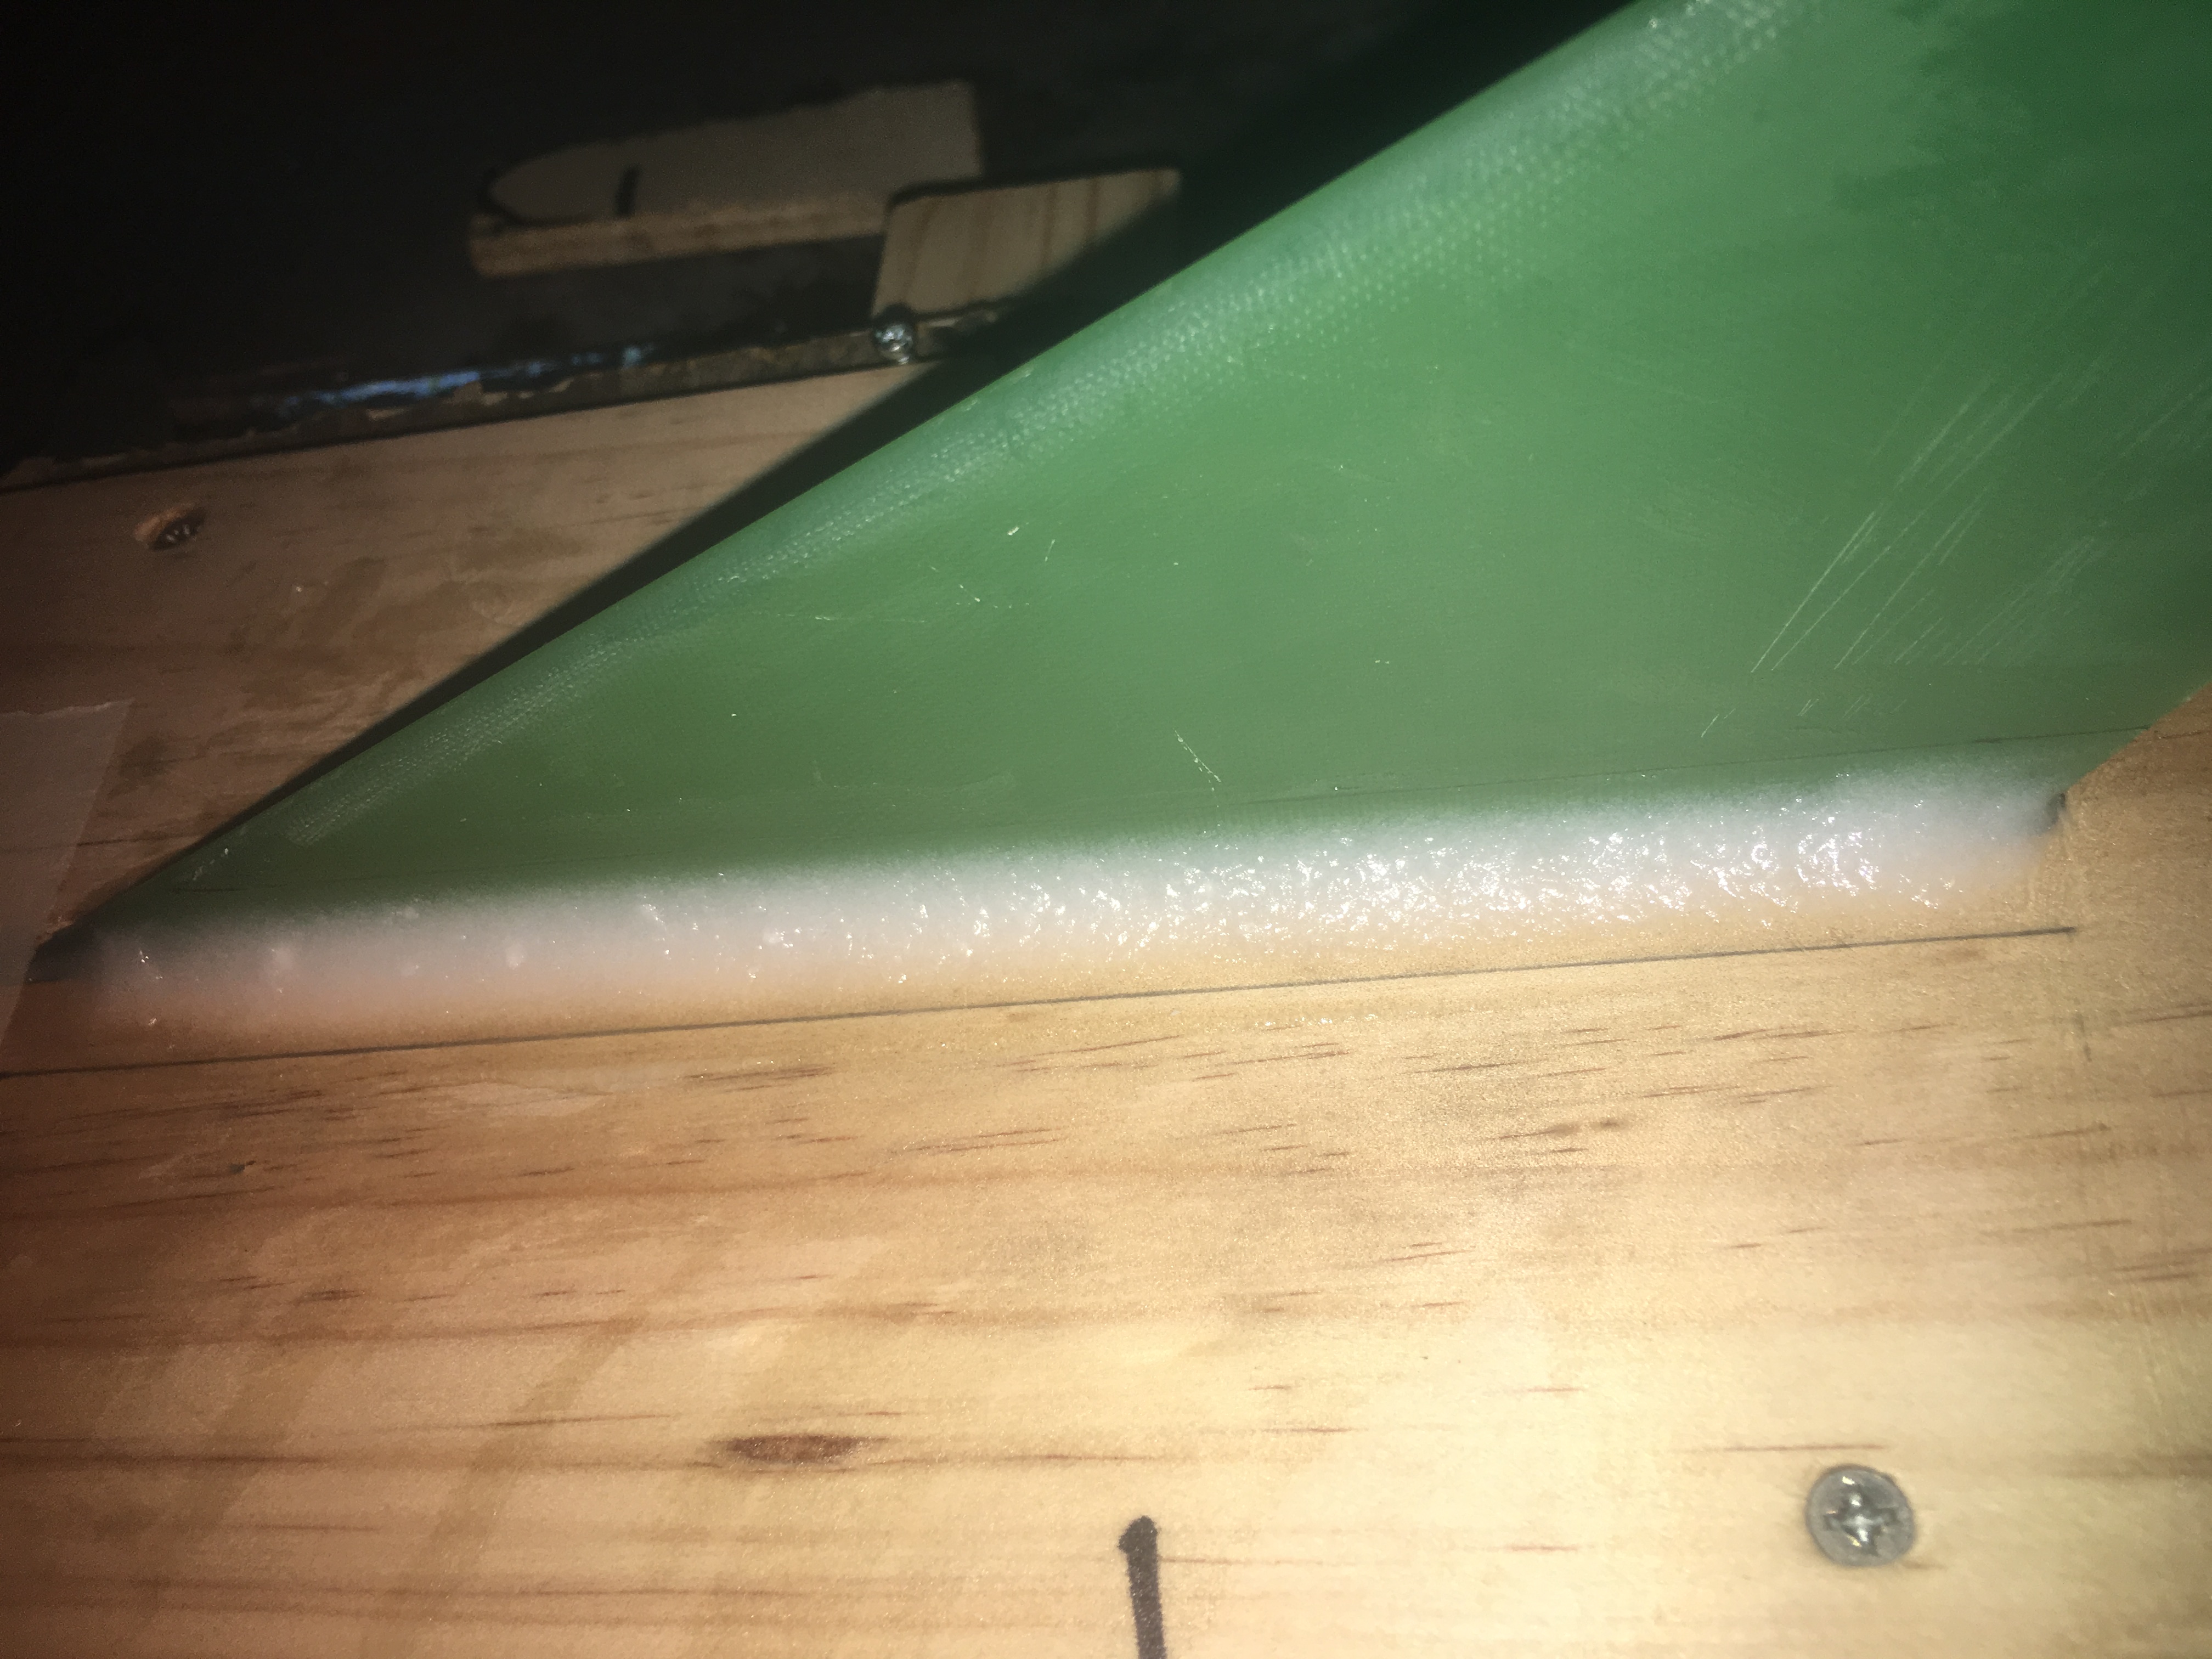
I’ve started creating some external fillets on my test fin using West Systems Epoxy. I wanted to make 1cm fillets on both sides. So 2 * 20 = 40cm of fillets in total.
The radius of curvature is 1cm. With some simple calculations I determined that I needed about 17cm^3 of material. I decided to make a lot more, so that I didn’t run out.
Materials
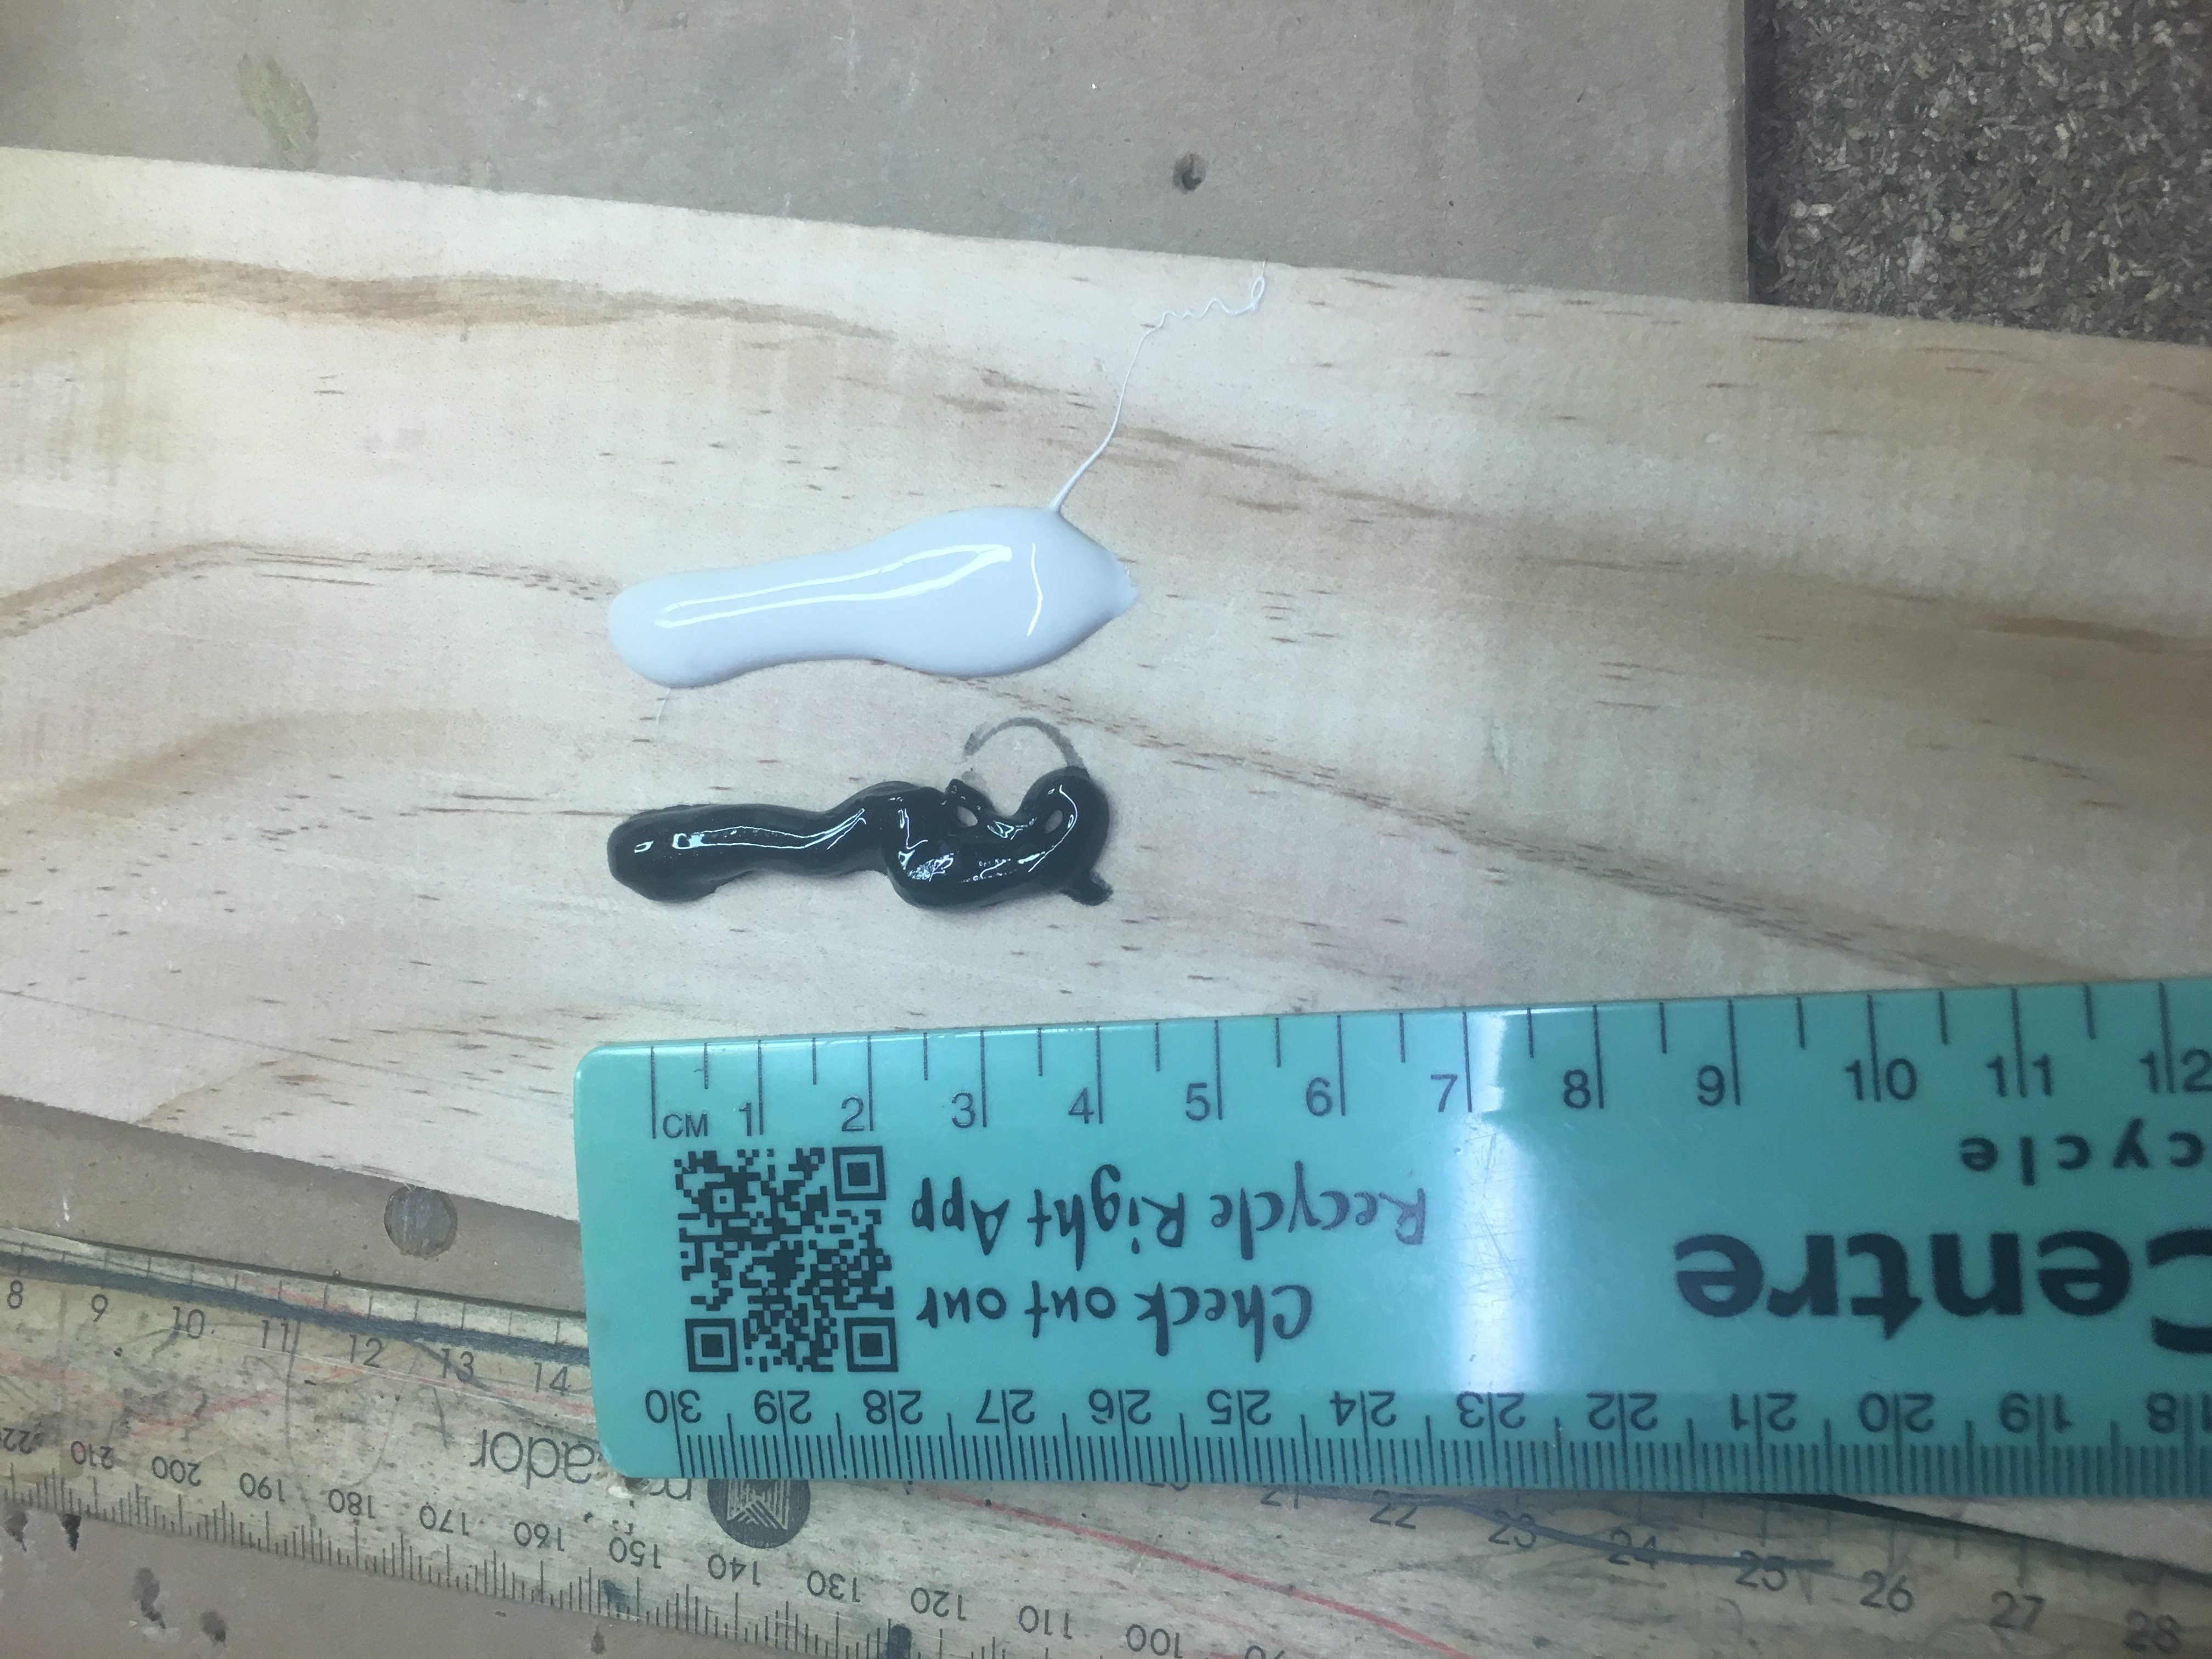
So I used:-
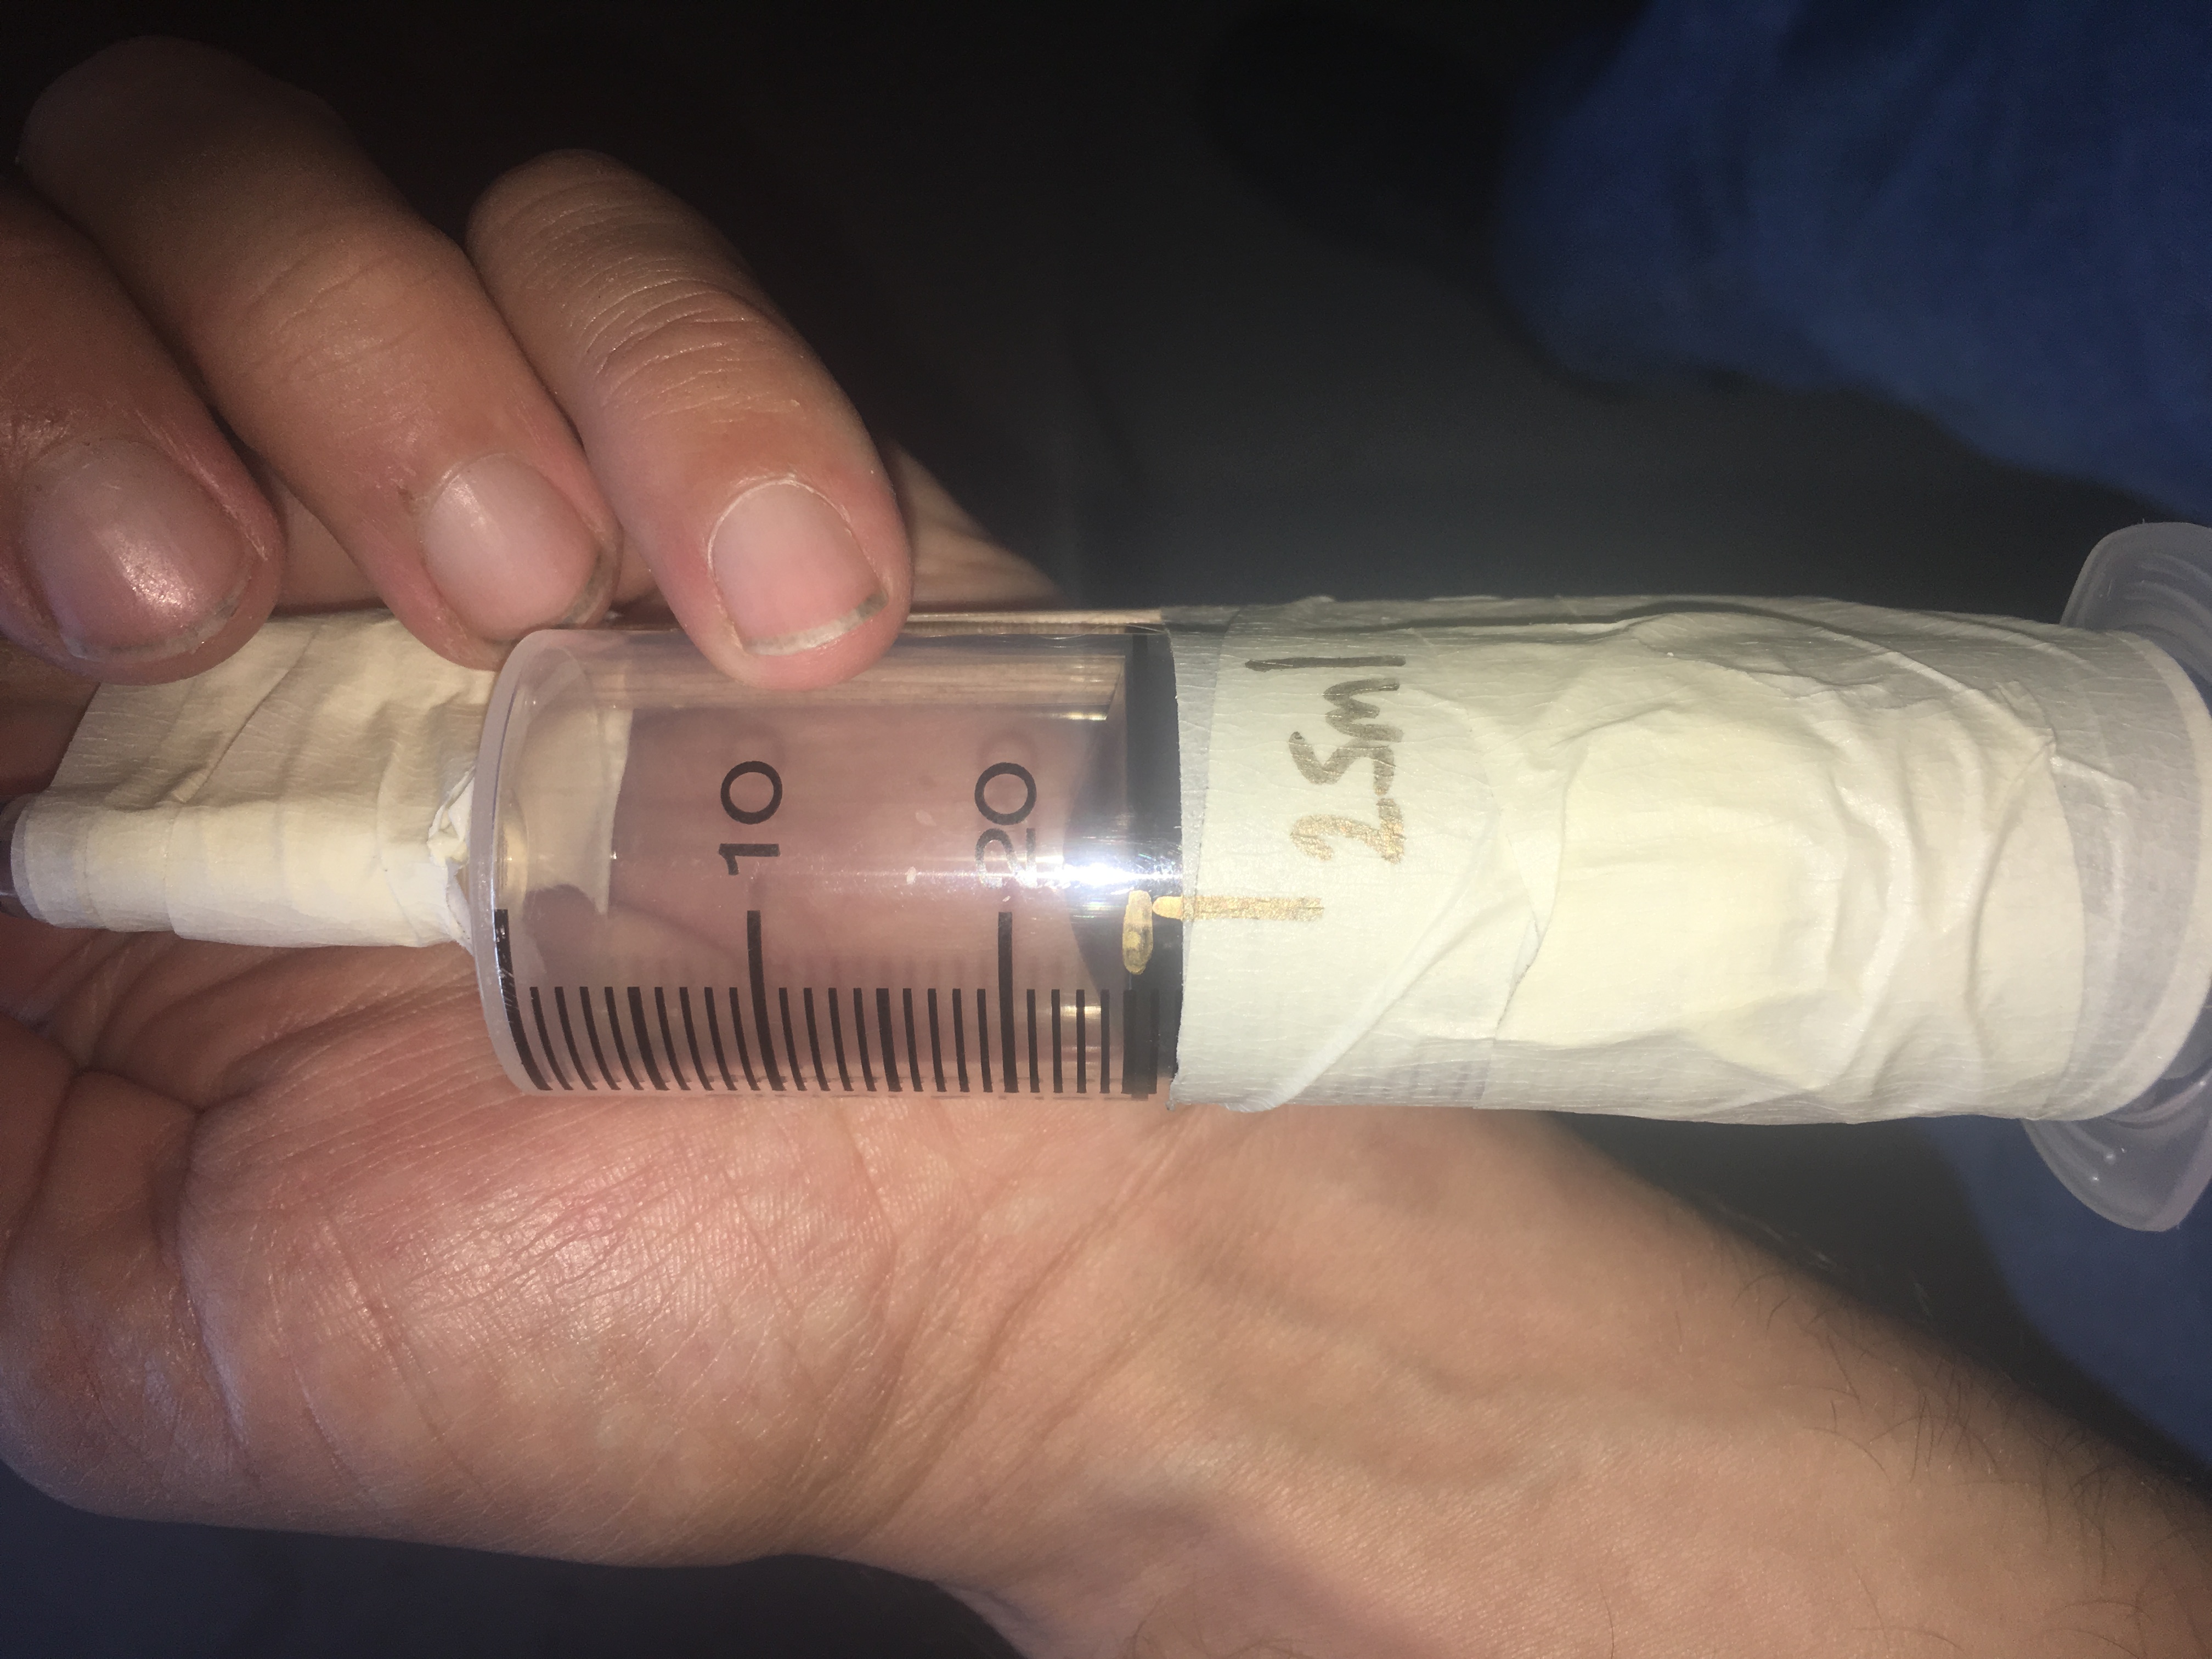
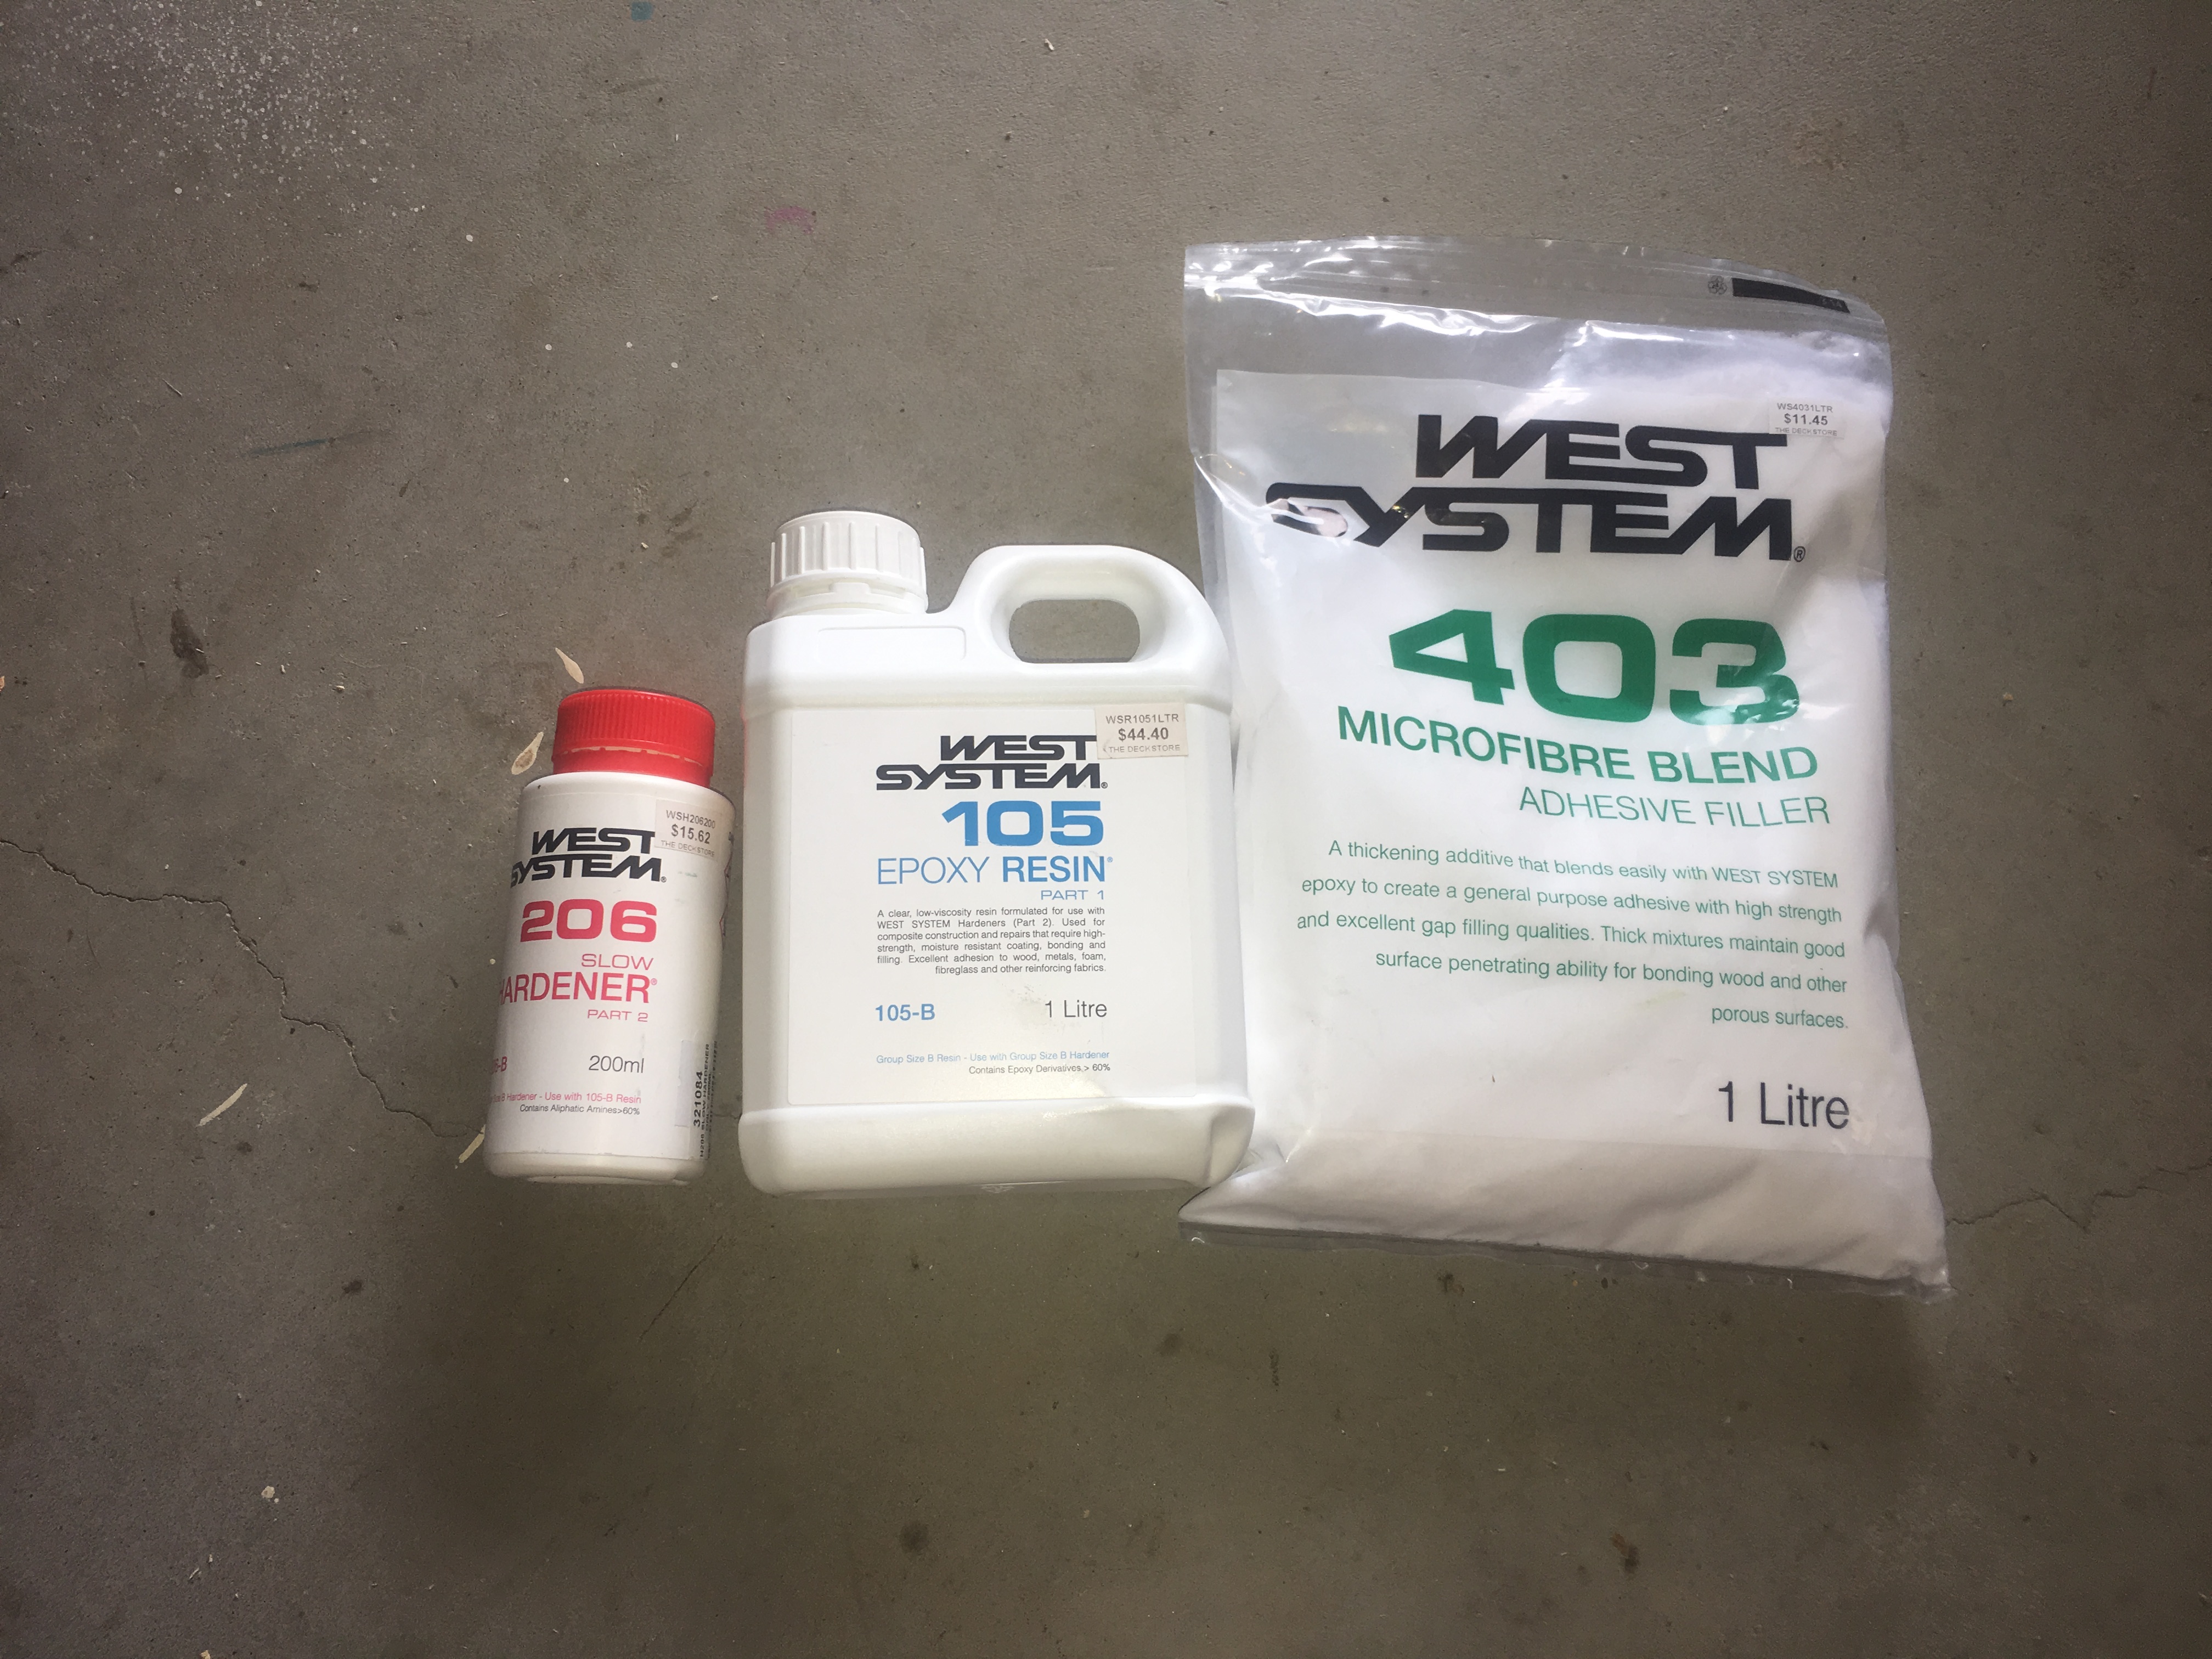
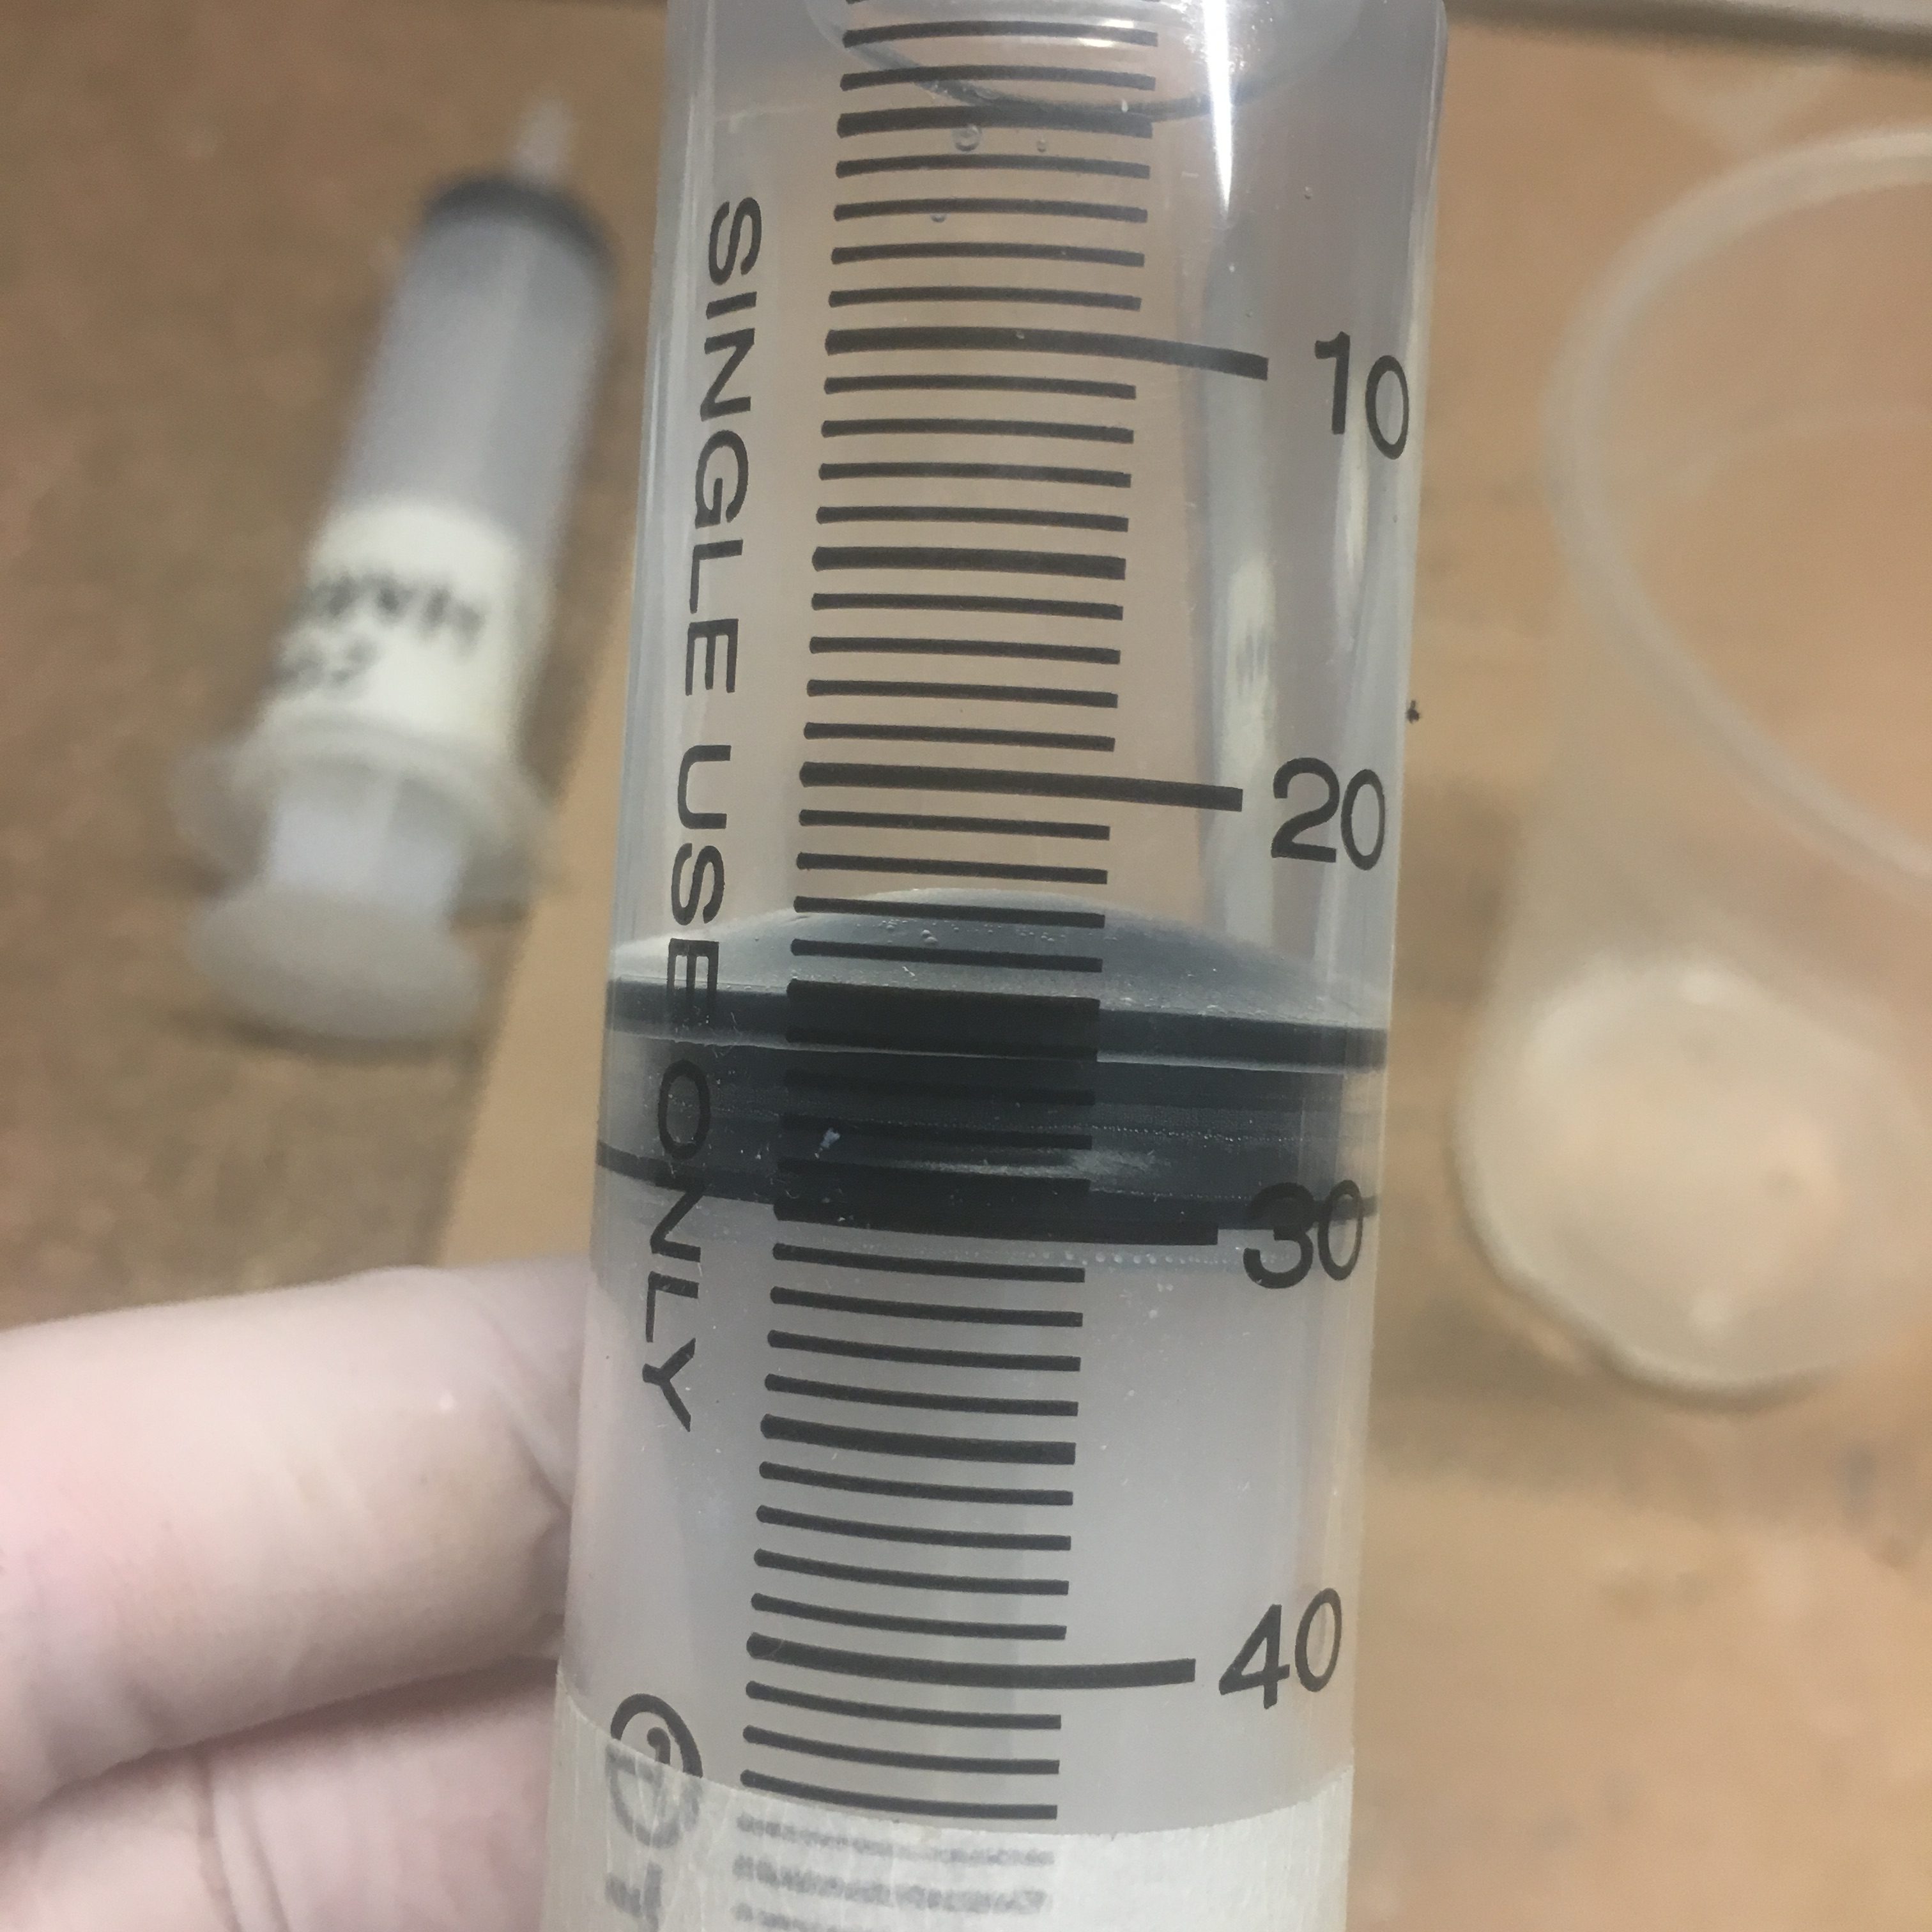
- 25ml of 105 Resin
- 5ml of 206 Hardener
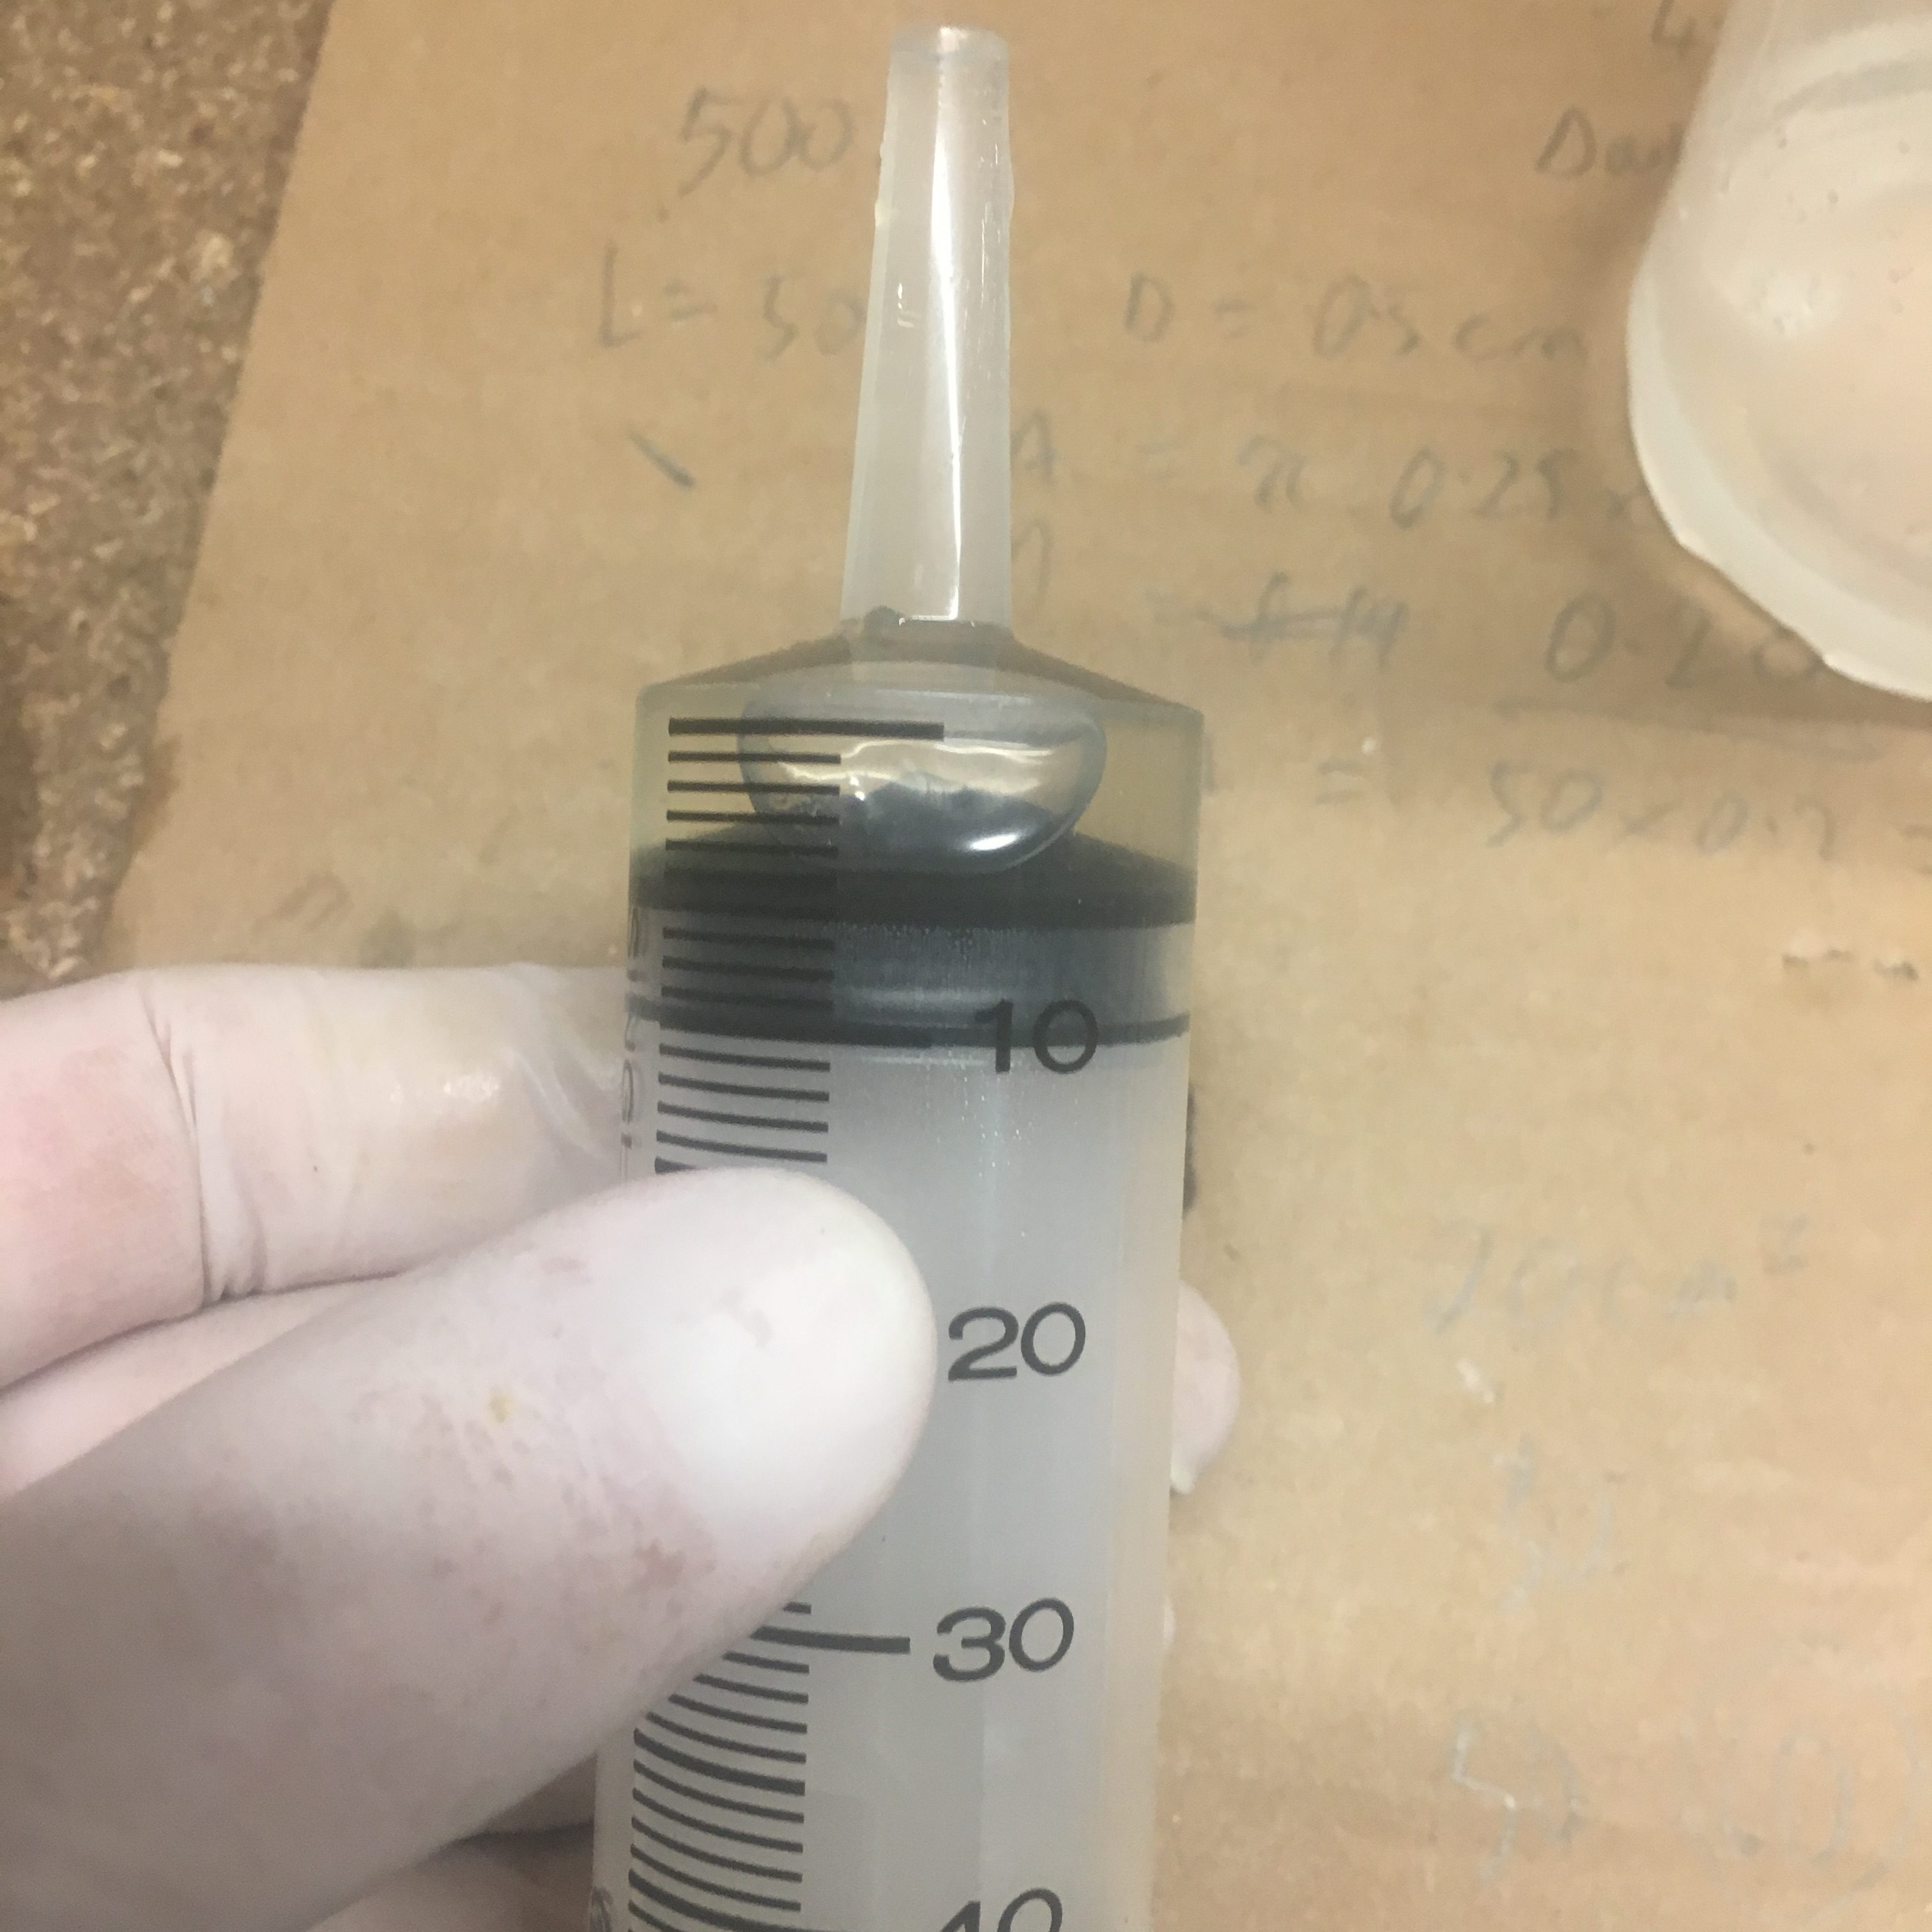
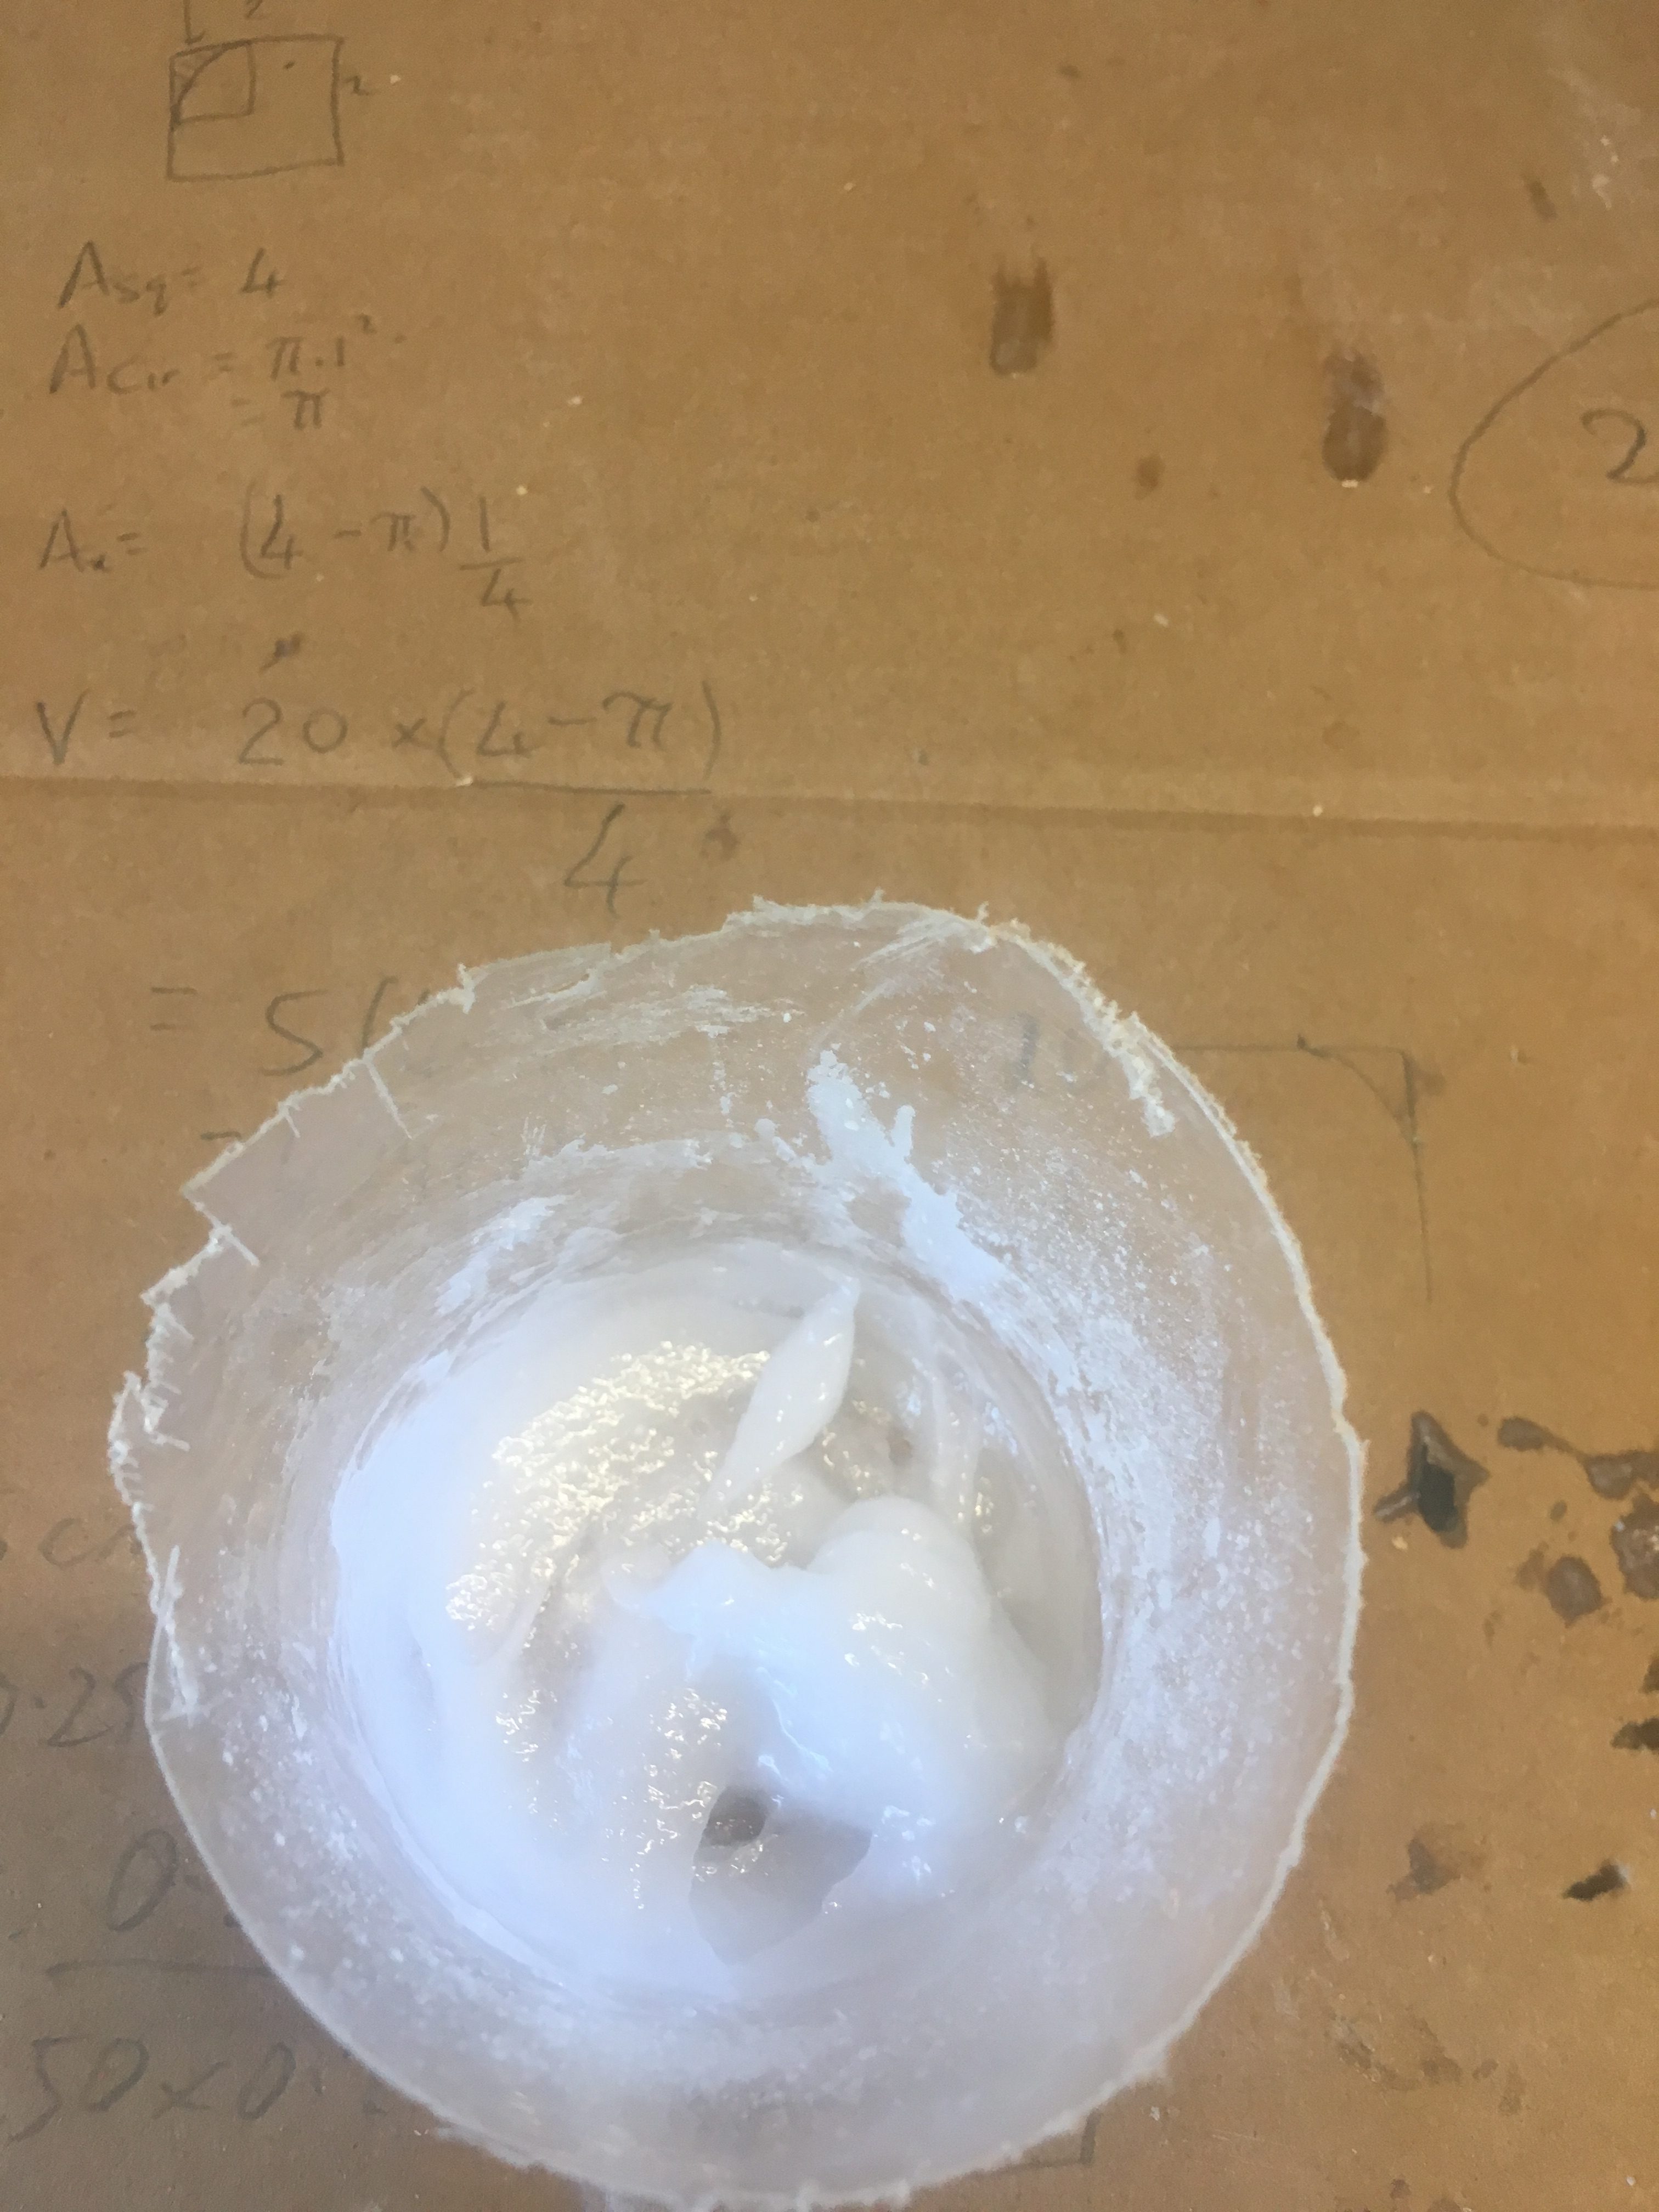
- Approx 4 grams of 403 – to get it to peanut butter consistency, where it would not drip. This is a bit of a visual ‘job’, don’t try to measure it accurately as the scales aren’t accurate enough.
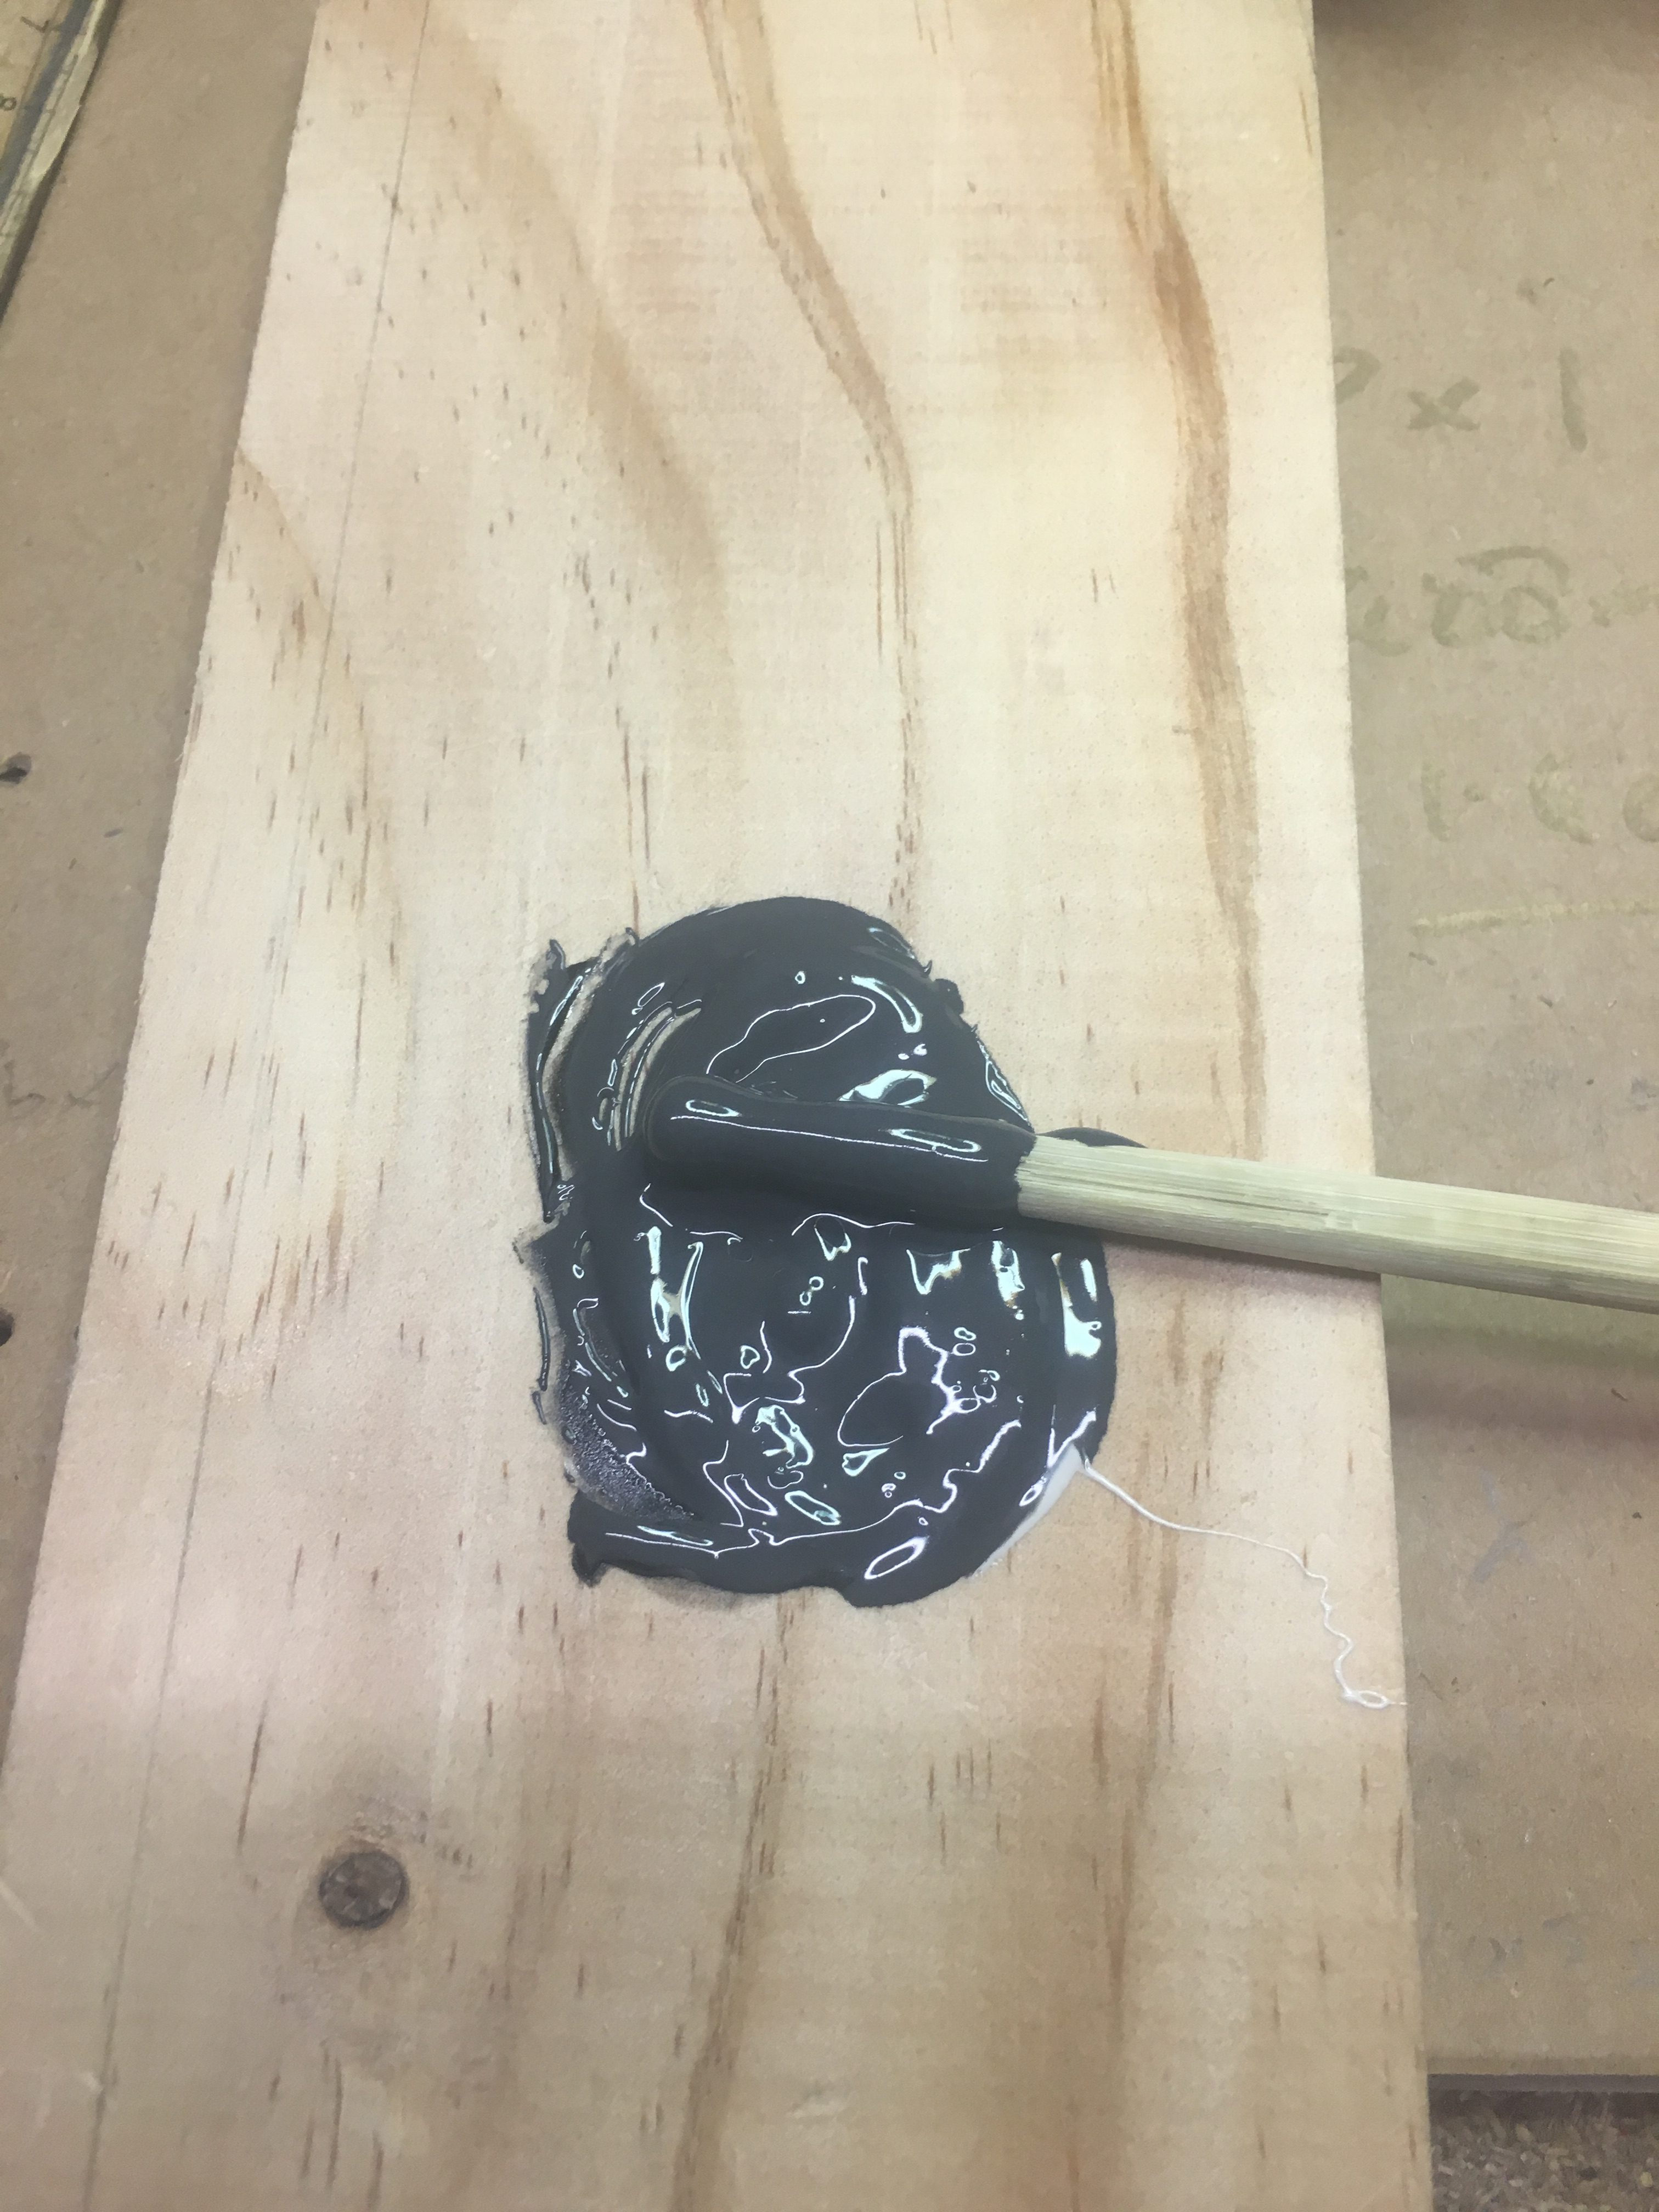
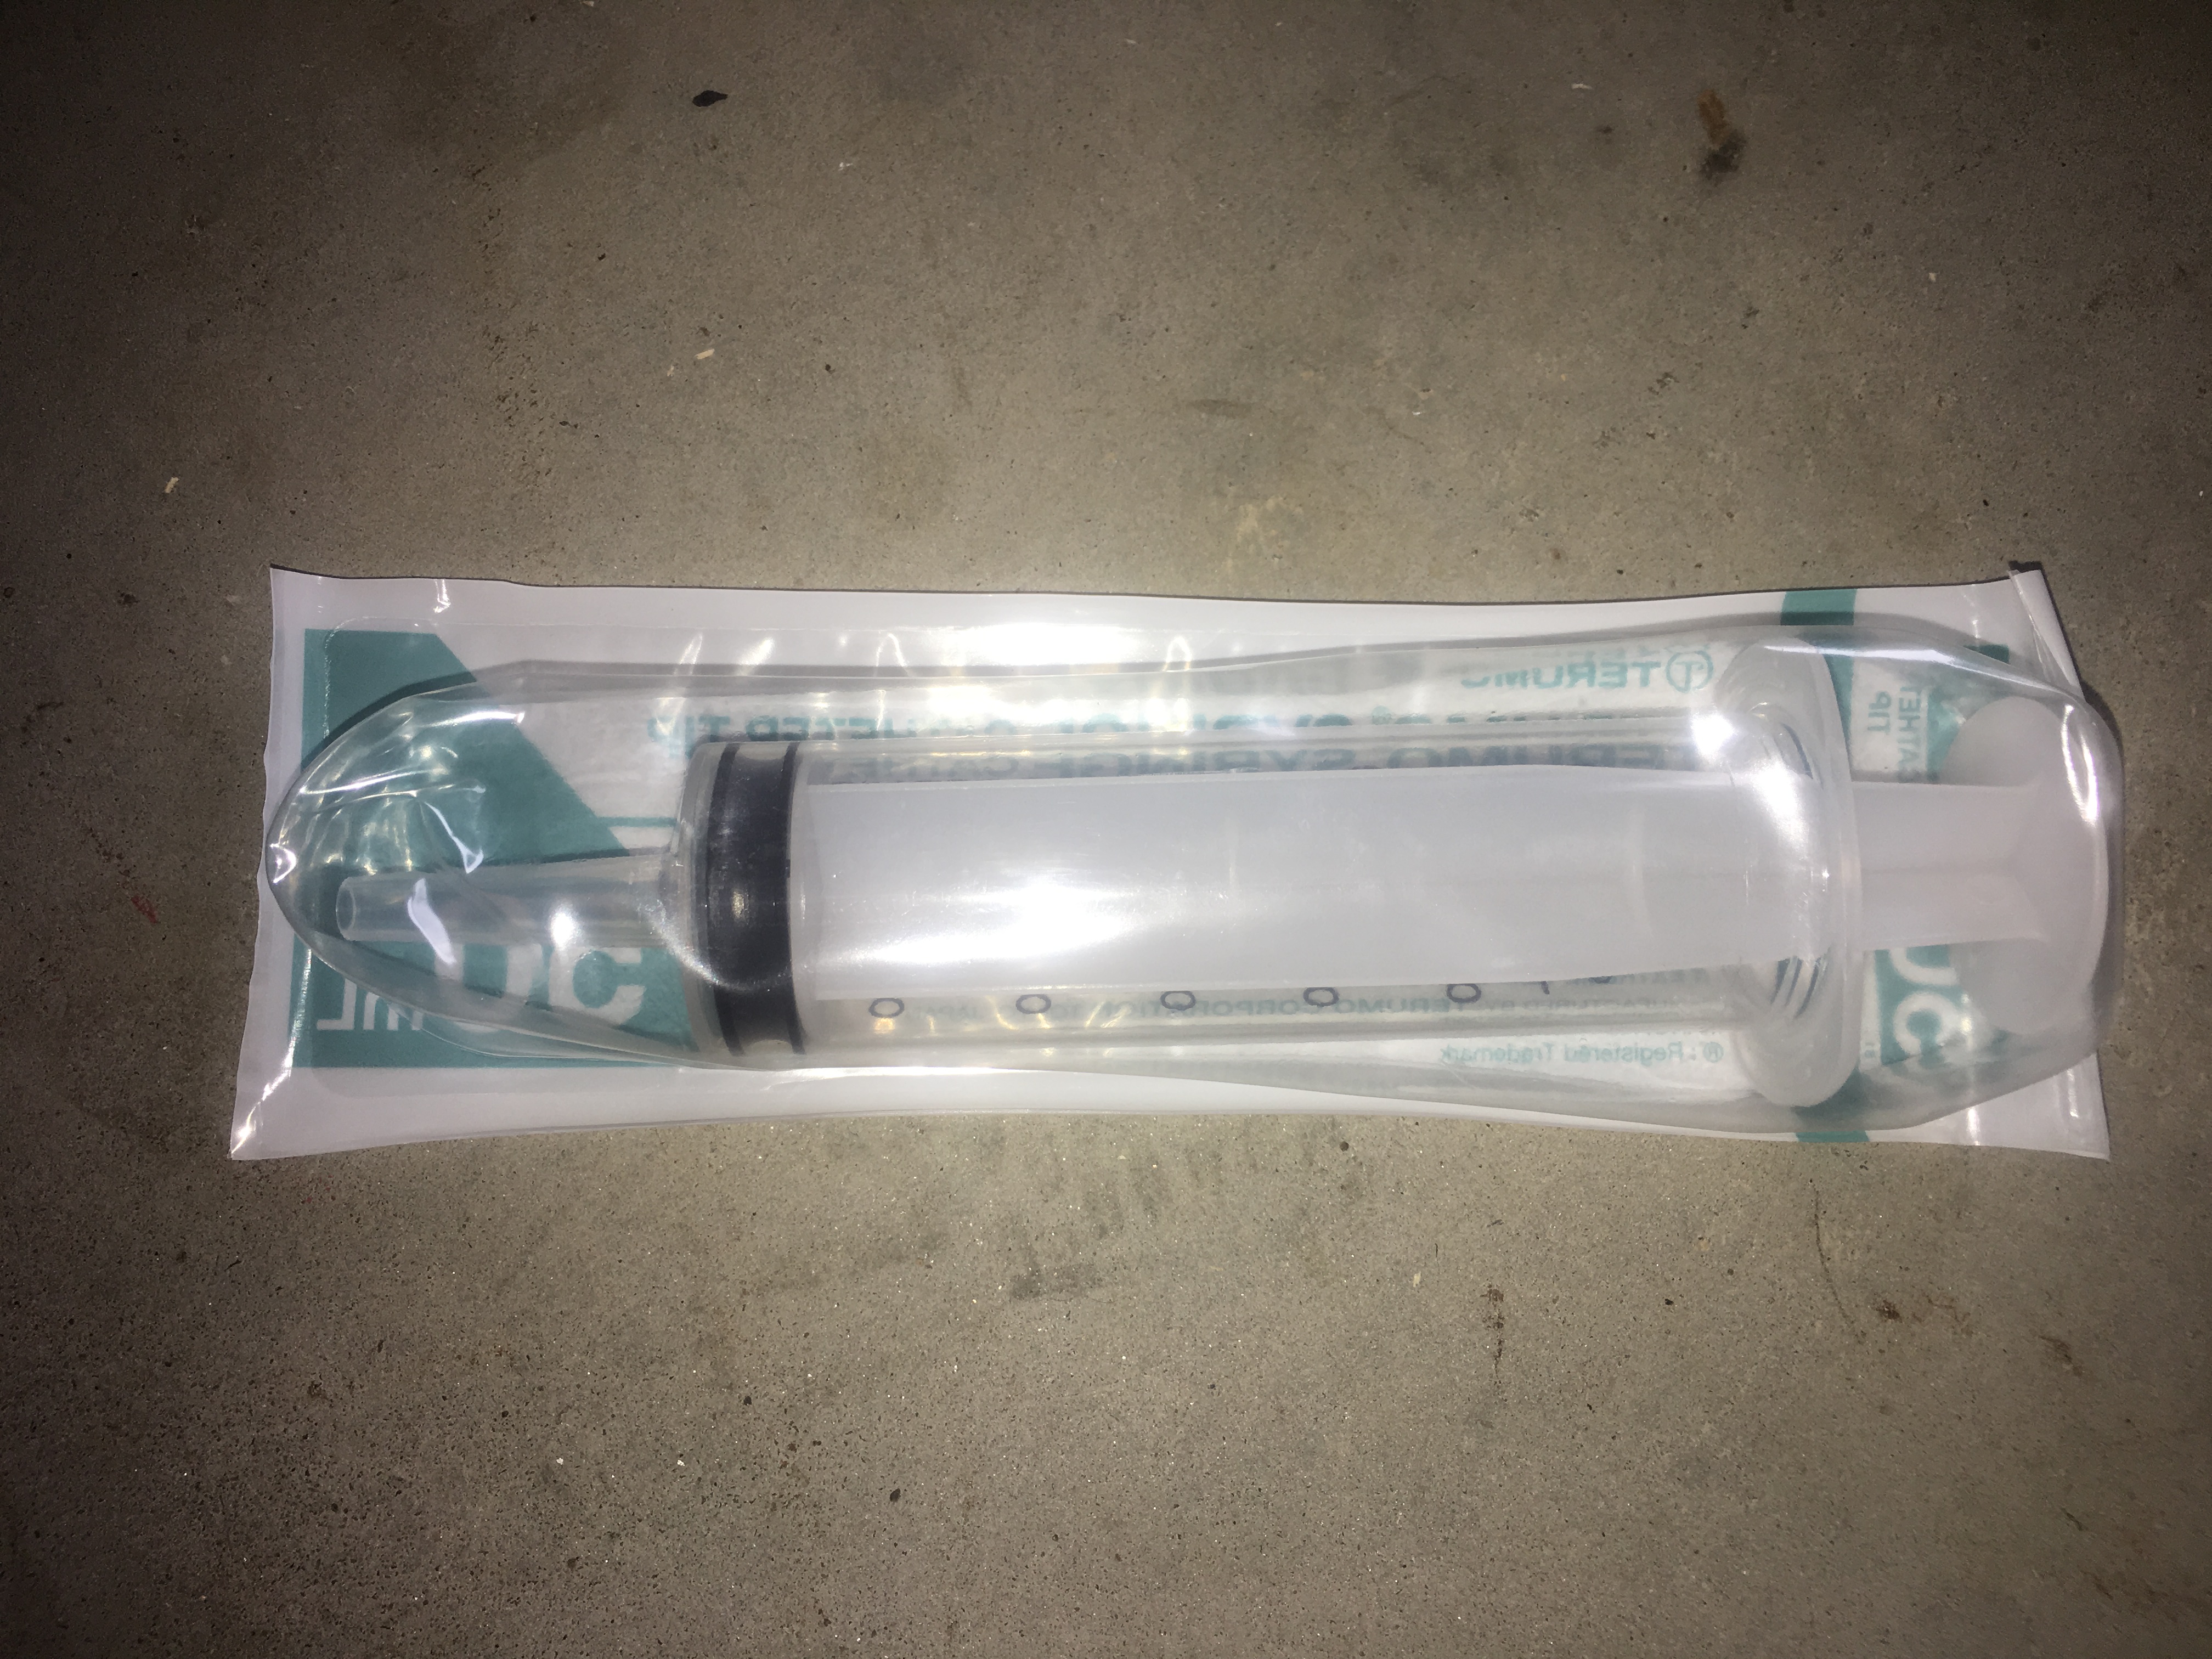
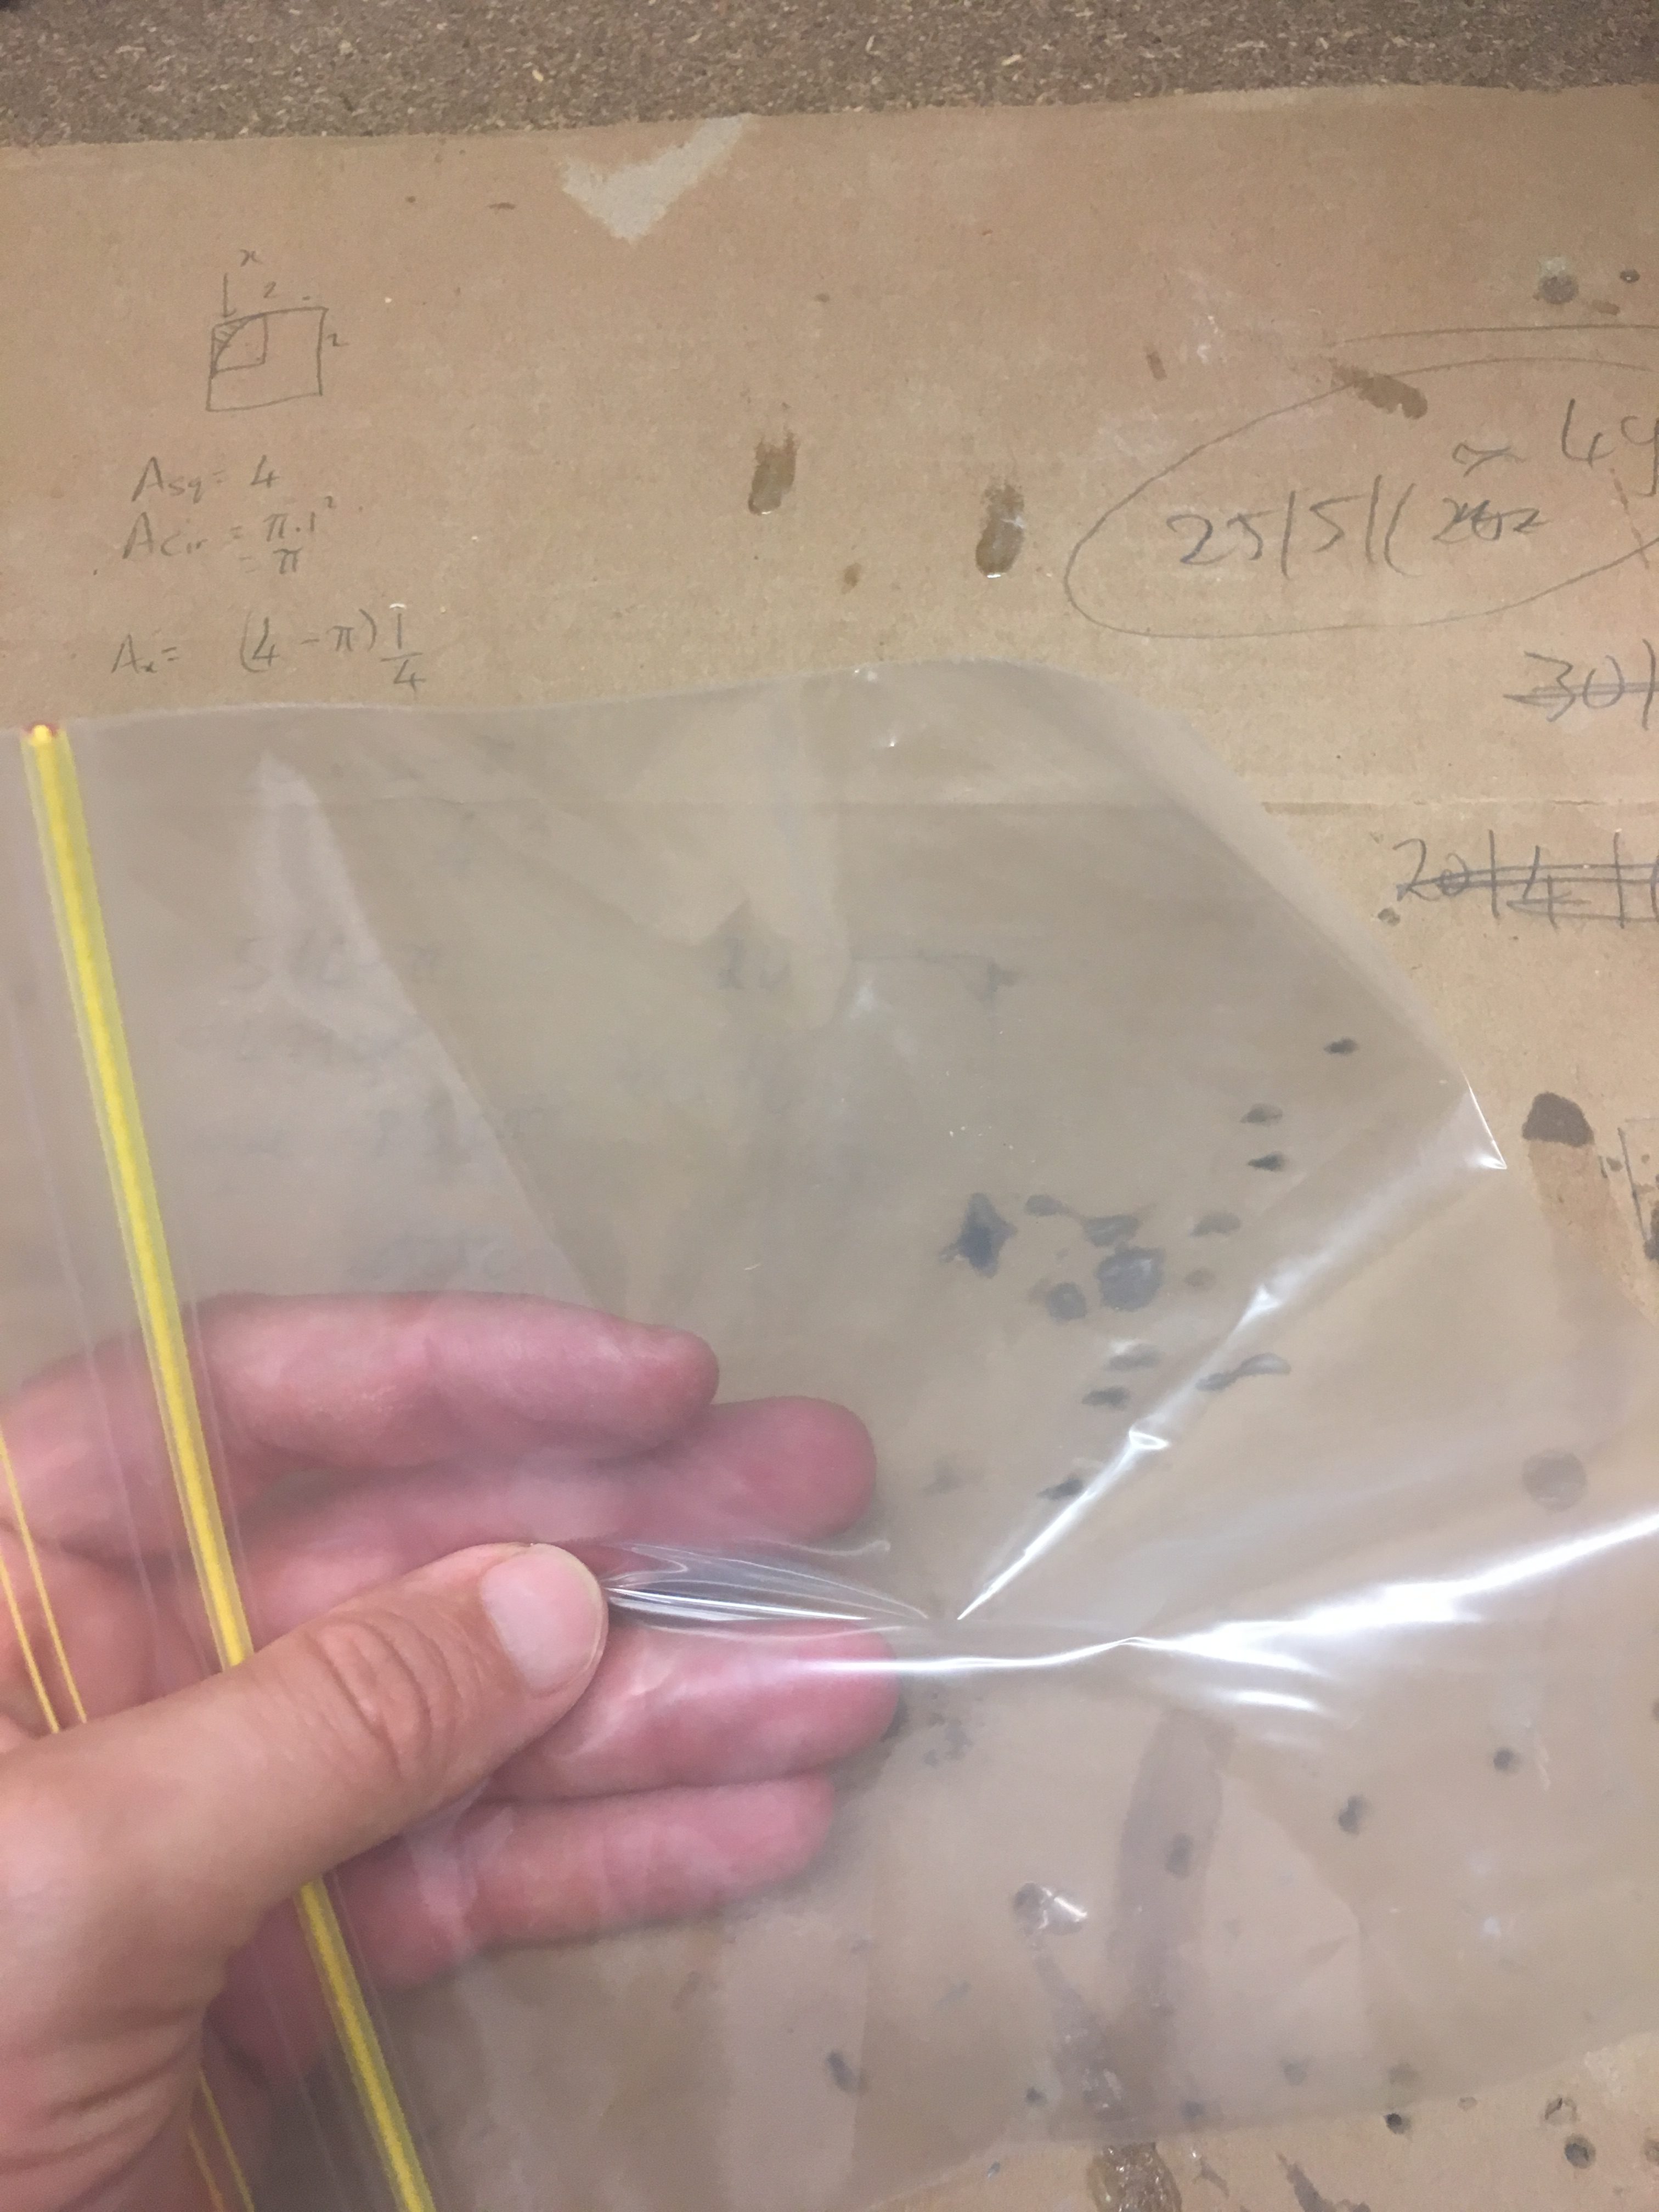
I put this mixture into a plastic bag and cut a small hole in the bag and then used this like an icing bag to squirt the epoxy material into the fillet.
The area to fillet had already been sanded with Grit-80 and cleaned. I used some clothe to ensure no dust/crud there.
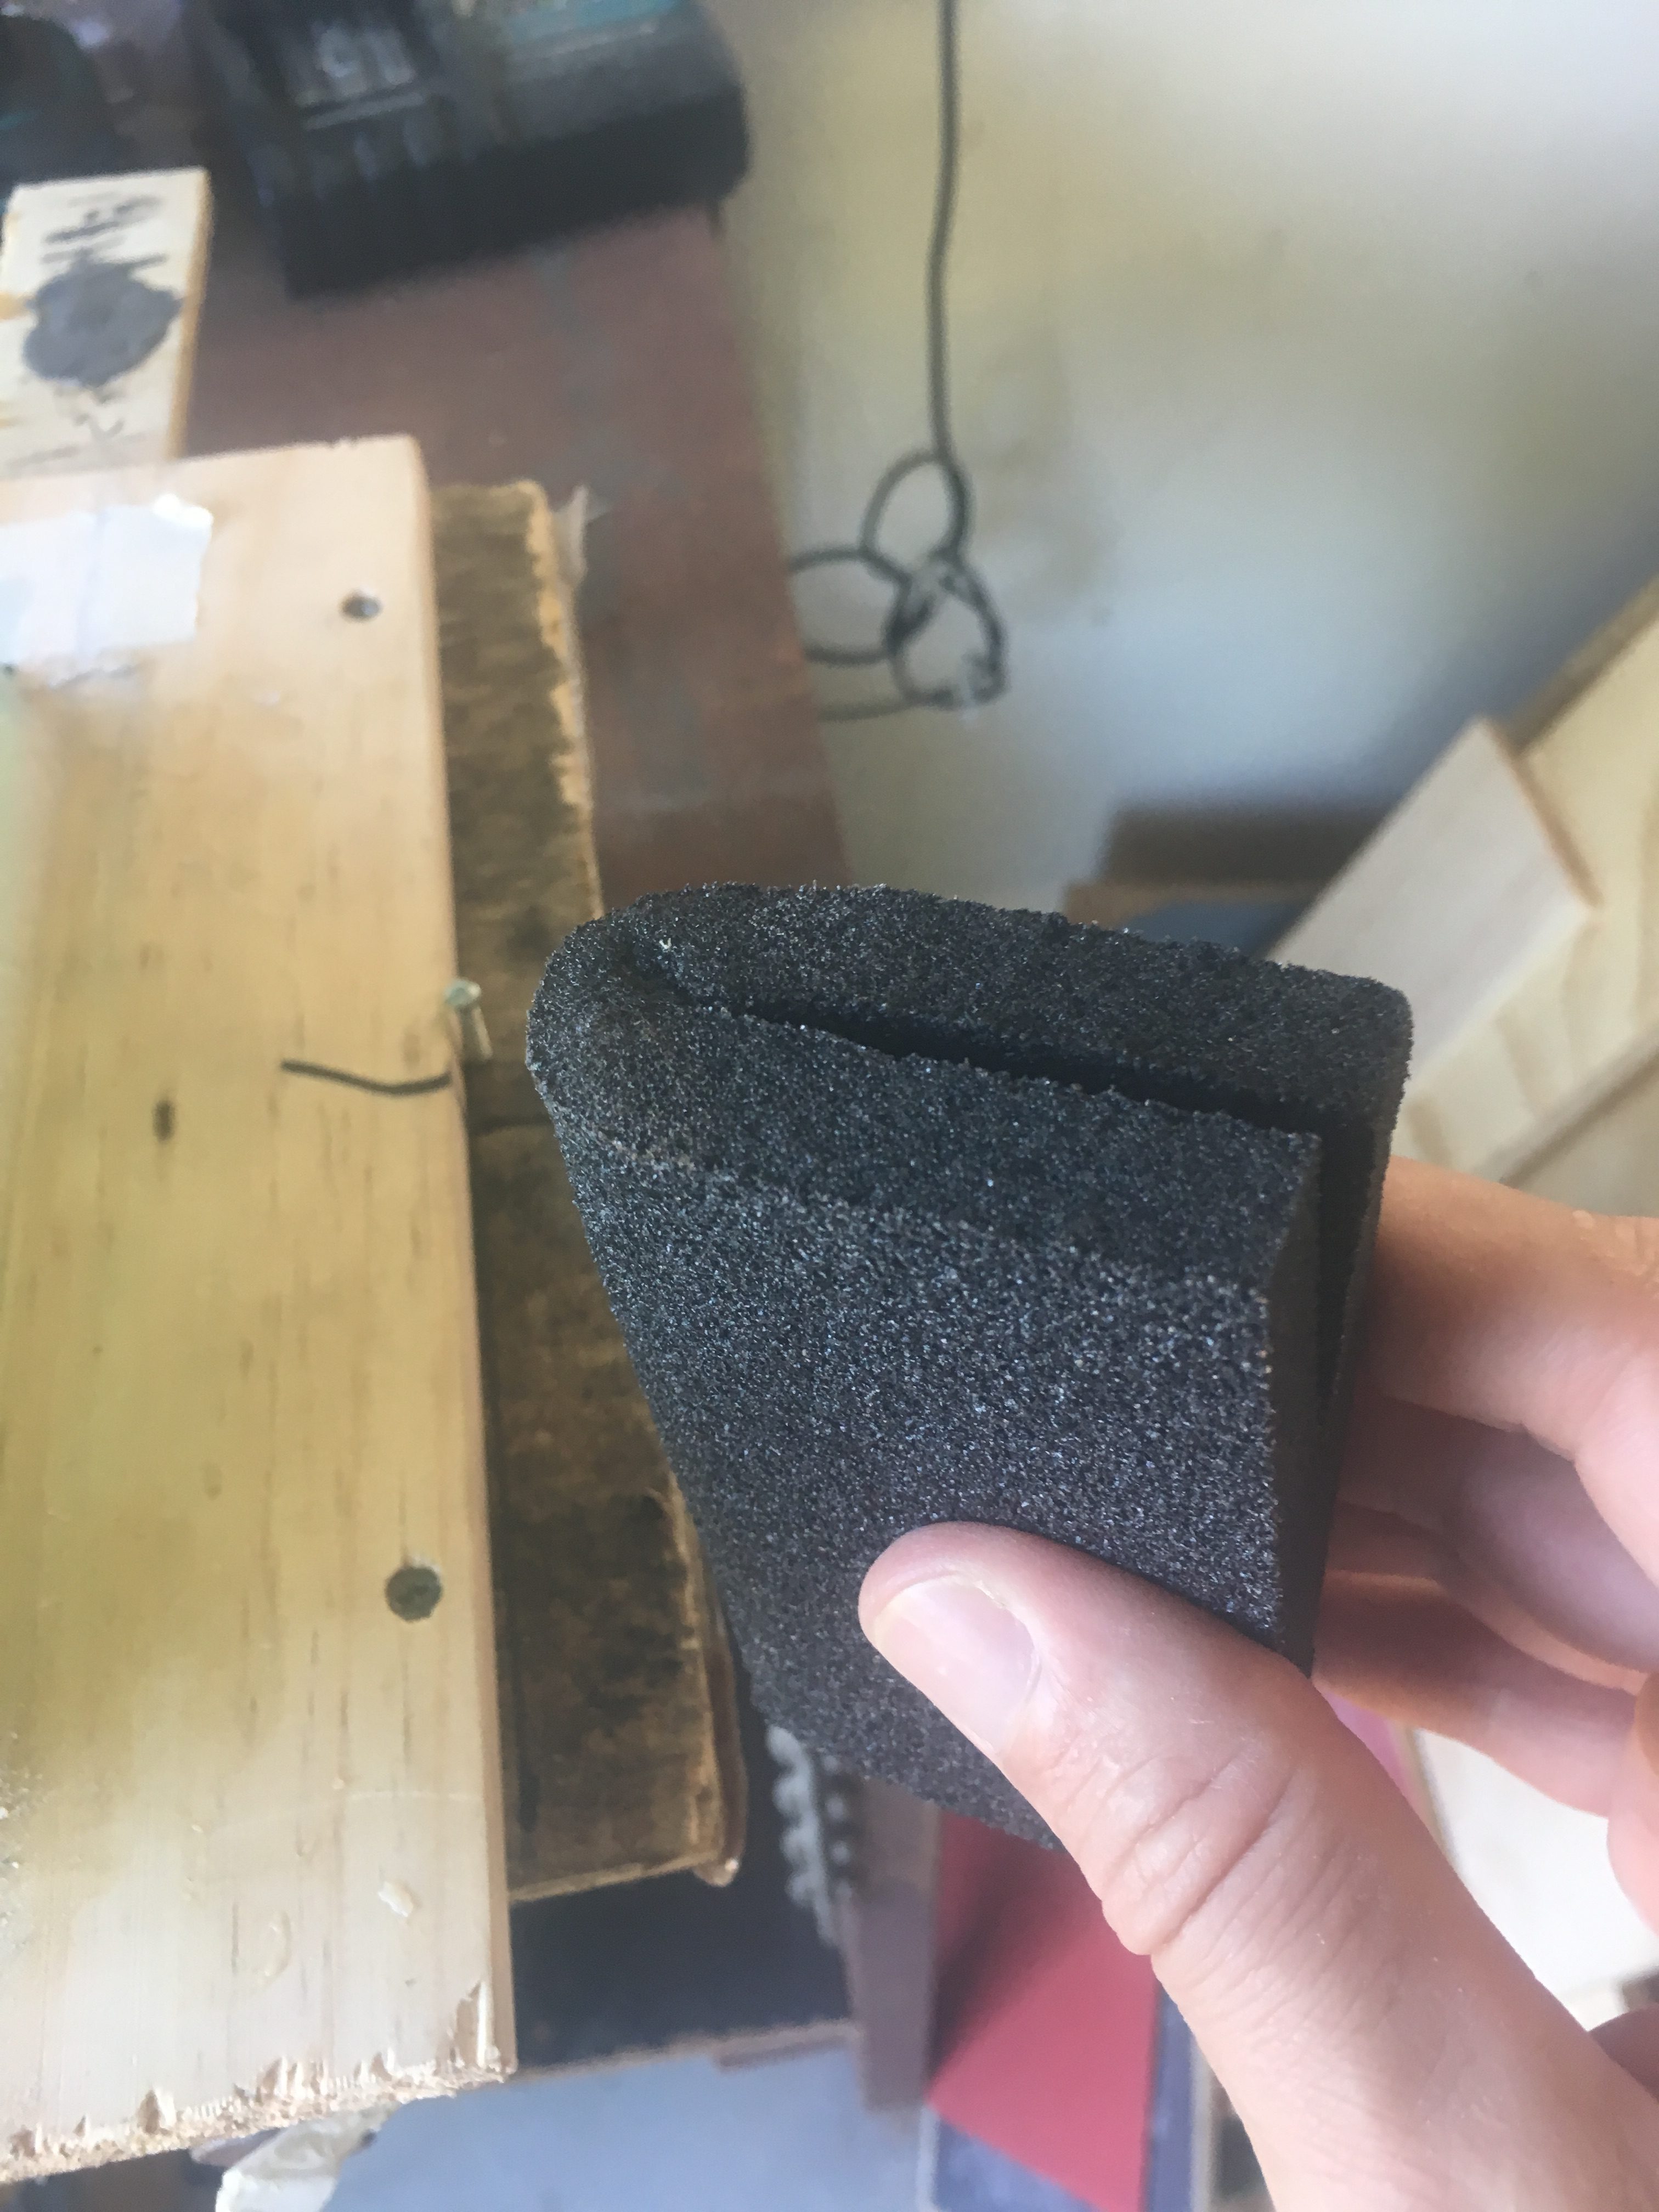
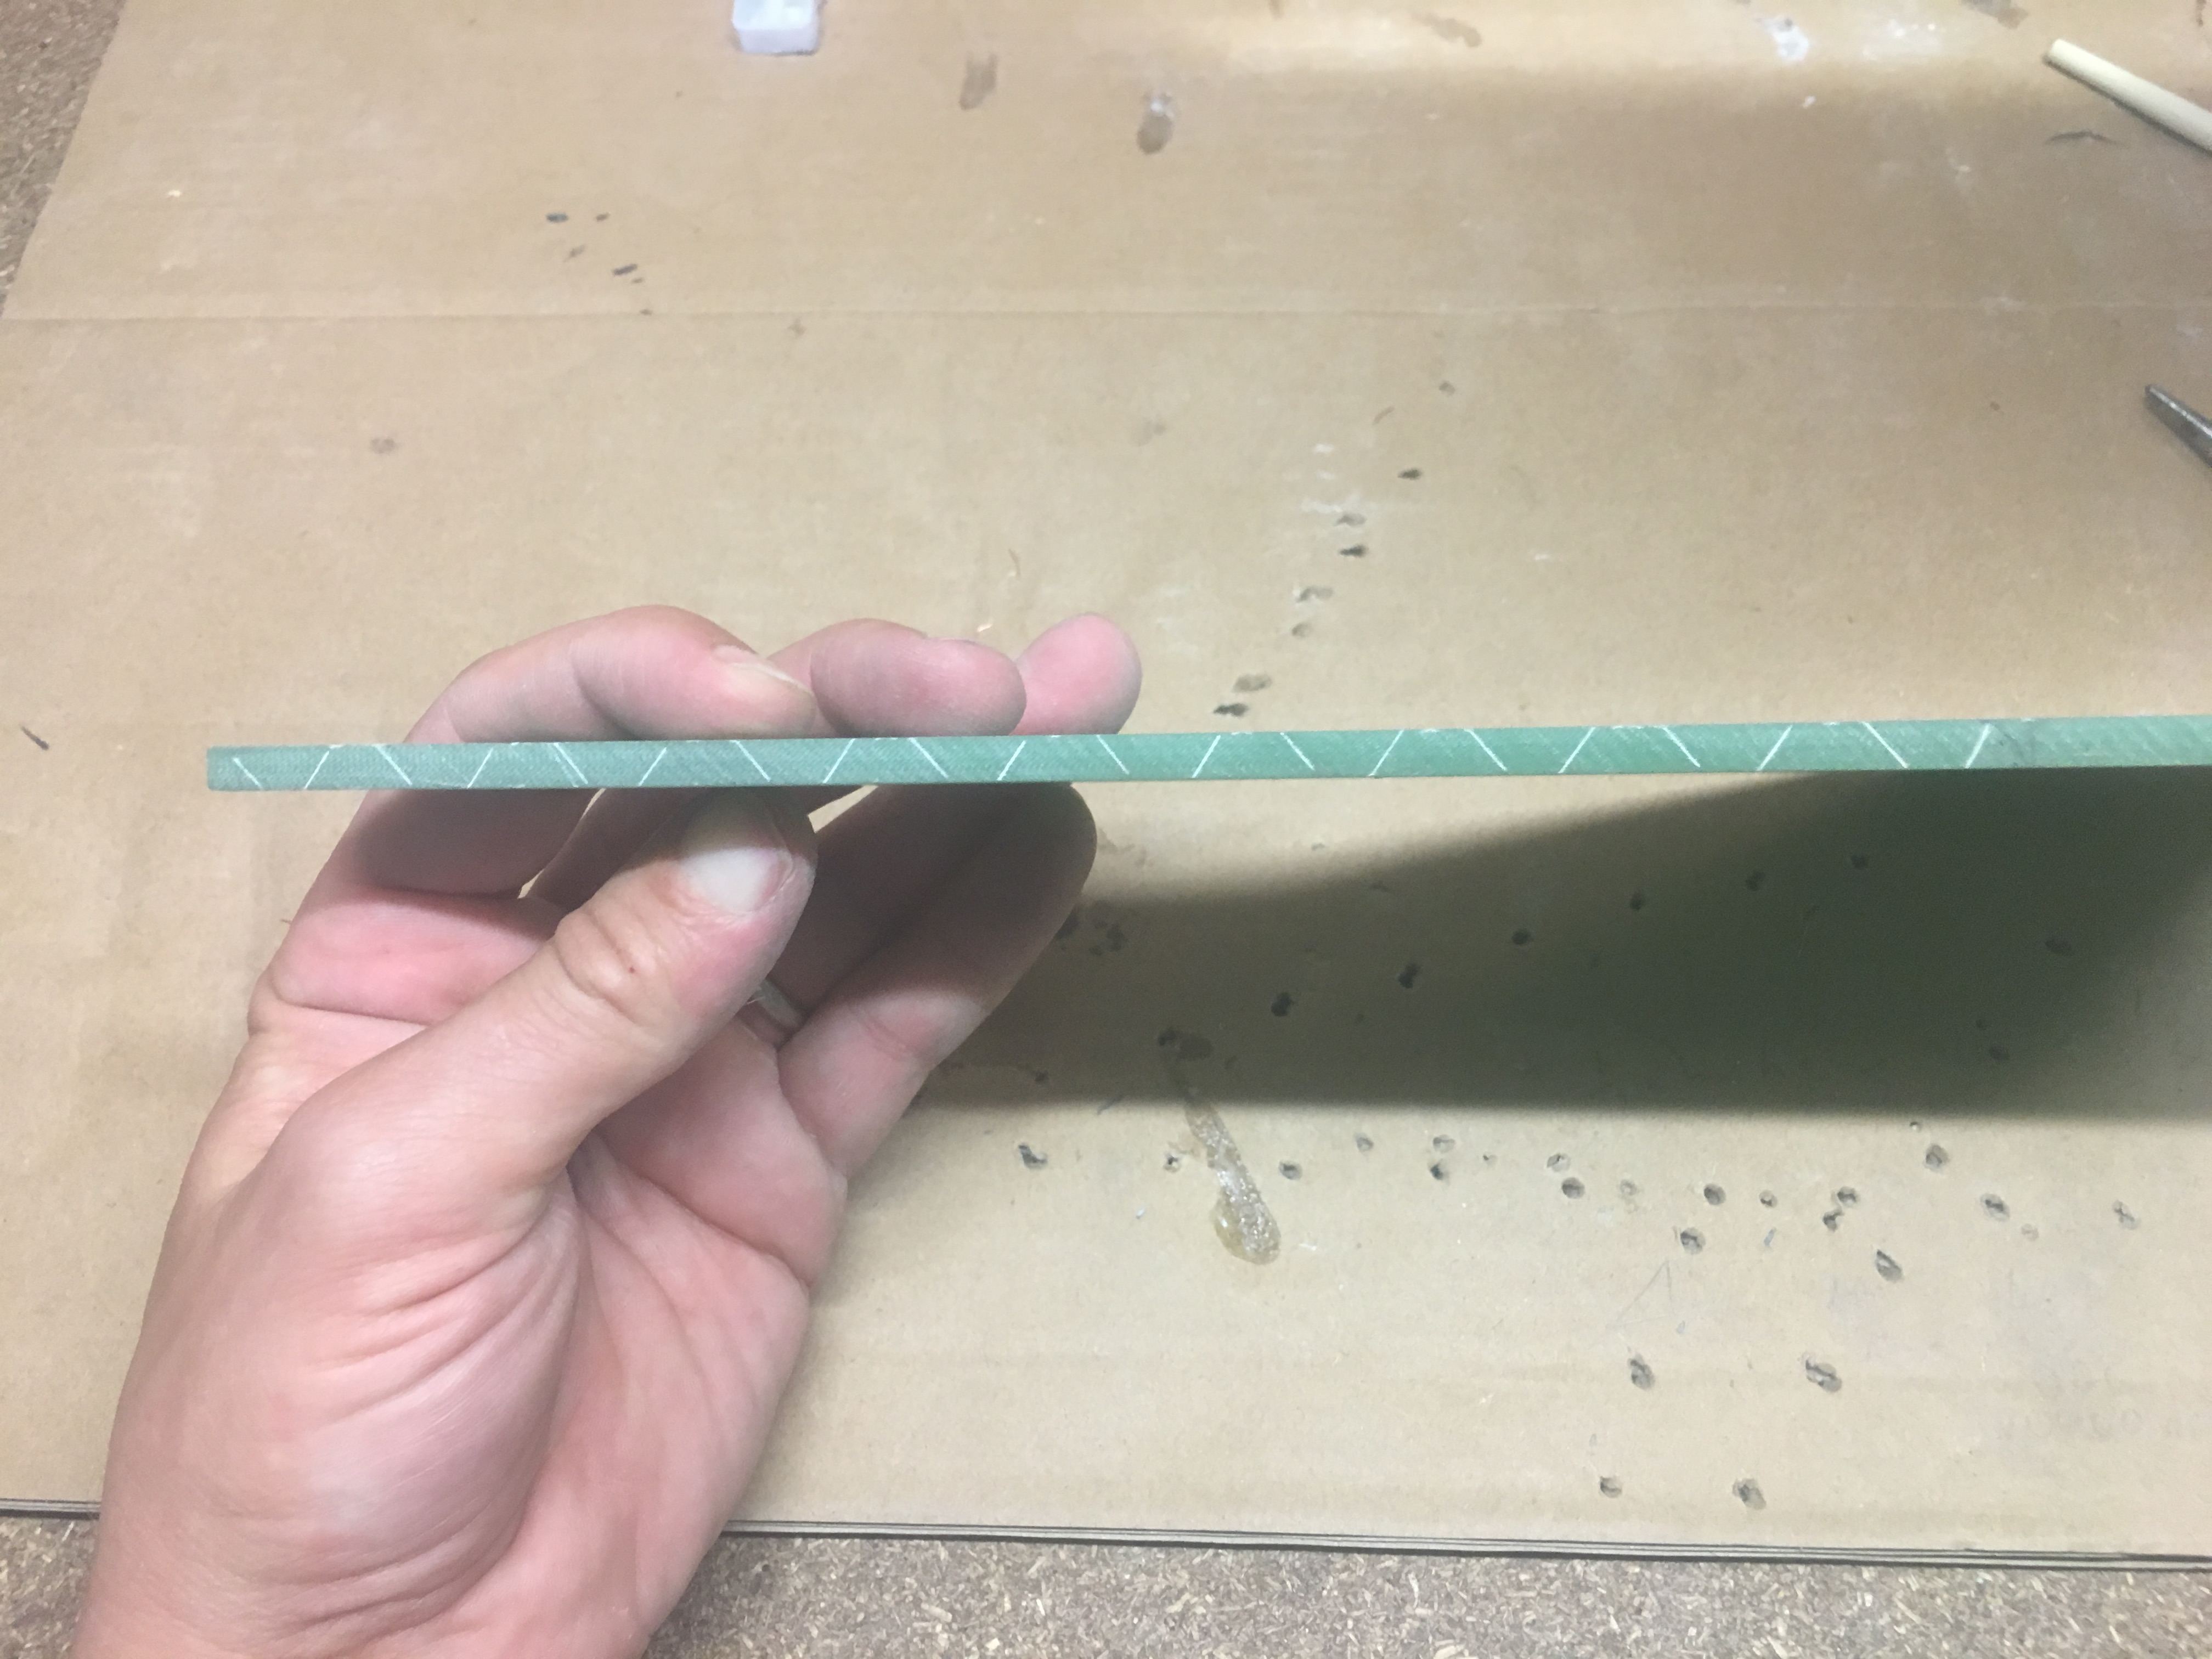
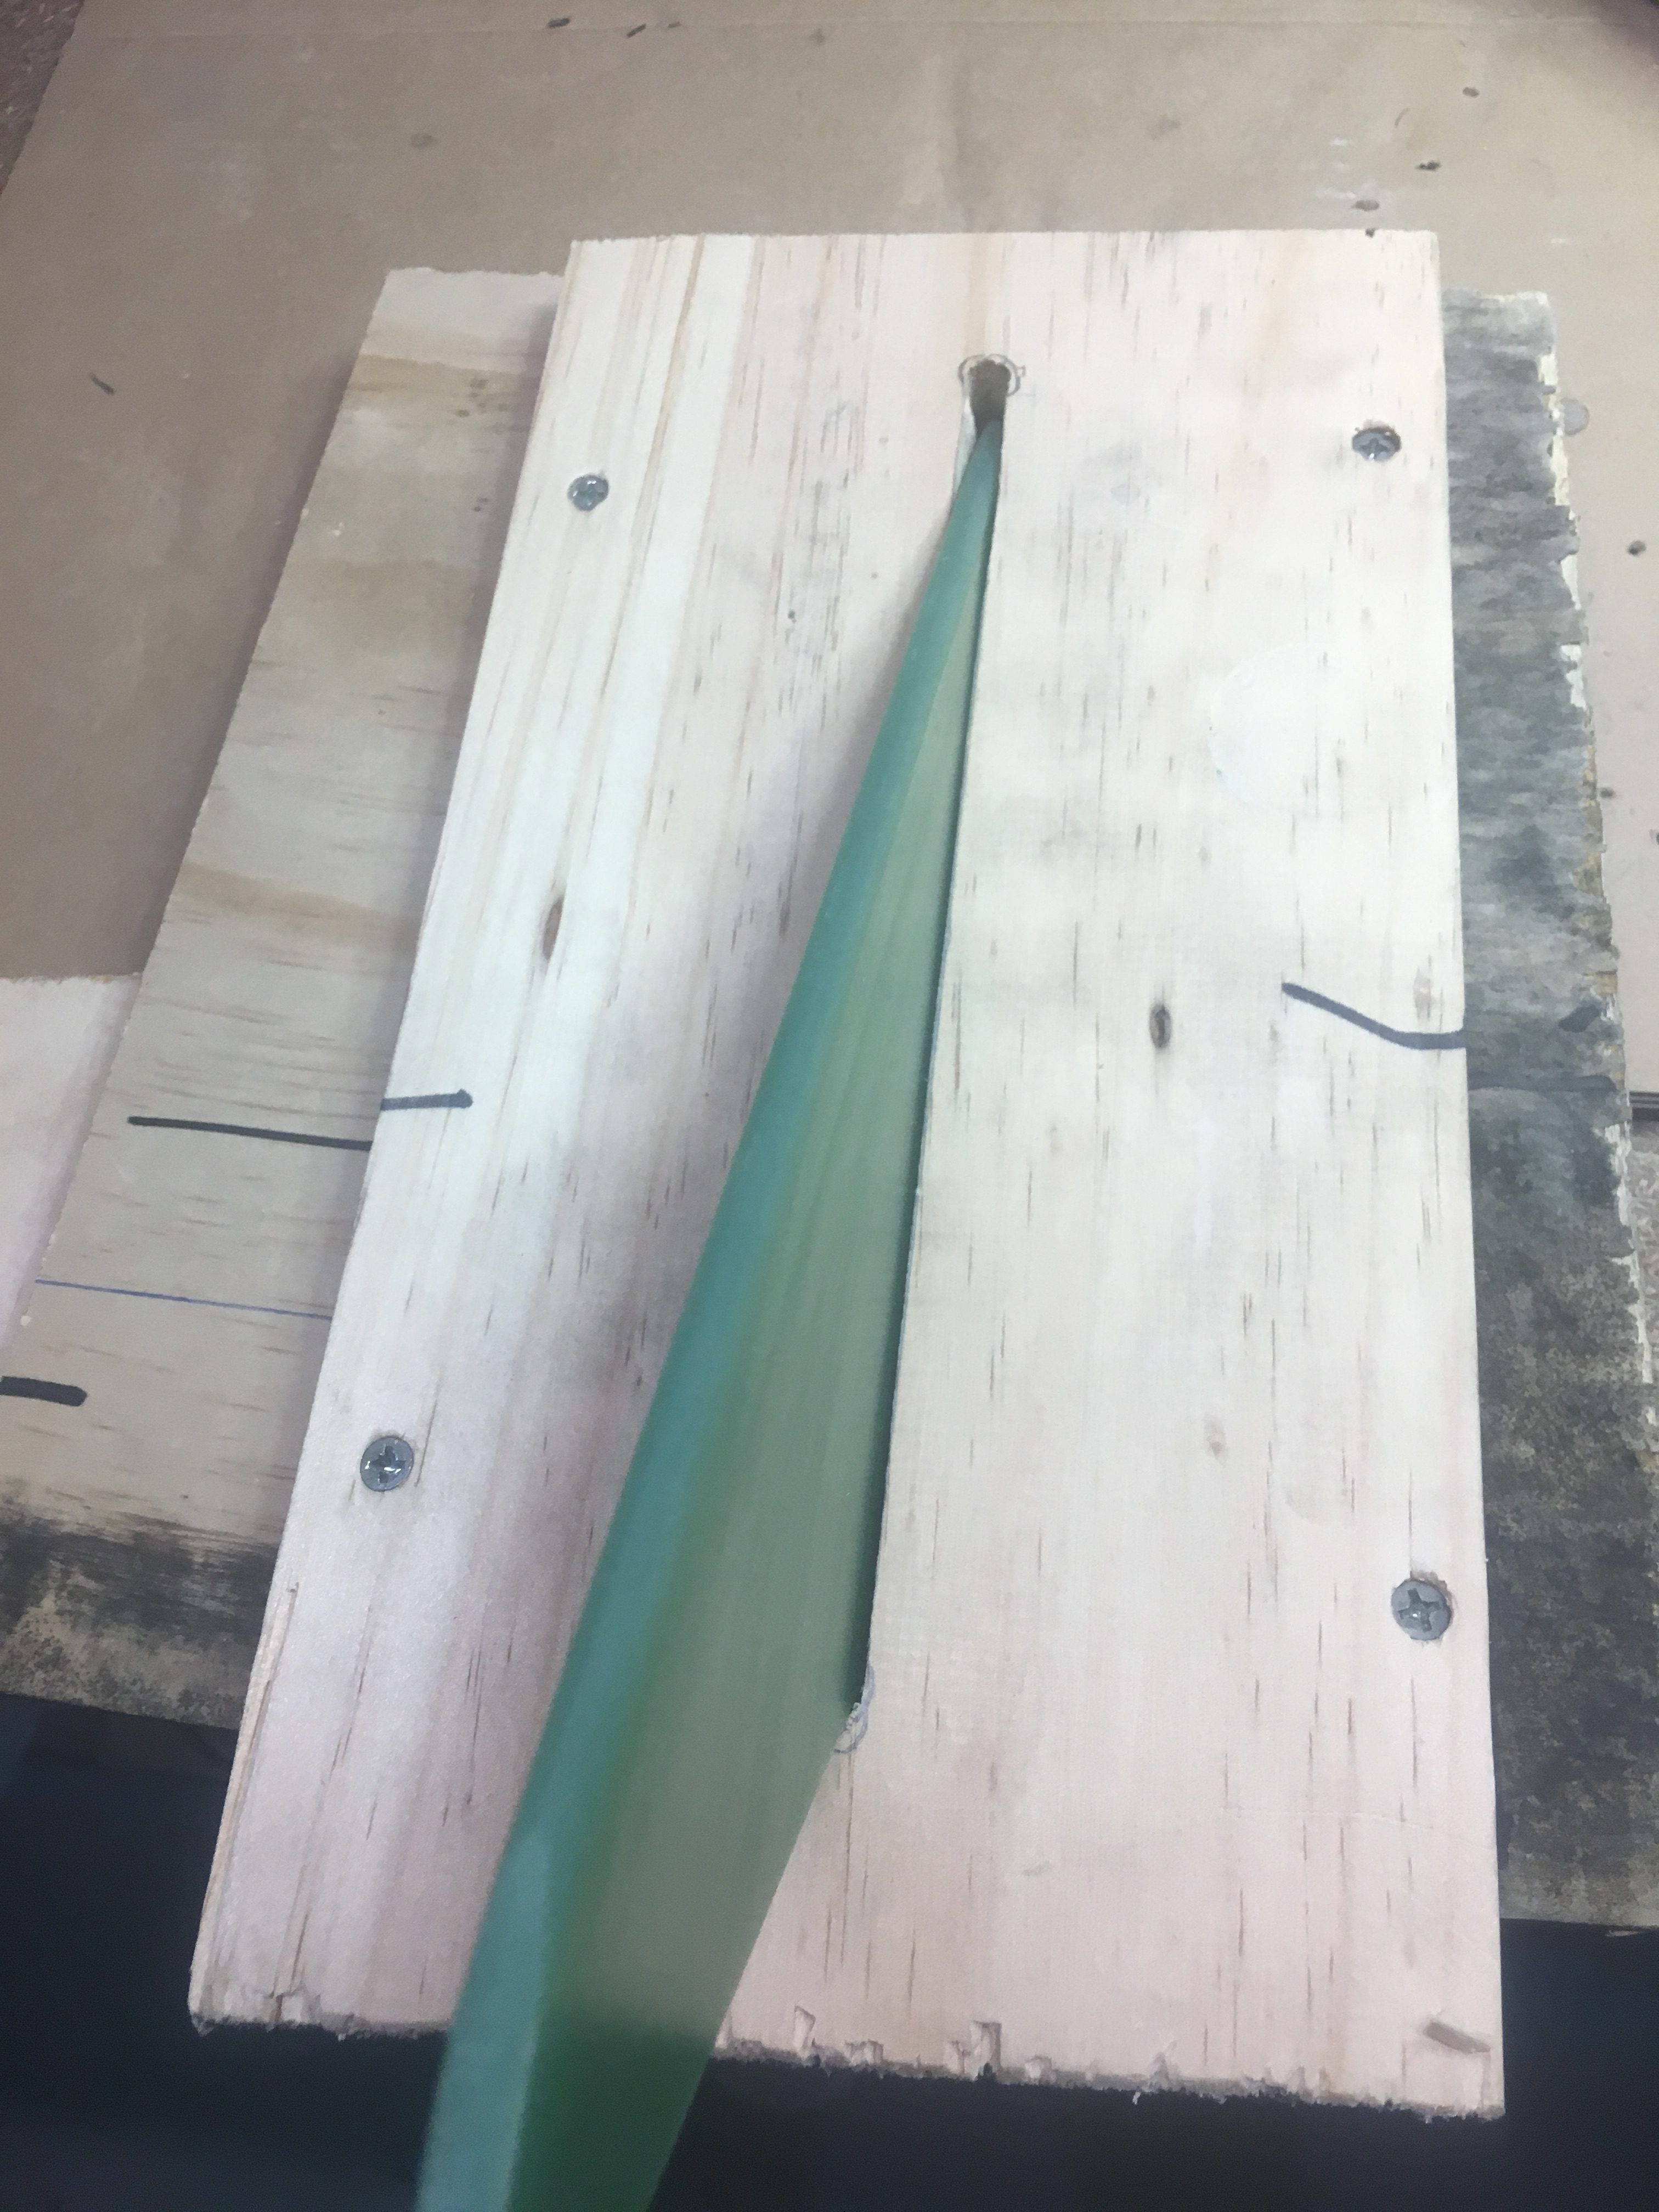
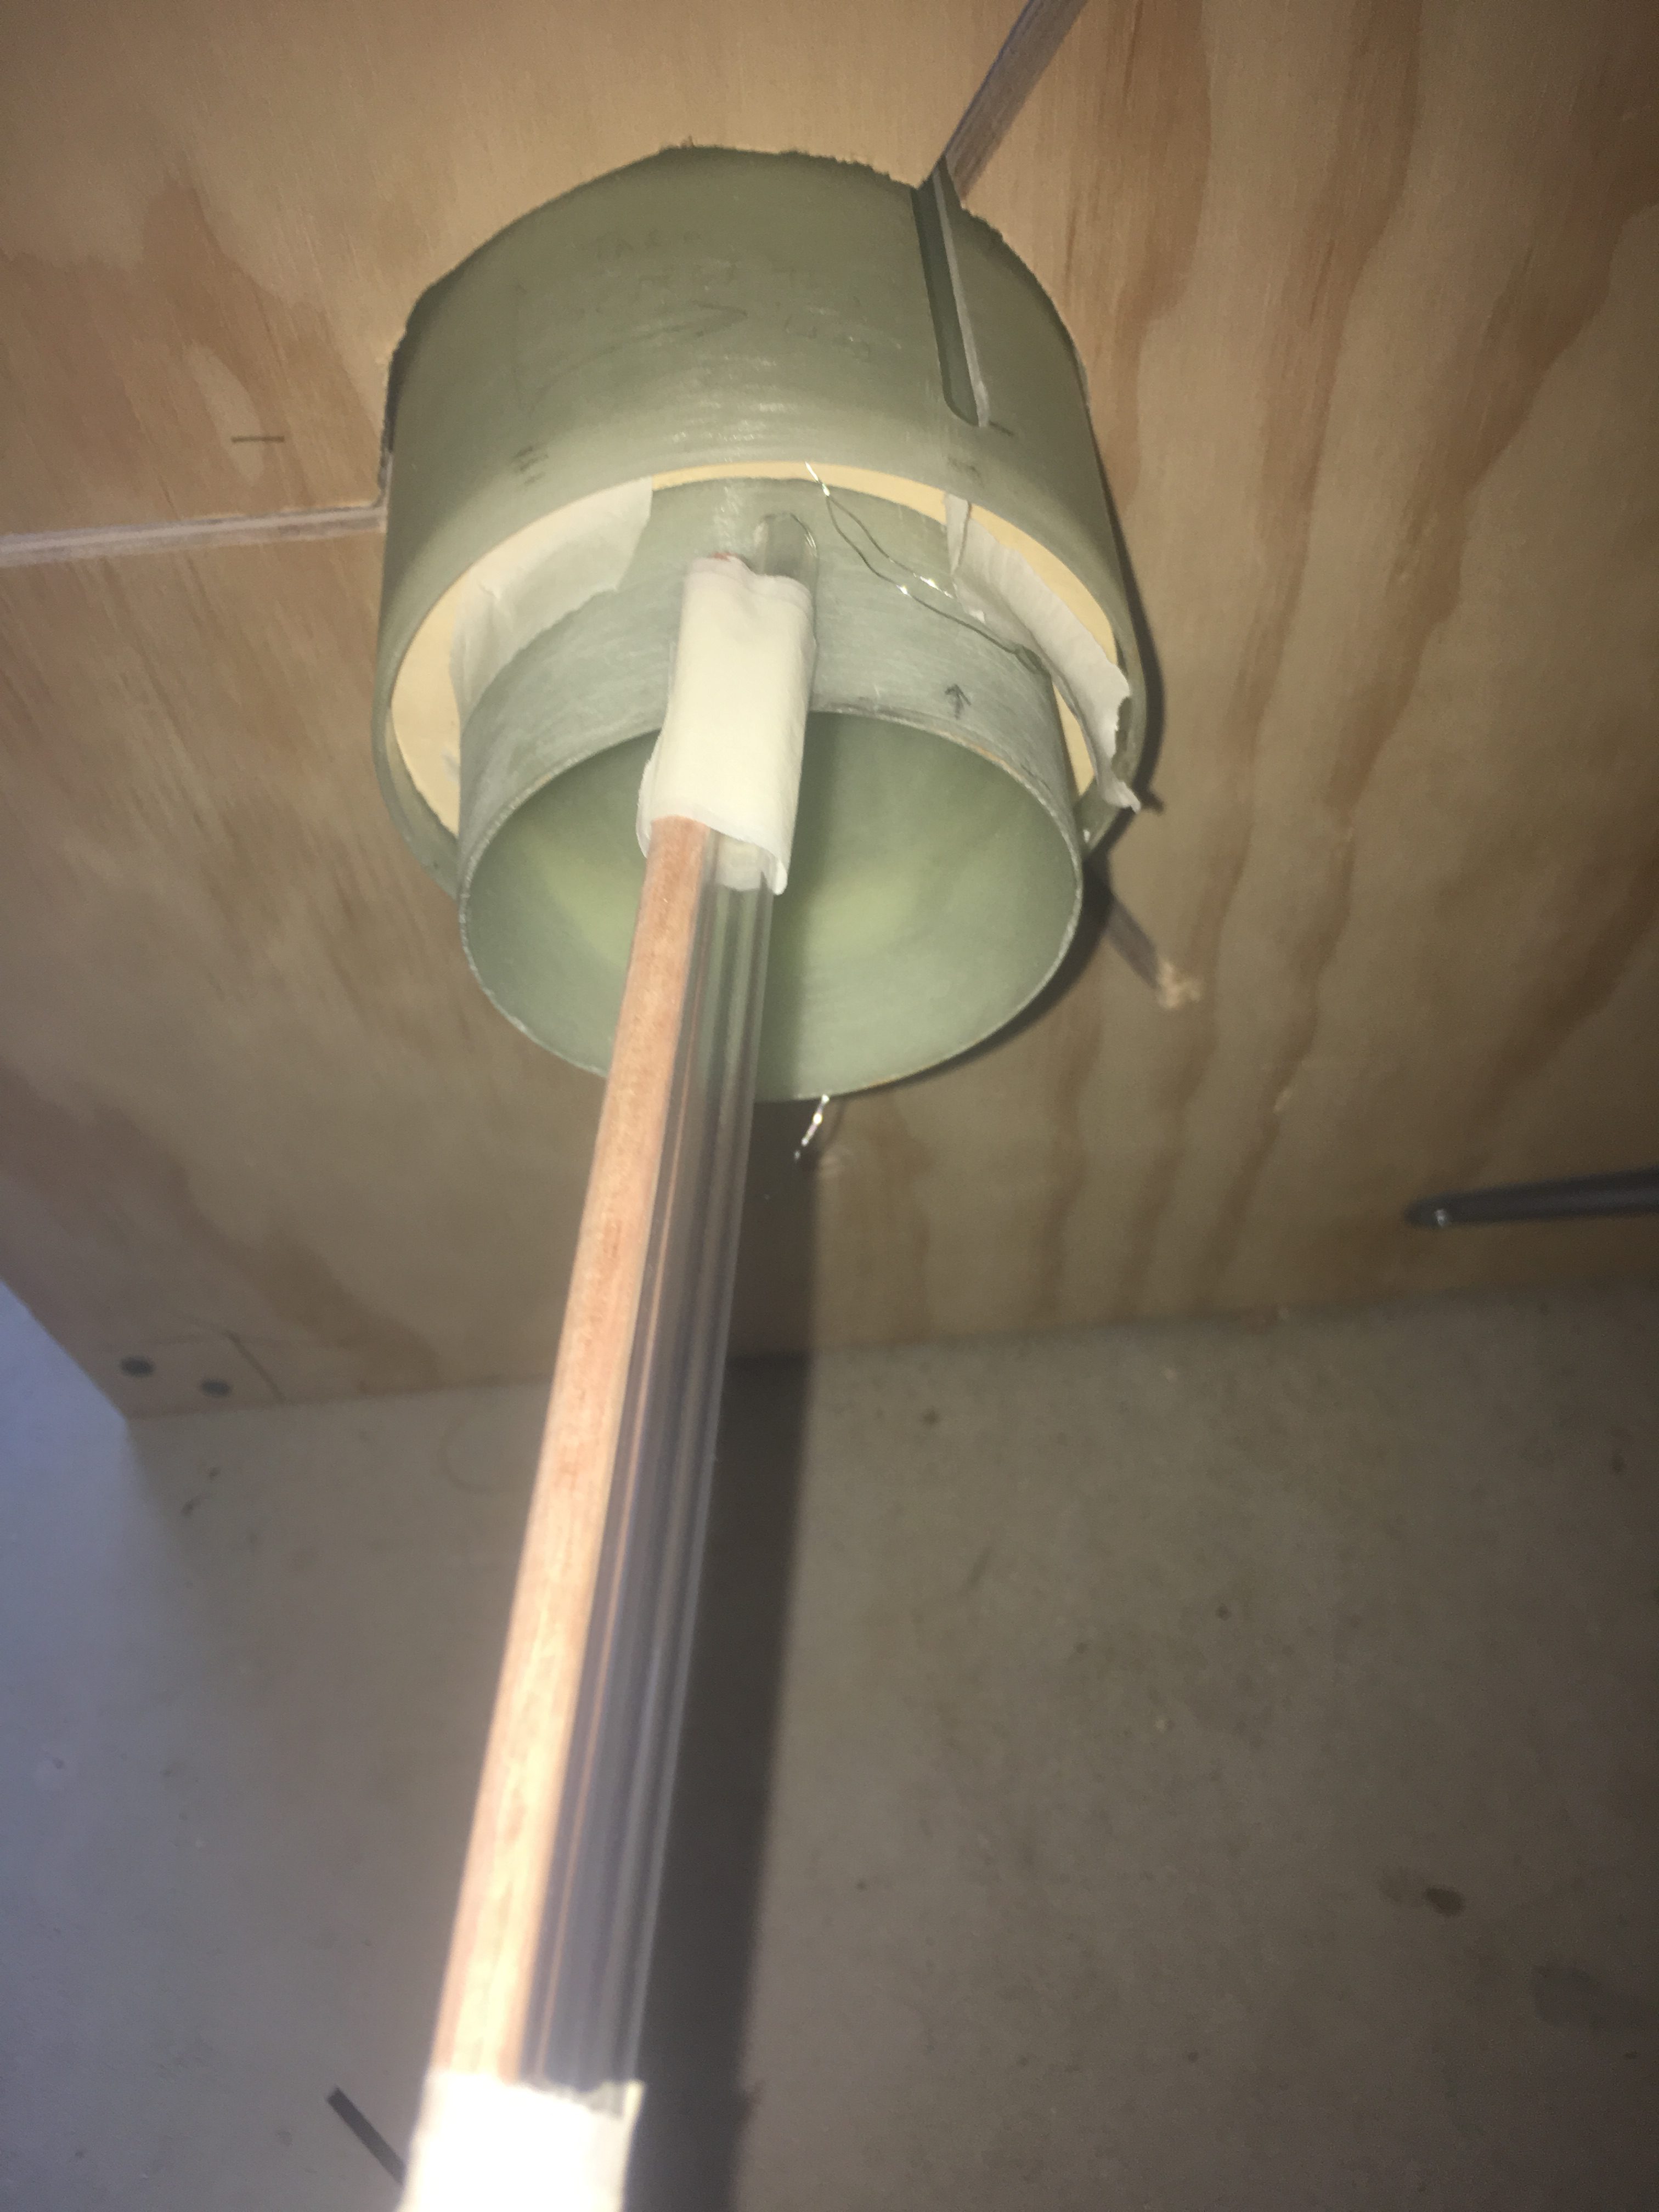
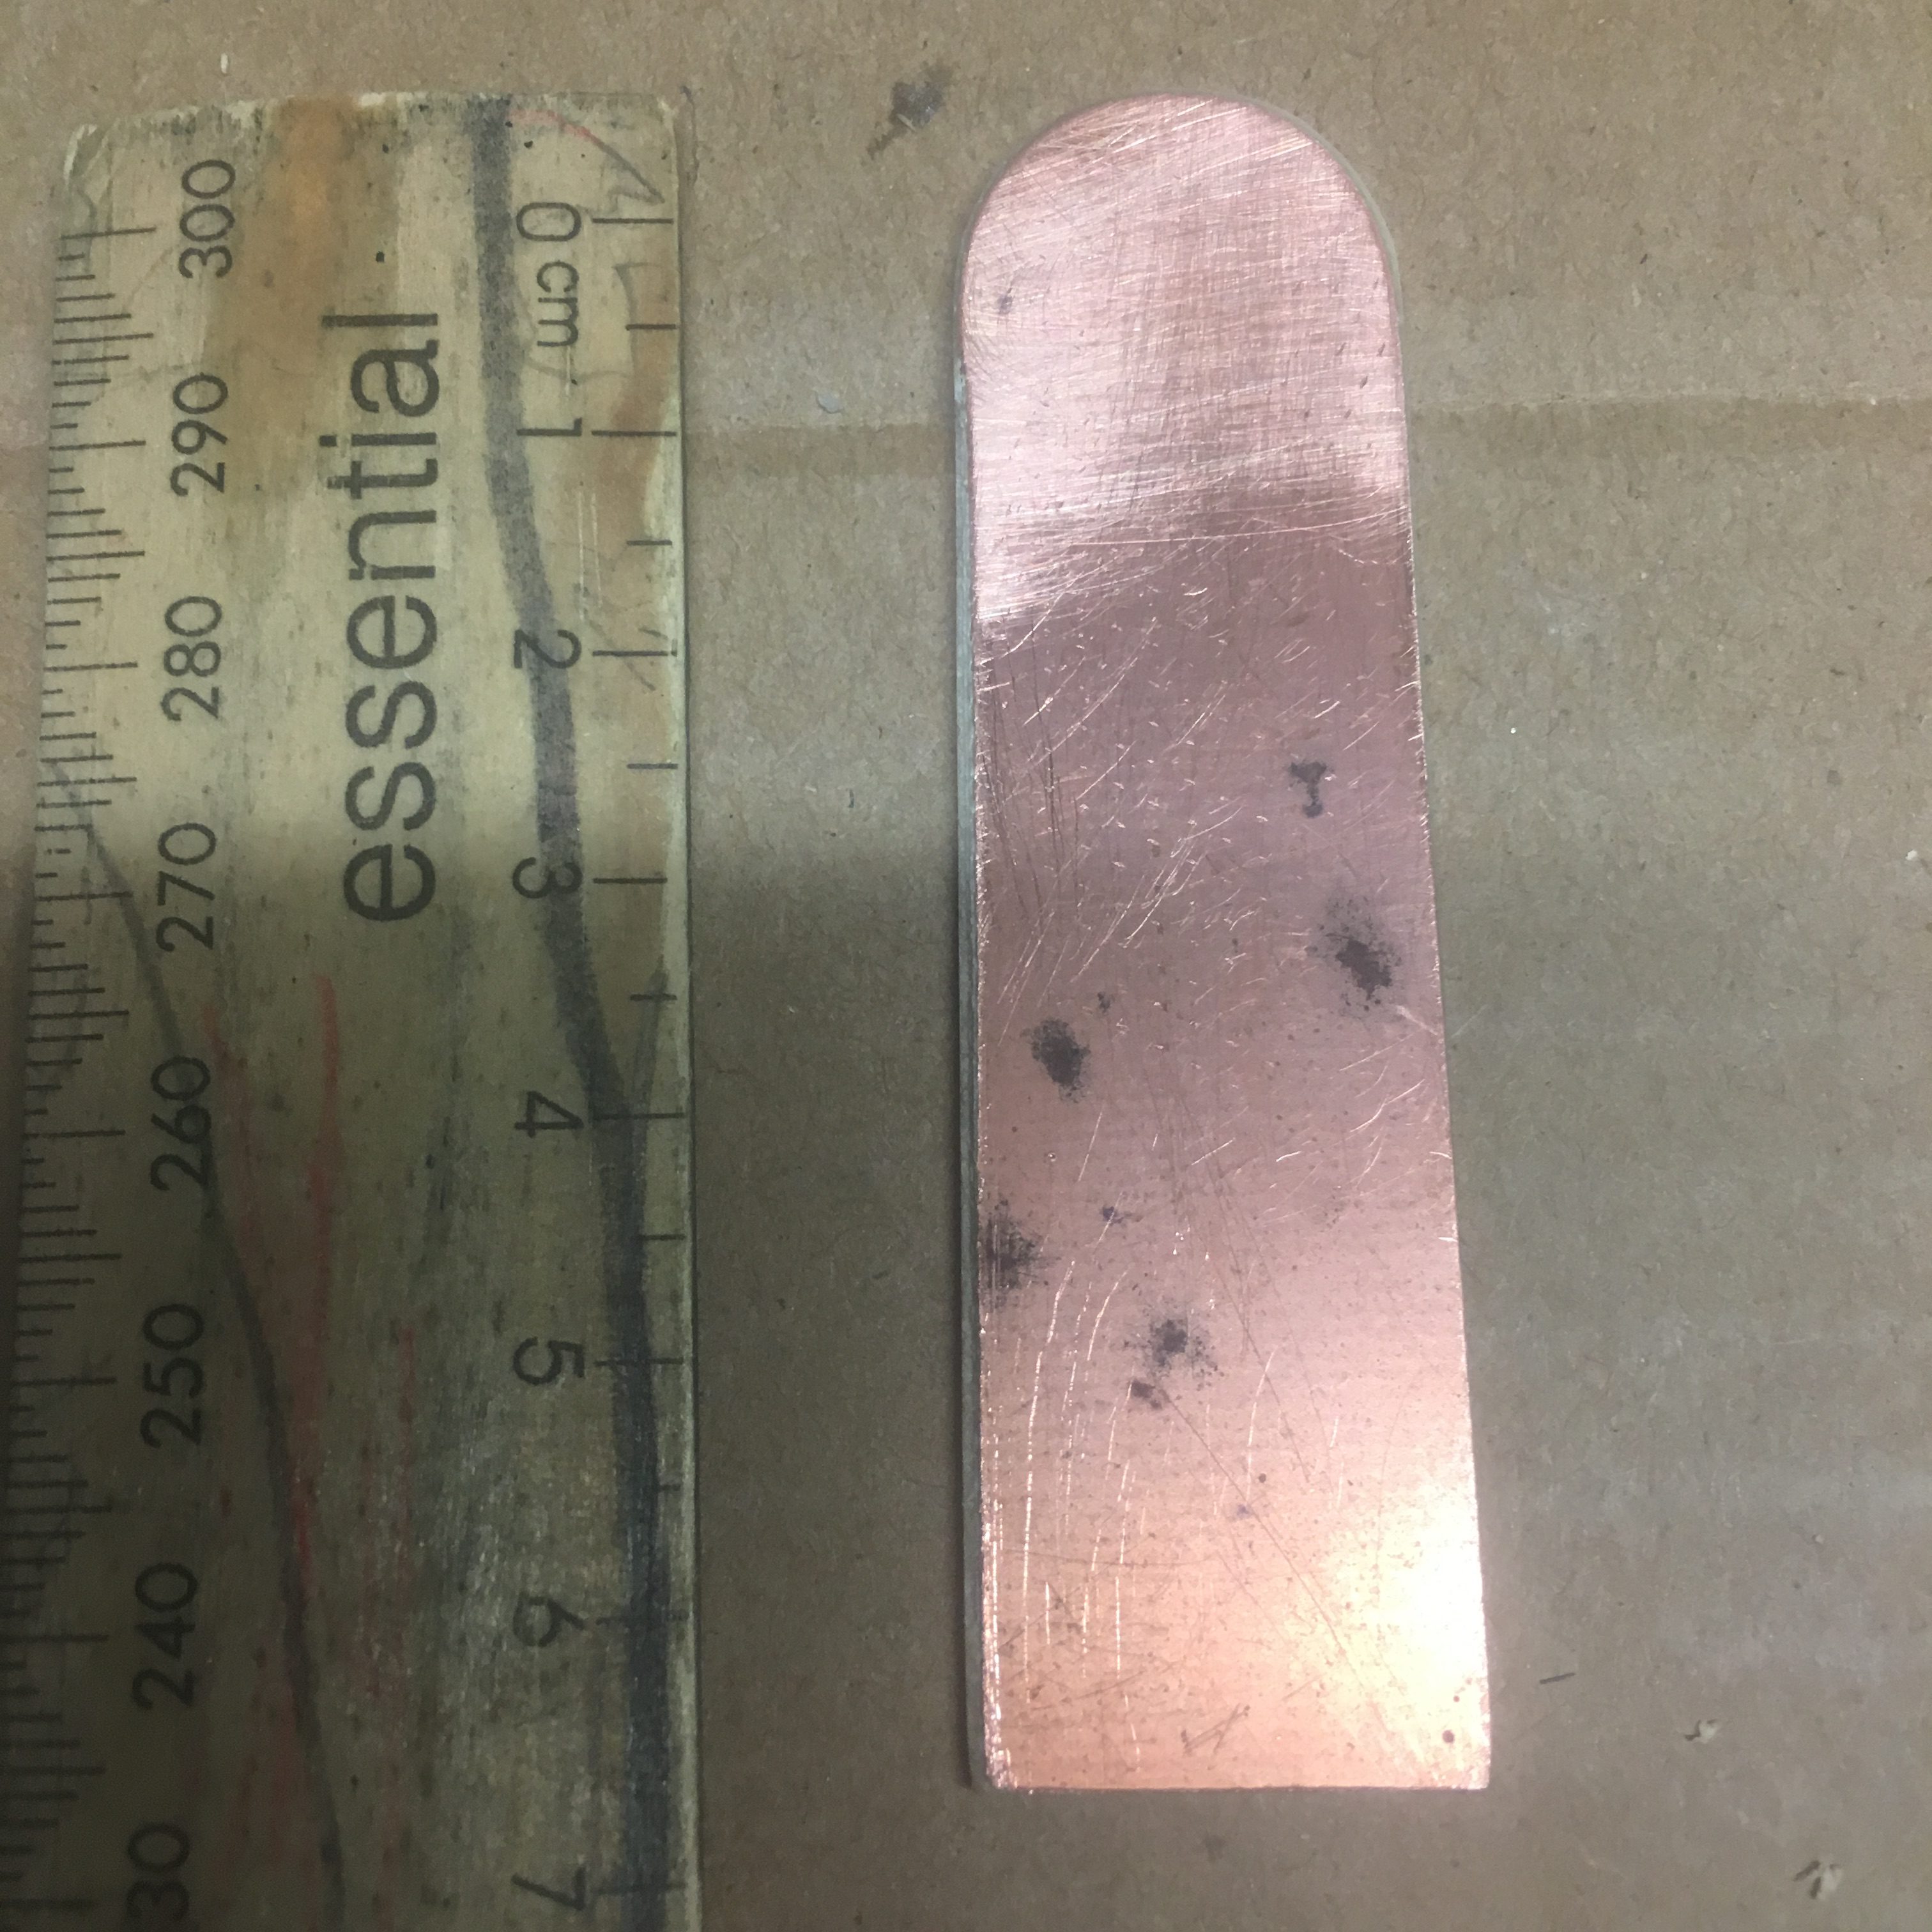
After applying the epoxy material I used my new tool a 2cm side 10cm long stick with a 2cm diameter semi-circle at one end, to form the fillet profile I wished. I then used the other end to scrape off any material left over.
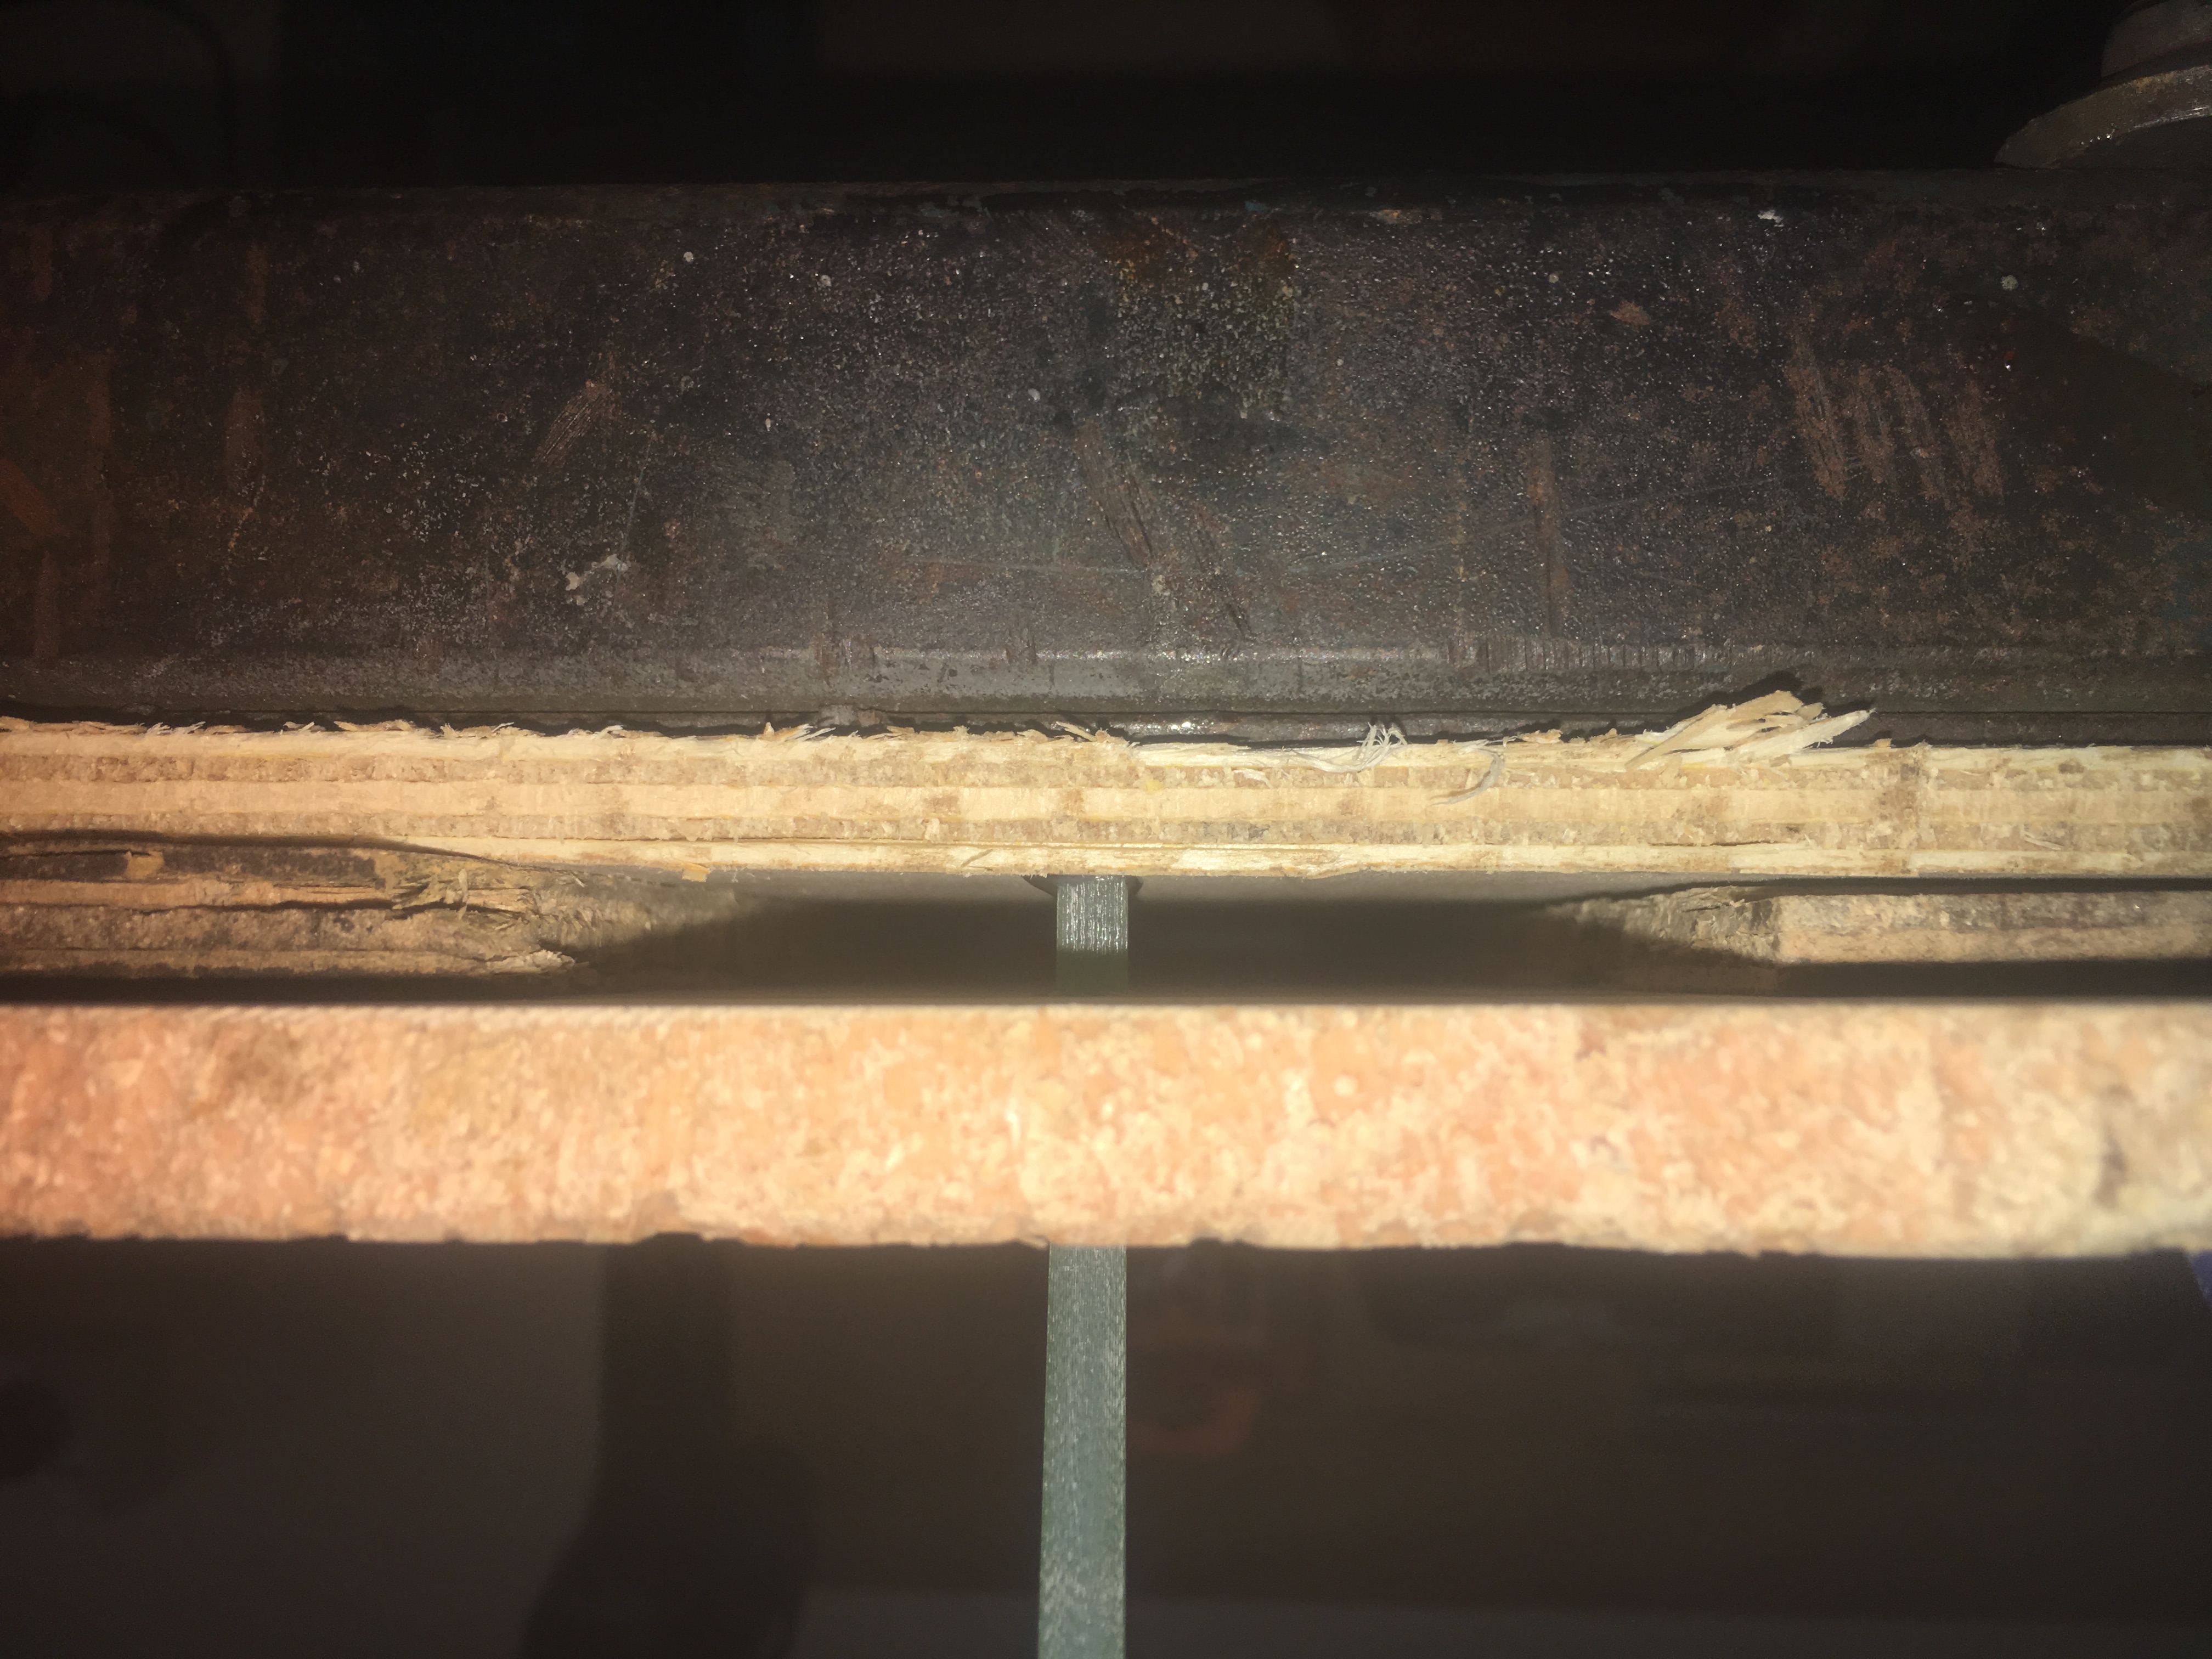
Here are some pictures taken during the job.
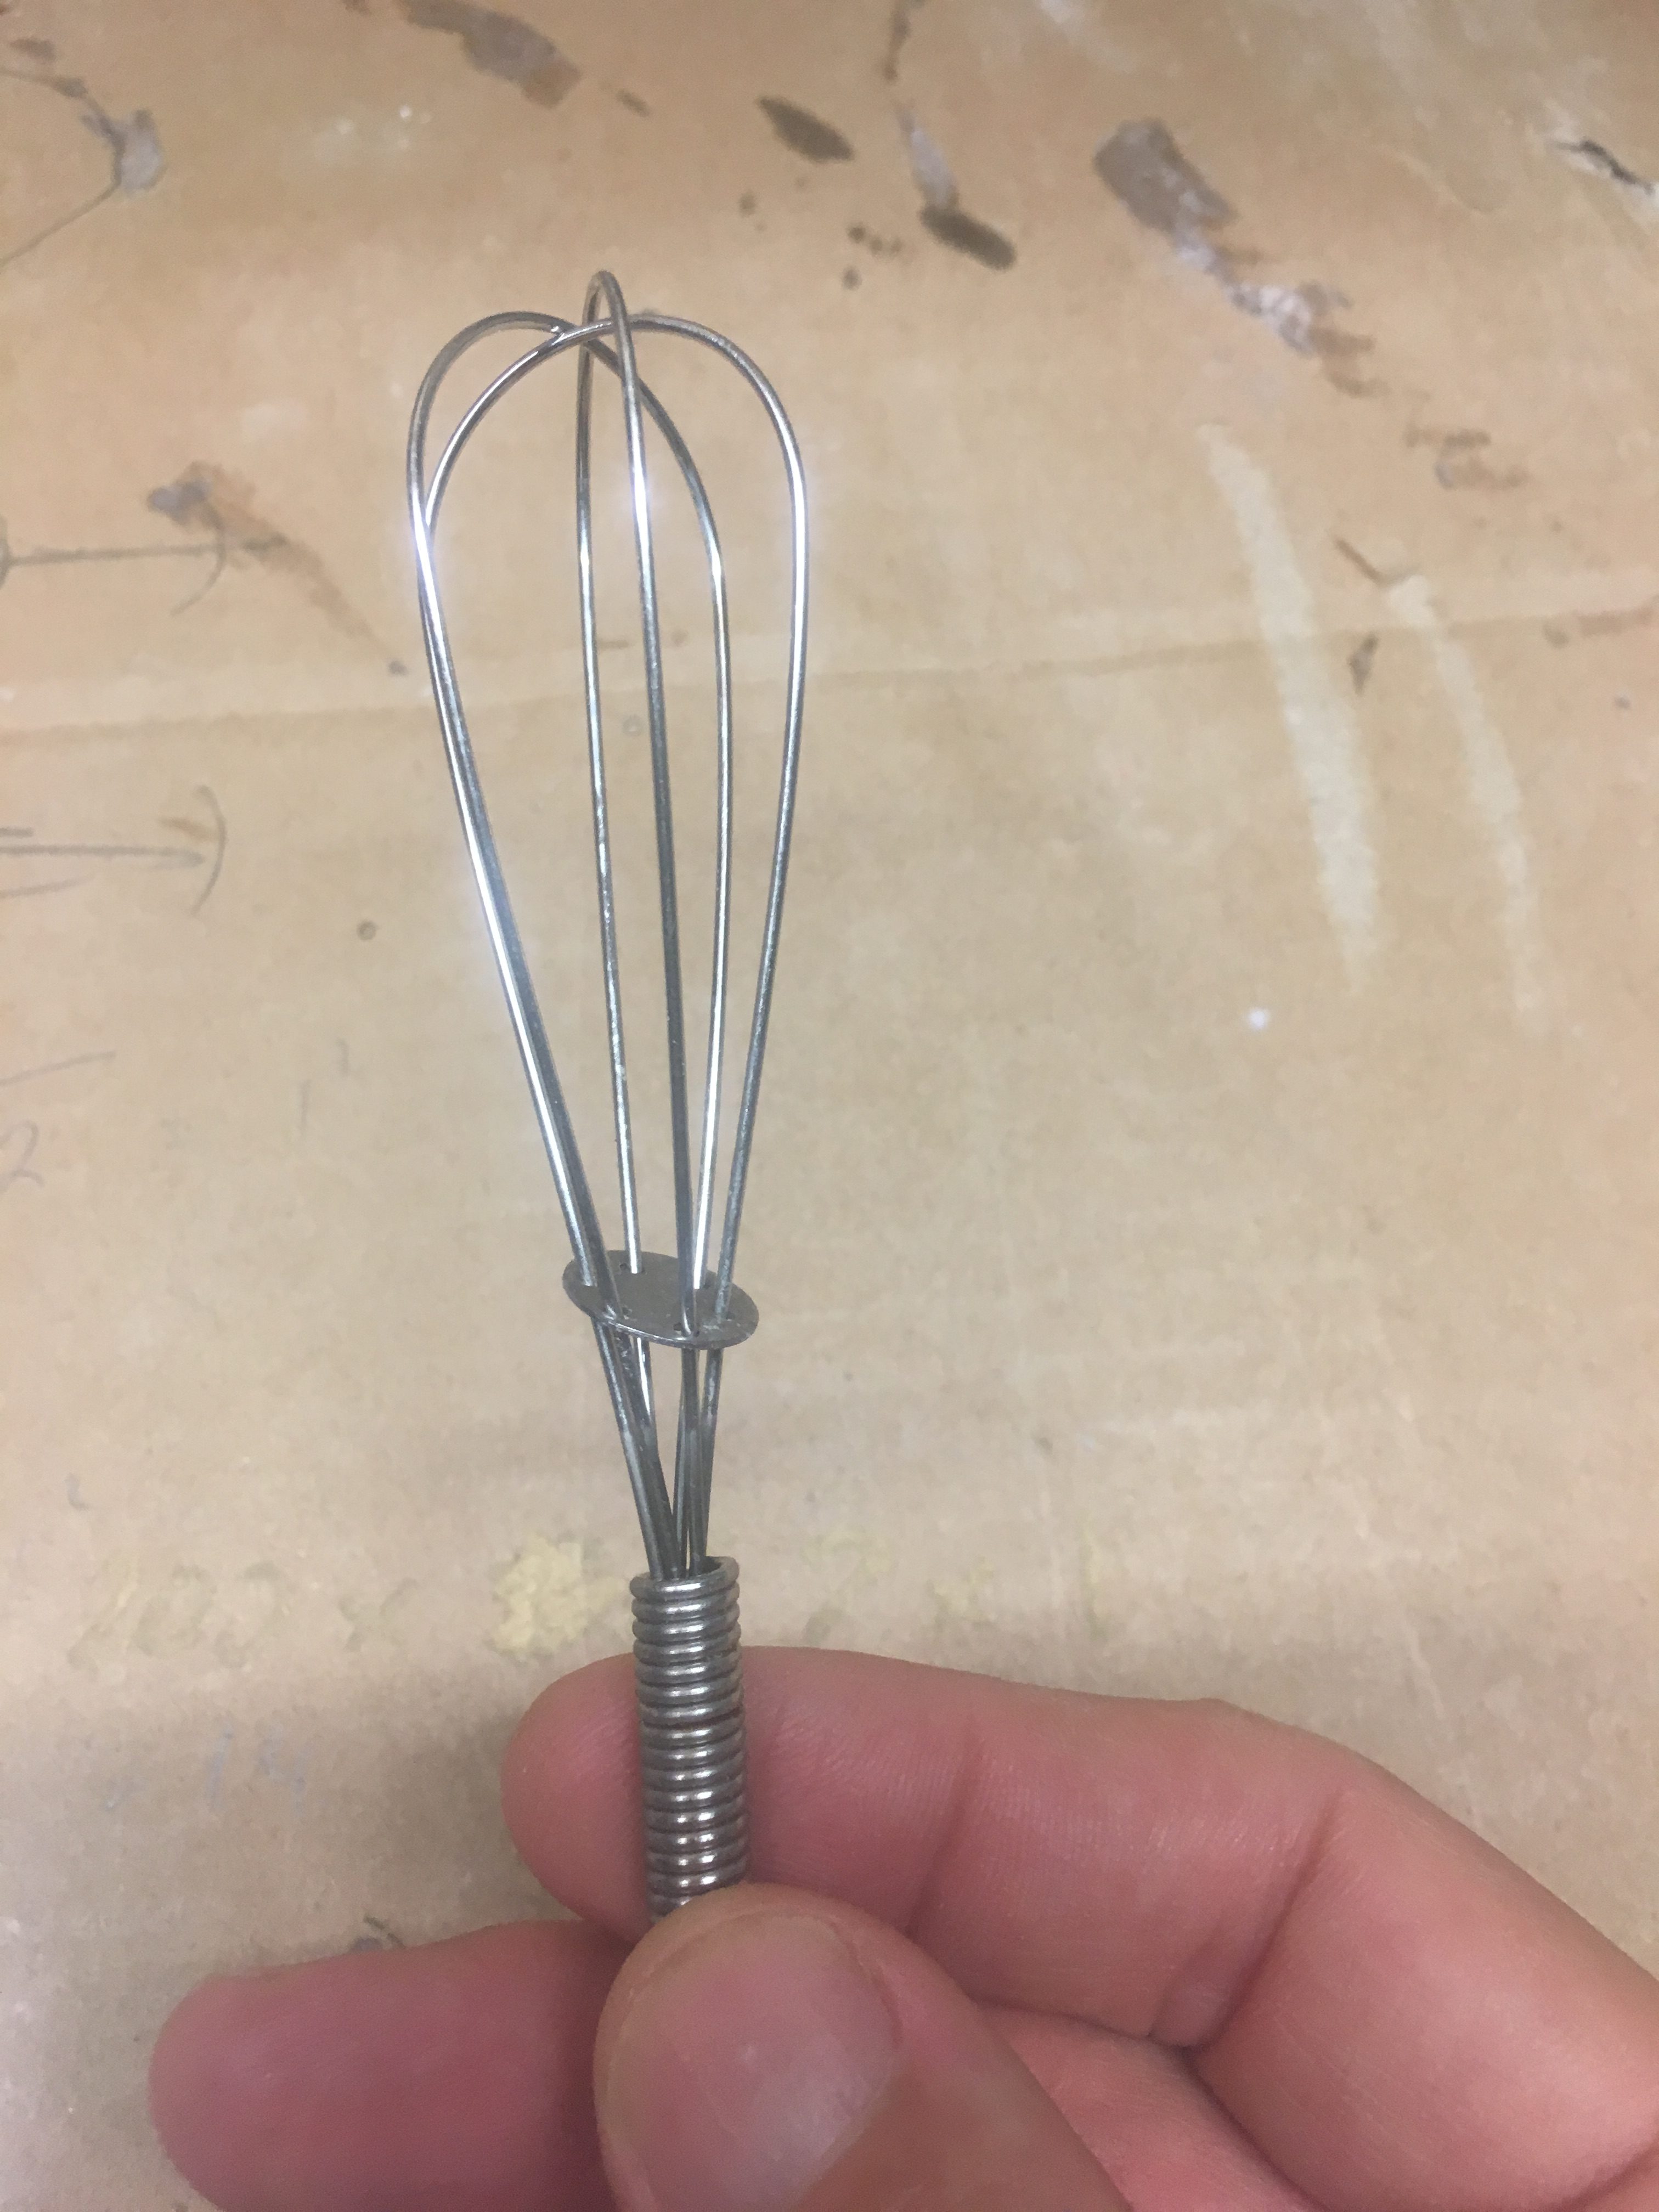
I did not use the whisk in the first batch, which in turn was on BOTH sides of the fin. The second batch was done with the whisk and was used to fillet up two pieces of wood. The consistency of the epoxy was significantly greater, though still not perfect.
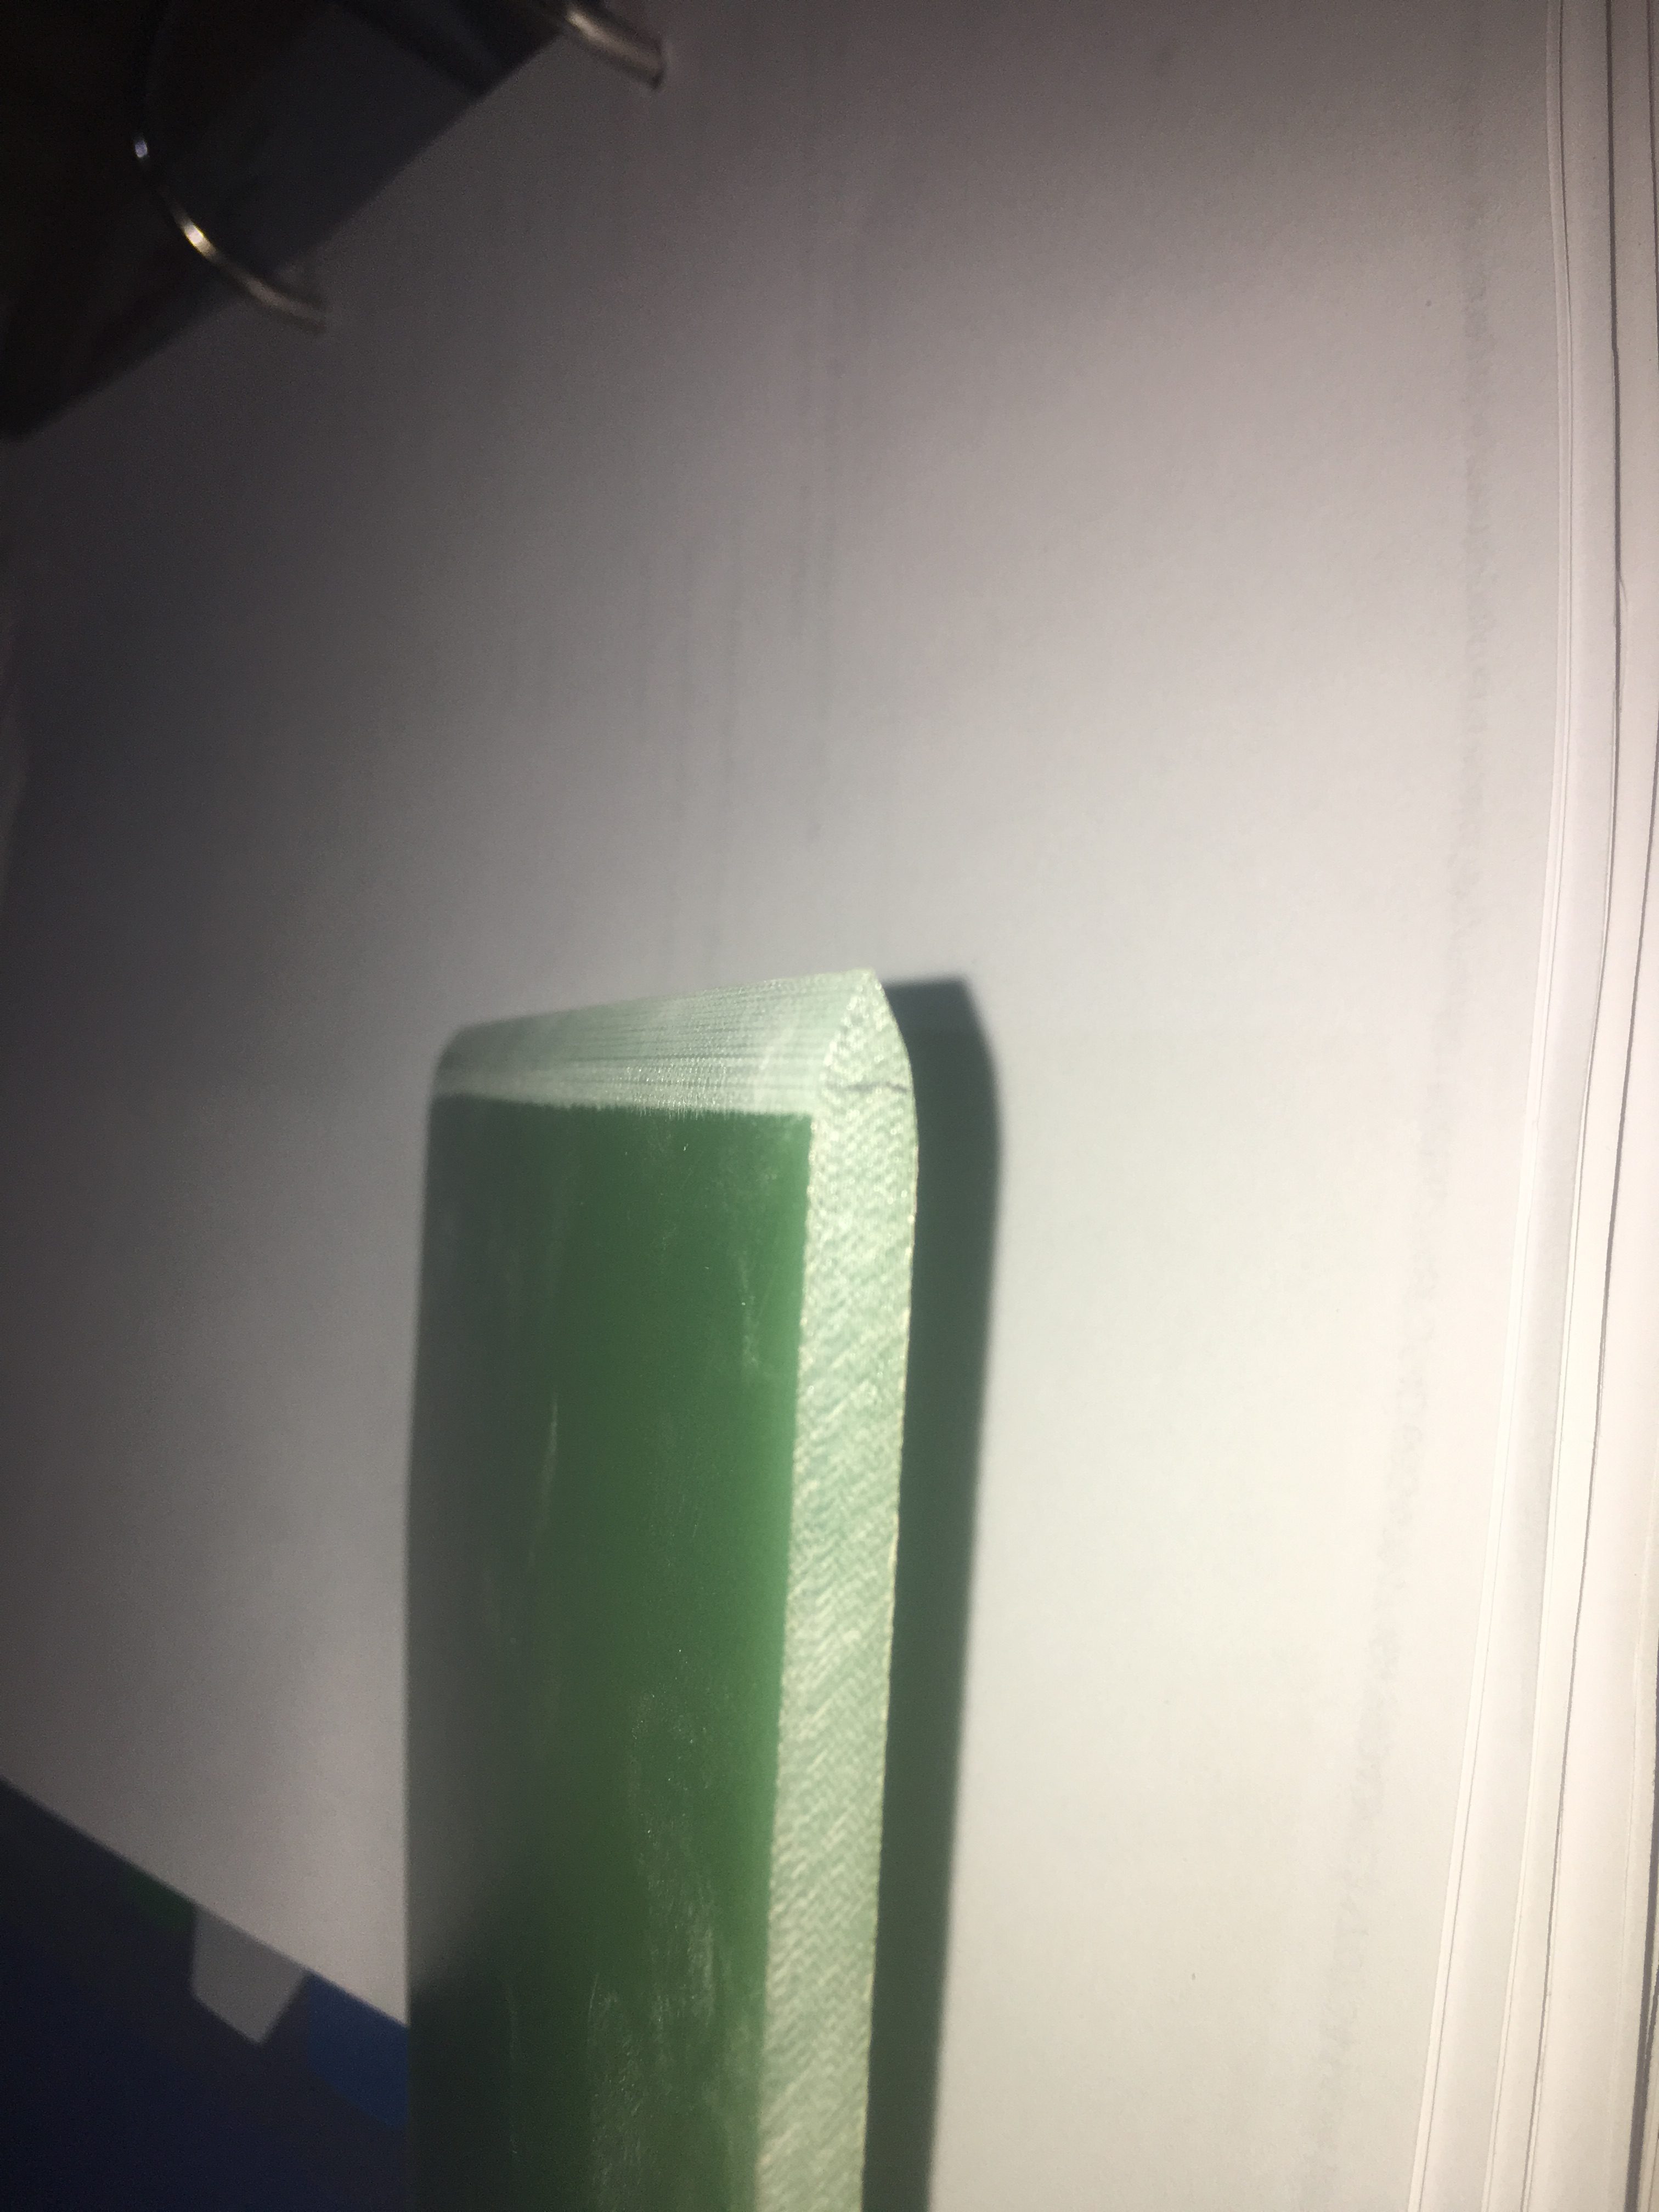
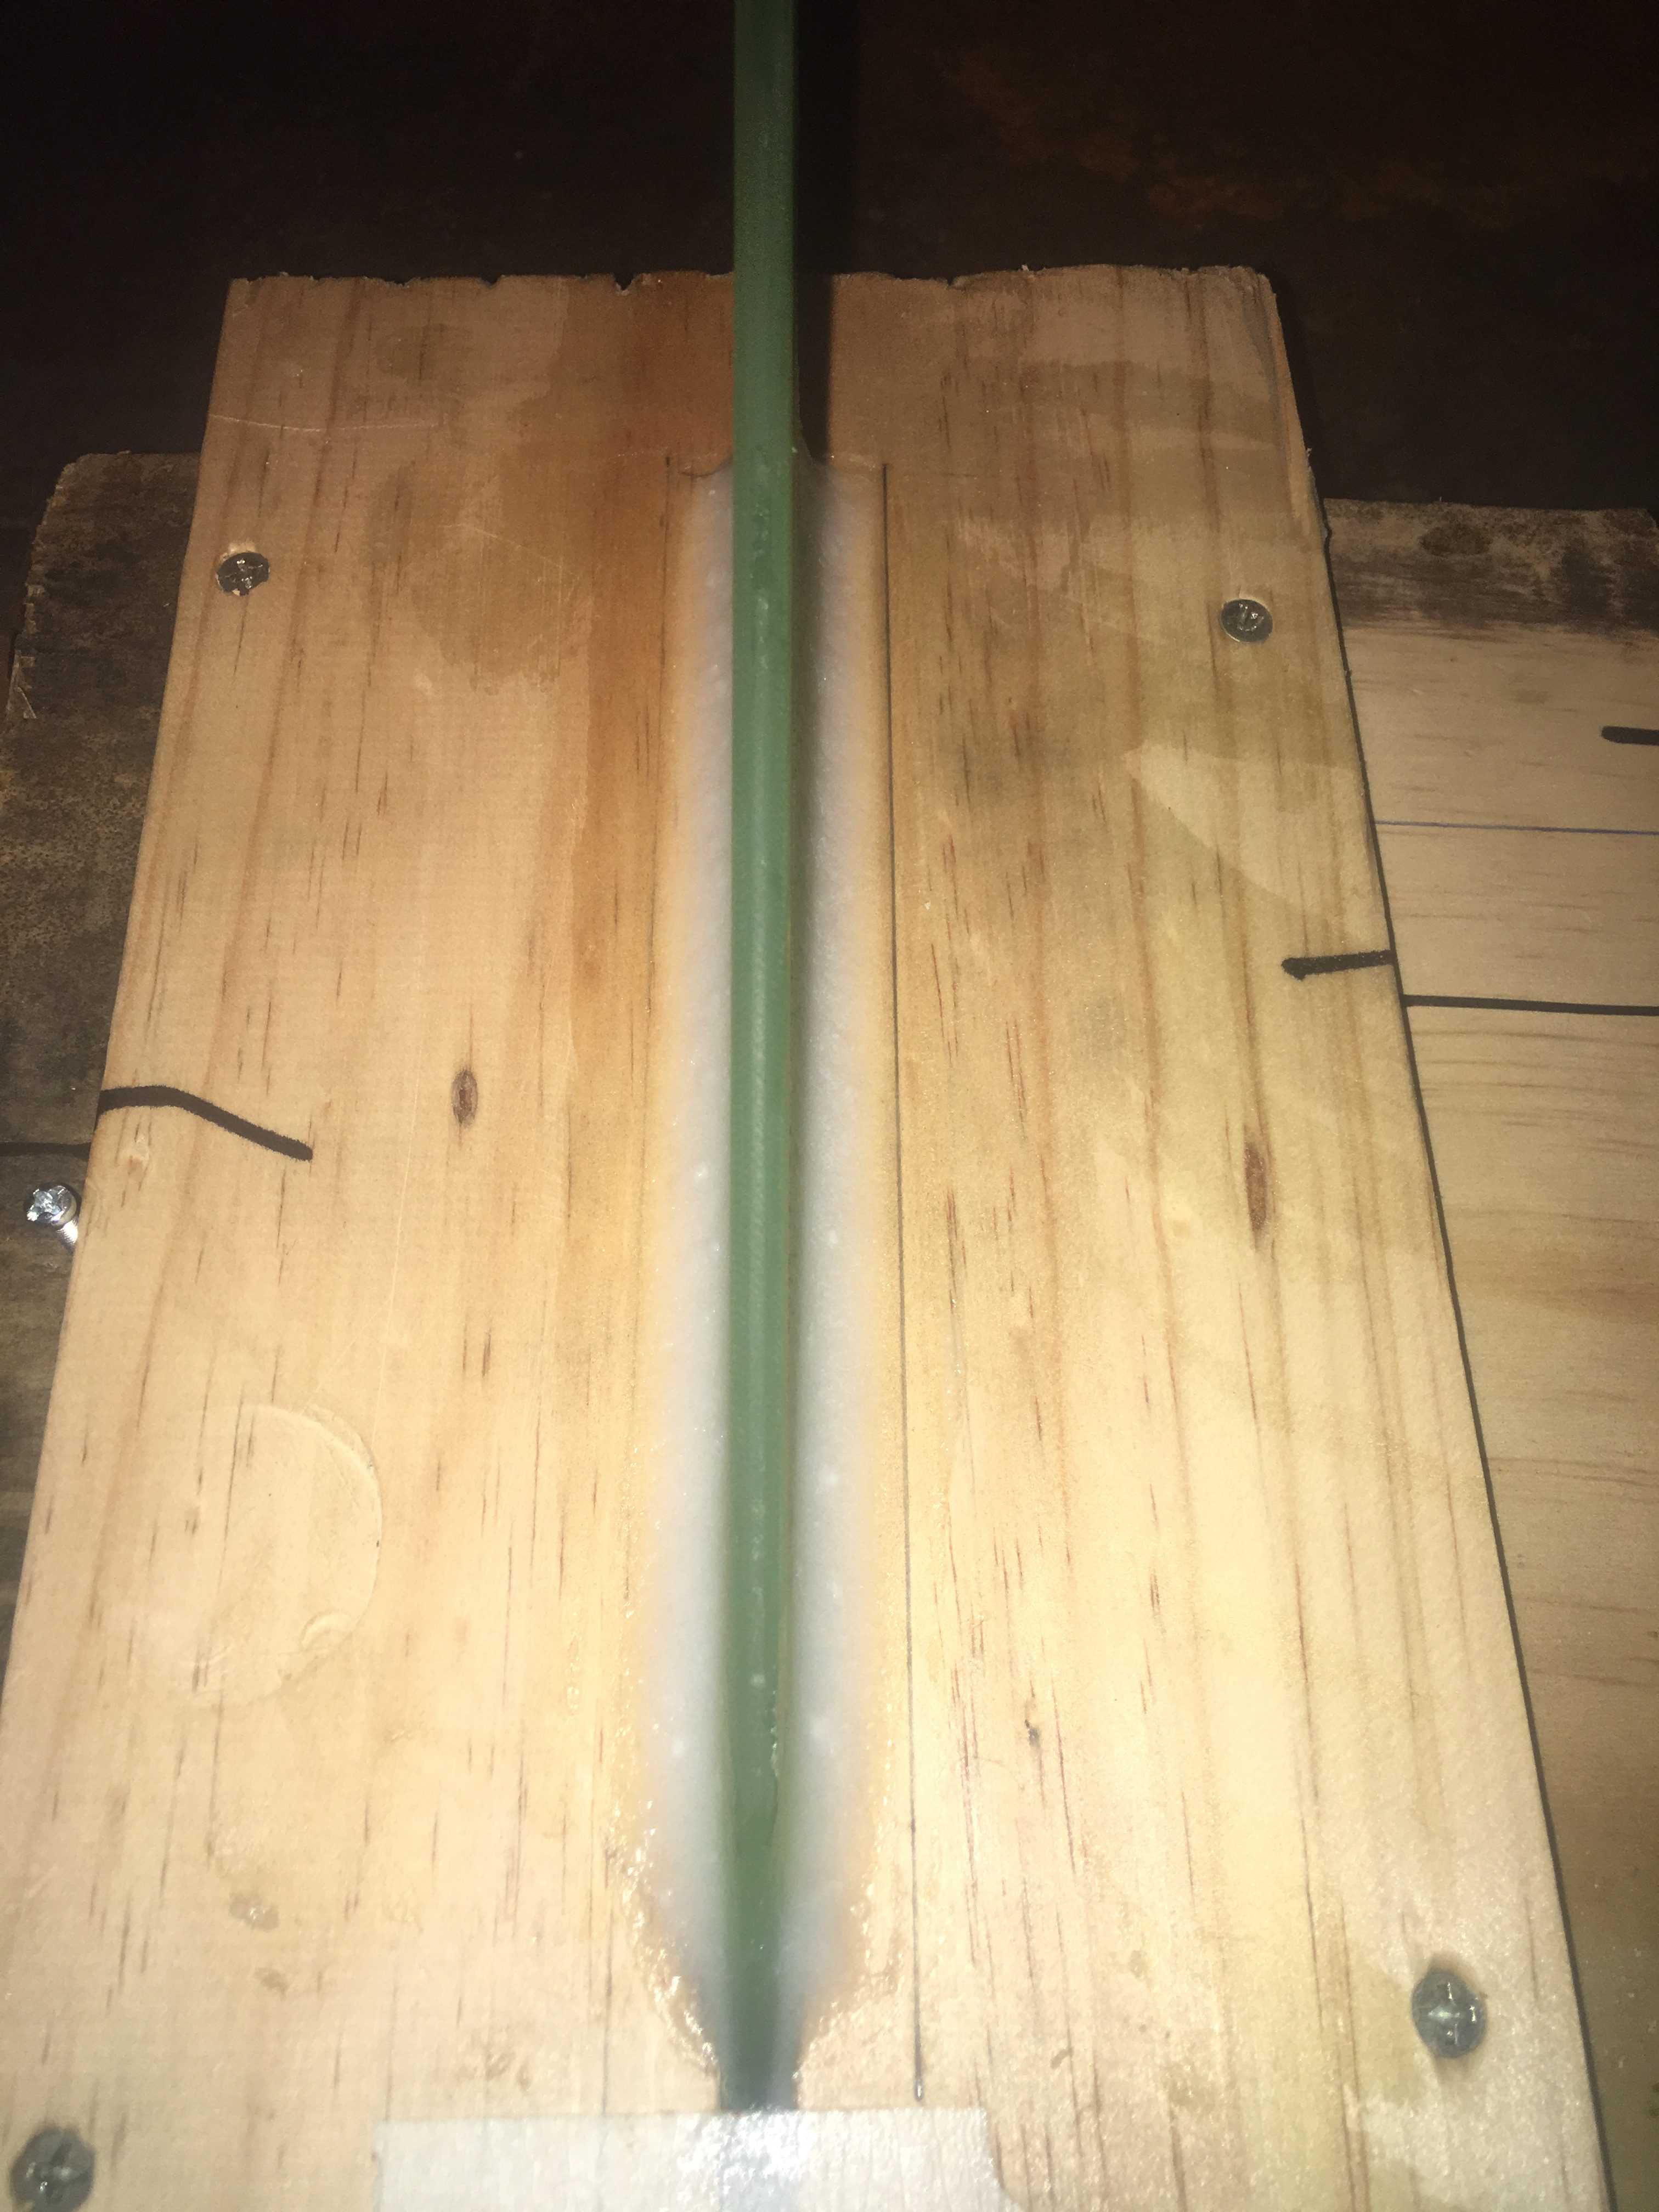
Results after curing (before sanding)
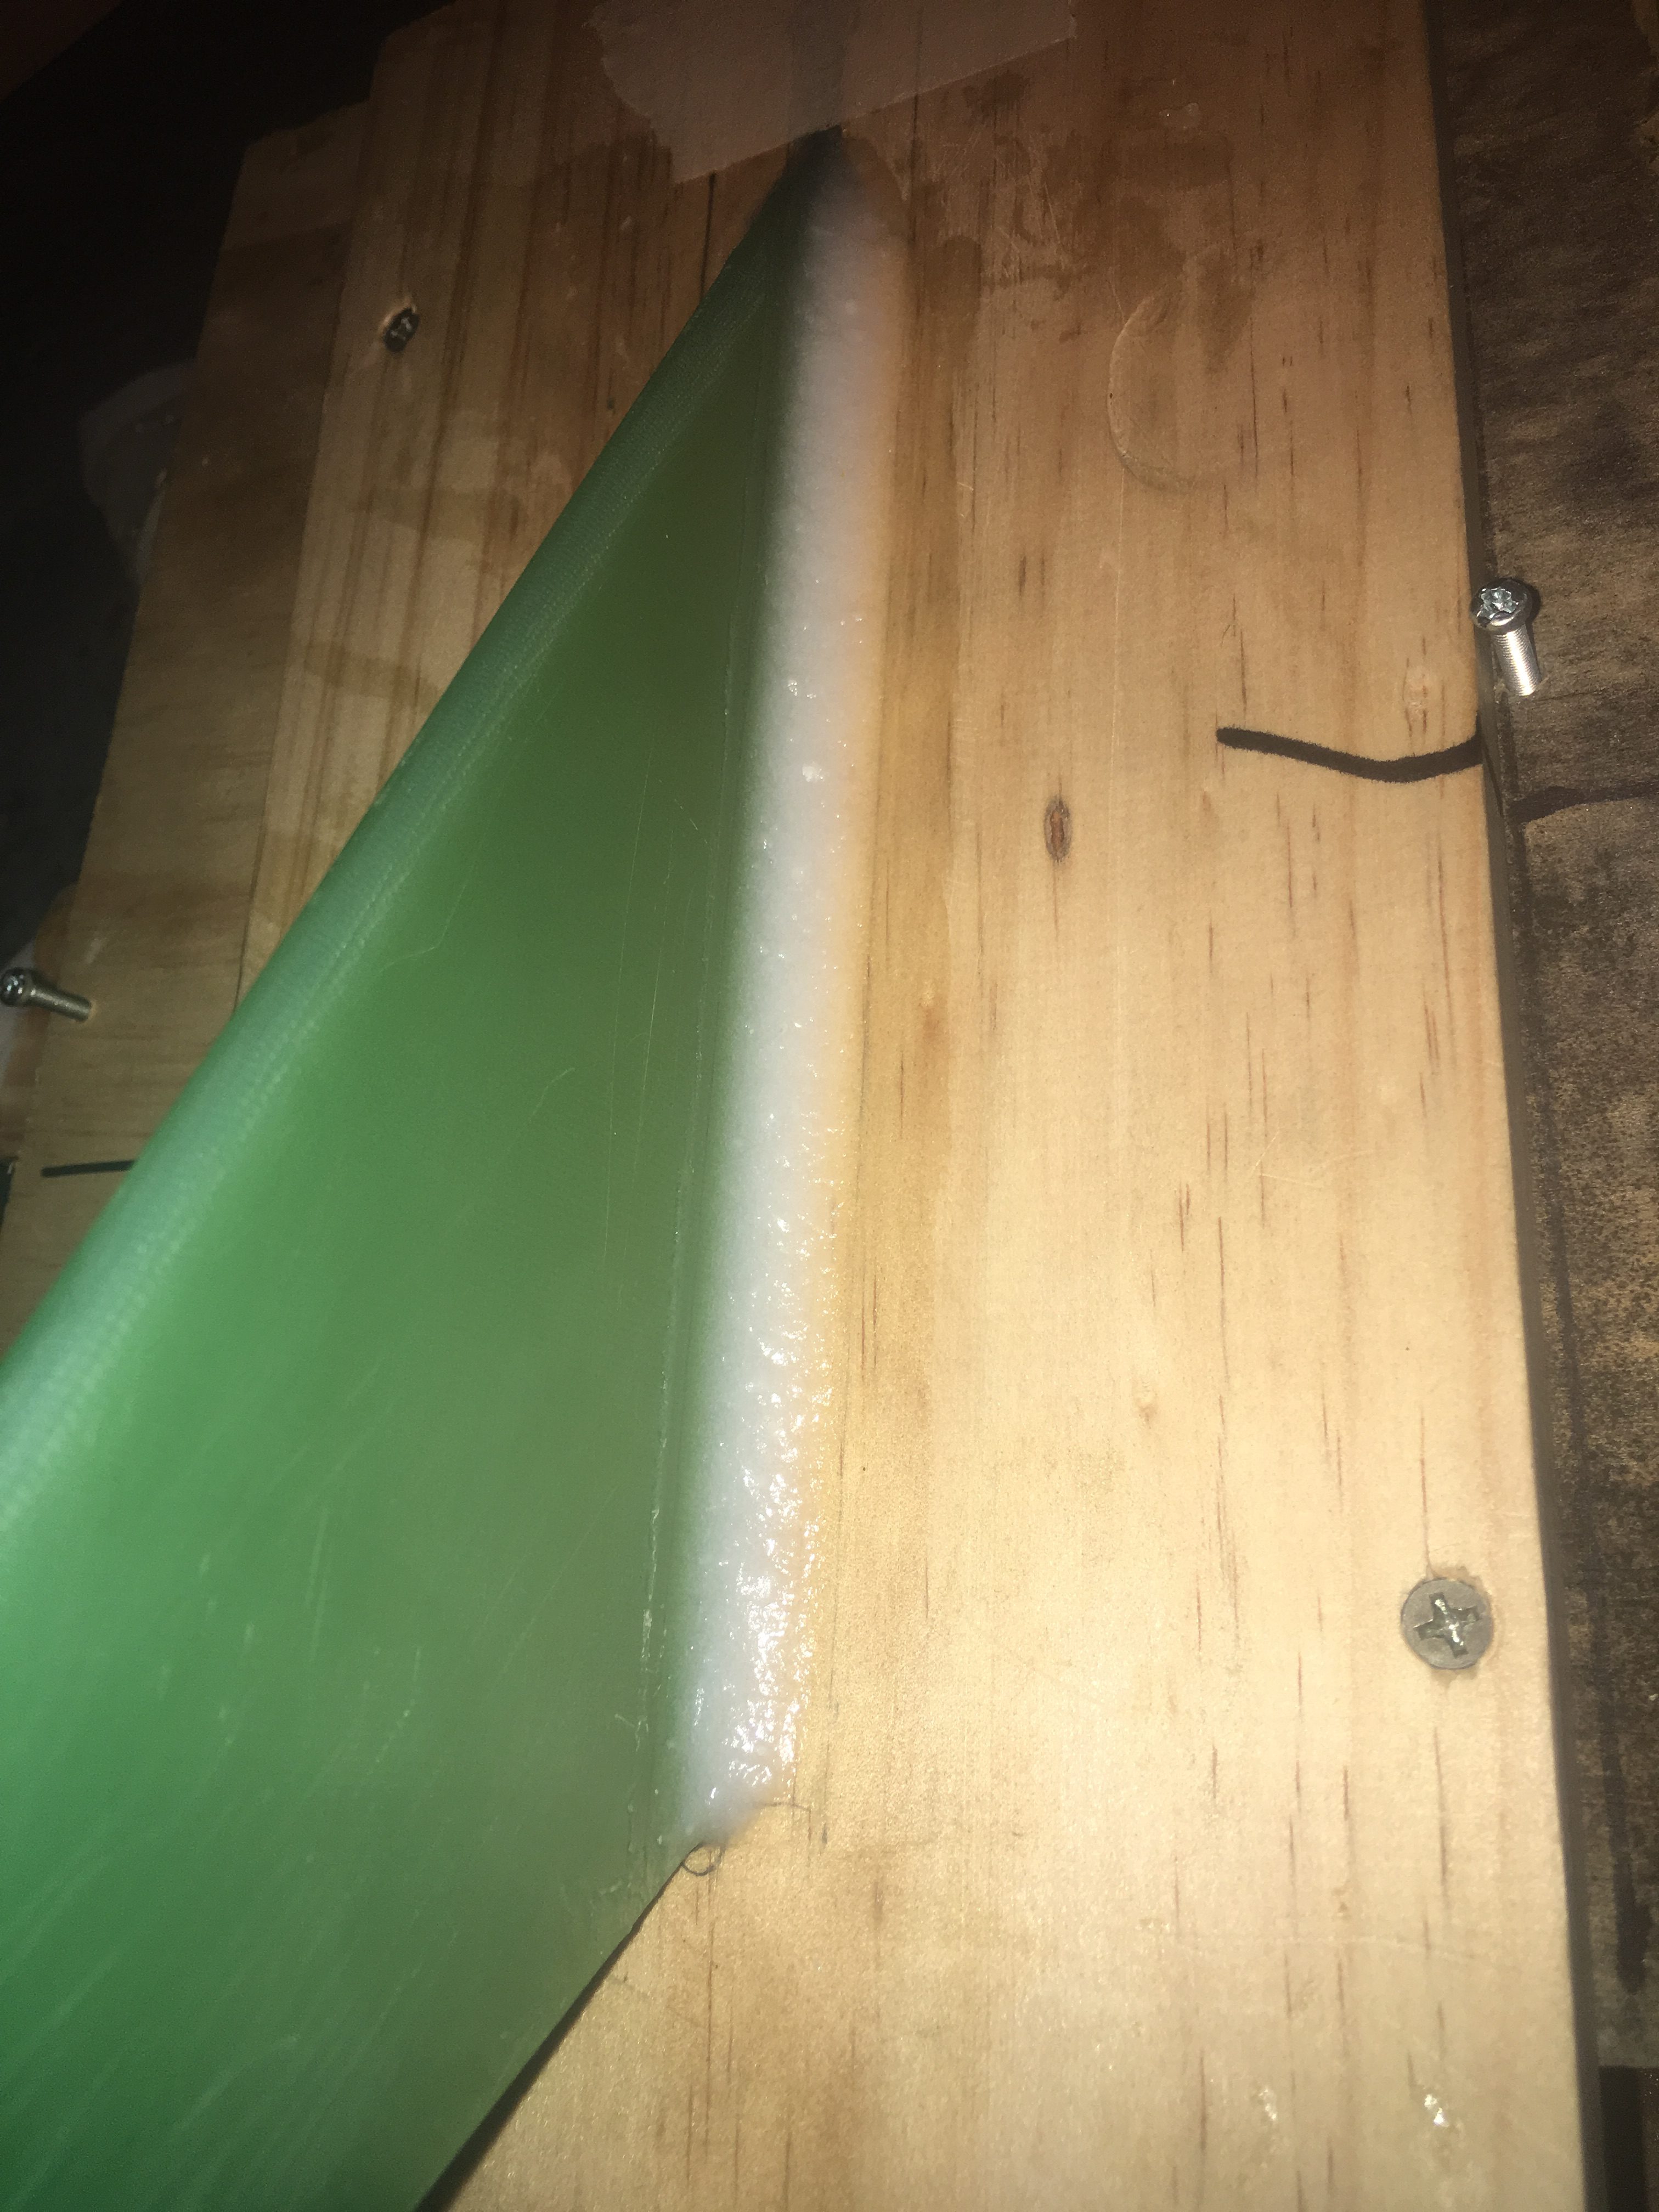
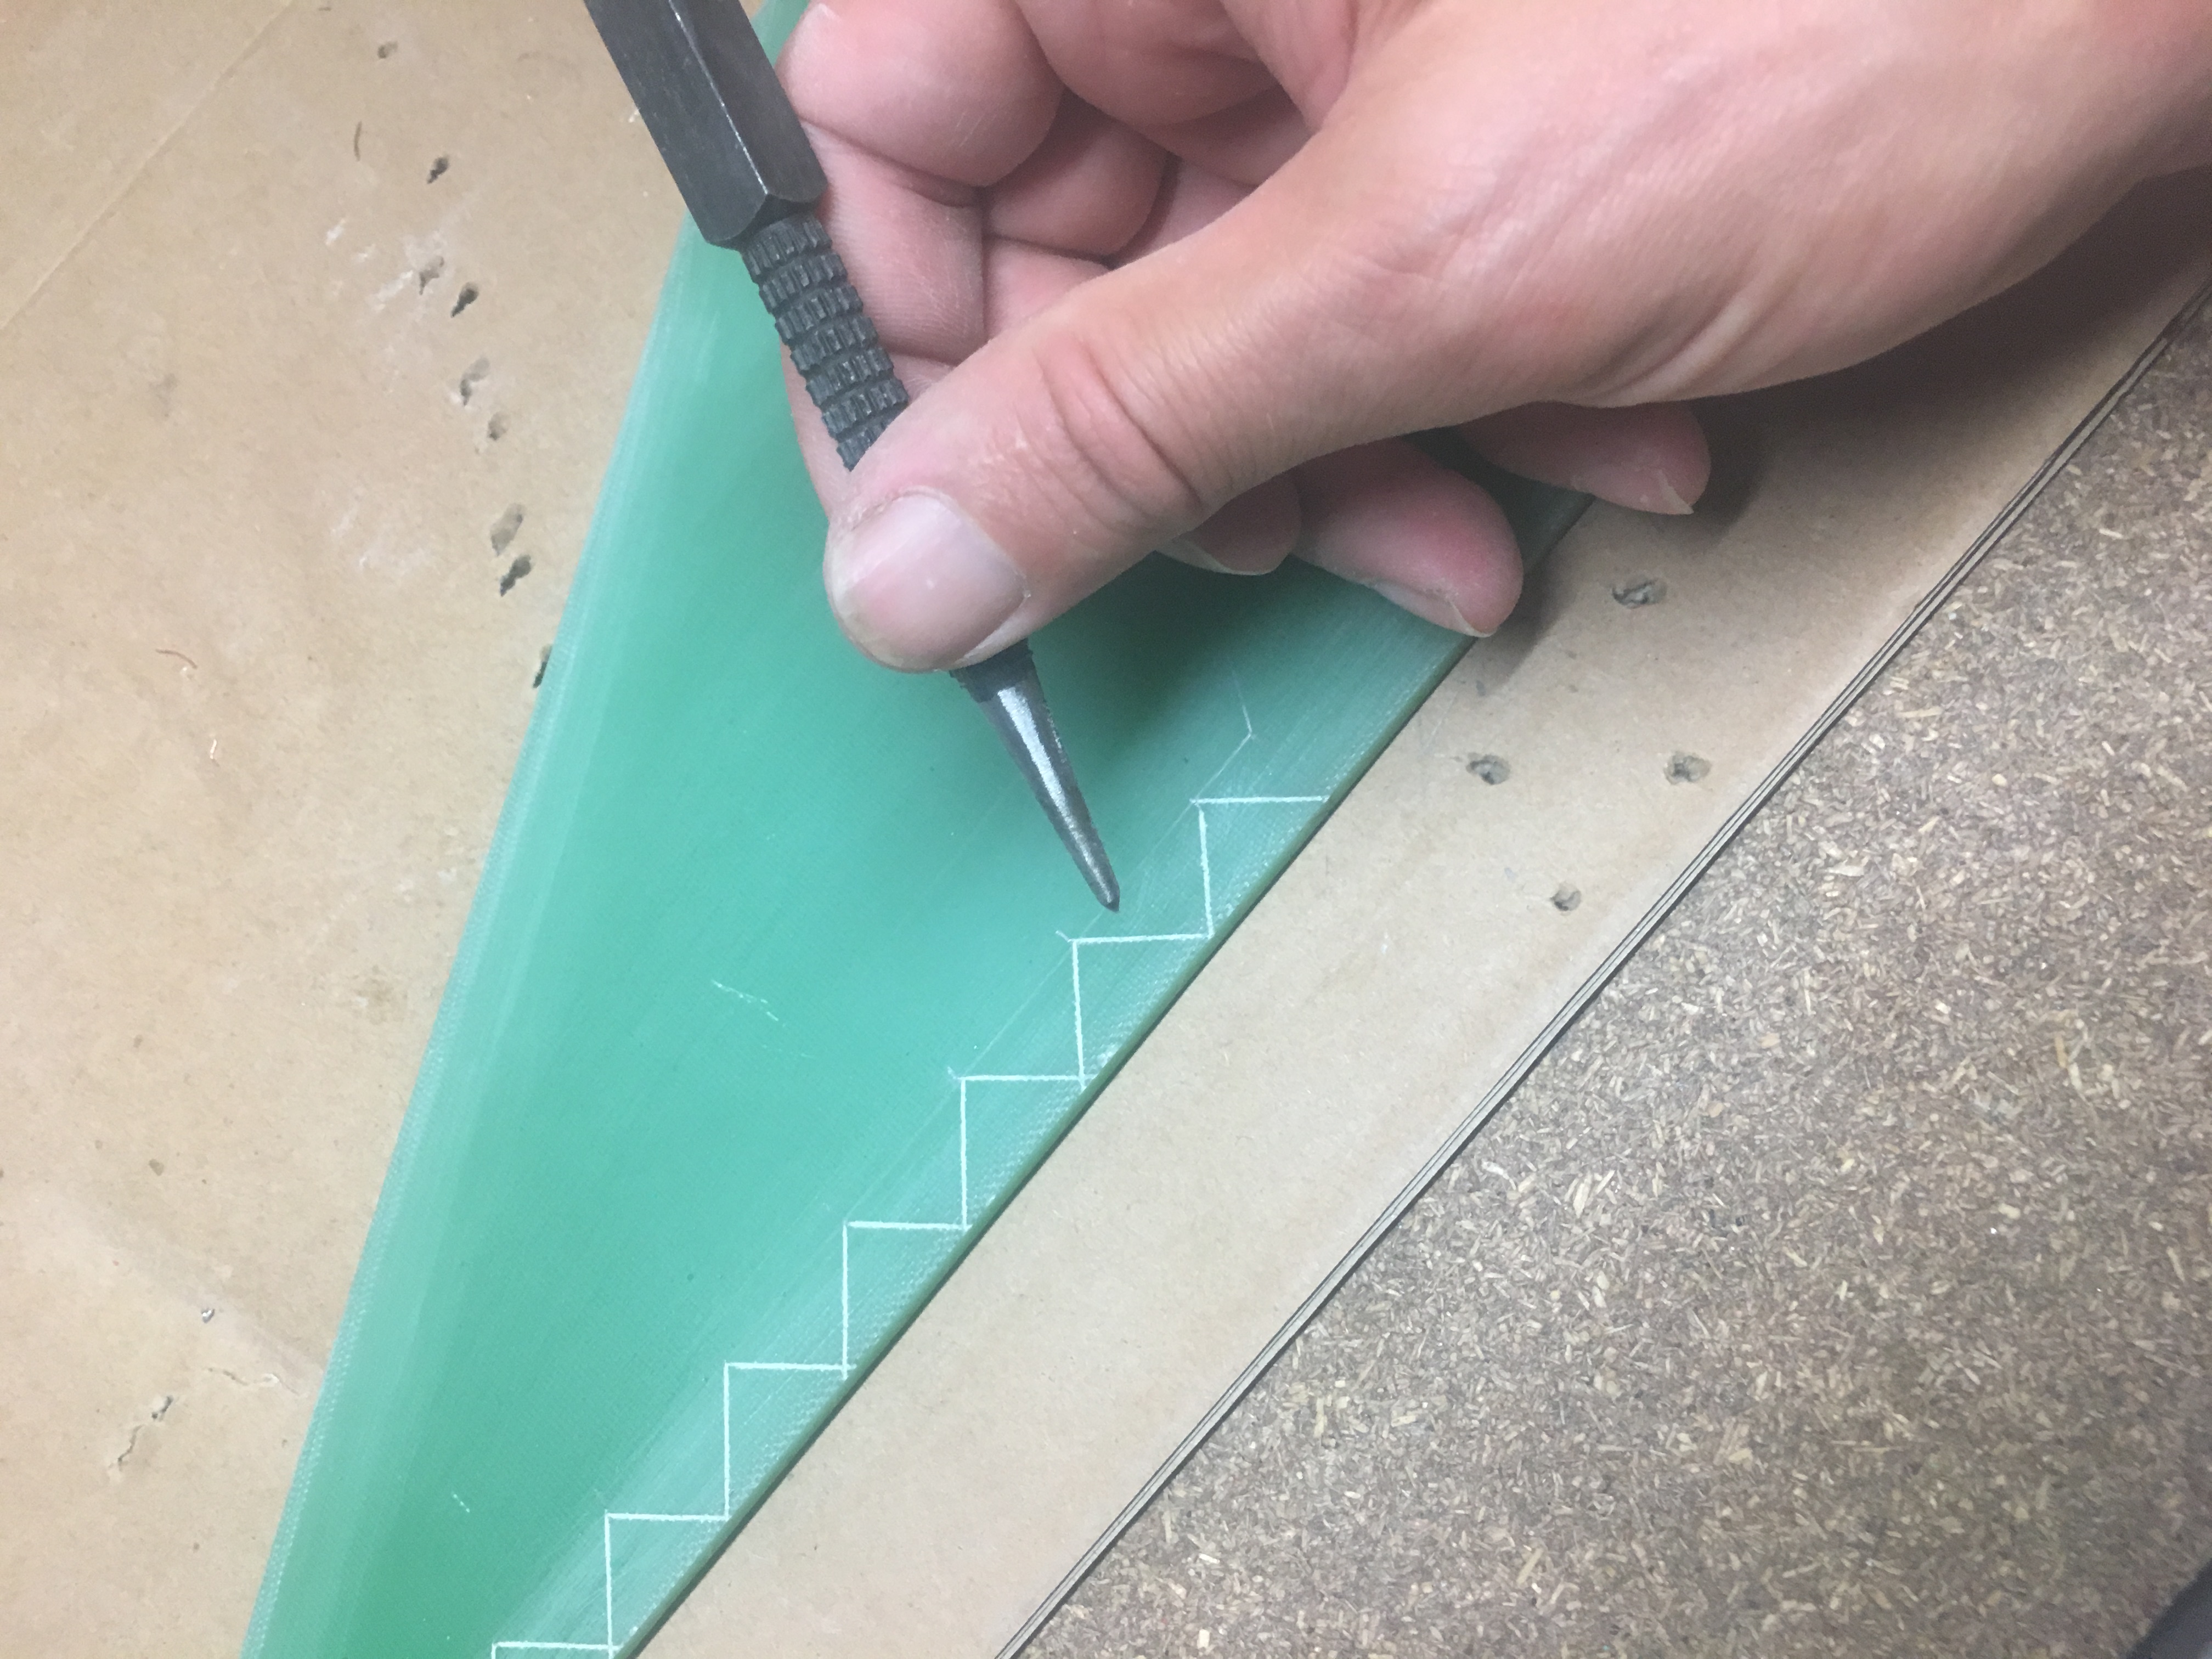
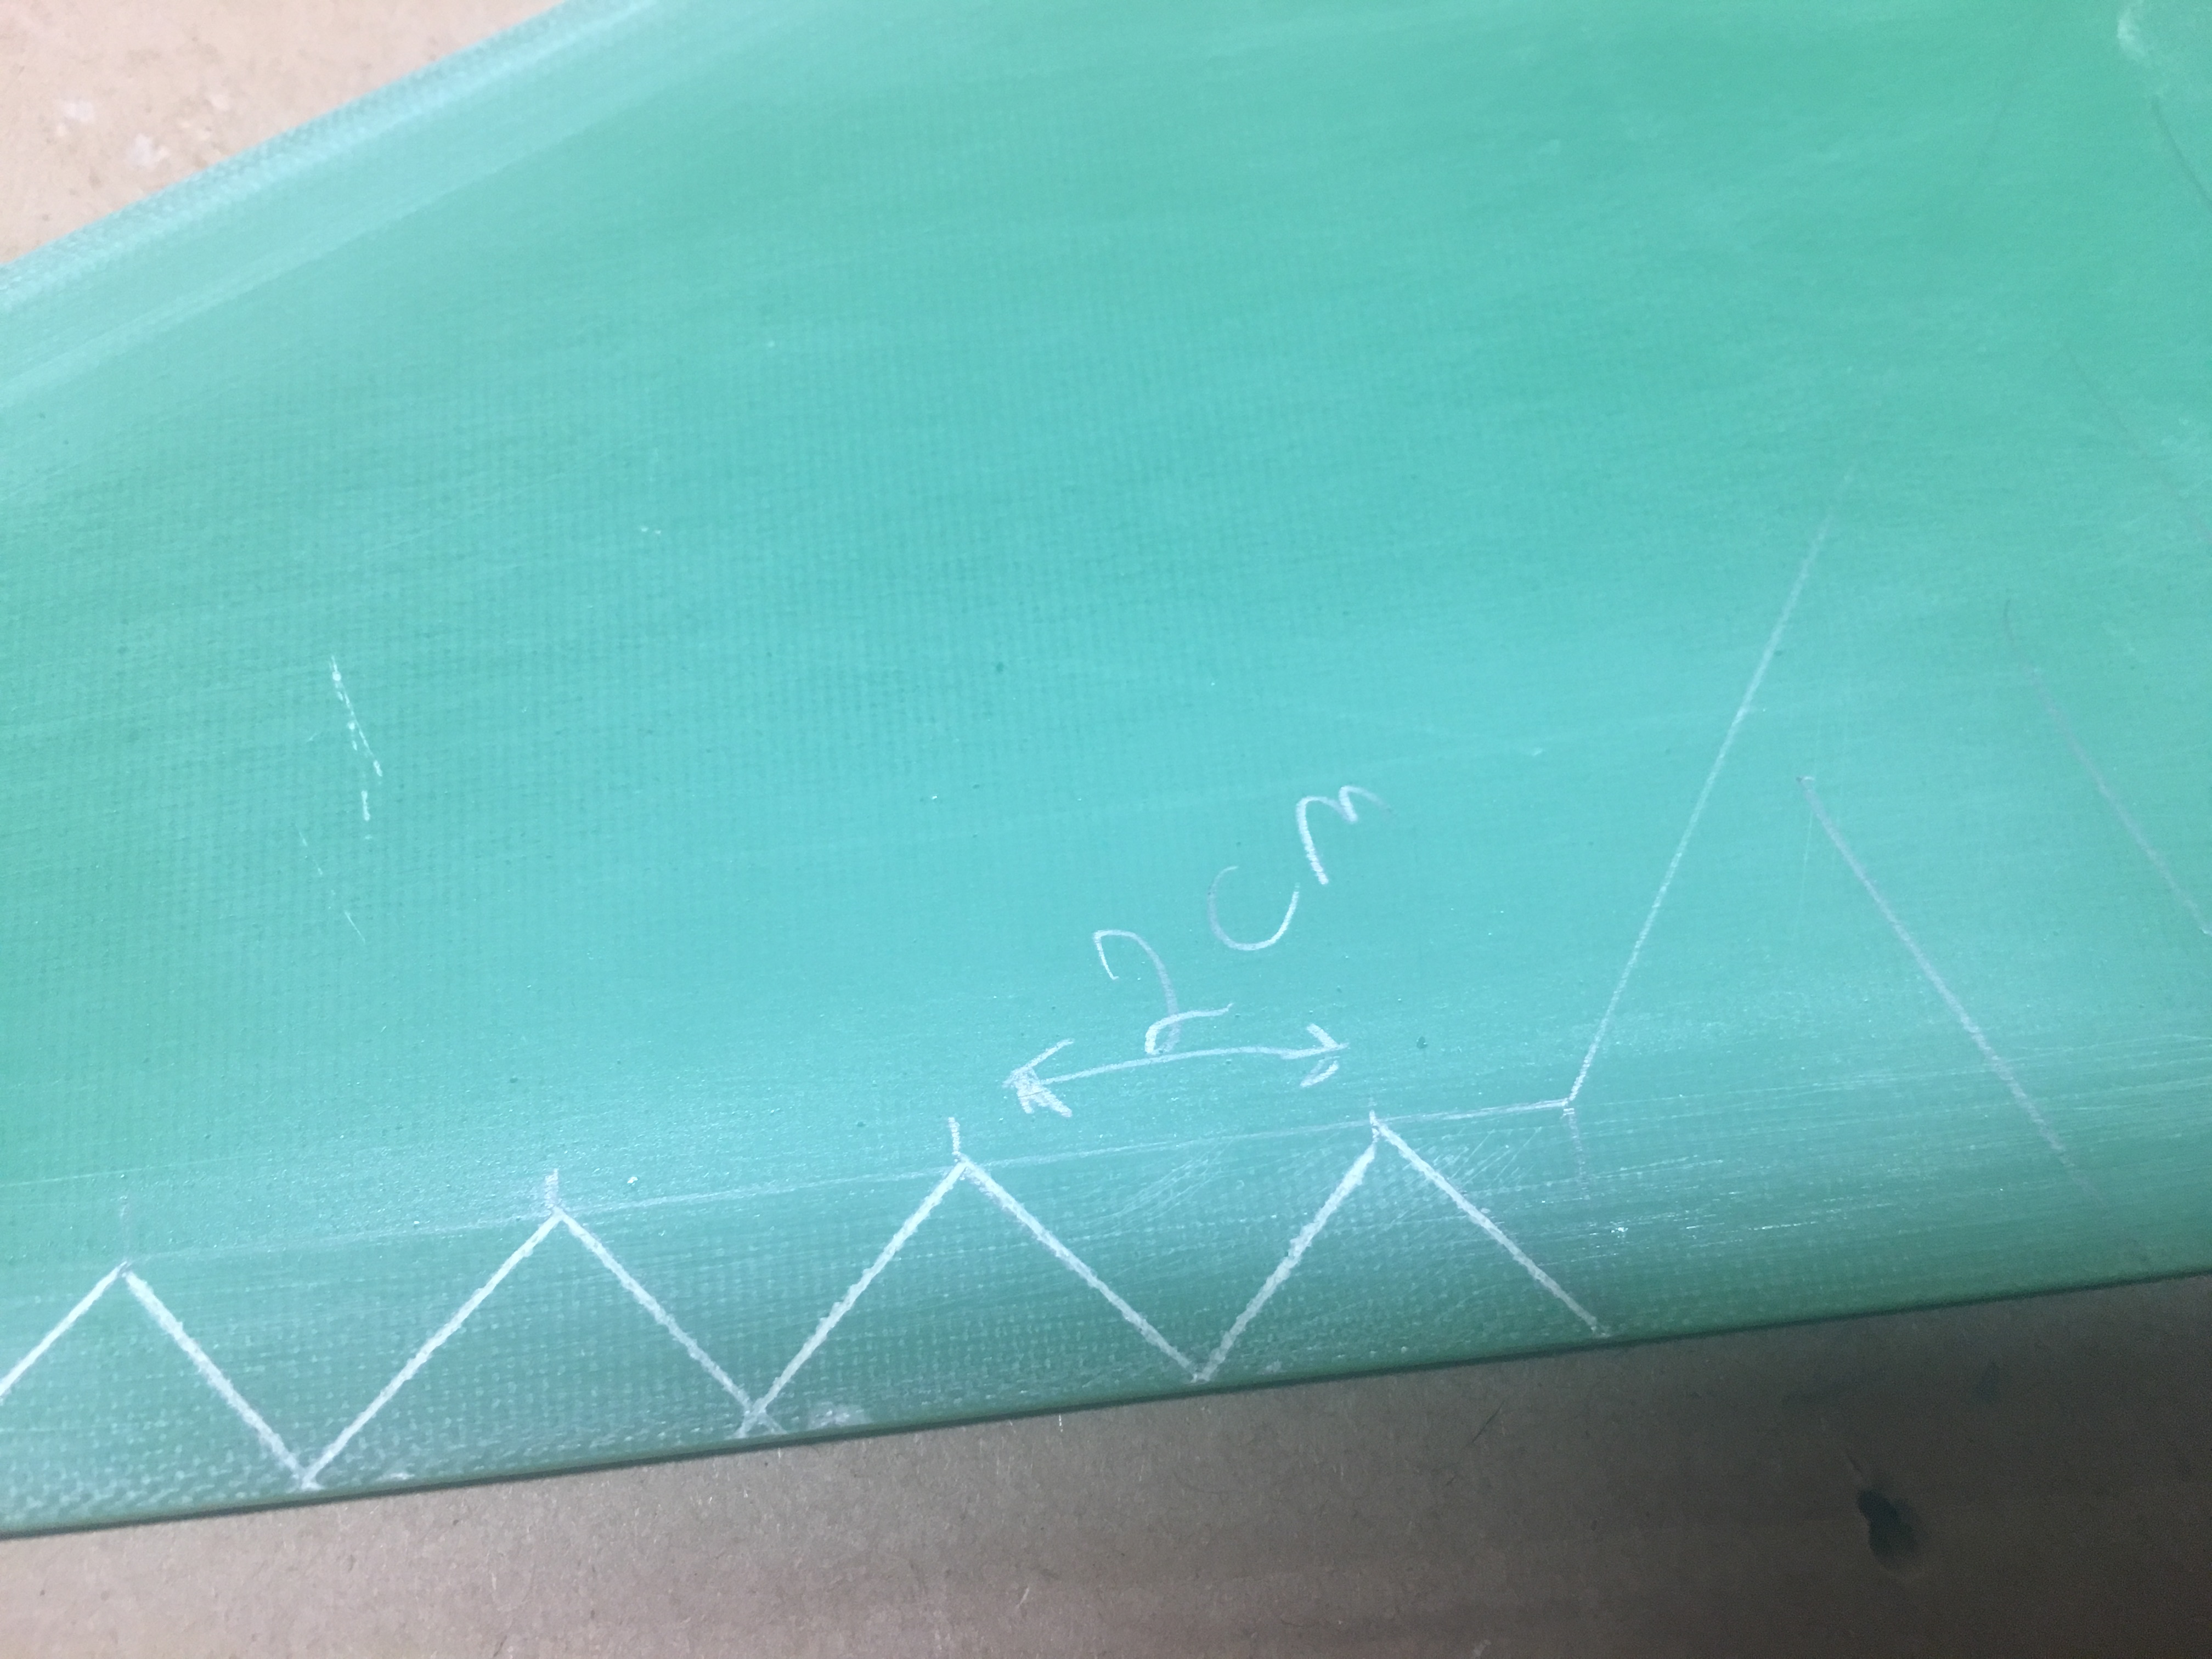
I forgot to lay down tape 1cm from fin/wood interface. I will do this next time to ensure fillets are uniform along the length.
I tried using methylated spirits on my finger to smooth the paste, but this failed.
I will use a sieve next time to introduce the 403 into the epoxy mix, as I believe I’ve introduced air that is causing some issues with the quality of the fillet.
Sanding
I’ve started sanding with flexible sanding pads. I can bend them back on themselves to produce a pretty good sanding block with a semi-circle end. I have used coarse, then medium and finally the fine version. I used some water as well to get a finer finish.