In the first paint session I managed to paint the nose coat with base coat and clear coat. I base coated the booster, but had some issues and ran out of blue base paint.
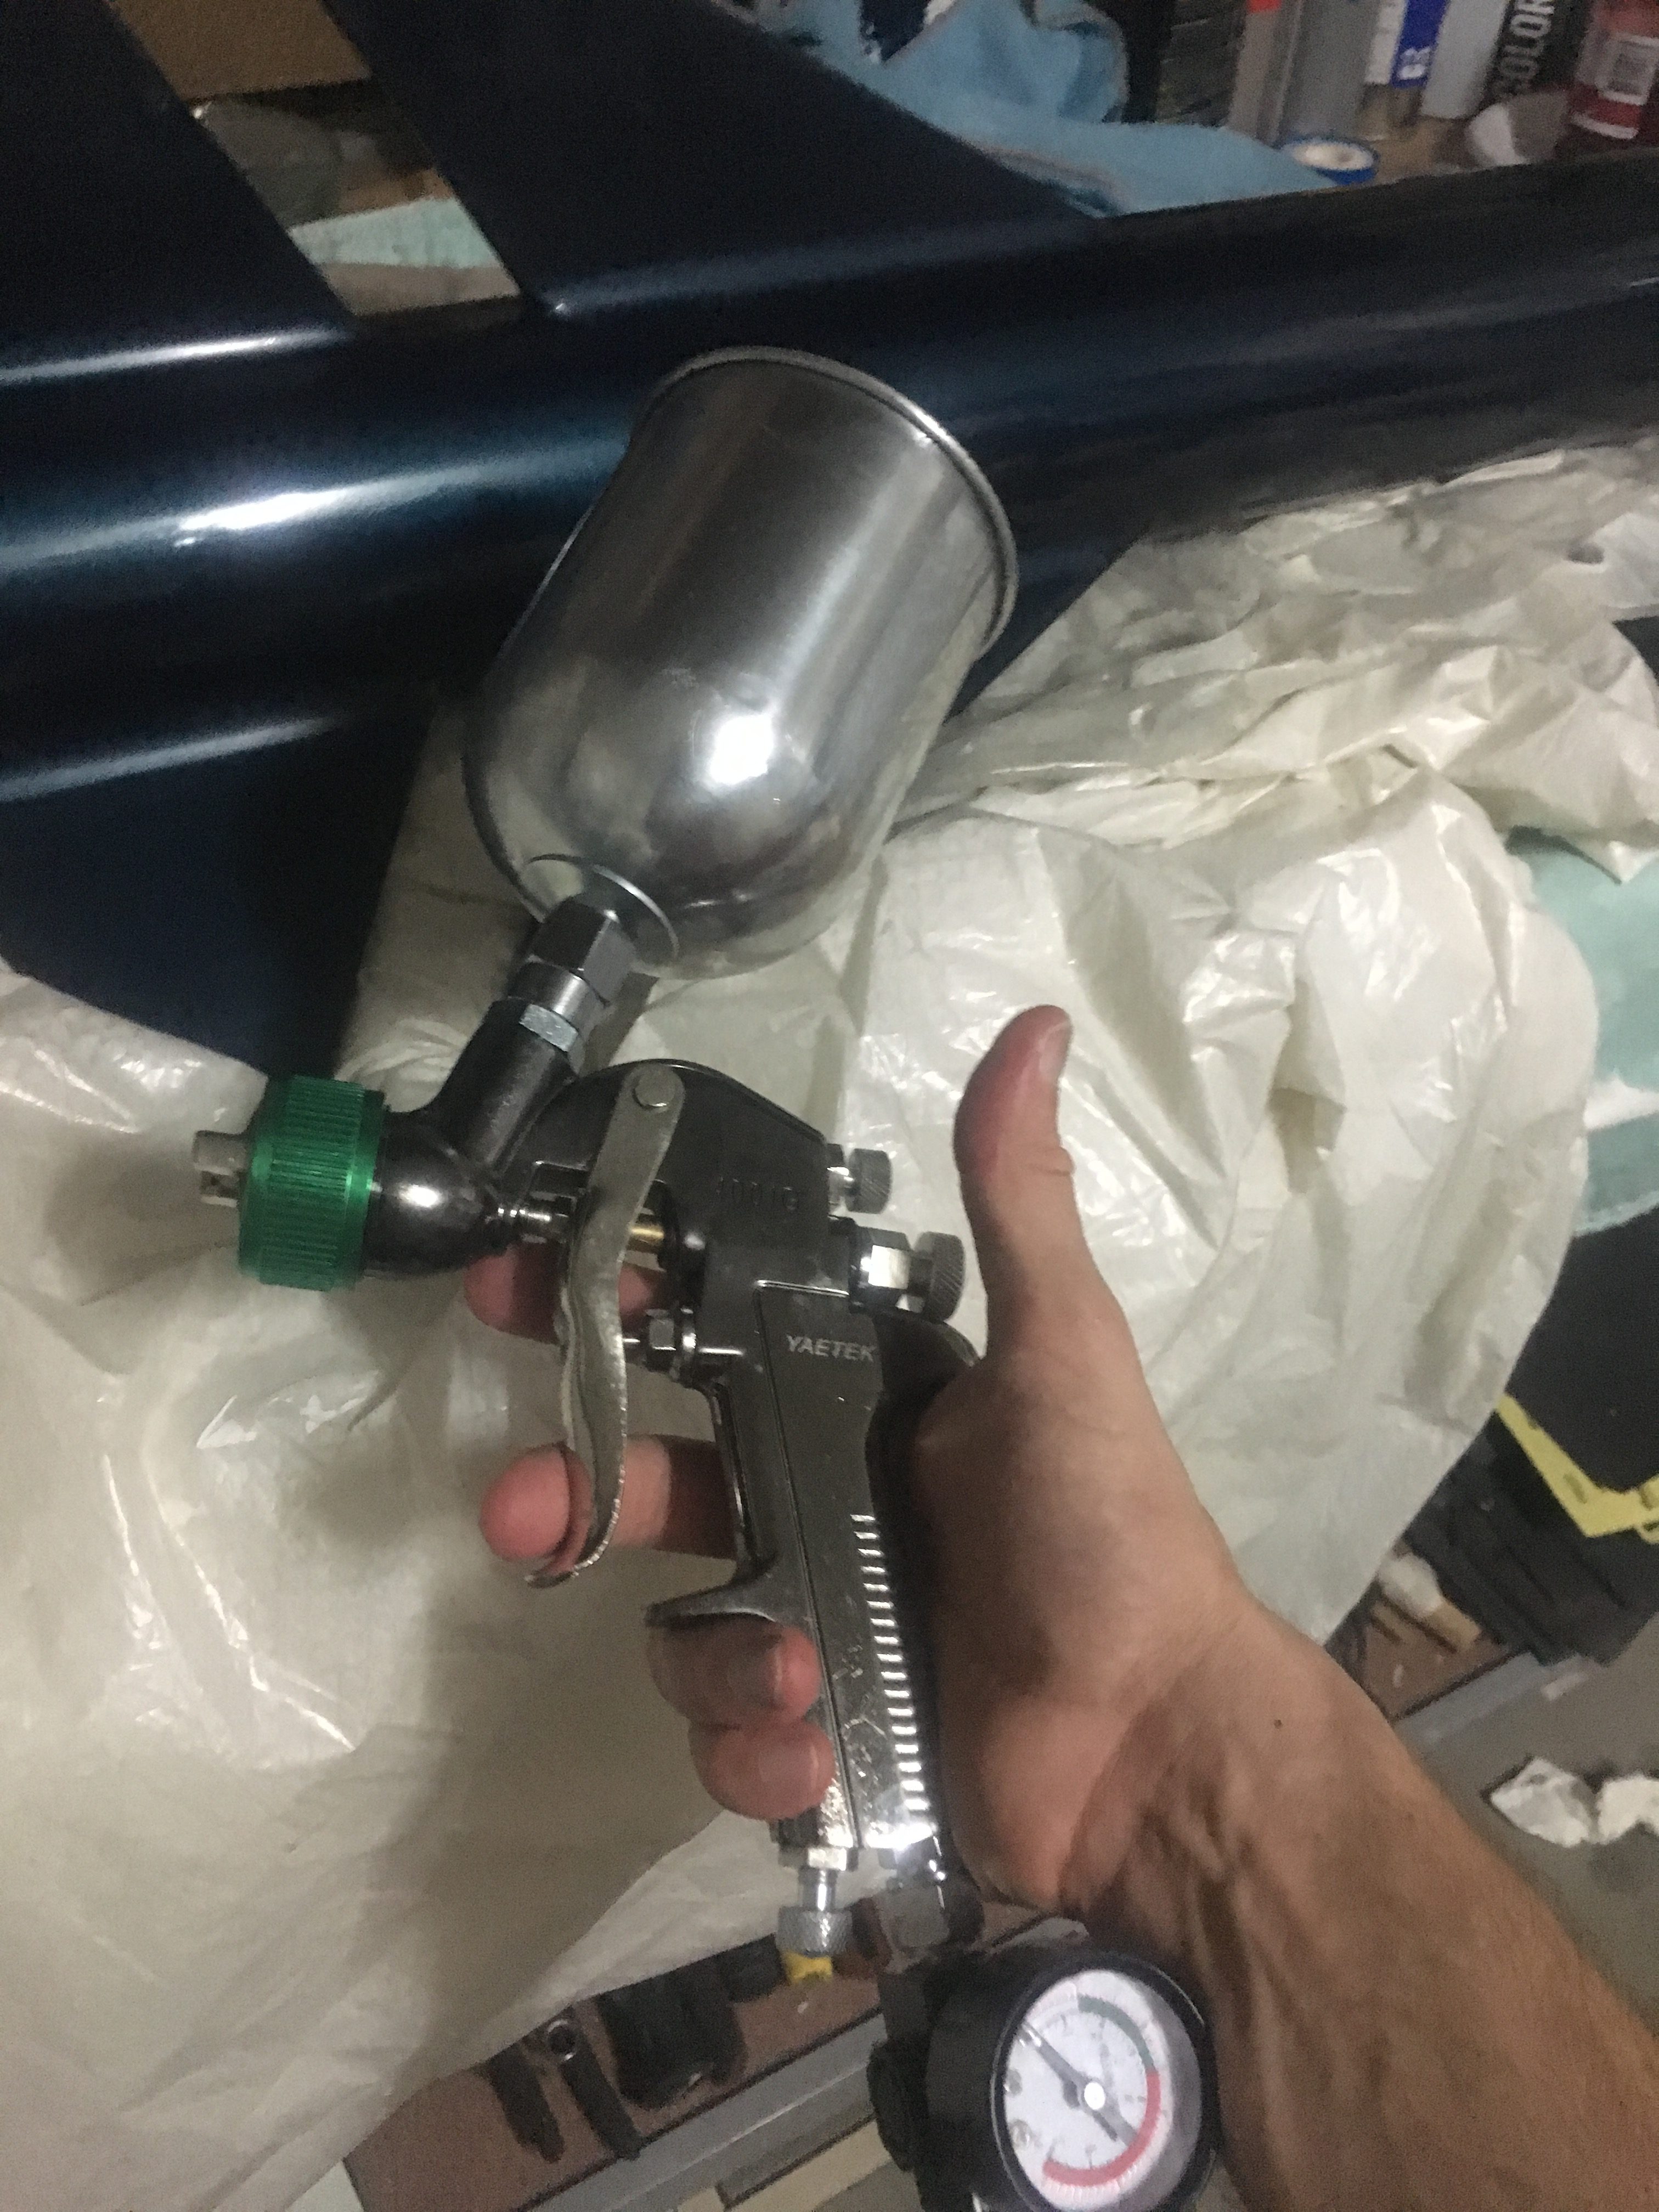
The second paint job is to complete the painting tasks. For the second paint session I decided to purchase a gravity-fed spray gun.
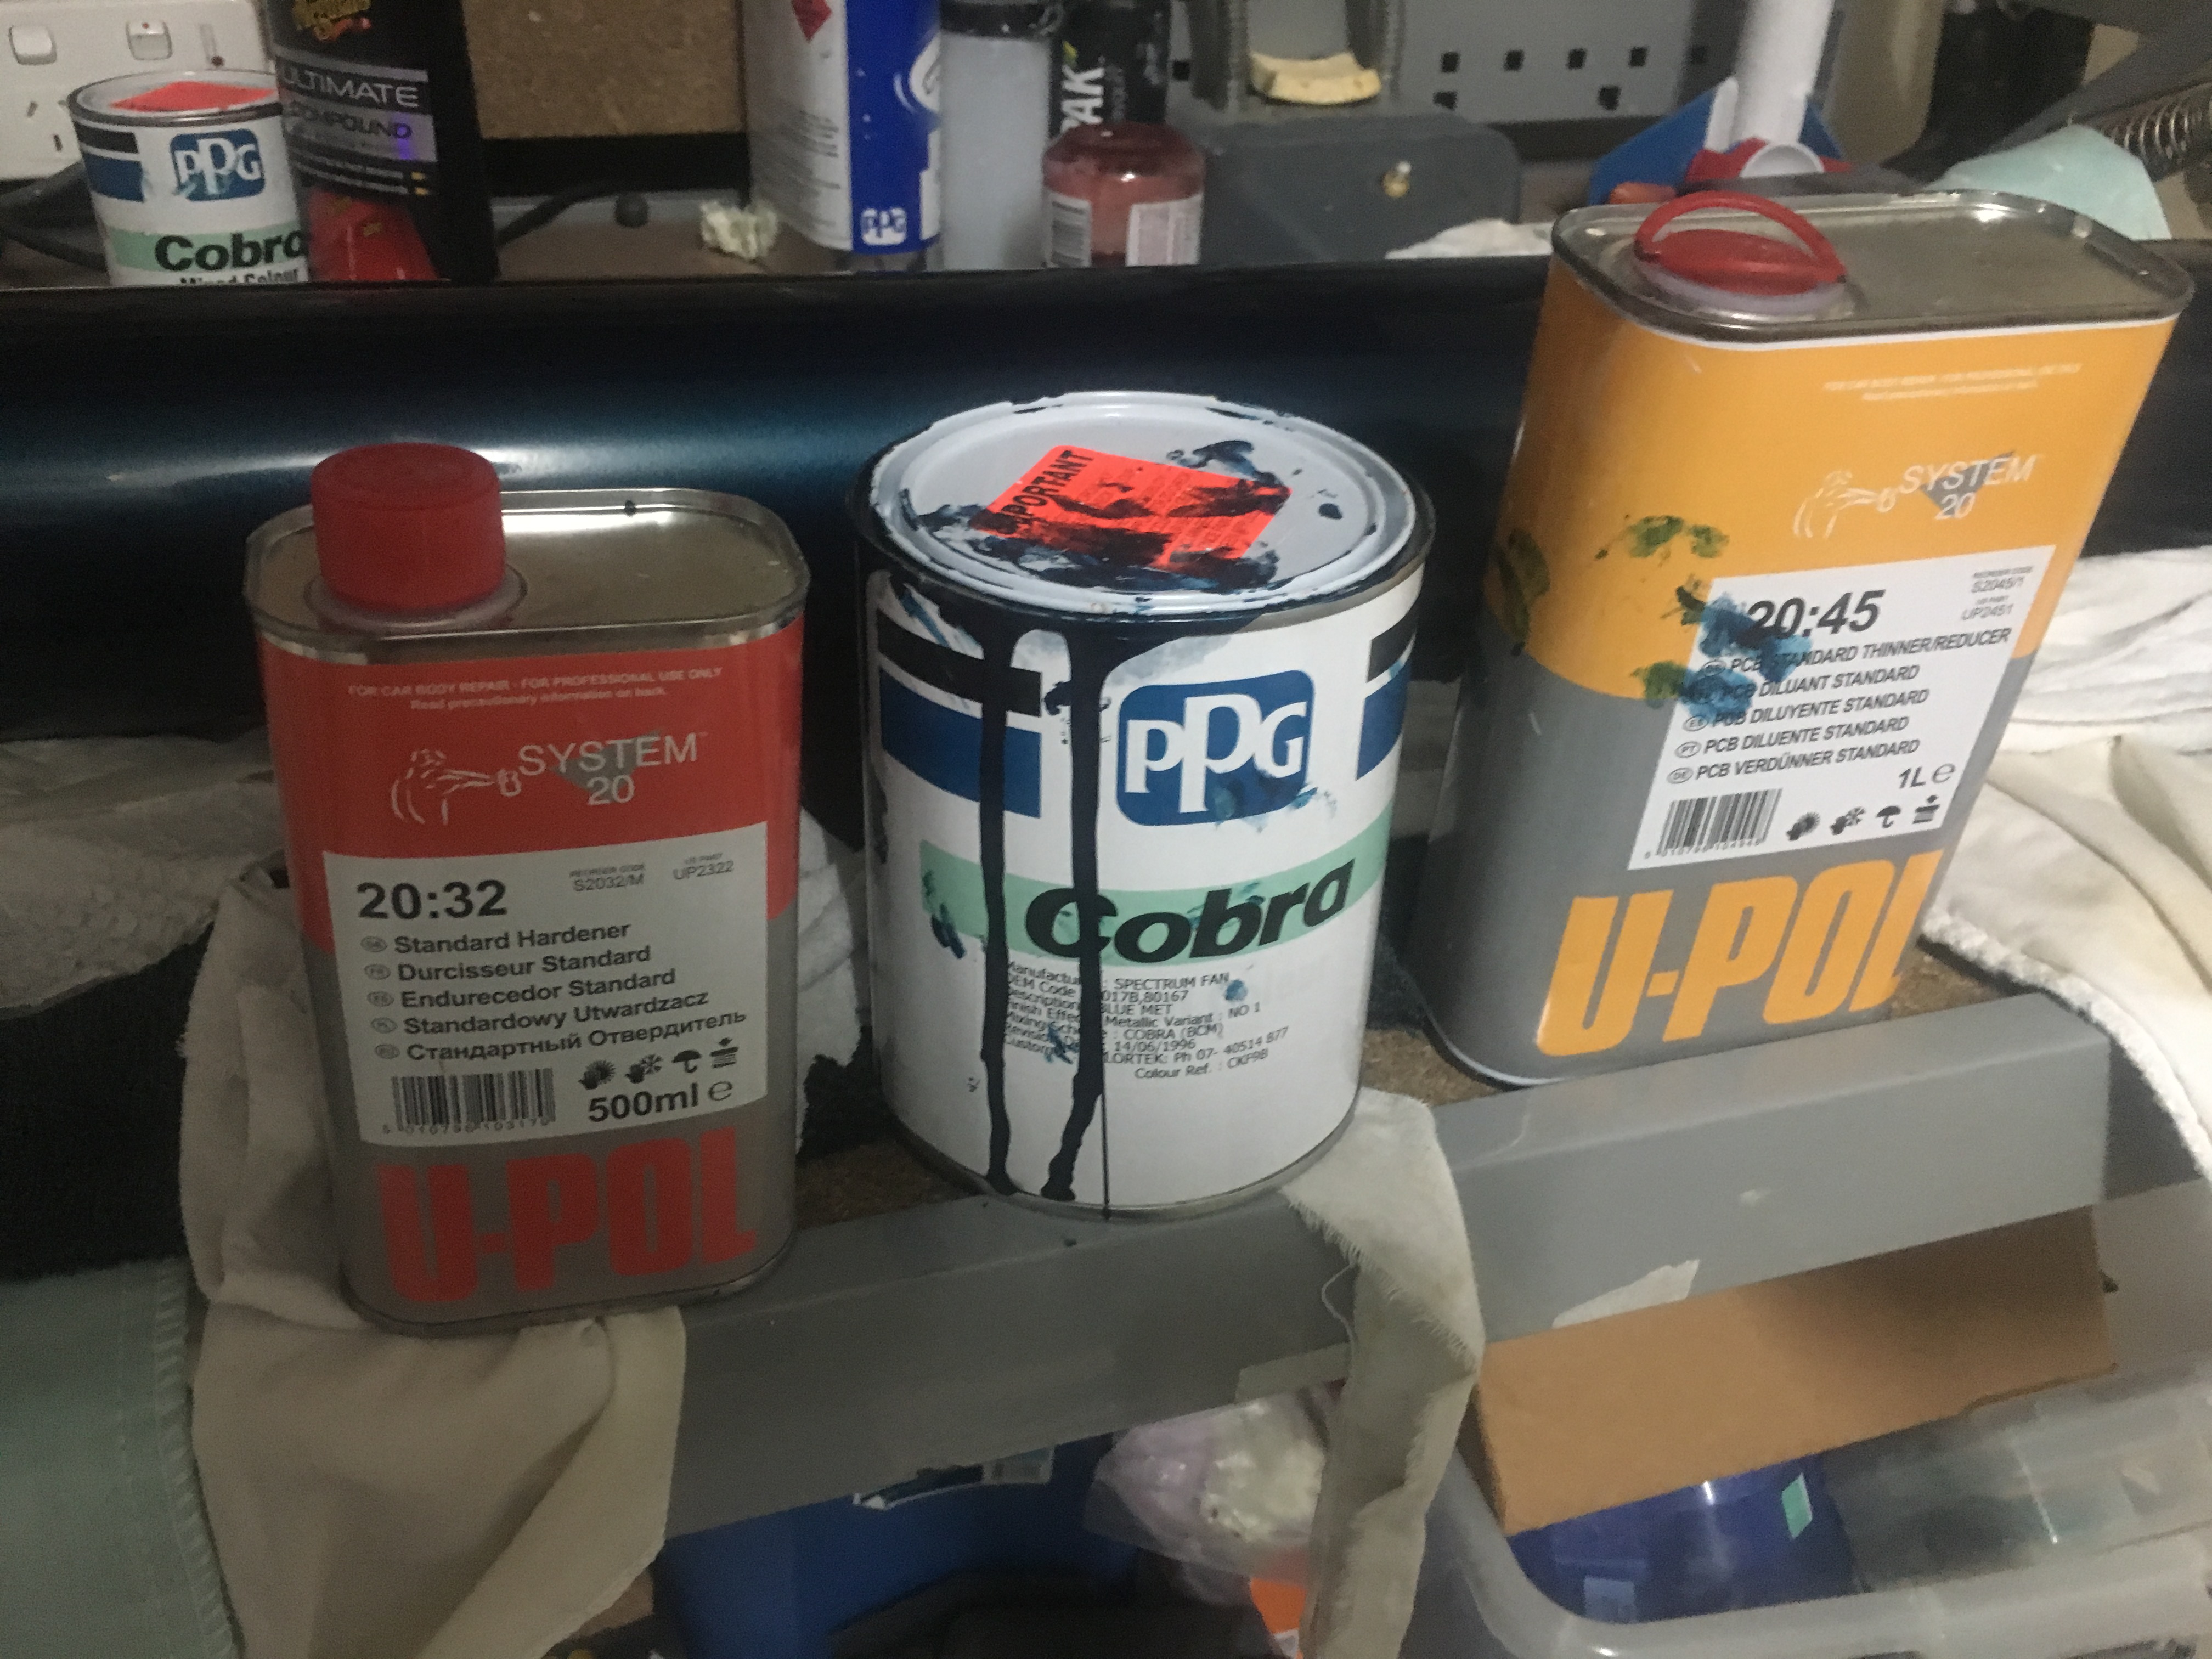
For the second paint session I purchased new :-
- 1 litre of blue paint
- 0.5 litres of thinner
- 0.5 litres of hardener (activator)
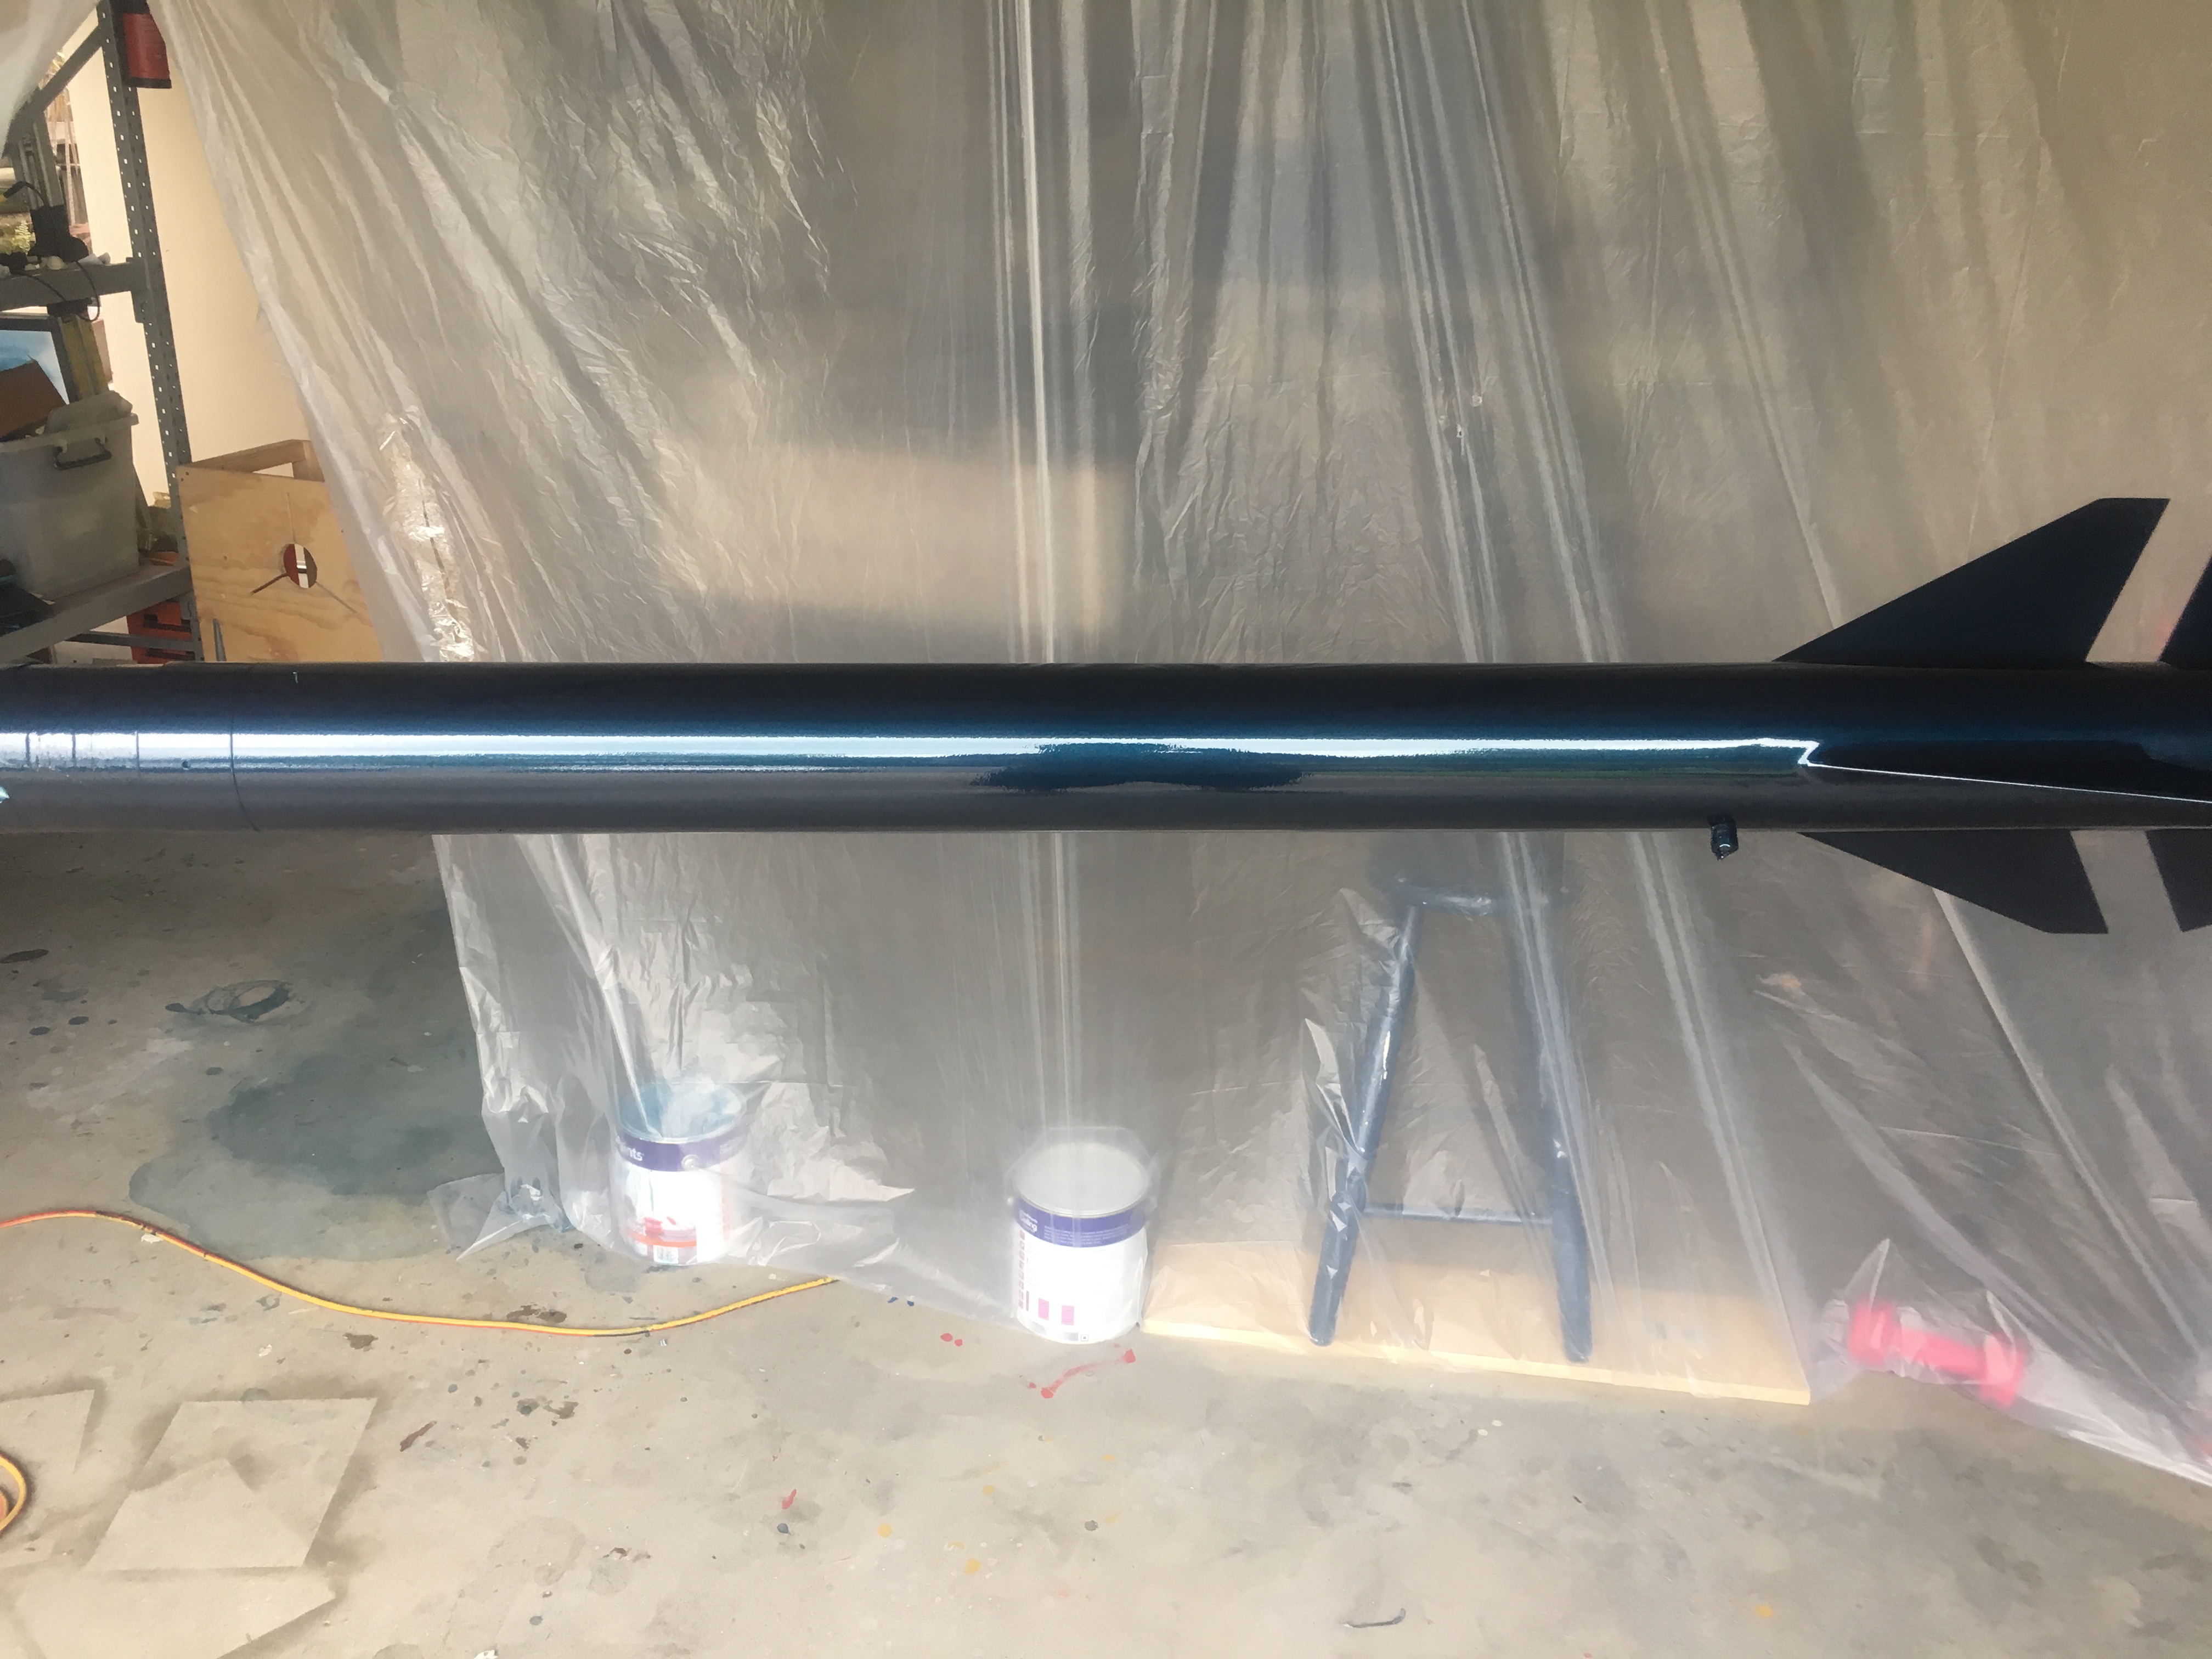
Unfortunately I didn’t take too many pictures during the second paint session. I was too busy concentrating on the job. The base coat (blue) went fairly well. I have a photo of the booster hung up below.
The big differences this time was :-
- The use of gravity fed spray gun with regulator. This meant I could actually get the air coming out at the right pressure. With the previous gun, I had no really control over the pressure (well I had no knowledge of what it was set to).
- More base coat to experiment with
- Lowered the whole rocket about 15cm to make it easier to paint. Arm won’t get as sore.
- Had special tray for cleaning gun between base and clear coat
- Purchased 4 litres of thinner specifically for cleaning the gun. So now I don’t have to use the precious thinner that is supposed to be used for the paints.

Problems experienced during painting
Unfortunately I did get a few runs with the clear coat and I’m very sure it is because I went over the fin-cam too many times. i.e. three passes, when two passes would have been sufficient. The spray was open wide and there was more overlap than I expected. This is due to my inexperience.
I decided not to sand back down to base and do it all again. I decided to just remove the obvious runs and polish the rocket.
Removing the Runs
I removed the large runs by applying some polyster filler compound. After 20 mins it was set and I sanded it down using grit 400 sand paper. This meant I was only sanding the runs and not the area around them. It worked very well. Then I sanded it down with 1200, 1500 and then 2000 to removal all remaining traces of the runs. There is still some undulation of the clear coat because of the flow of the clearcoat, but it is only slightly undulating and is very smooth.
Reflecting on the results
So while I didn’t get the best result, I did learn a lot on what went wrong and how to remedy some of the issues I created. I have to remind myself this is my second paint job in my life. It went reasonably well considering!