Much work has been done on the stabilisation system. Accomplishments have been:-
Updates to payload tray to hold the 2 x 240mAH LiPo batteries
Tray mods to help run wires
Improvements in design/methodology to assemble the whole unit
Resolution of the Crashing issue with the Arduino program
Creation of the bottom servo mechanical units
Updates to program to save servo move data
Updates to program to allow movement of Servo 0.2 seconds after flight has commenced.
We have started to assemble everything. There is a large amount still yet to be done. Here are some pictures of the components being assembled.
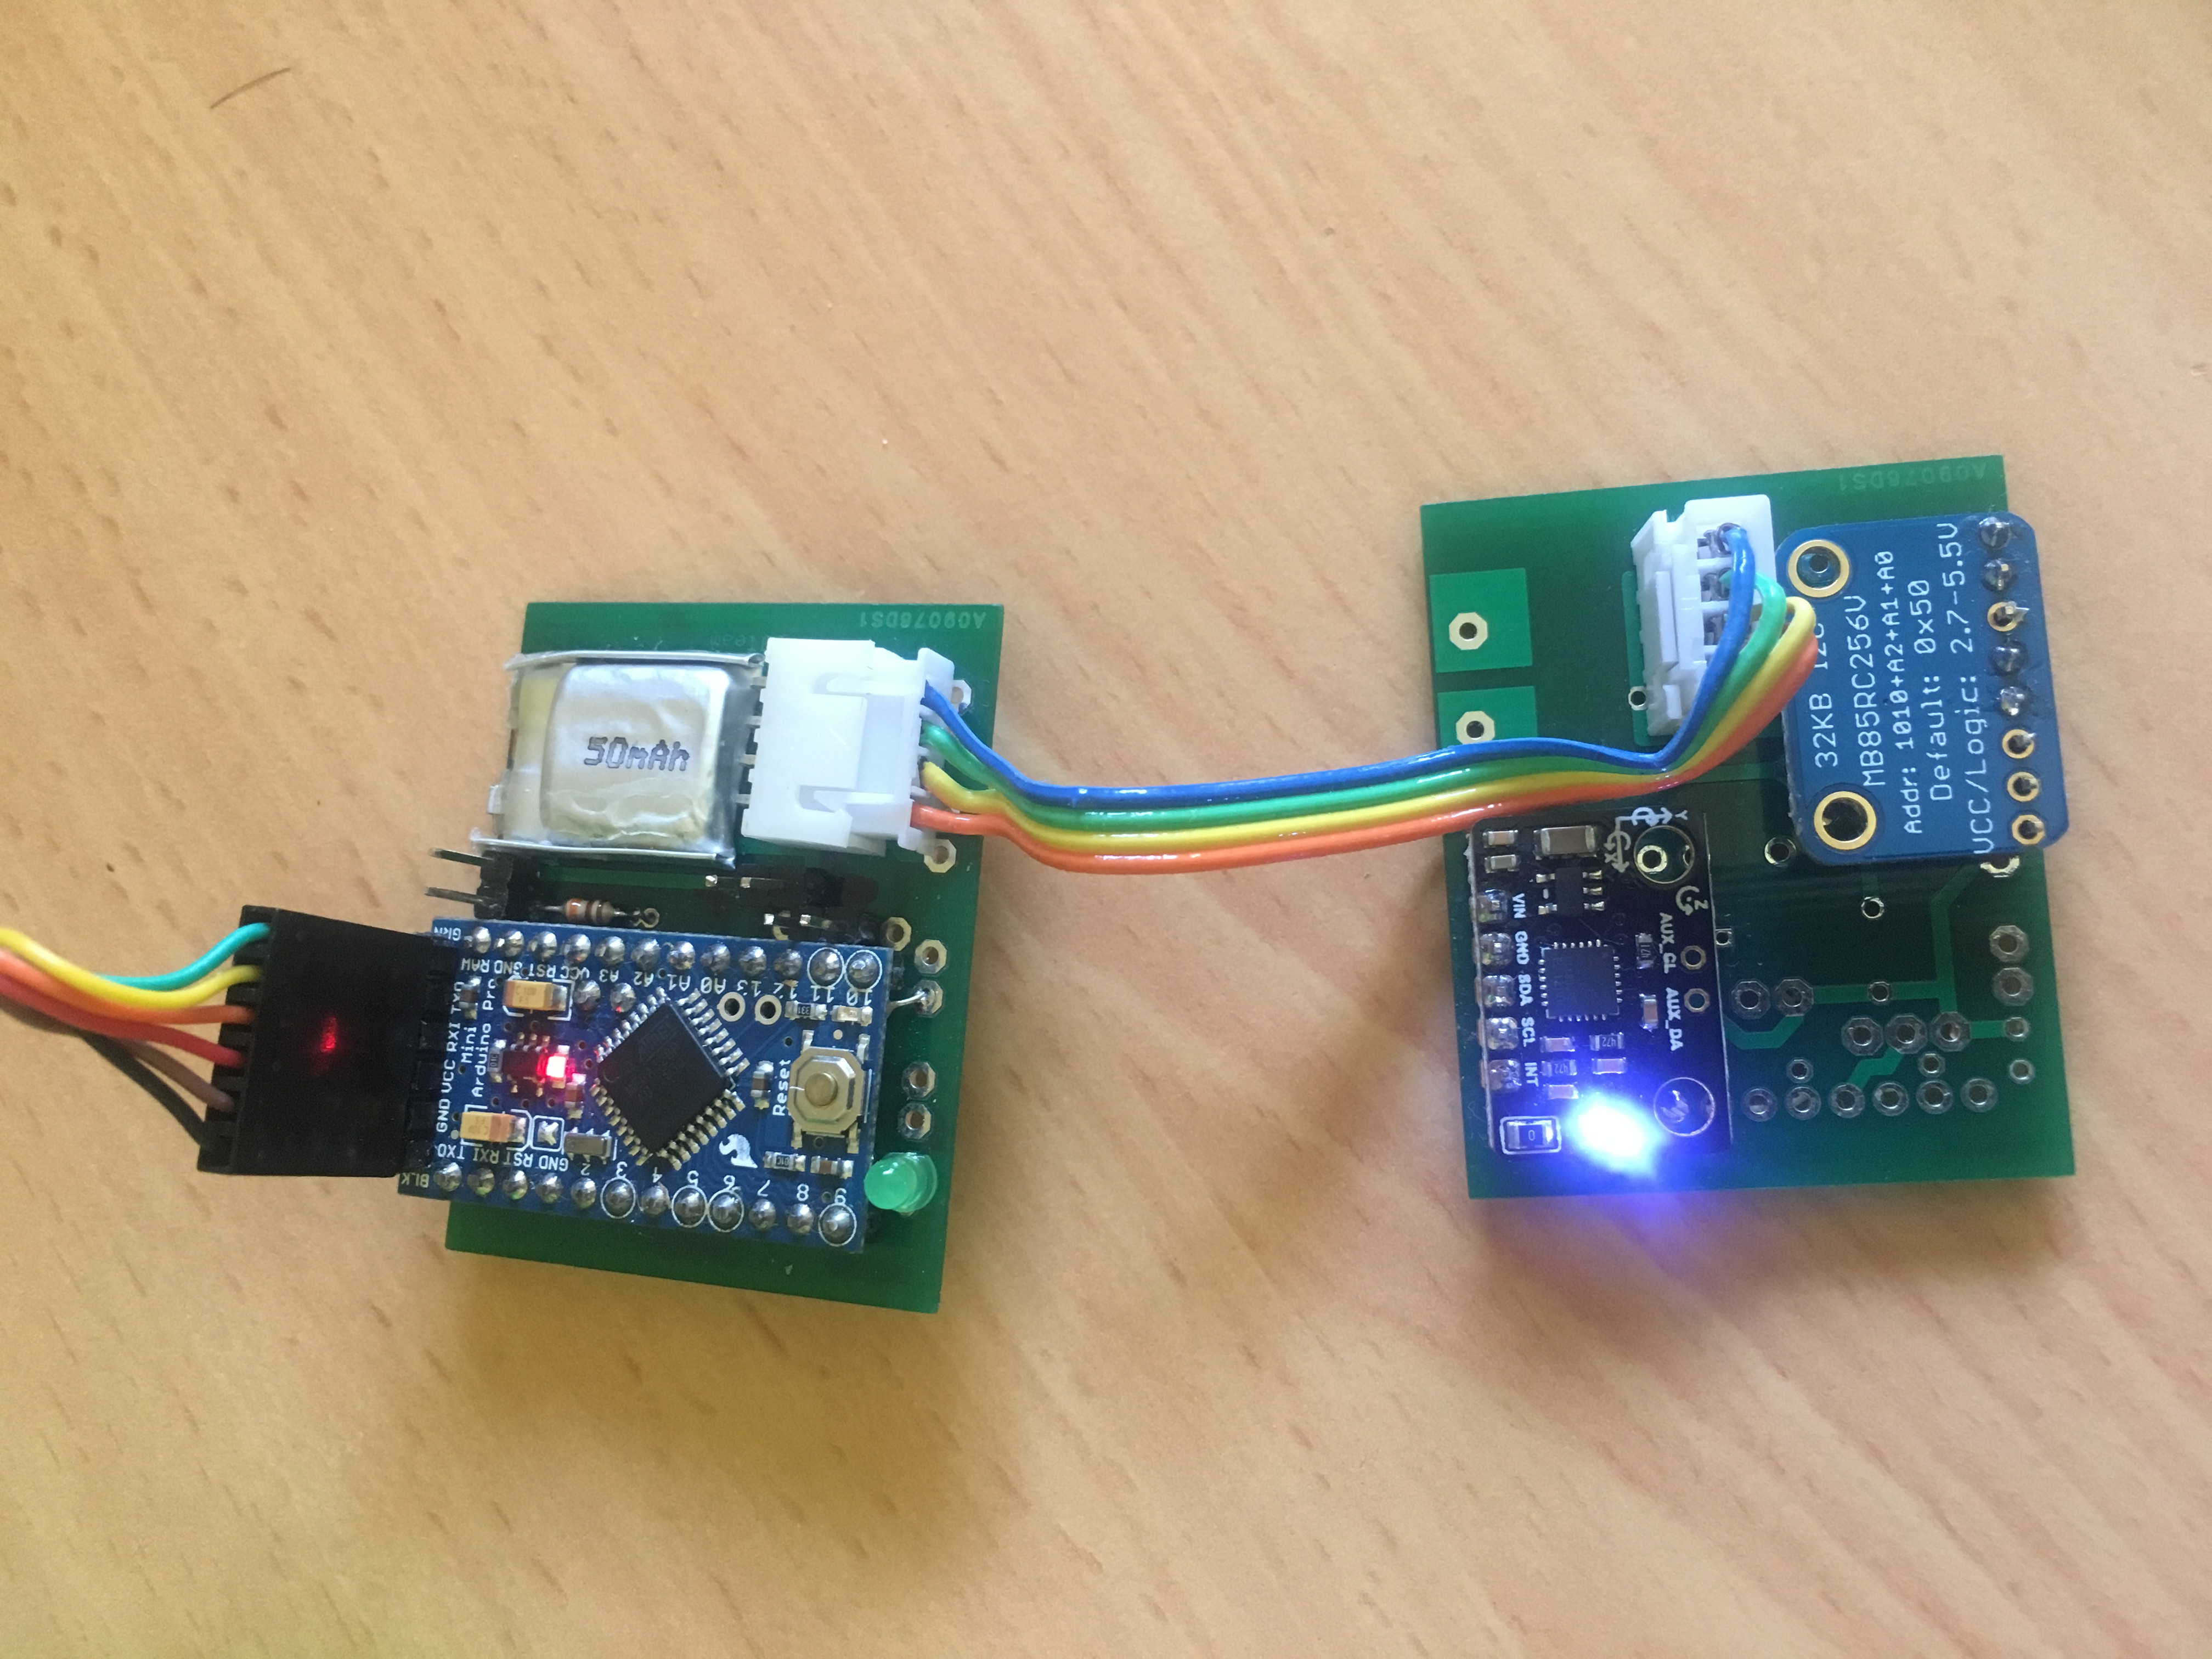
PCB’s connected to computer
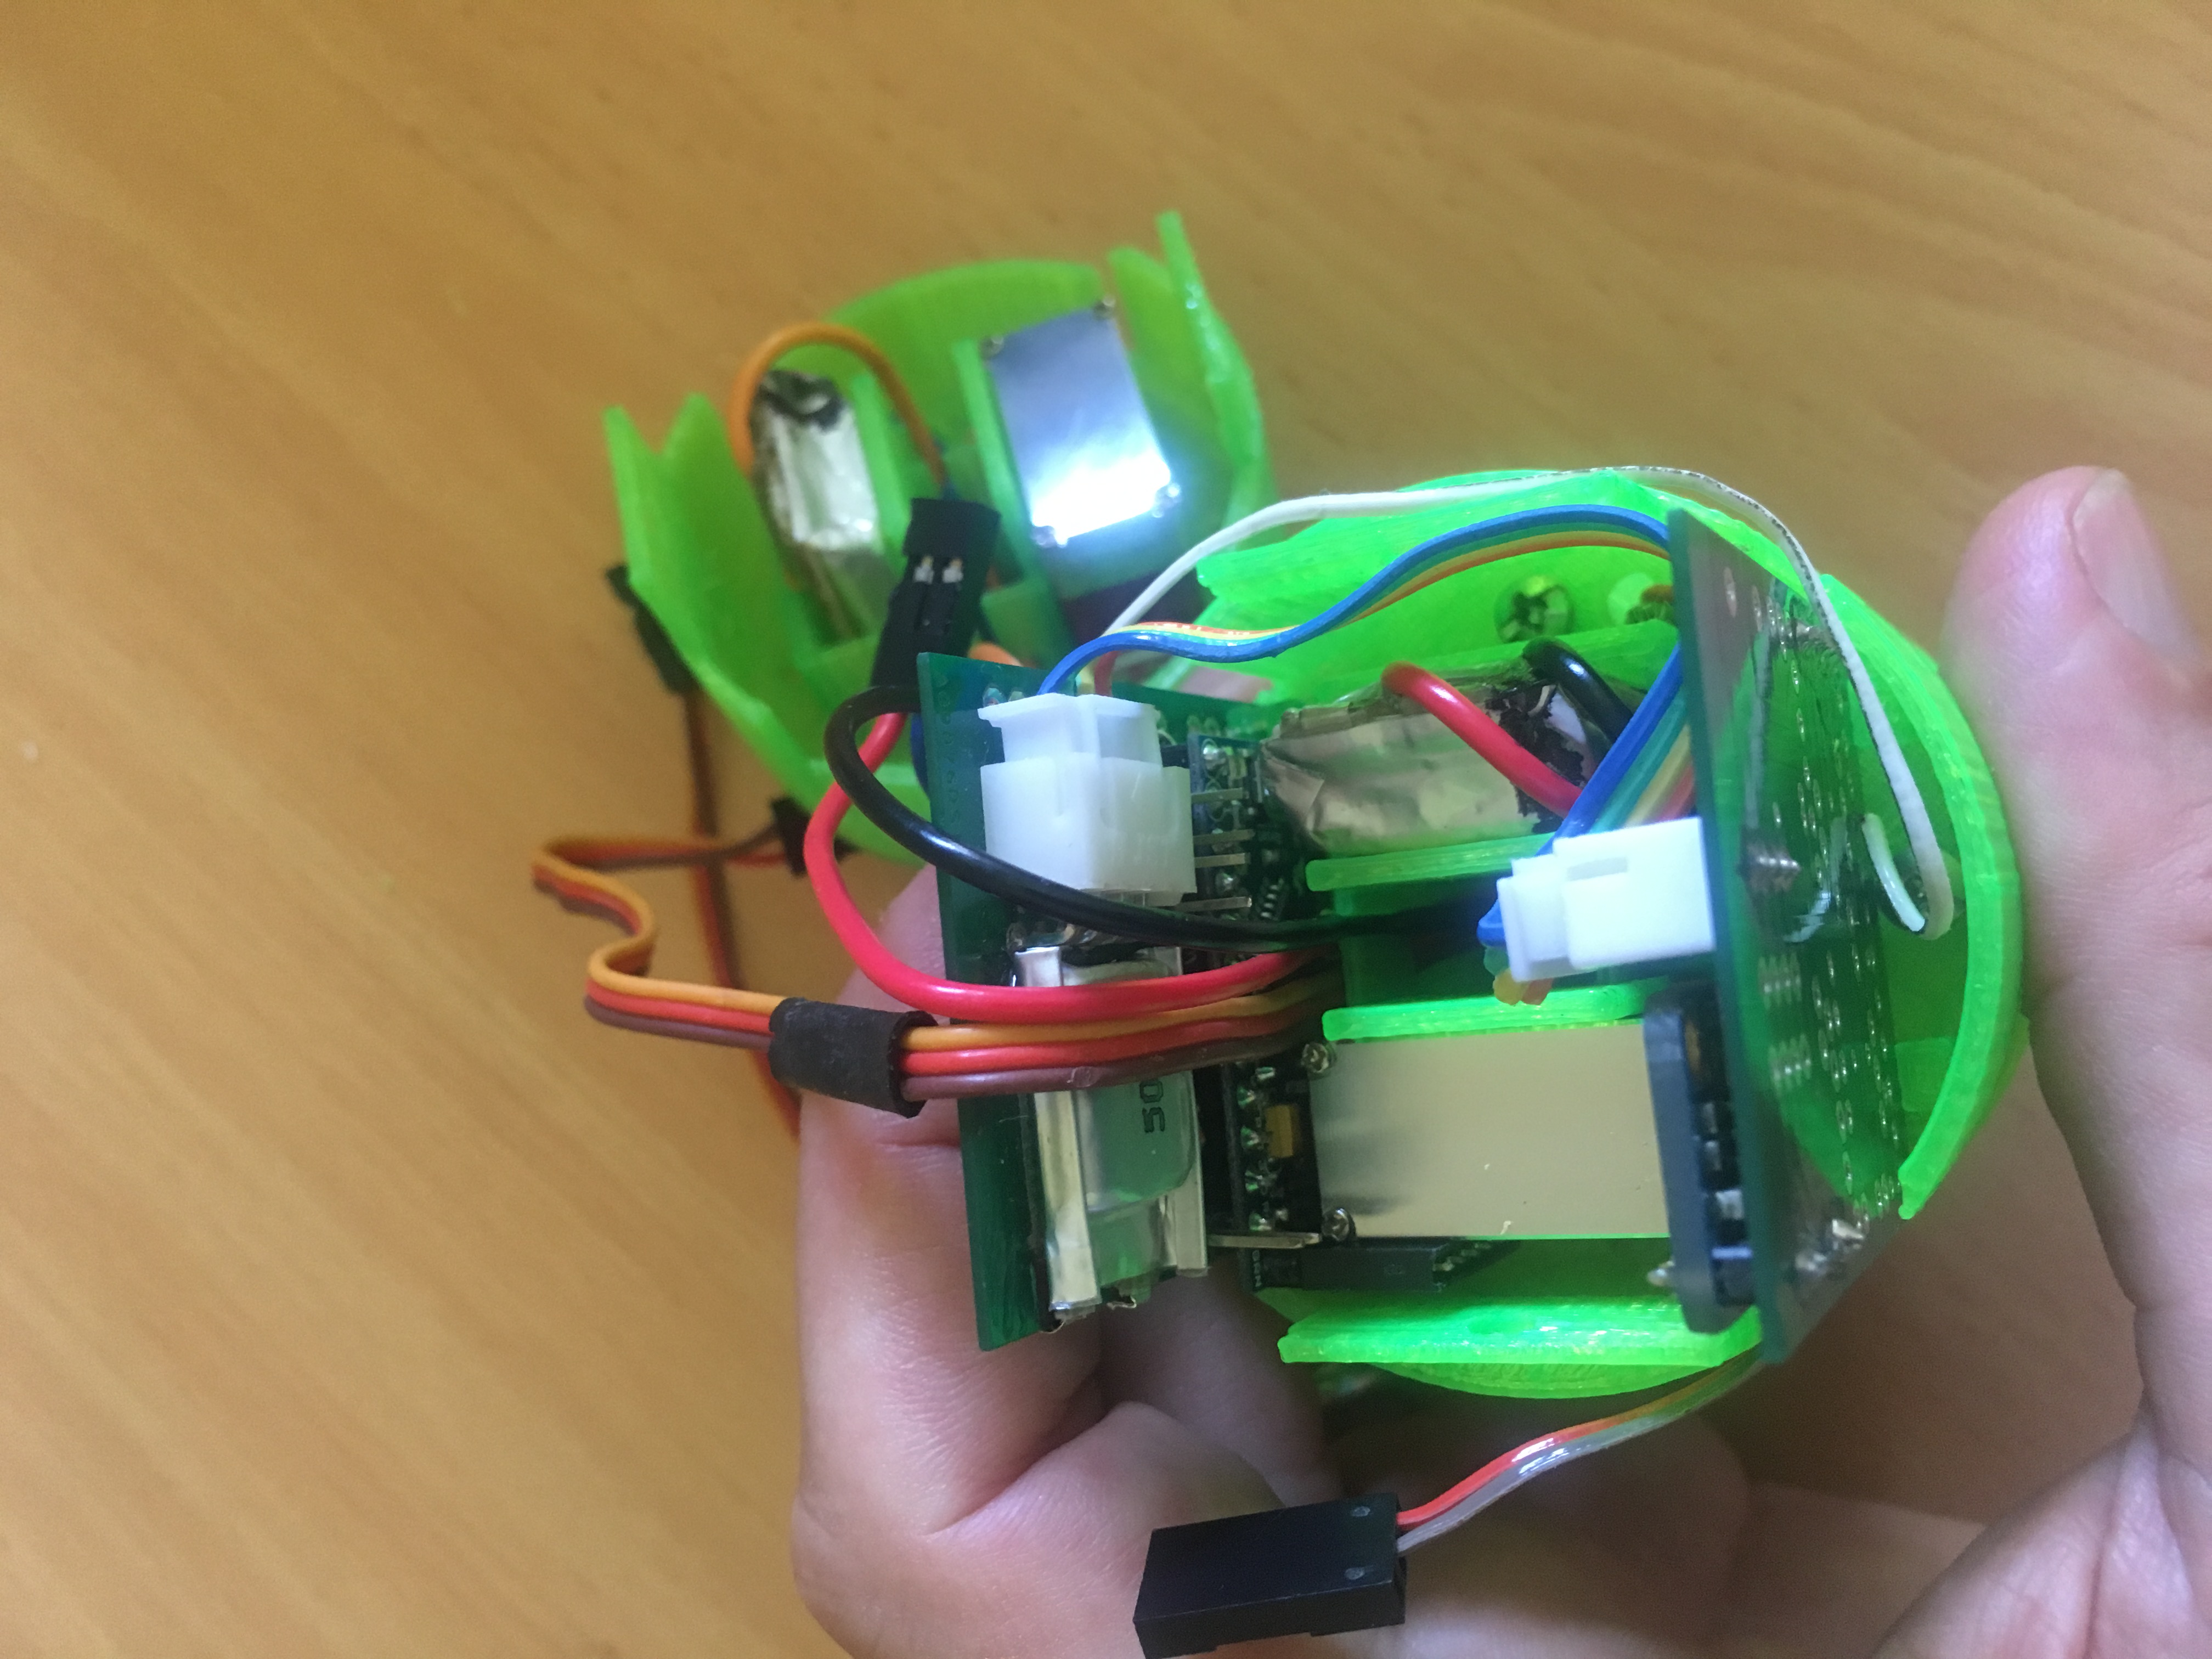
Batteries and Servos are in.One PCB is in.
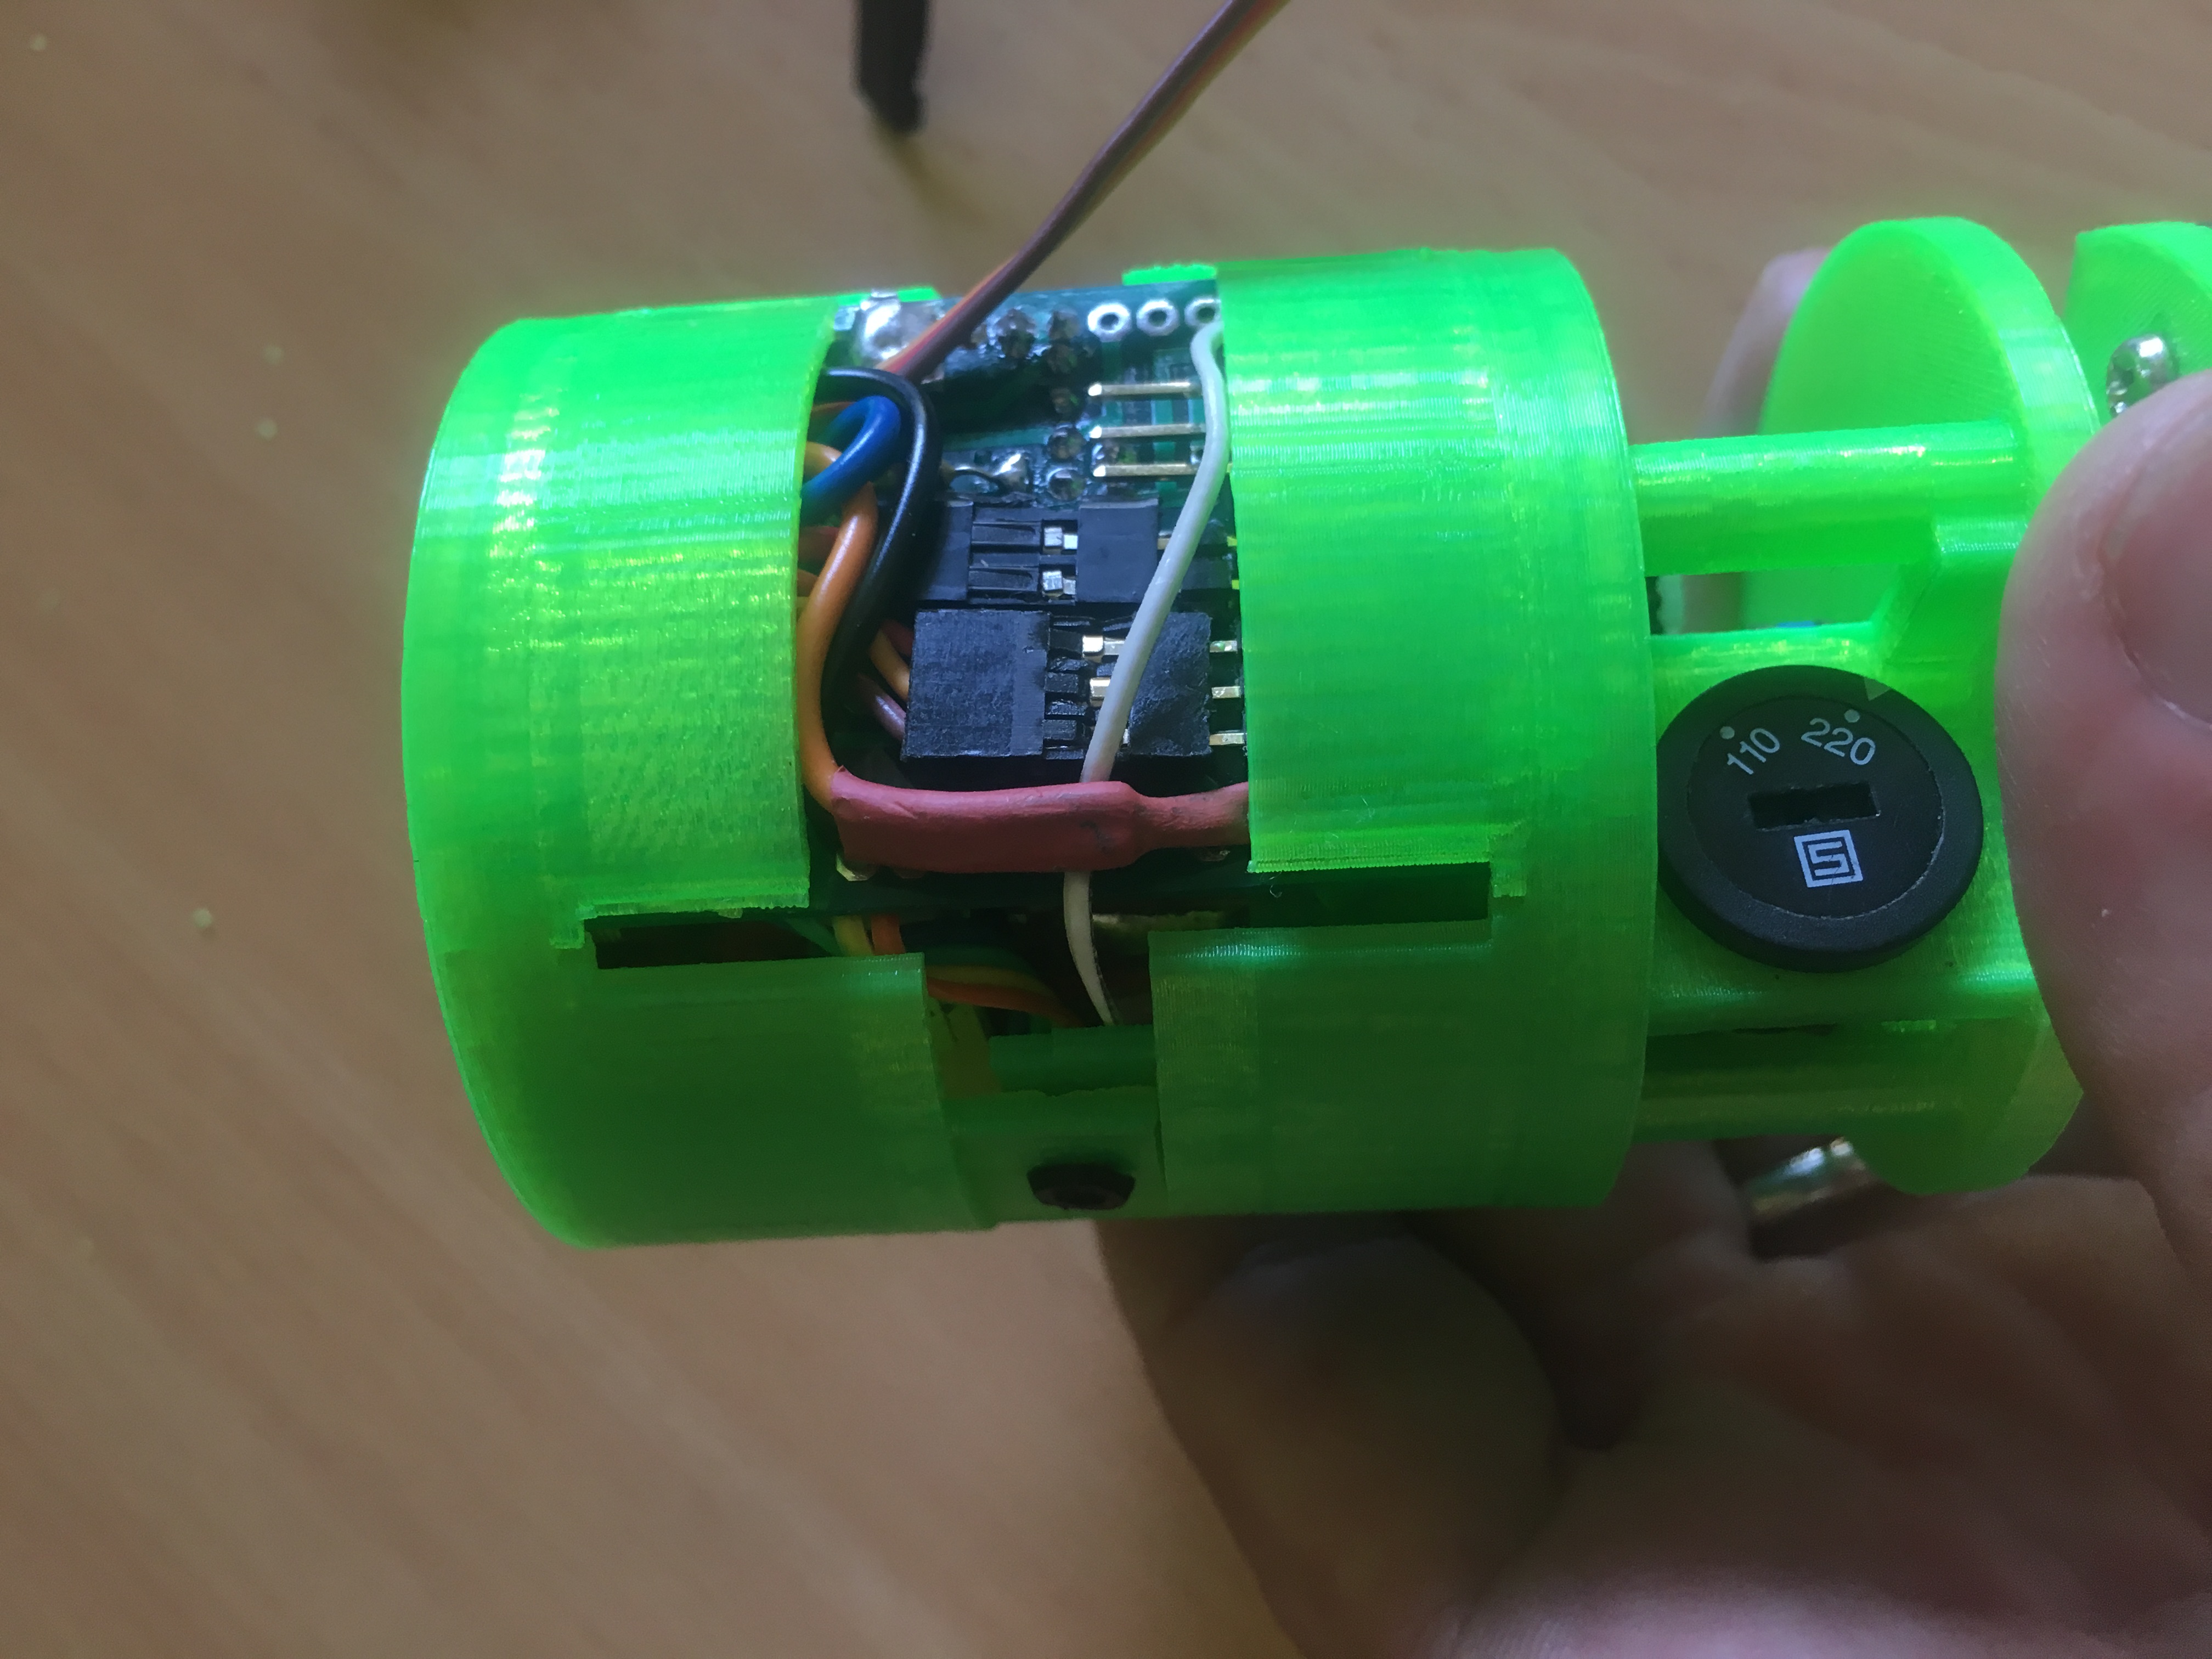
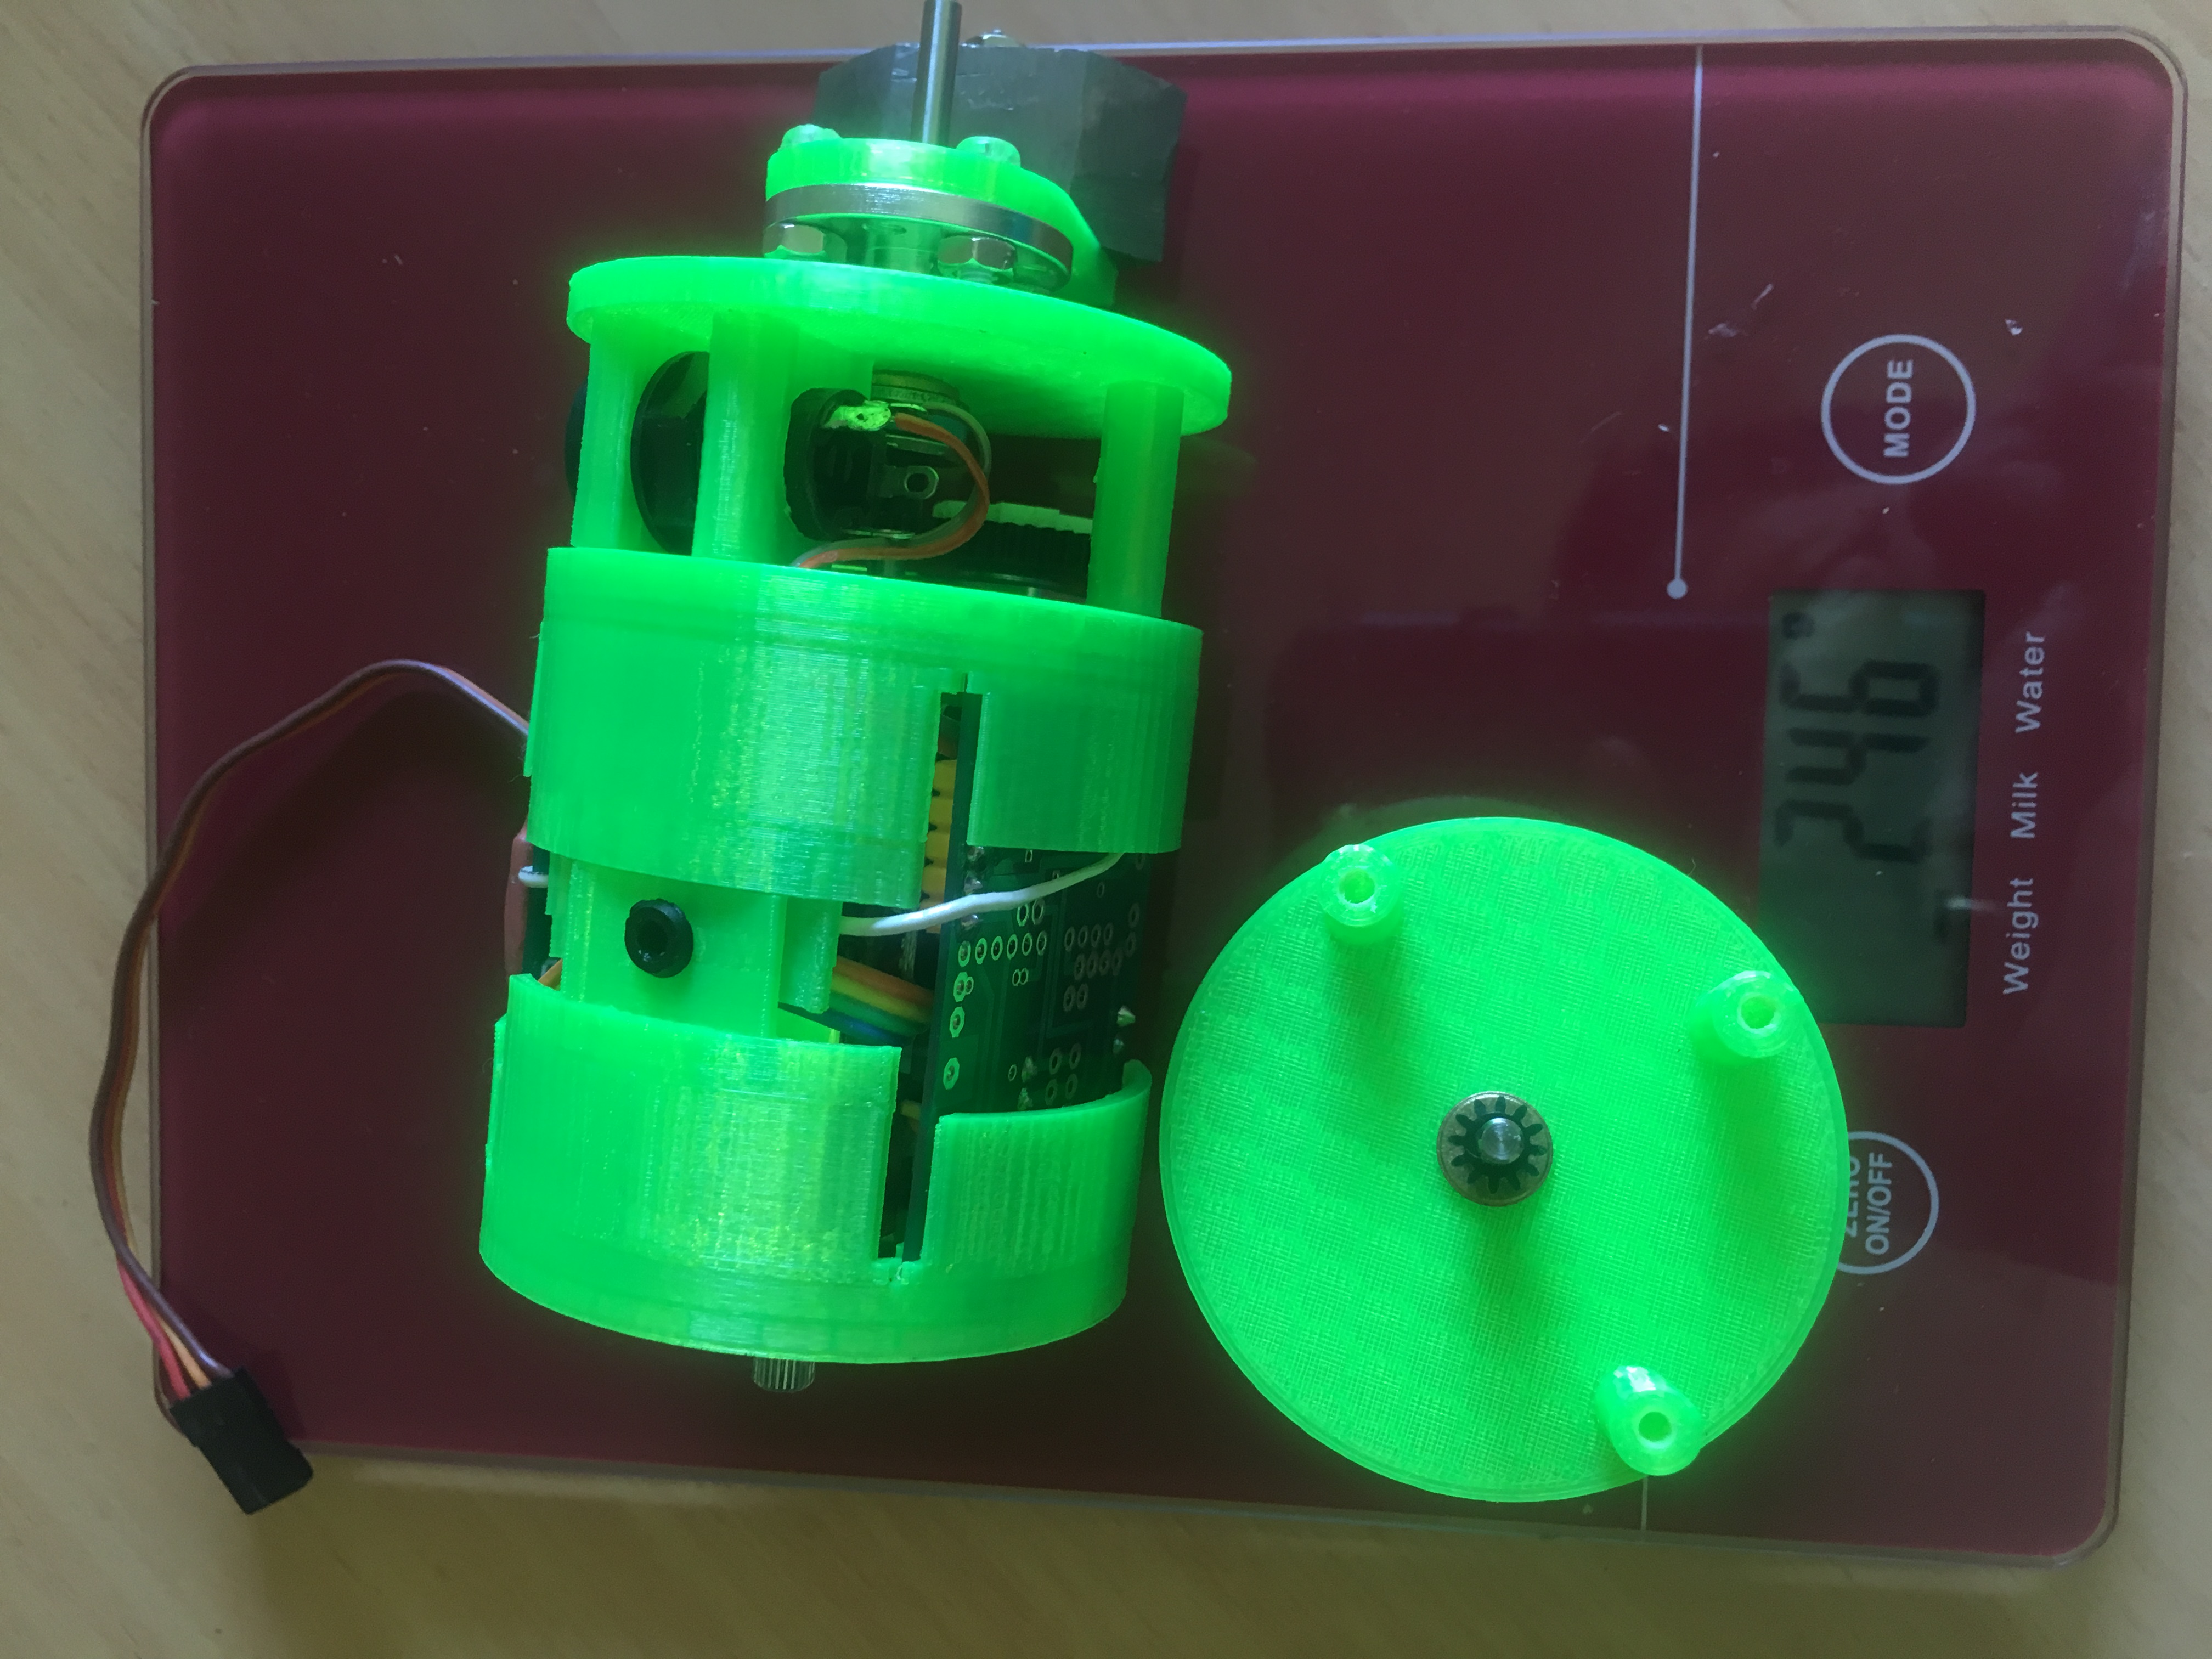
Both PCB’s in. Starting to move wires into positionOne servo connected and Servo power connectedPart of plastic rivet installed.Everything assembled except for top section. Weight is 246 grams!
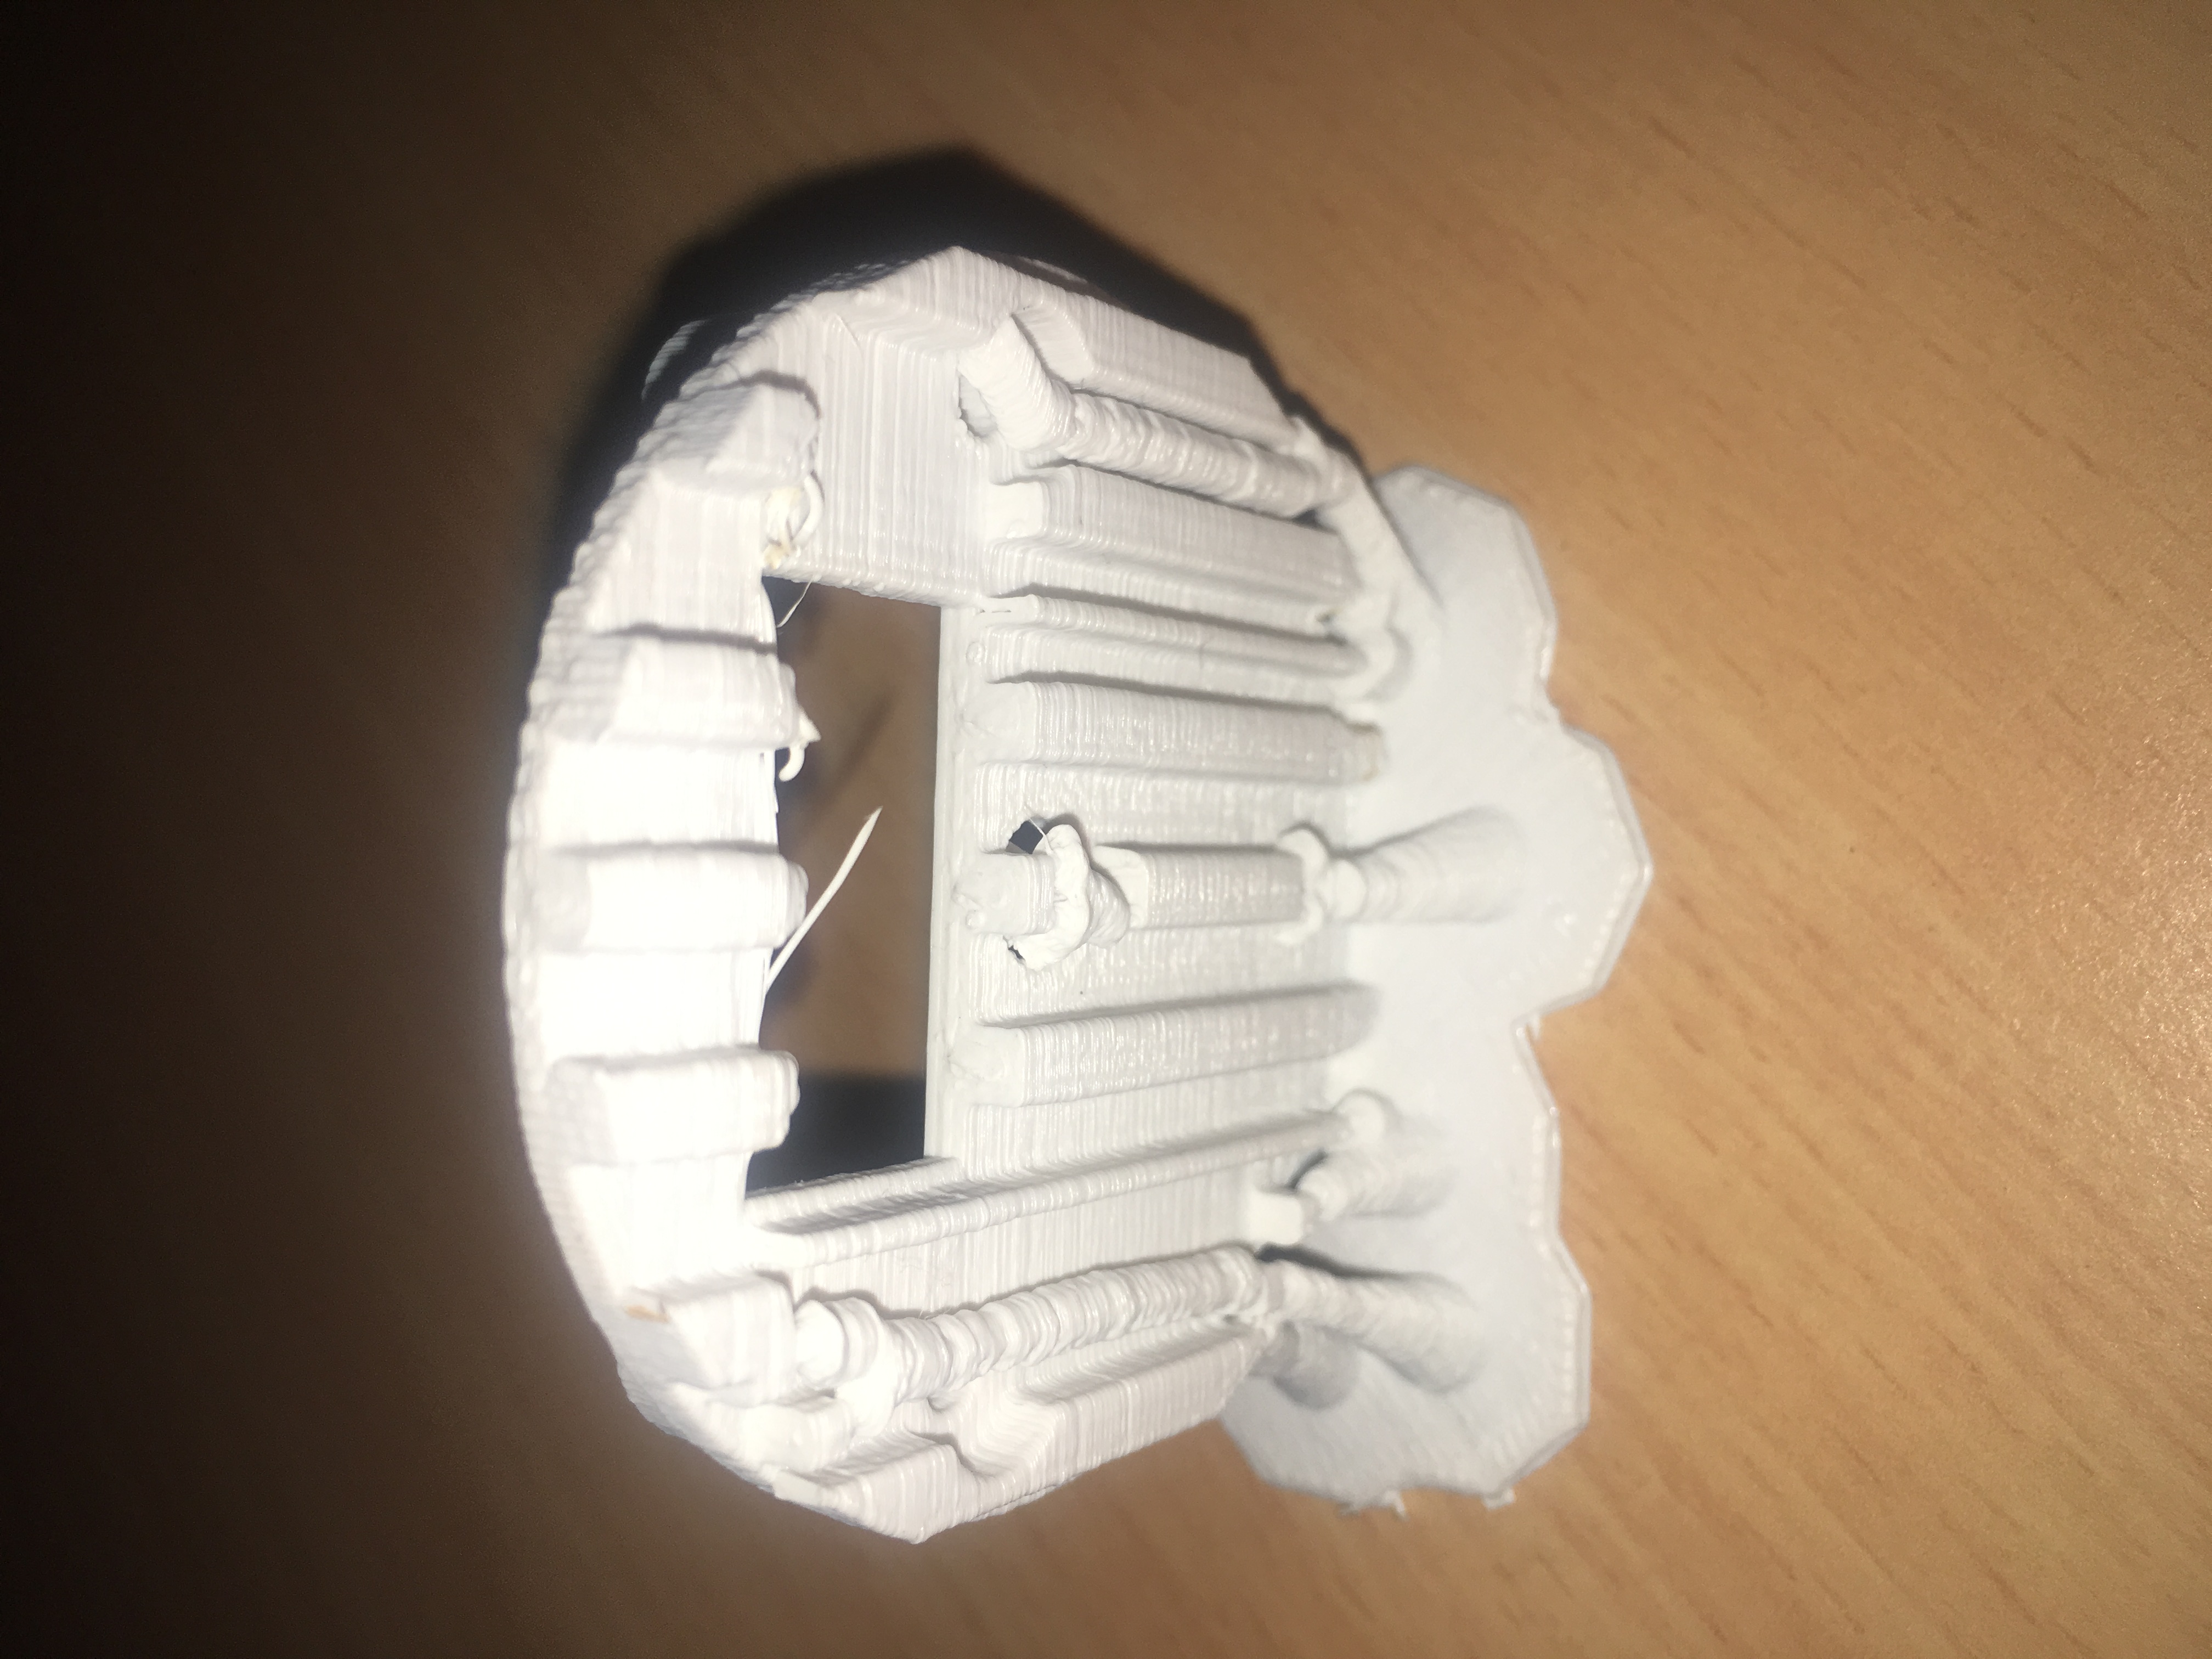
I’ve taken delivery of the sample prints that I designed using FreeCad. Fortunately the people who did them (Bilby3D) did two prints for me. One was printed on the side, one was on its circular base. One was done on the side because of the scaffold material in the horizontal print is a nightmare to remove. My first lesson in 3D printing!
Some pictures of what was produced below:-
Printed on side (Front view).Printed on side (Bottom view).Printed on base (Top view).
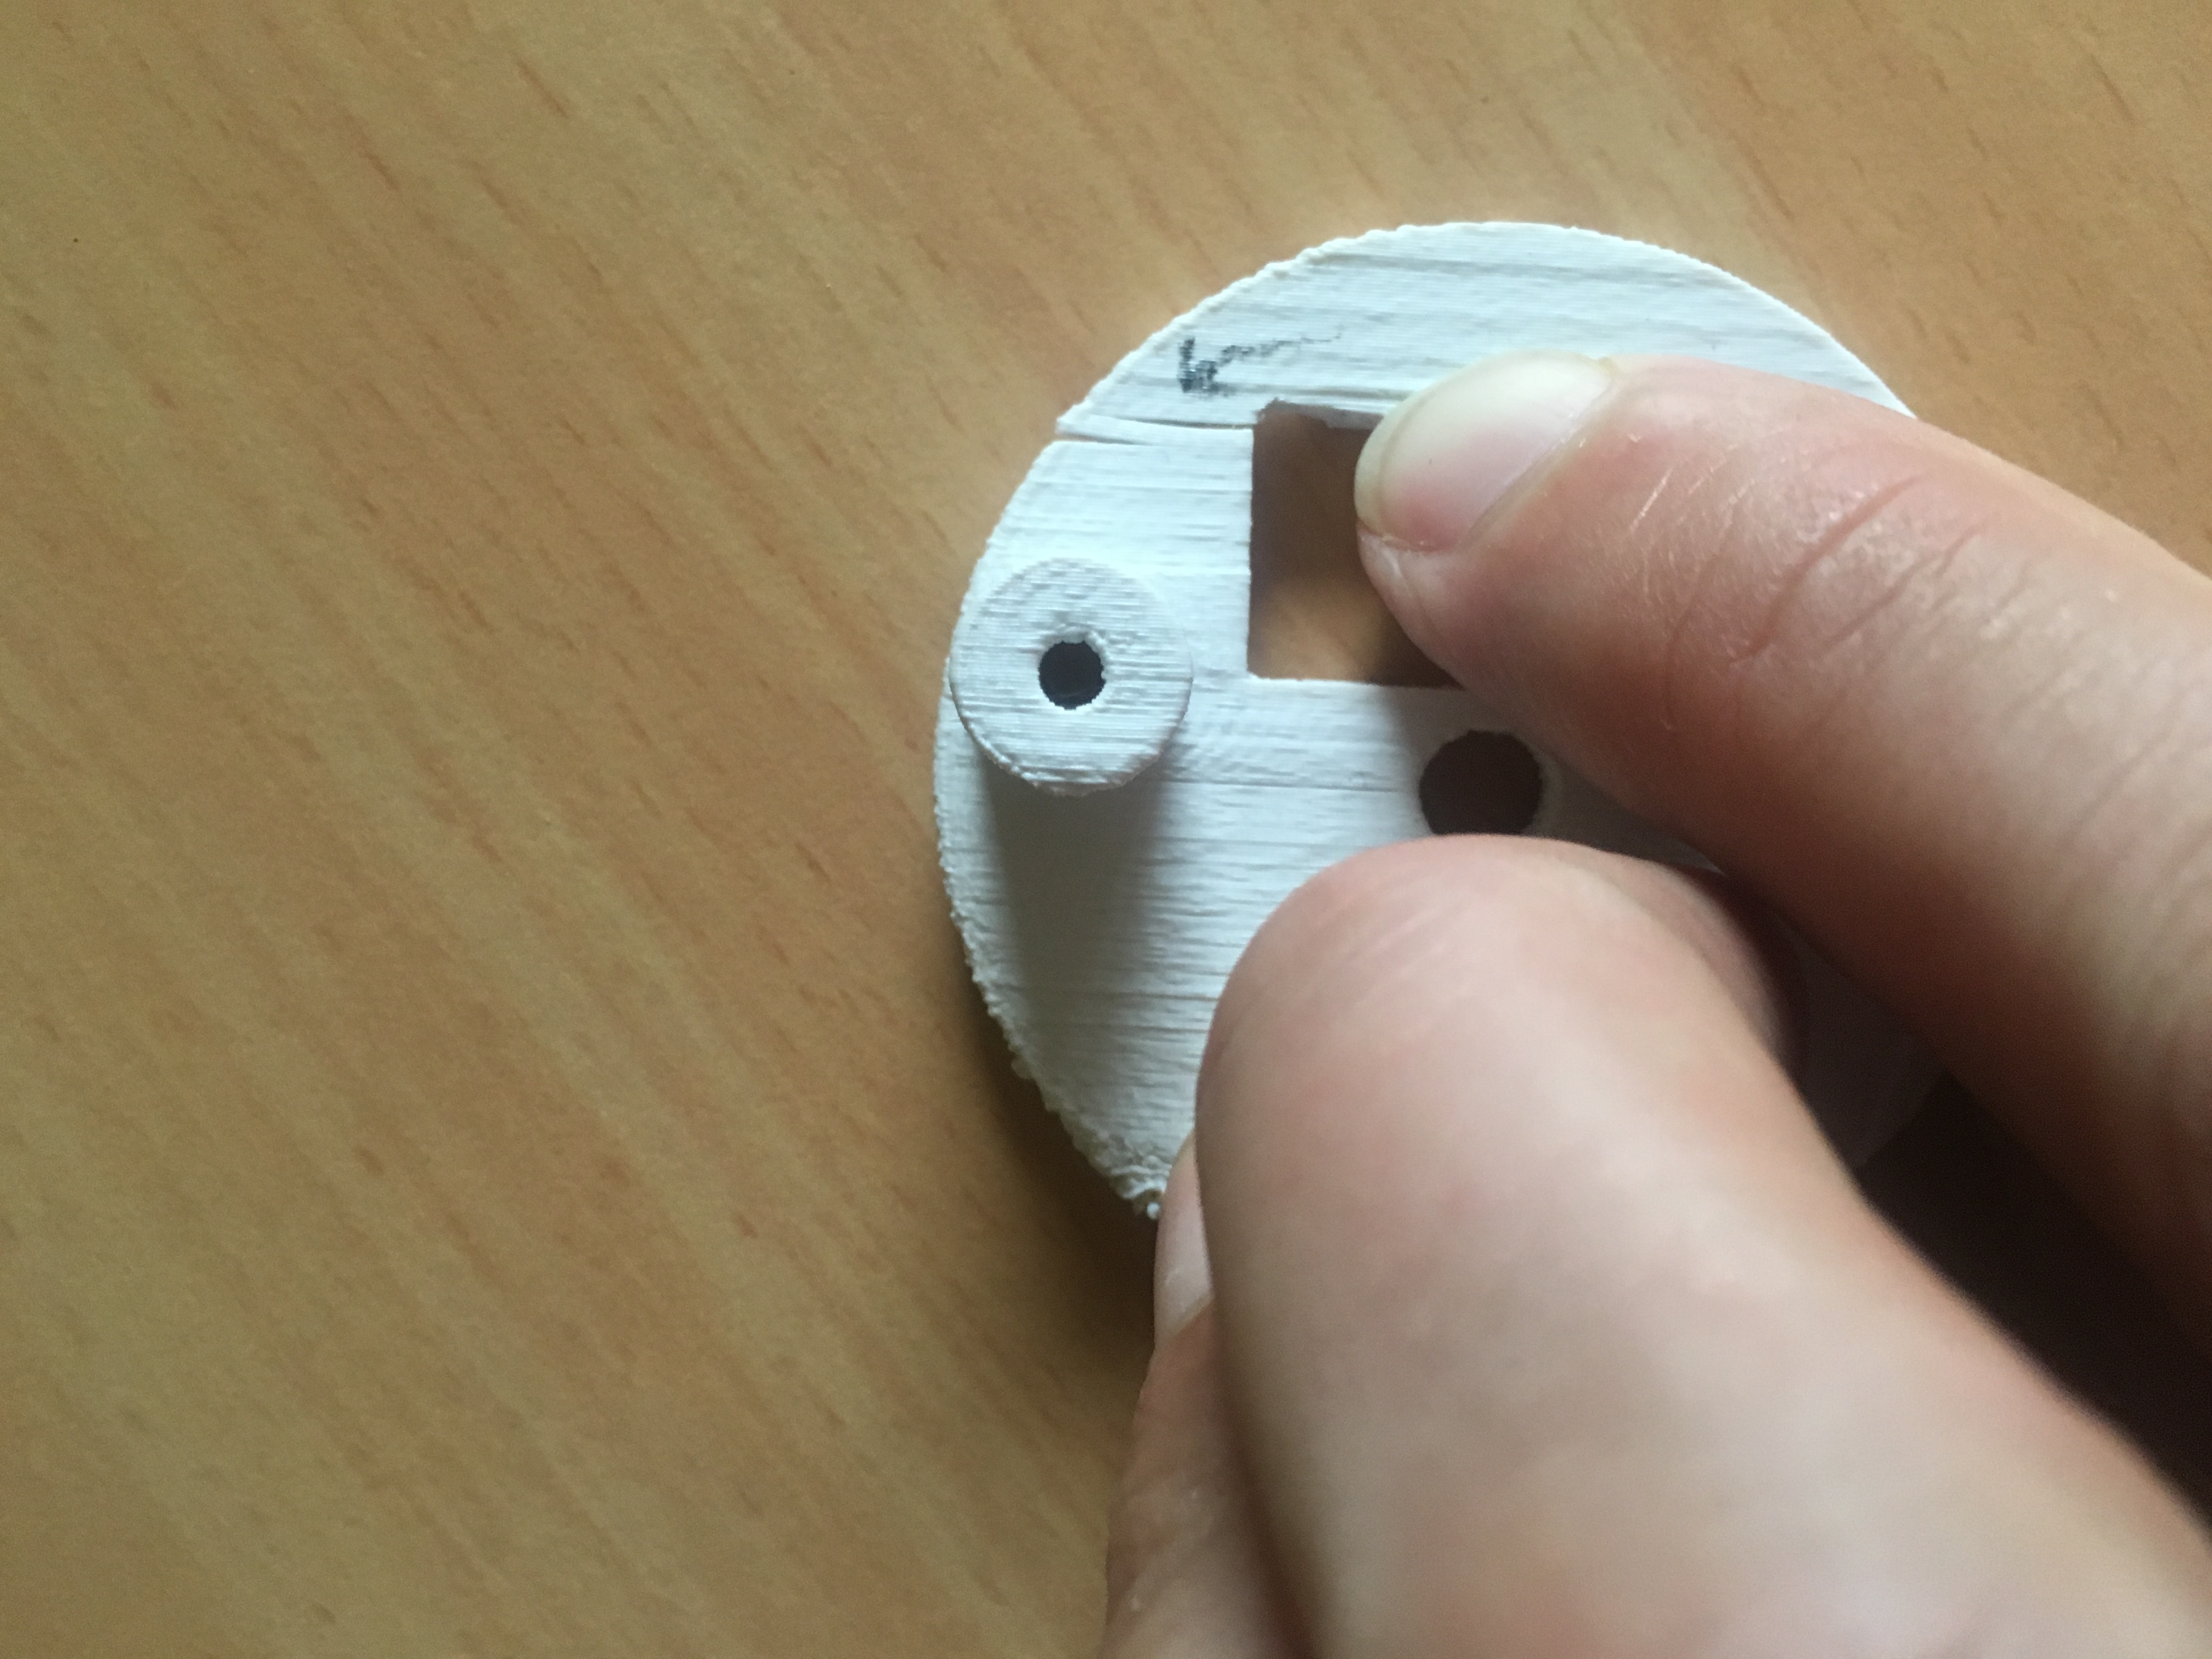
We started to remove some of the material to try and insert the servo. I mis-judged the amount of material that had to be moved to allow it to fit. I didn’t remove enough material and the 3D print cracked near the narrow edge.
Notice the crack in the pirint (where the arrow is pointing)
Of course the underlying issue here is that I did not take into account the shrinkage that occurs when a ABS printed object cools. ABS shrinkage is approximately 8%. (Shrinkage for PLA is about 2%).
So what I’ll be doing next is designing it with slightly large dimensions. What I’ll probably be doing is initially do a disc that is 8% bigger and make sure it fits inside the Air-Frame. Then I’ll use this contraction percentage to work out what I must multiply other dimensions by to get the correct dimension (after shrinkage).
I am also serious considering using PLA. Much more work to do.