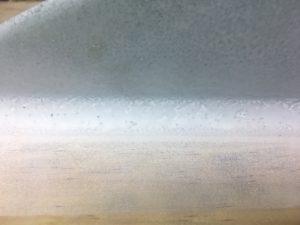
It became apparent after painting my first external fillet test, that I needed to do a little bit more practice to perfect the fillet. The paint revealed the craters and irregularities. They could not be ignored.
Thinking about Cooking
It occurred to me that if I could make better pancake mixture, I could probably make better glue. My pancake mixture always has bump/lumps. I use a whisk to beat the bumps out. So I decided to try and whisk the glue with a ‘baby’ whisk. This helped remove the lumps, but I think it also introduced air bubbles; which are something else we want to avoid.
The outcome was a surface that was considerably better than the first one, but still had some craters.
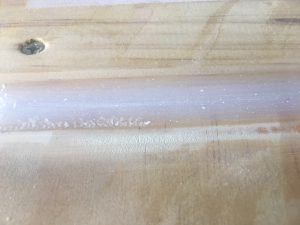
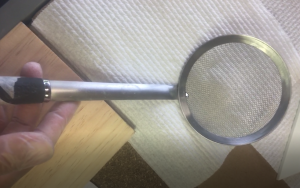
I decided I had to try and resolve this problem without a whisk. So I decided to use a sieve to filter out all the lumpy 403 filler. I performed the filter process twice on the 403 filler.
I also decided to use a bowl, rather than a cup to mix the mixture in.
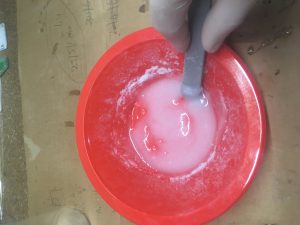
I used a ‘paddle’ like stick, rather than the chop-stick and I was very careful to keep the stick in the Epoxy all the time, and stirred very, very carefully, so as to not introduce air bubbles. When I was adding the 403 filler, I only added it in very small amounts, covering the surface.
The result was a better mixture, that when sanded down was almost perfect!
I also used masking tape to help stop the external fillet from producing a non-straight edge. This helped.
One of the mistakes I made here was that I didn’t pull the tape off BEFORE I left it alone to dry. The result was that I couldn’t pull off all the sand paper or sand it away completely.
I used 19mm dowel with Grit 80 sandpaper wrapped around the doweling. After some sanding, I then used 240 Grit sandpaper. I think I’ll try gluing the sand paper to the doweling next time, use some
Selleys spray glue and masking tape to keep it together while drying. So many improvements being thought of!
Next Steps
I’m going to do two more trial runs before I do the rocket fillets.
