Creating fin fillets

To ensure a strong rocket, we need to add fillets to the fins where they meet the Quantum tub on the inside and where the fins meet the Motor Mount.

First we removed the Aft Ring (pulling on the cellophane tags). This reveals the inside as shown below.
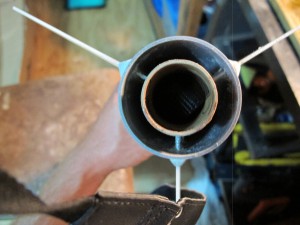
Removed Aft ring to allow us to create Fin fillets


We then created a small batch of 5-minute Areldite and started to create a fillets. (3 x 4 = 12 fillets) in total. We used some doweling to get the Areldite all the way from the front end to the back. It was a messy job and it was hard to stop getting glue everywhere, but we tried hard. We made a special effort to stop any glue getting inside the motor mount and if any glue got on the outside of the motor mount (at the back end), we quickly wiped it off with a rag. We did this because we need to be able to insert the motor and we need to be able to put on the motor retainer.

Once this was complete, we then needed to put the AFT Motor Ring back into the quantum tubing with sufficient amount of Areldite to ensure it would not come out.


What can we learn from this?

While the external fillets created are strong and will definitely hold the fins in place, because there is no camber (concave surface), we have an abrupt change in surface direction and this will invite turbulent flow and so drag. This probably won’t be detrimental to the flight, but the maximum altitude won’t be attained. Something to be mindful of in L2 and other future rocket builds.

The Motor Mount

The rocket motor doesn’t get attached directly to the Callisto’s Quantum Tube. The motor is inserted into the motor mount tube. This ‘motor mount’ (a cardboard tube) is secured inside the Quantum Tubing with some circular rings that are glued. These rings themselves are also glued to the motor mount tube and we have the Piston strap (A strong thick black cord) securely glued to the motor mount. Some pictures of the construction of this component are shown below:-


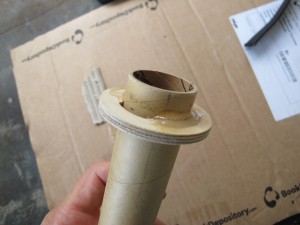
Using 5 minute Areldite to glue the forward motor mount ring


We created fillets around the motor mount ring to ensure it will not budge during flight or ejection.


Notice the ~1 inch slot. This is for the Piston Strap.


We took care here to ensure we did not clog up the slot. We insert the piston strap into this slot later on and Areldite it in place.


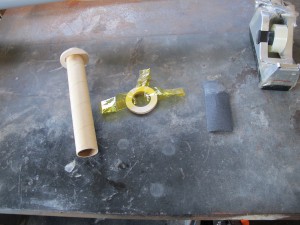
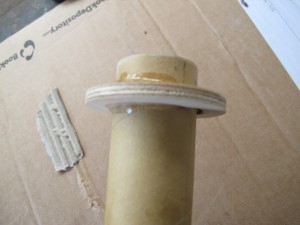
Put Celopane around the Aft Motor mount Ring


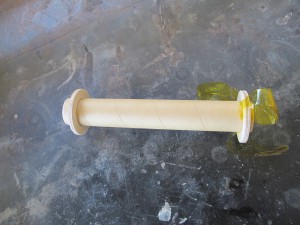
All rings put on to Motor Mount


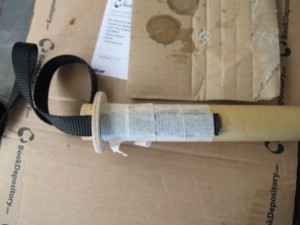
Securely attaching the Piston Strap to the Motor Mount.


After the Piston Strap glue had tried, we packed it inside the motor mount to keep it out of the way in the next lot of steps.


Next step was to start gluing the Motor Mount to the rocket tube. We put some Areldite ~7inches into the back of the rocket (in a ring) using some long doweling. We then pushed the Motor Mount all the way in, till the appropriate amount was sticking out. (We are using HAMR motor mount, so we need to leave sufficient amount of space to attach Retainer on to the motor mount). We had to leave the rocket in a vertical position to allow the glue to flow down and remain against the motor mount top ring.

Jig for Rocket Fins

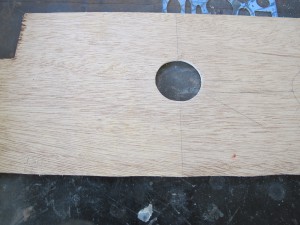
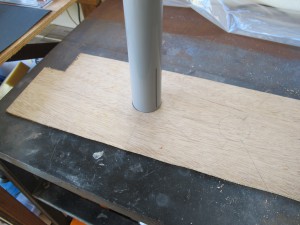
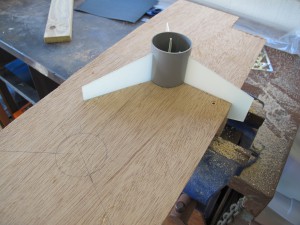
I started bulding the rocket up by first making a jig to keep the fins orientated 120degrees apart. I decided this was critical for a successful flight and so did this immediately. Some pictures are shown below of this.

Ply Wood with hole cut into it, Just large enough for Quantum Tube to fit in


Quantum Tube fits snuggly inside Plywood hole


Cuts made in Ply wood at 120 degrees allow correct positioning of fins in Quantum Tubing.

I had to sand the cuts in the plywood with sandpaper to widen the gap to allow the Fibreglass fins to snuggly slide in them.

Receiving Parts for L1 Rocket

I carefully chose a rocket to gain my L1 certification. I wanted to get a rocket that I could also use with smaller rocket motors (which means I can legally fly it). Once I have my L1, I can then legally fly it using  larger rocket motors. The rocket I choose is a Callisto which I got from http://ausrocketry.com.

Below are some pictures of the parts carefully extracted from the delivery box and spread out for each viewing and inspection.


SML_IMG_5869
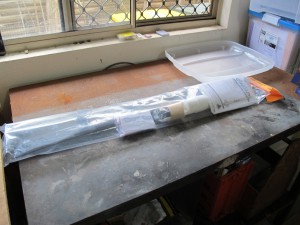
While Rocket unopened. Contains Long Grey Quantum Tube which is the main air frame.
SML_IMG_5870
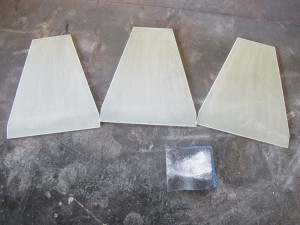
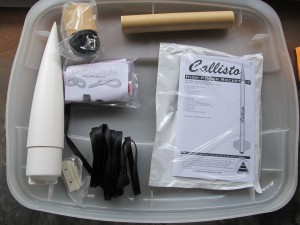
Fins, Instructions in plastic bag, “Launch Guide Buttons”, Piston strap, Shock Cord, Piston, Parachute and Nose Cone


There were a lot of additional items required to build the rocket:-

  • 5 Minute Areldite
  • A scalpel
  • Paddle pop sticks
  • Sellys Epoxy Putty
  • 120, 240, and 400 grit sandpaper
  • Masking Tape
  • Dowling
  • Block of Wood (for mixing Areldite on)
  • Sticky tape
  • Pencil
  • Black Marker
  • Ruler
  • A large clean workspace with good light


A Roadmap

As I have indicated, this is a massive undertaking and this is to be broken down into several smaller projects.  Below is a rough idea of how I think this should be done. Within each ‘project’ there are some main technical objectives and properties of each flight.

Obtain Amatuer Rocket Certification L1

  • Solid Composite Motor
  • Parachute Recovery
  • Launch Platform
  • Launch Electroncs
  • Multiple flights likely

Obtain Amatuer Rocket Certification L2

  • Solid Composite Motor
  • Parachute Recovery
  • Spin stabilisation
  • Basic electronics (Tracking + Camera + Sensors)
  • Multiple flights likely

Obtain Amatuer Rocket Certification L3

  • Purchased Hybrid Rocket Engine
  • Drogue Parachute + Parachute Recovery
  • New Launch Platform
  • More advanced electronics (Tracking + Camera + Sensors + acutators for Parachutes)
  • Multiple flights likely

Design/Build Nitrous Hybrid Rocket

  • Perform test burns and characterise the engine over different initial conditions (So we can accurate simulate it).
  • Construct Rocket for new Rocket Engine
  • Drogue Parachute + Parachute Recovery
  • New Launch Platform
  • Perform multiple Test Flights

Rackoon

  • Build Launch platform
  • Build electronics
  • Build Hybrid Rocket
  • Design/build/organise Balloon systems
  • Perform test Flights (controlled, small ones)
  • Perform Flight
  • Ultimately perform Rackoon Flights

NOTE: I suspect this last part project will be a lot longer to complete than the other ones.

I expect things to change as take this journey. However, I believe that is a sensible good start.

Obviously timeframes is one area that I need to think about. This series of projects looks huge, and indeed it is. But I believe that with some careful planning, we can re-use components and techniques used from prior projects. Not only will this save time, but it will give me an oppotunity to fully test components and improve upon them over time.