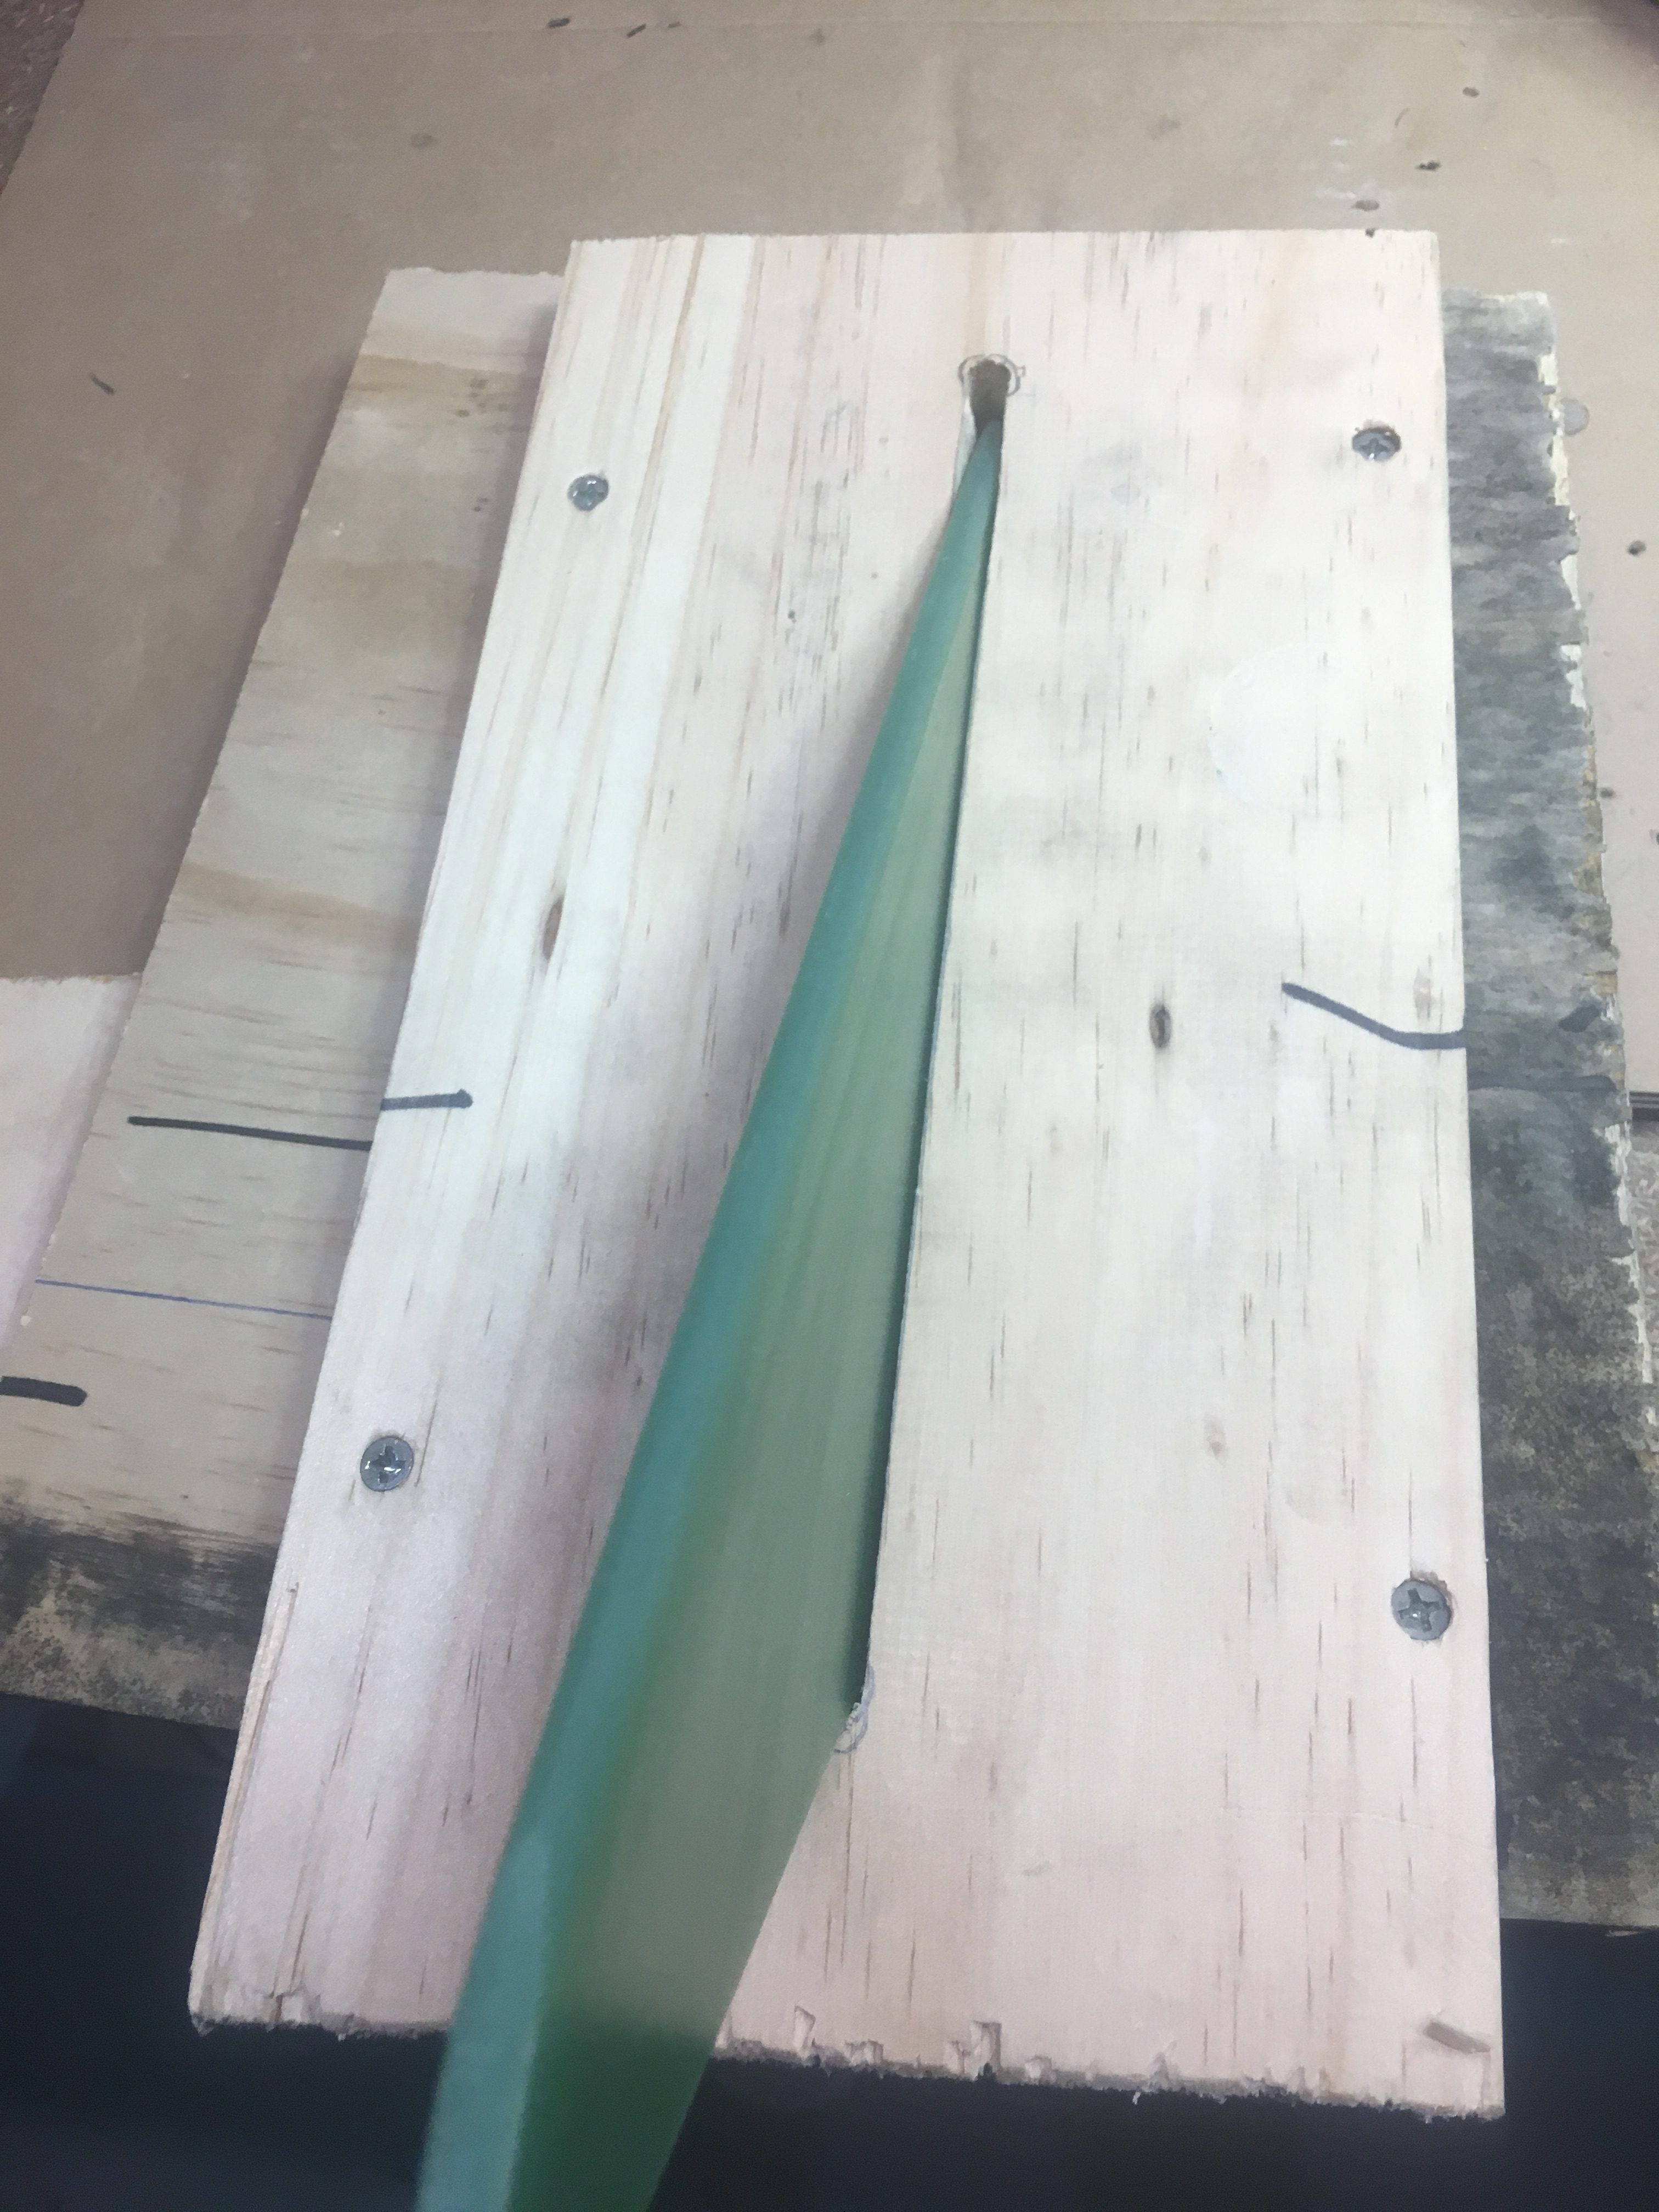
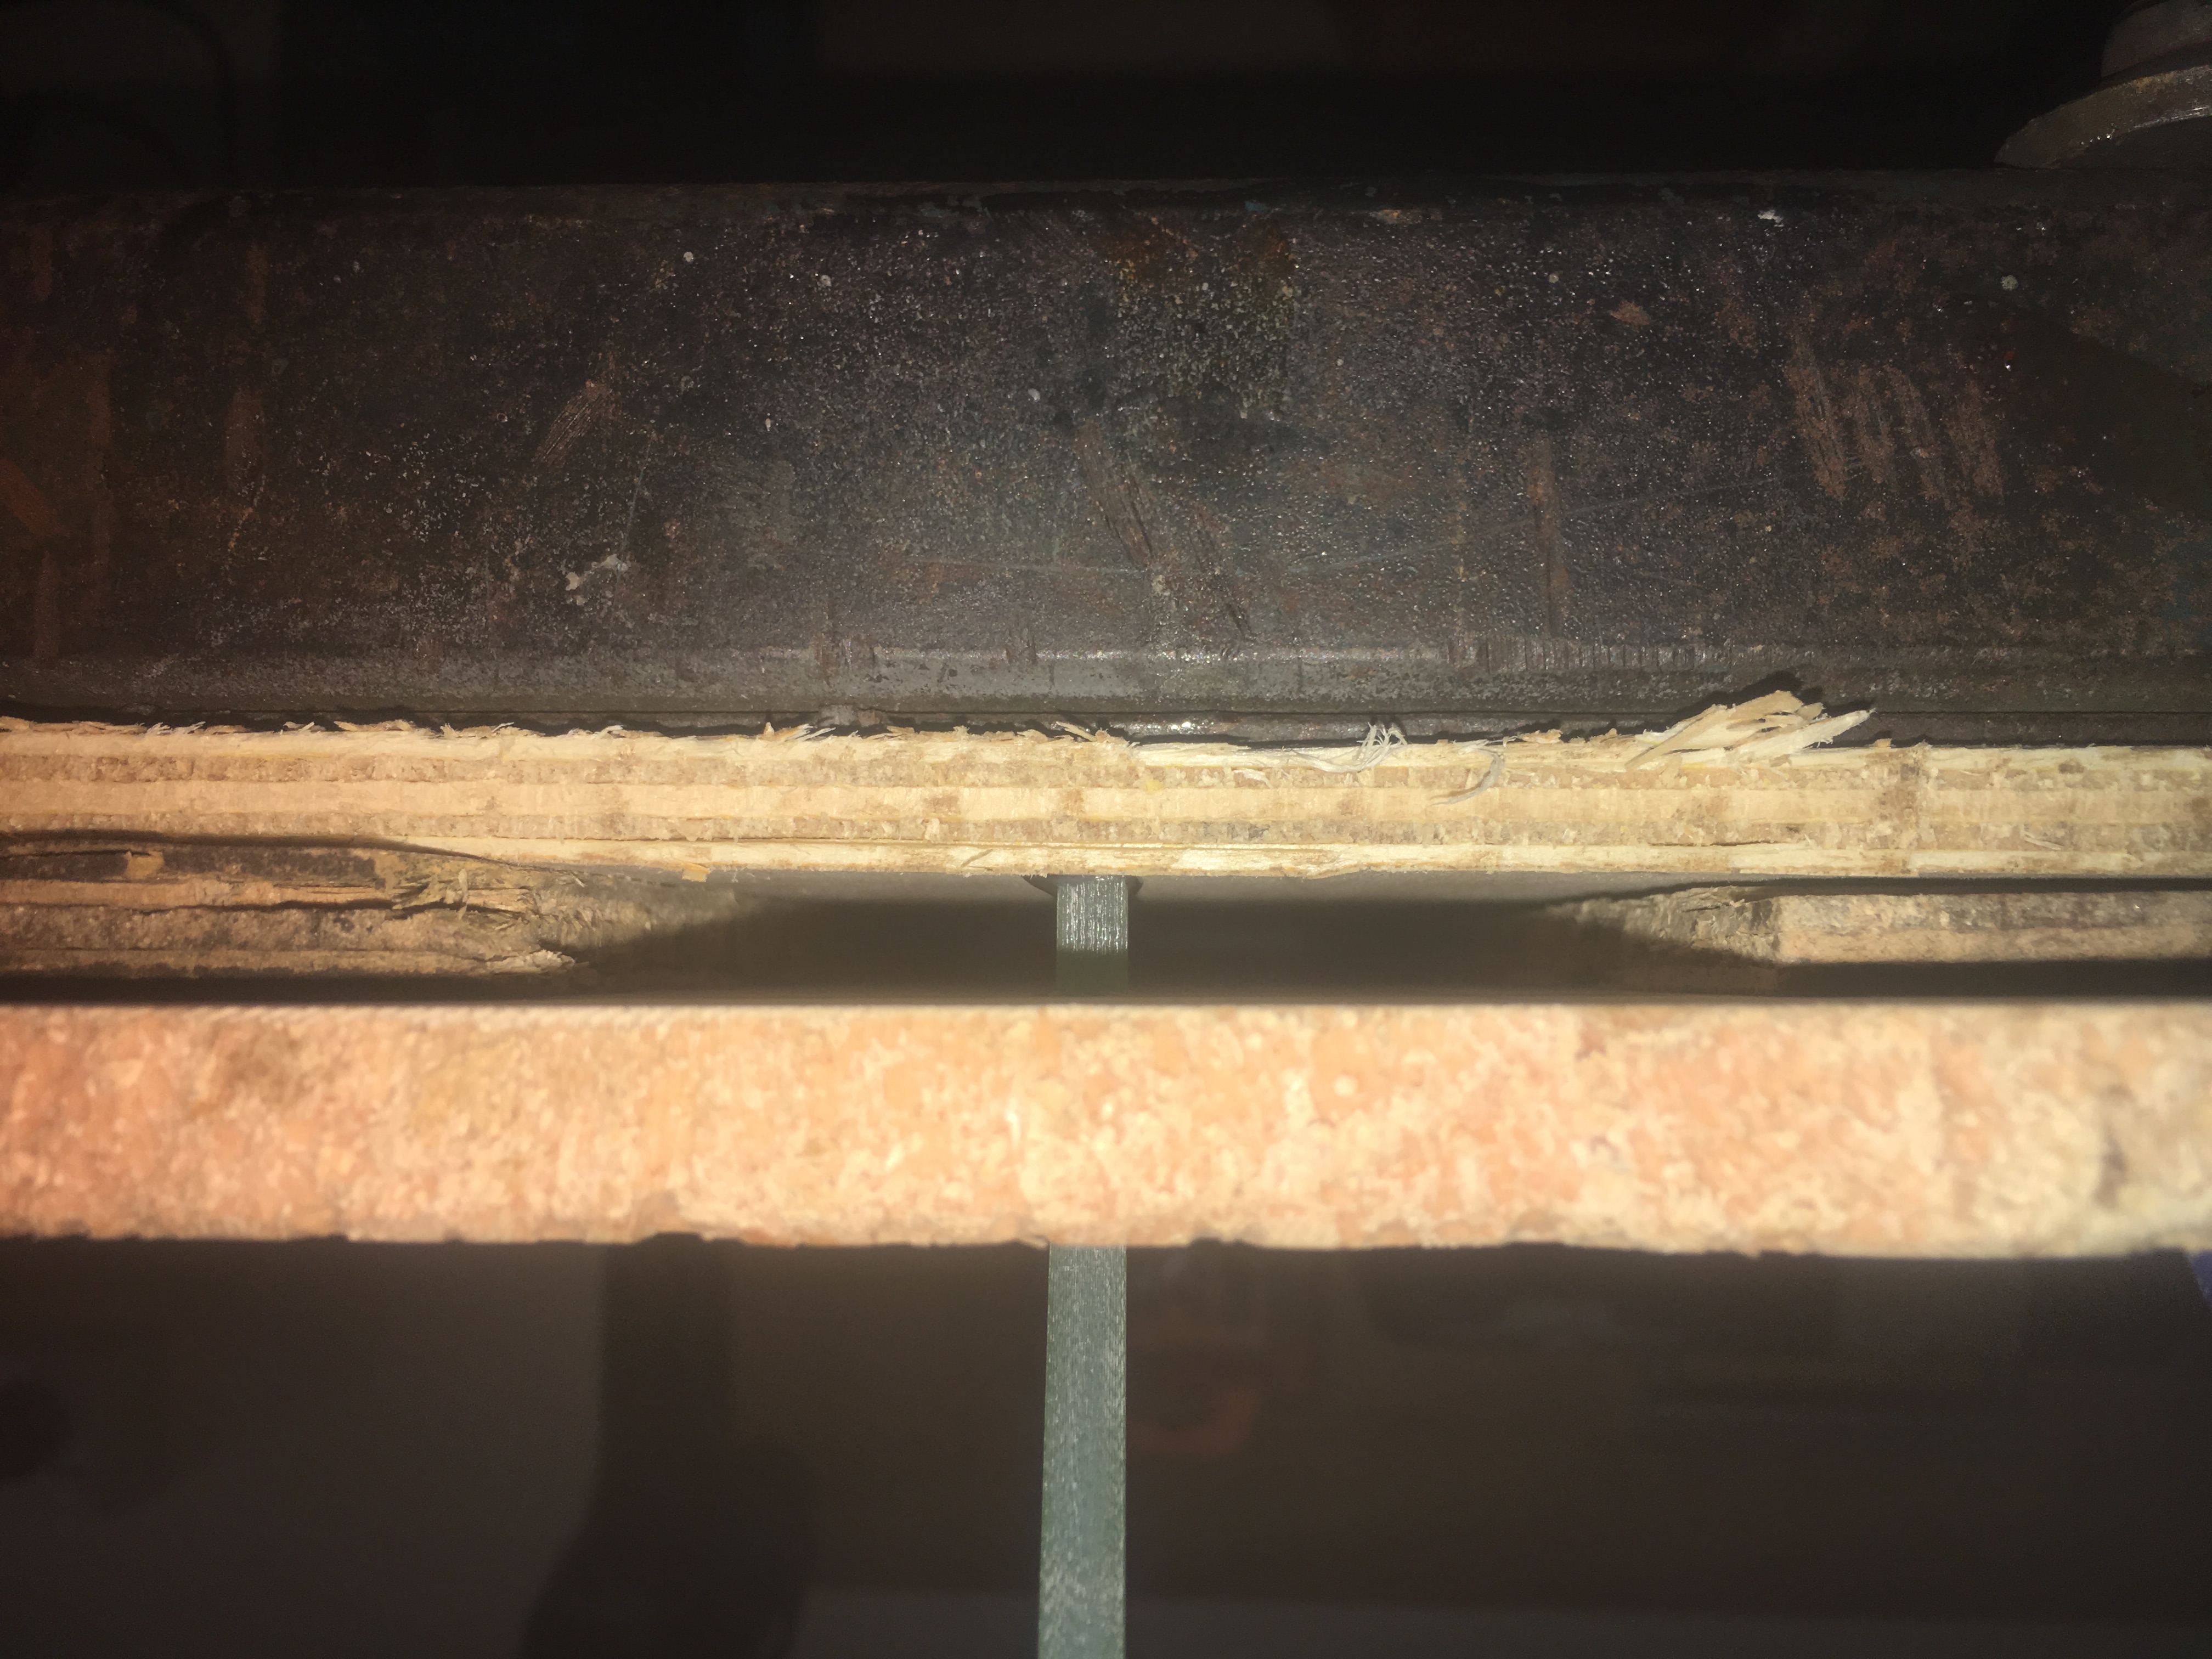
I’ve purchased some real G10 material to practice on. What I wanted to practice was:-
- Learning how to cut it well (even though this isn’t required for this build)
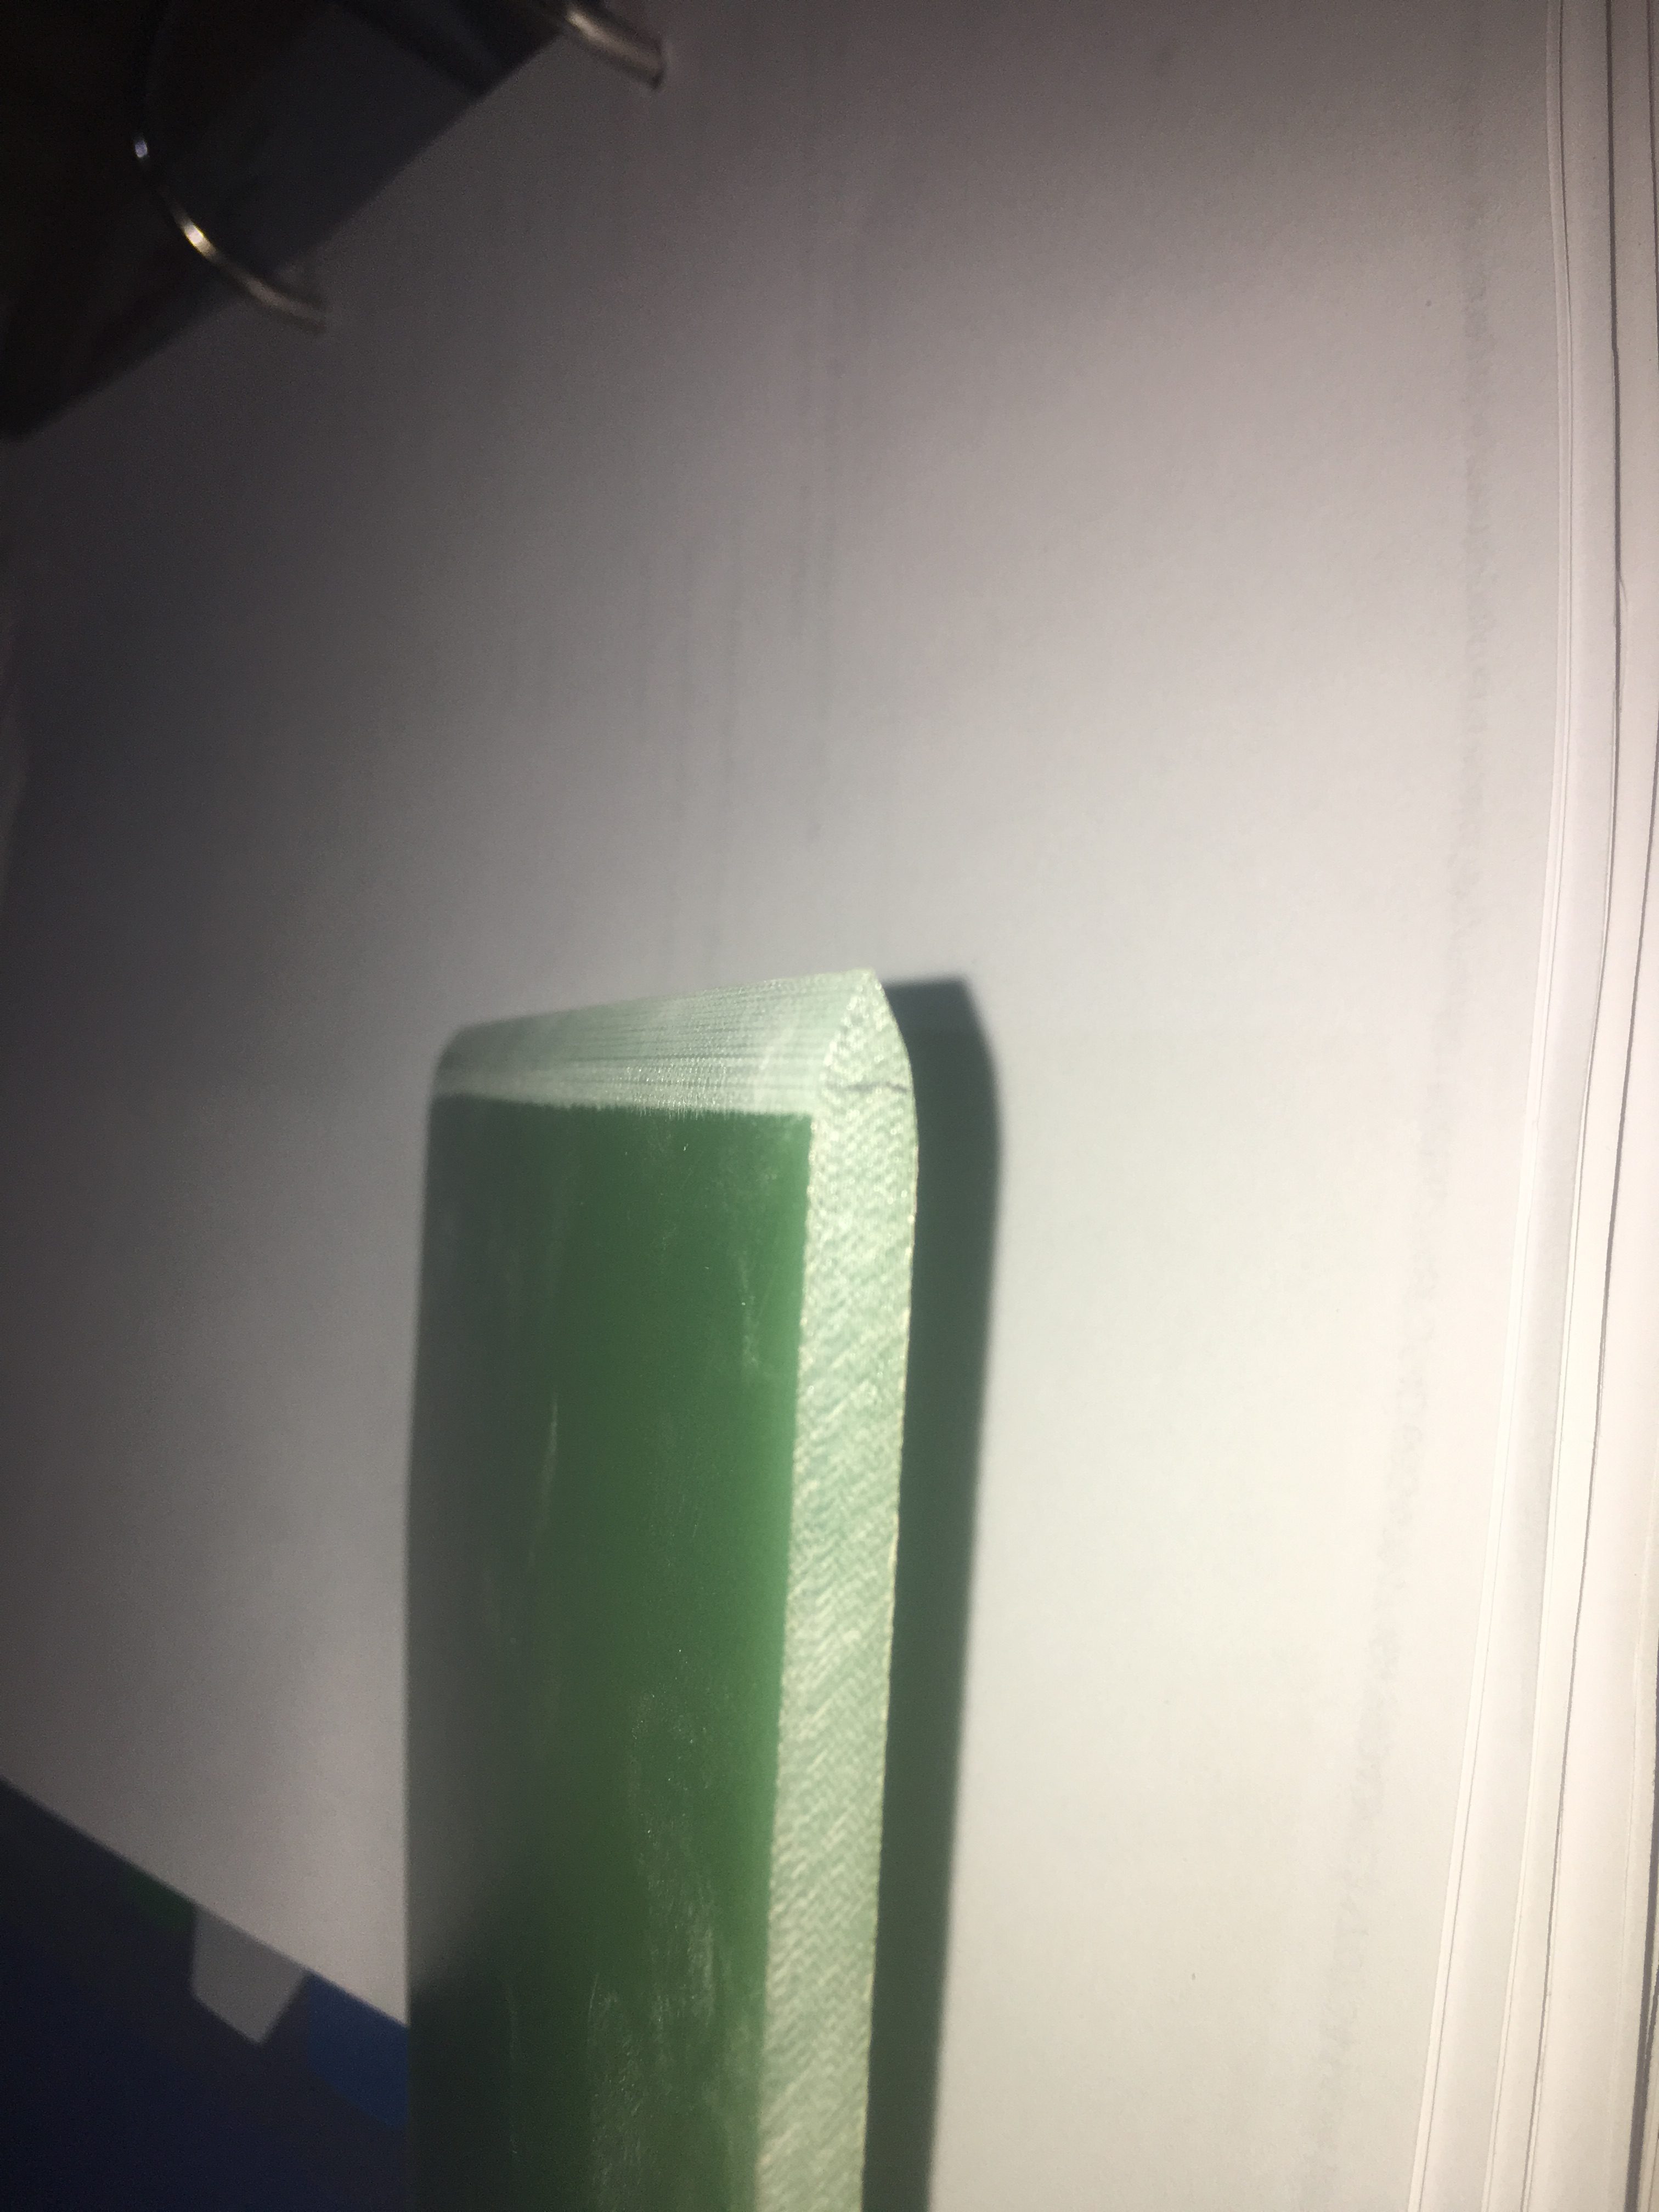
- How to sand the Leading and Trailing edges to the profiles I’ve decided.
- Sand the root and tang to Grit 80. Also sand other edges lightly with Grit 80 to remove any burs. (But I don’t want to change the shape)
- Sanding back with Grit 240 to give it a good finish for painting. I sand it ALL over, except on the tang, and the root where it is glued on the motor mount
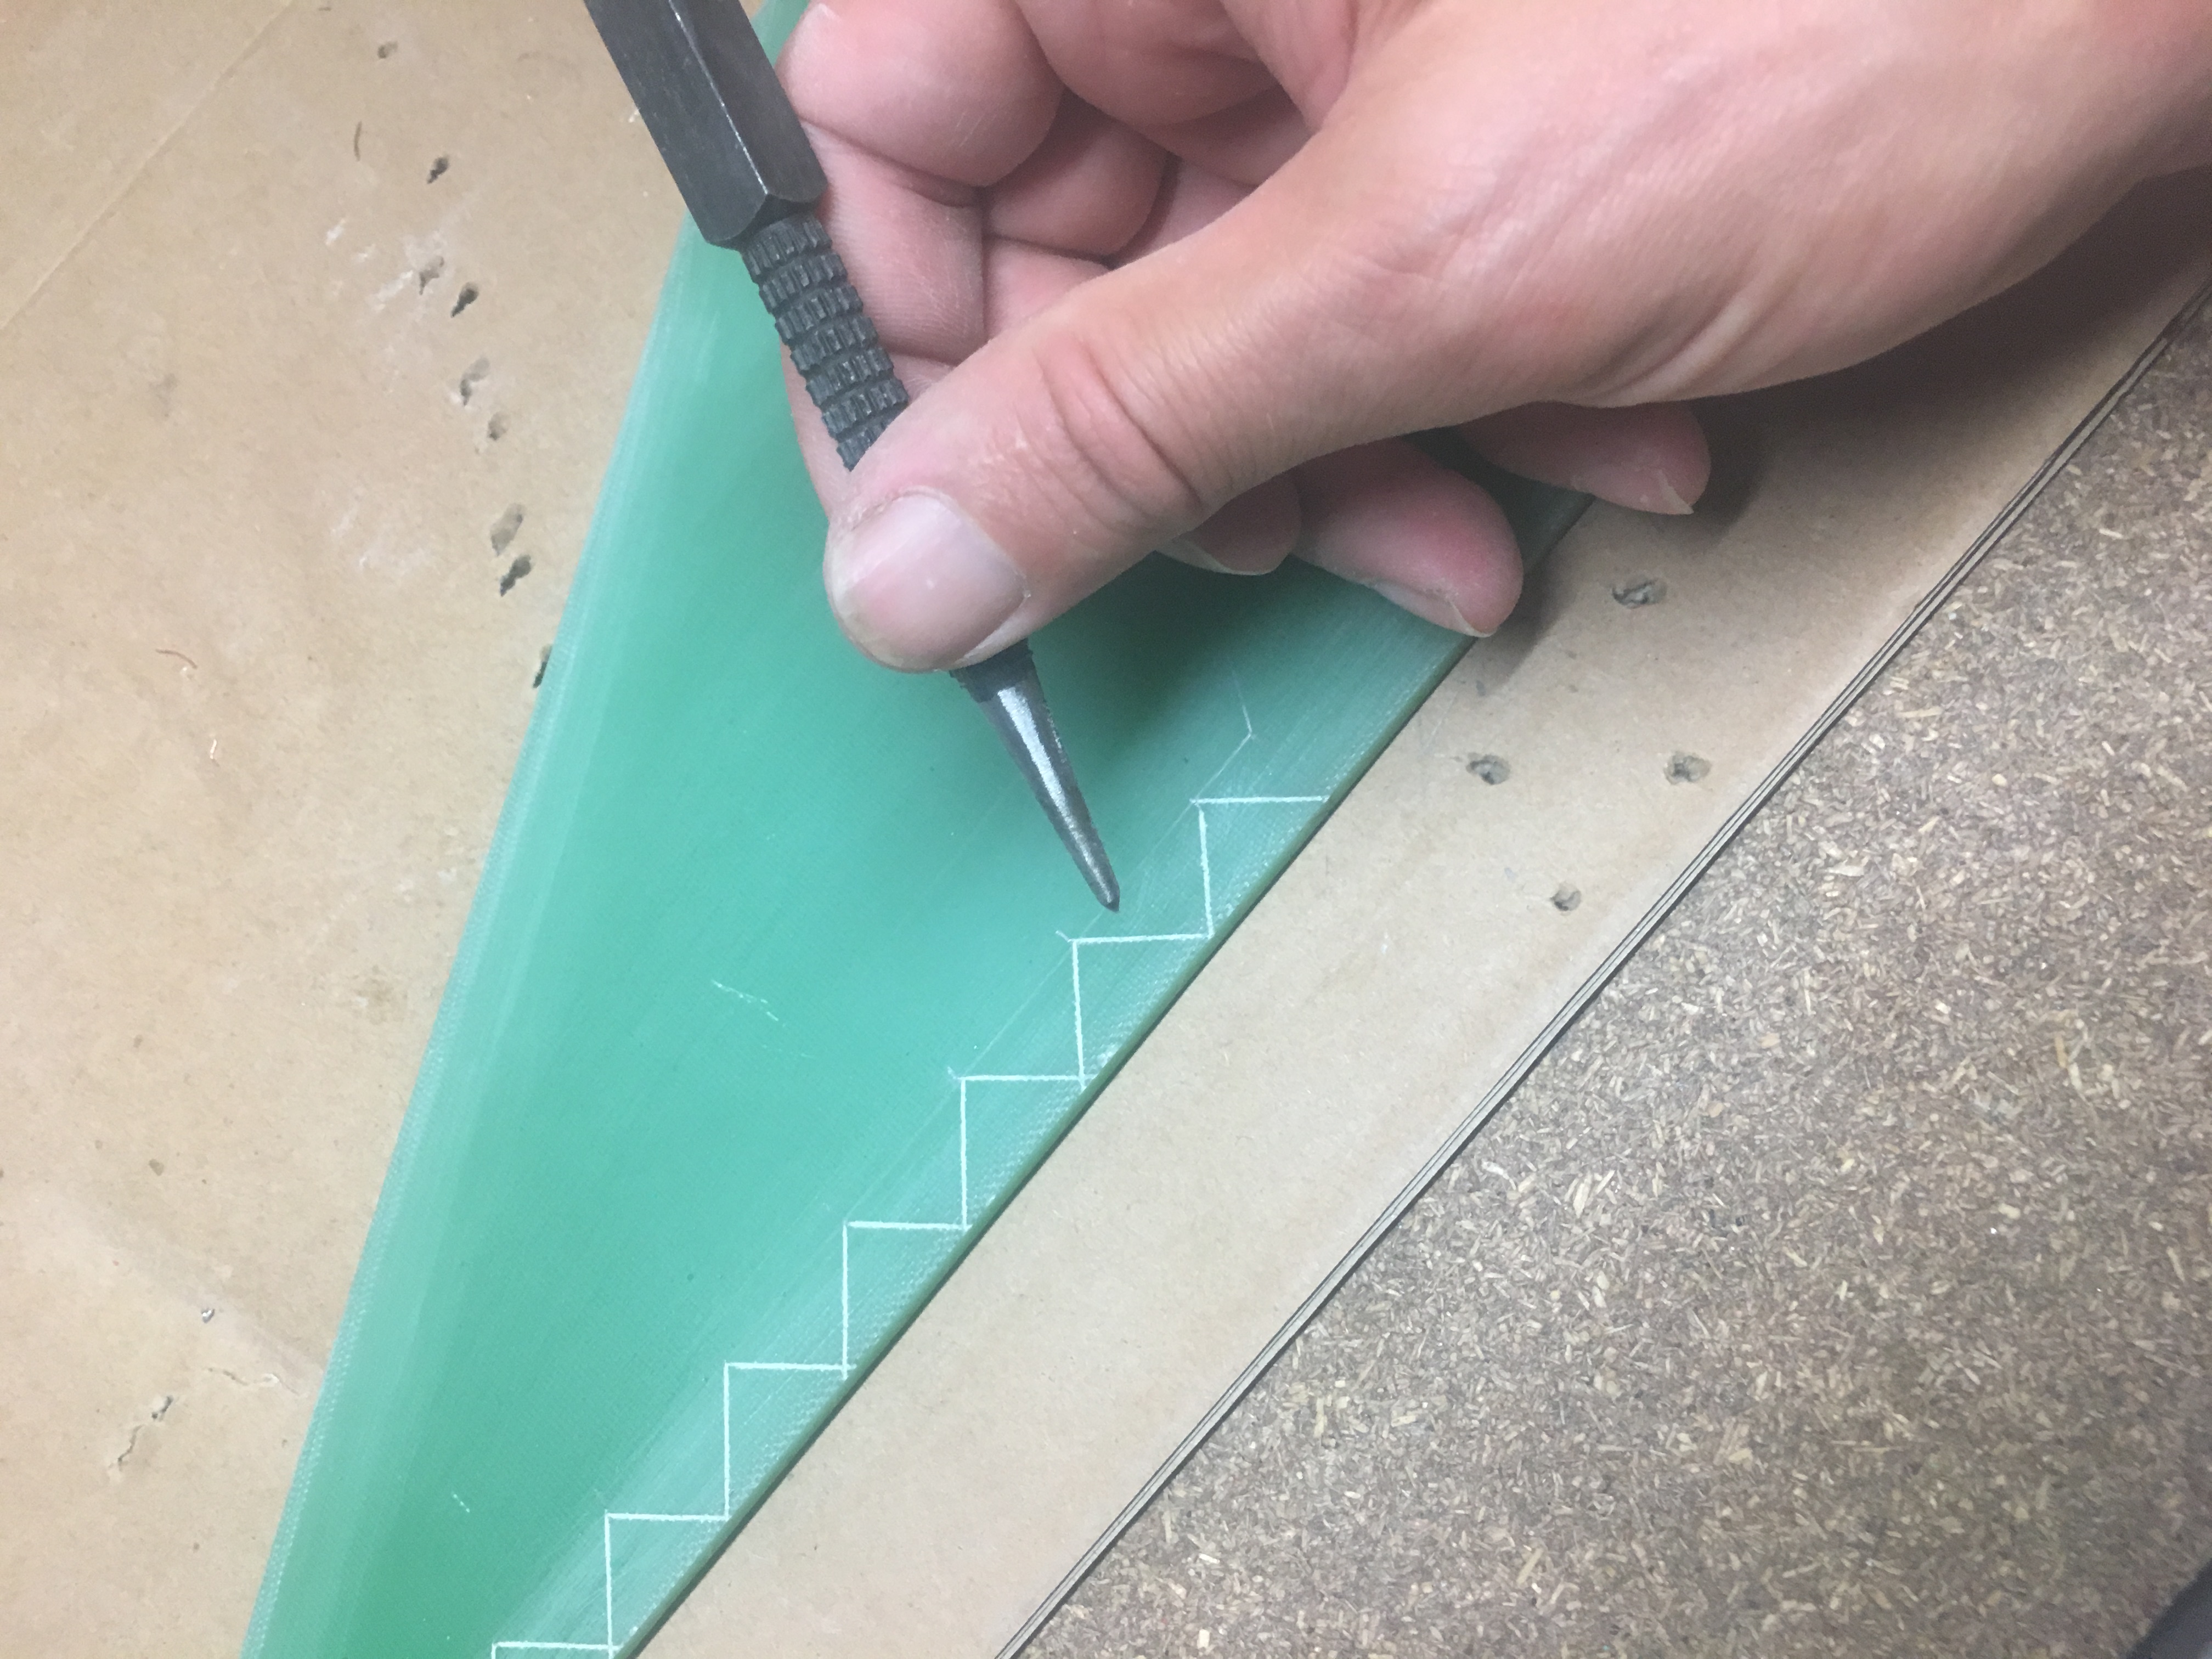
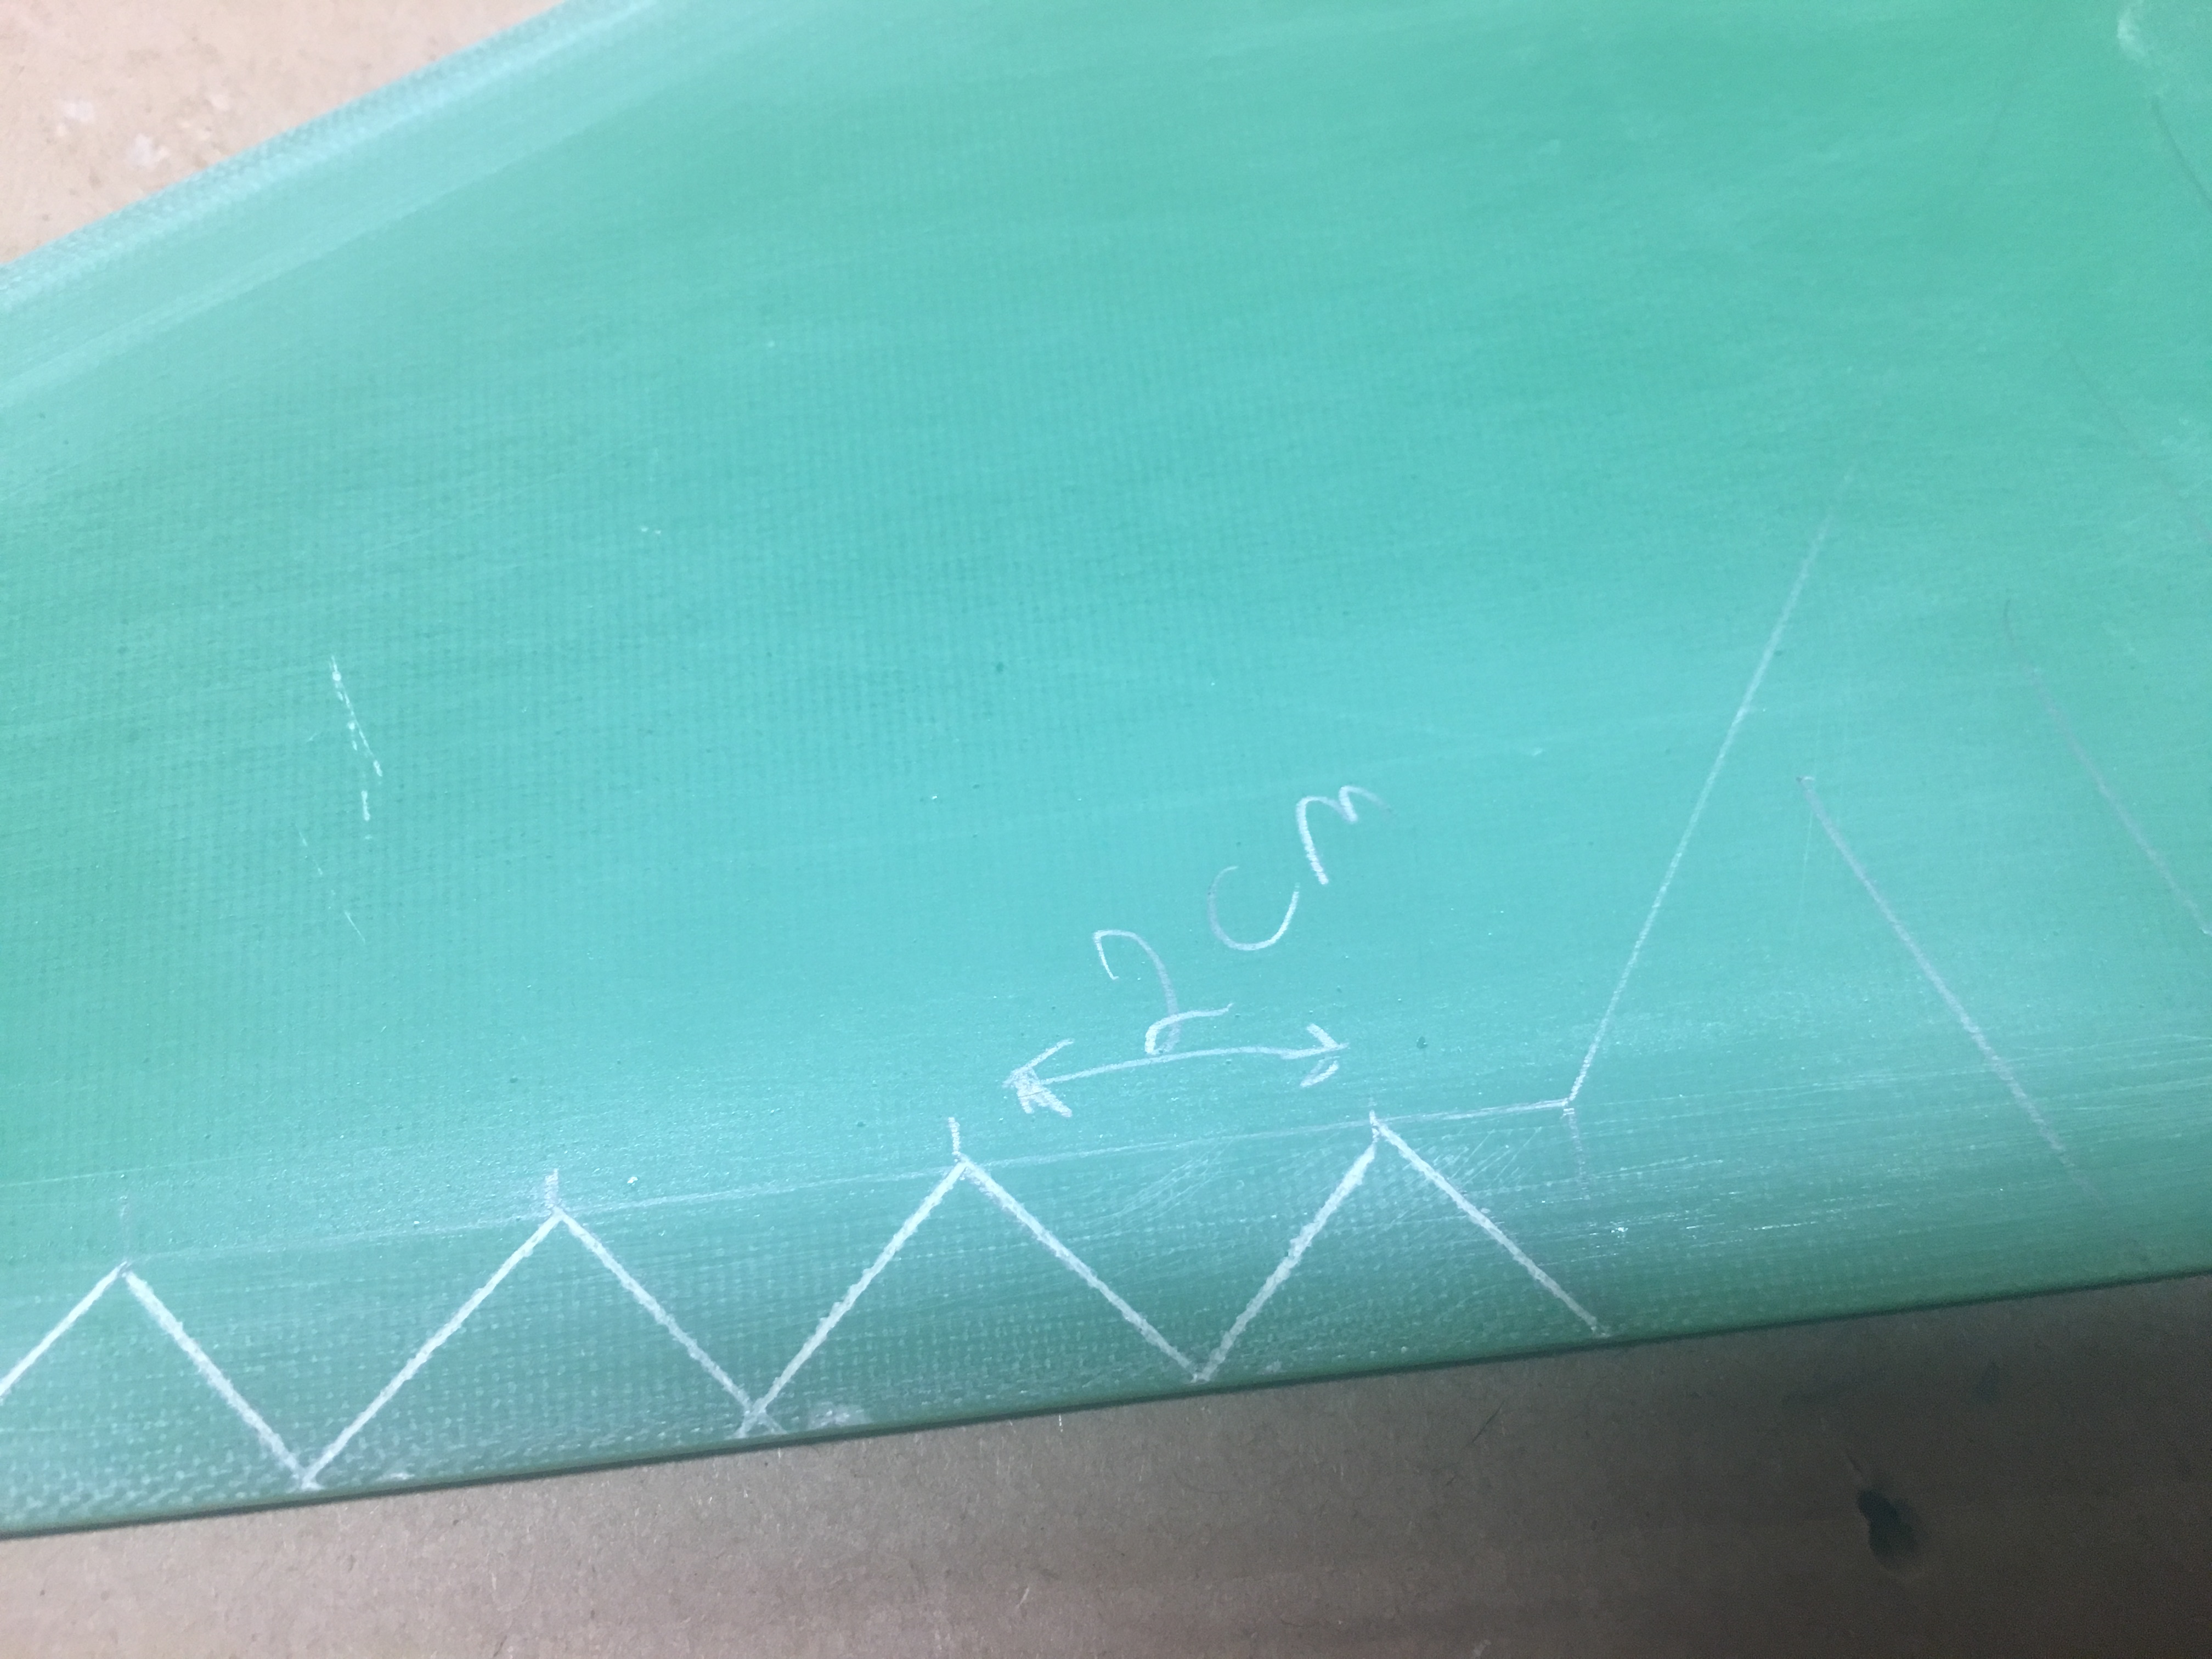
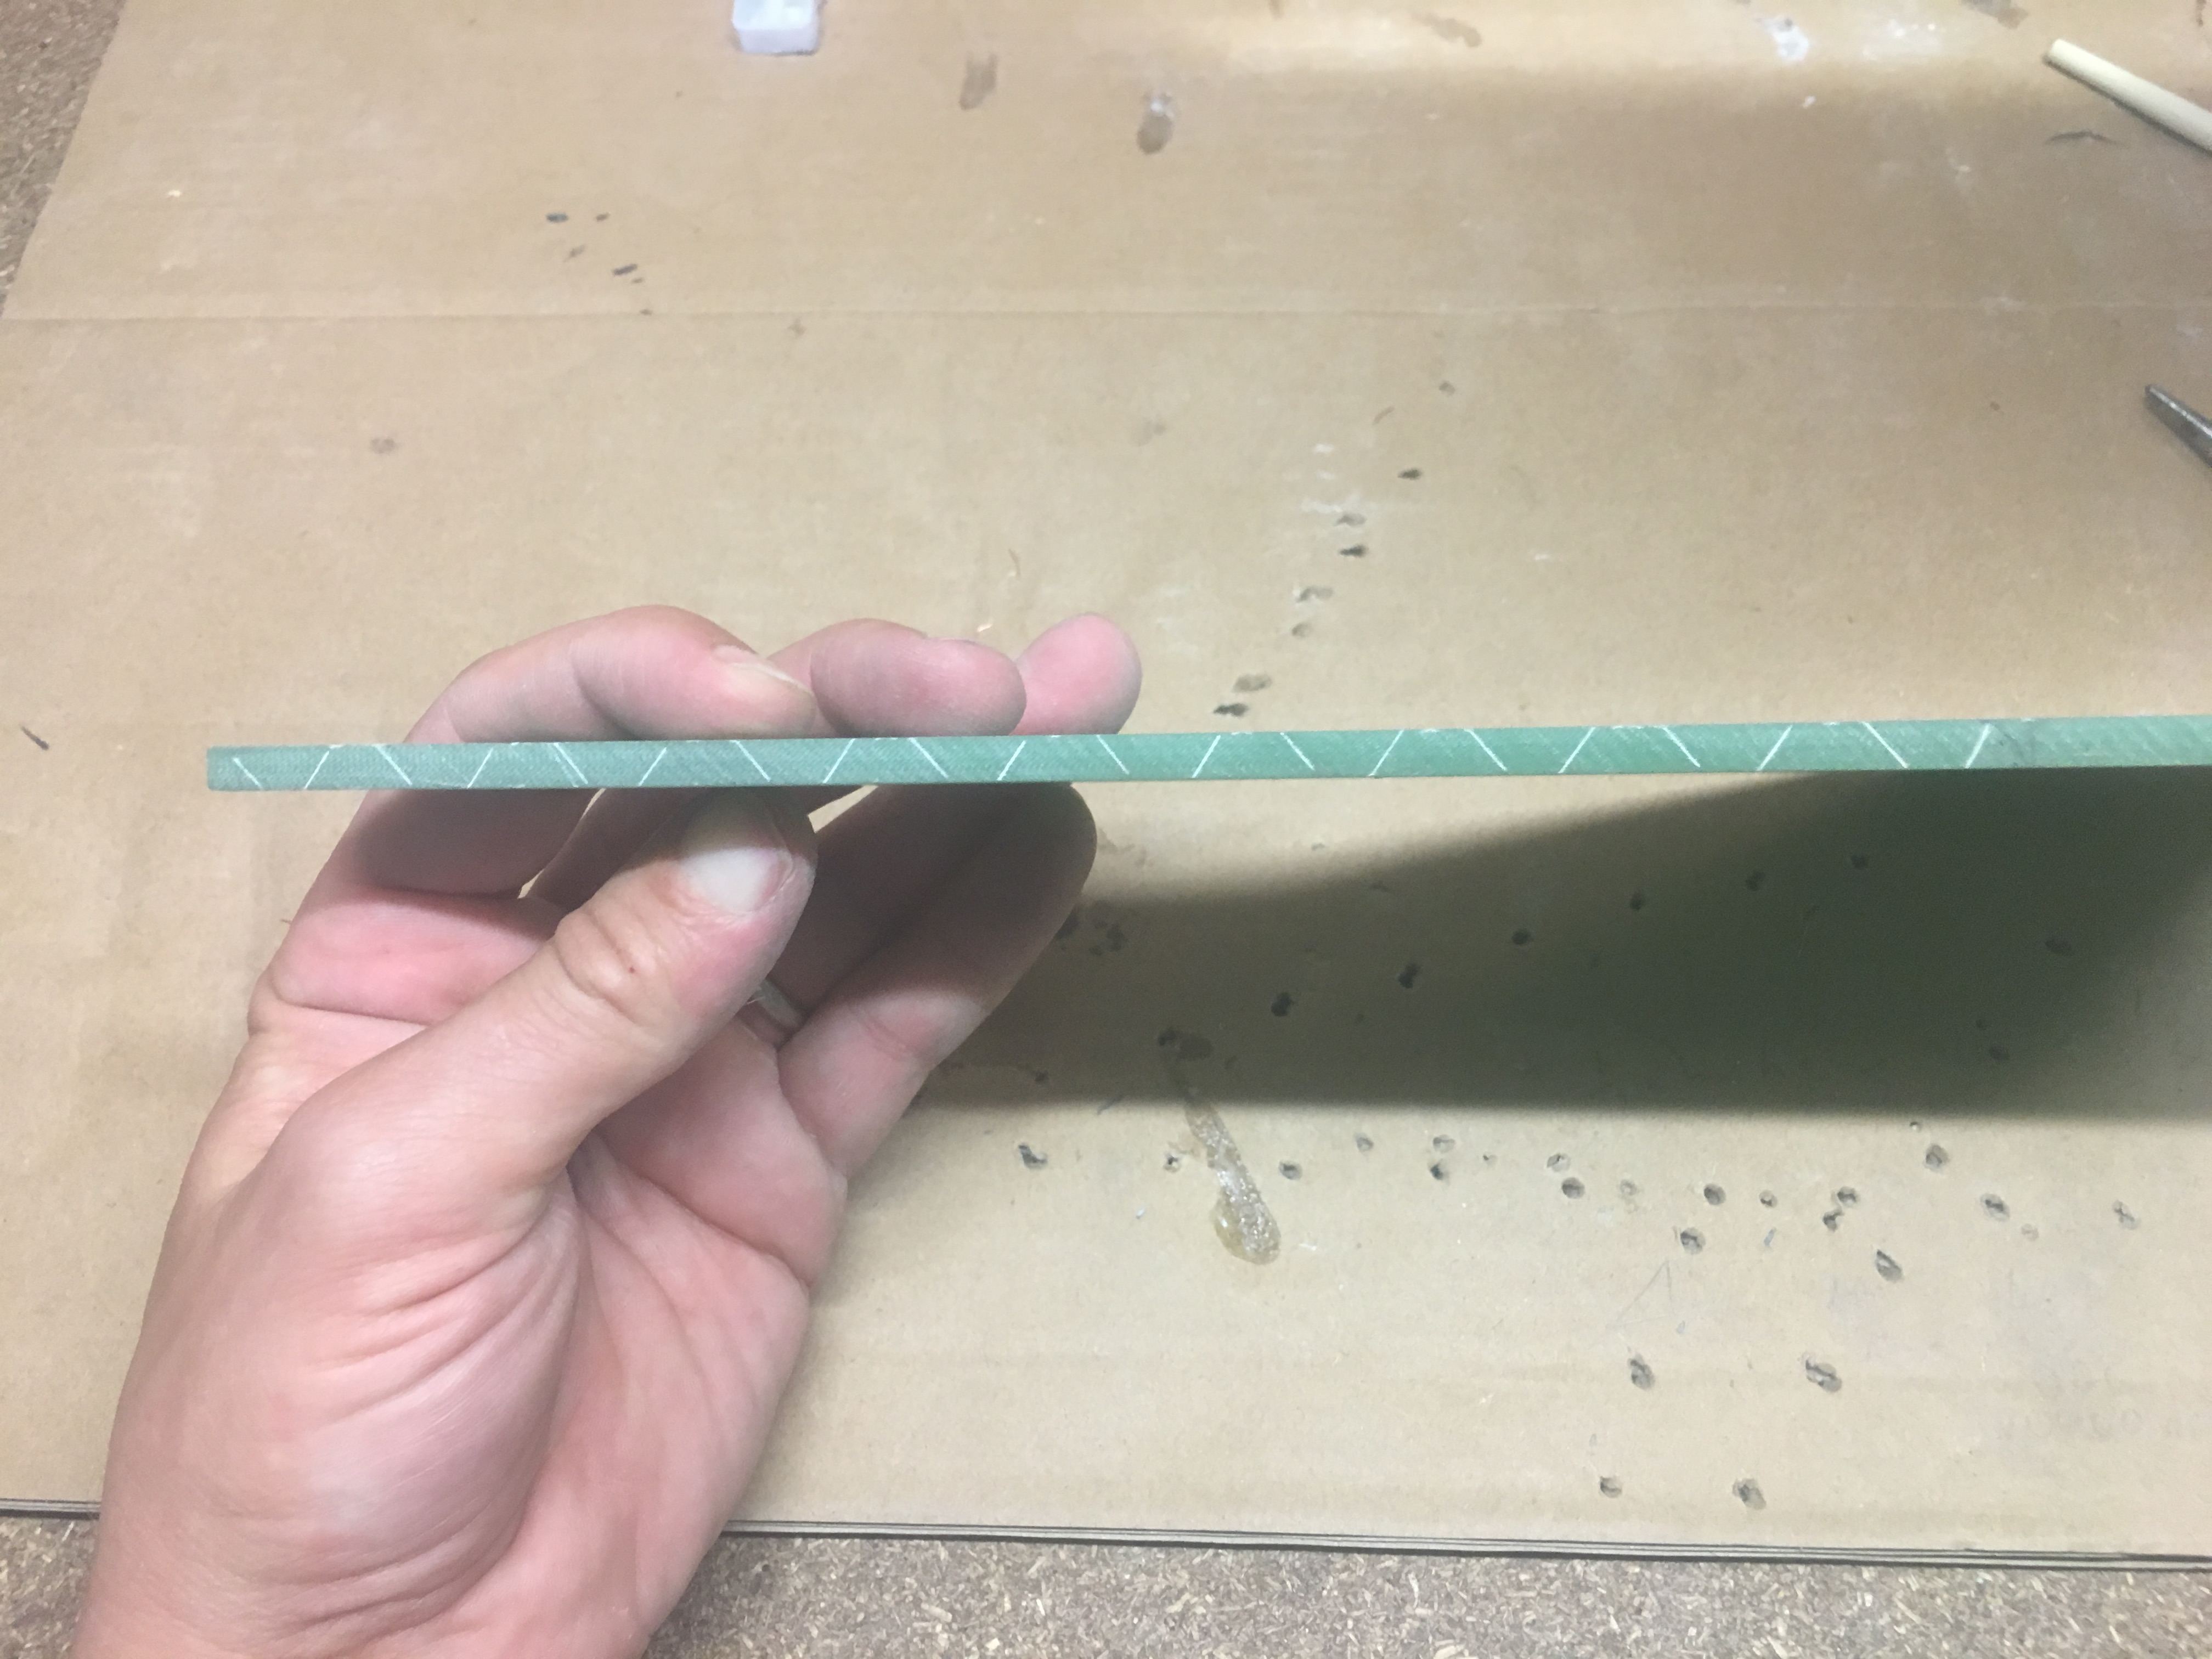
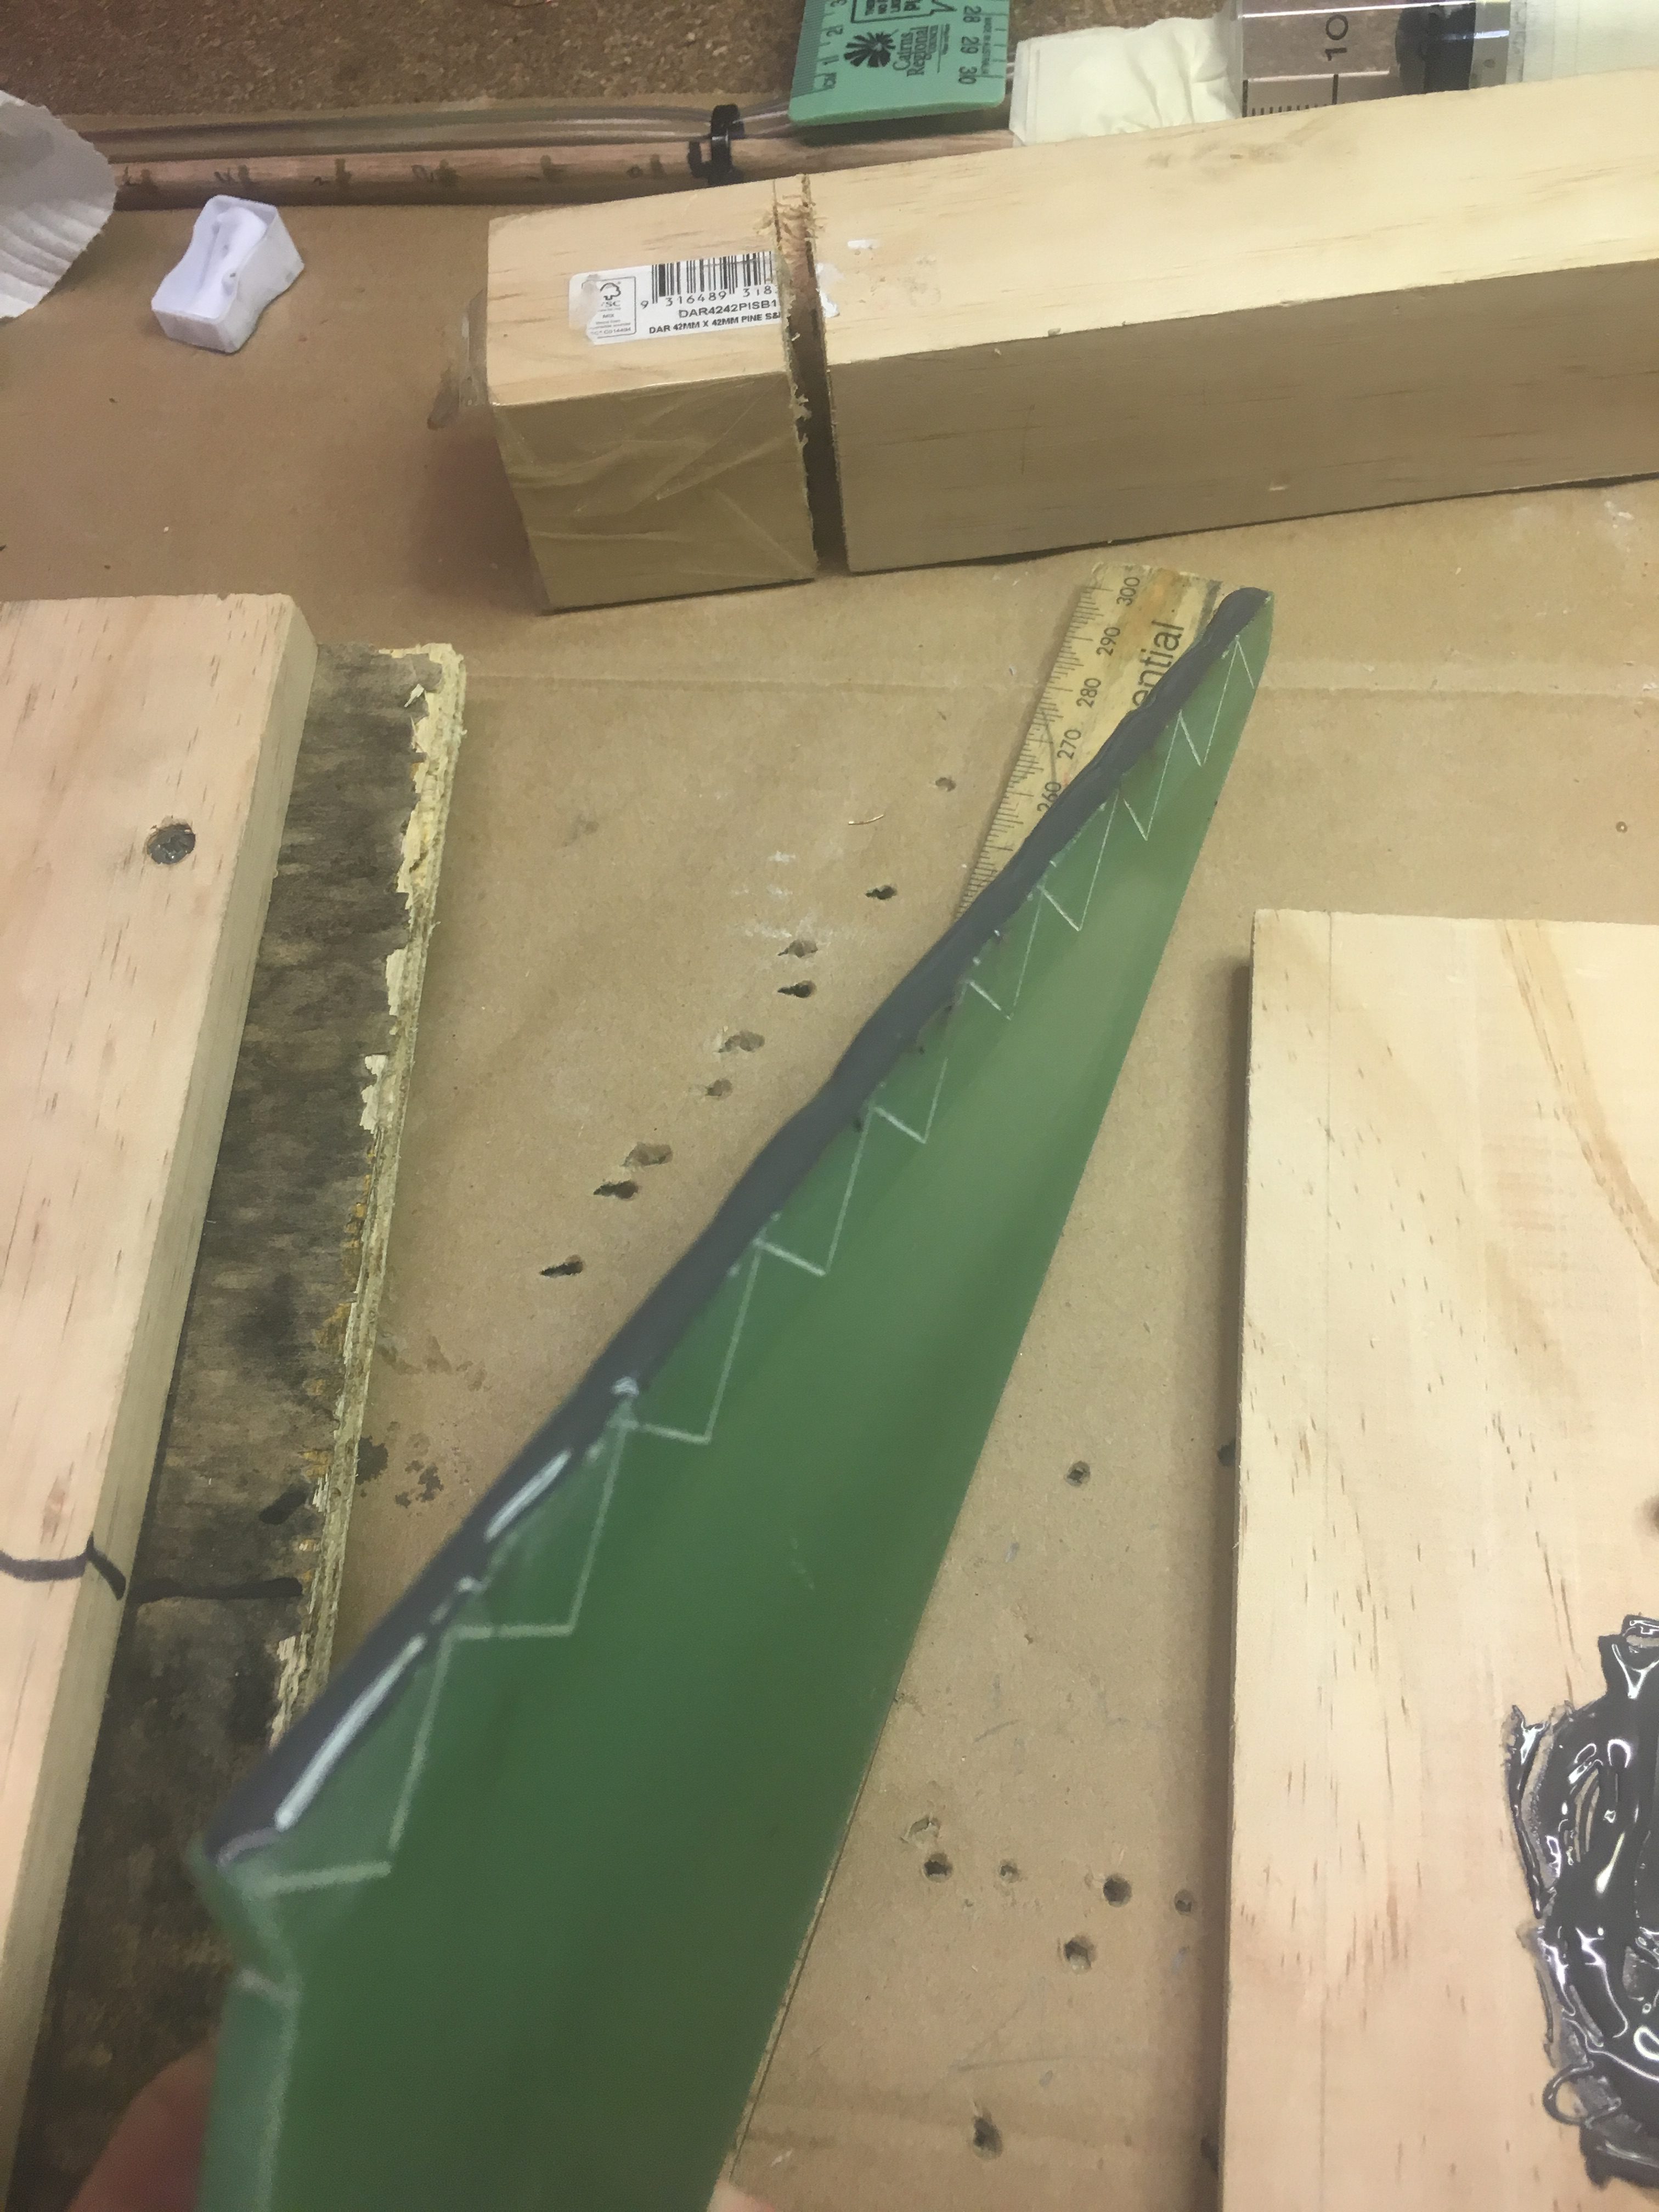
- Score the root of the fin (yes, on the thin edge) using a punch and a bit of elbow grease. Did this every cm, in both directions at 45 degrees
- Score Tang of Fin that is going to be below the air-frame. I did this every 2cm at 45 degrees in both directions
- Cleaning the surfaces thoroughly with Methylated Spirits
- Inspect the fins to make sure there is no other dust, grime or dirt.
- Perform the following preparation steps
- Attaching to “motor-mount”
- Test paints – to see how finish is.
Preparations Steps
Before I can begin attaching fin, I need to prepare my work area. The “main” steps are:-
- Clean desk
- Get Methylated Spirits
- Get Paper towel
- Get a clean wood board for mixing Glue and mixing stick
- Get my Timer
- Wood blocks
- Get G-Clamps.
Steps to attach the Fin
We can’t do these steps until the fins are prepared!
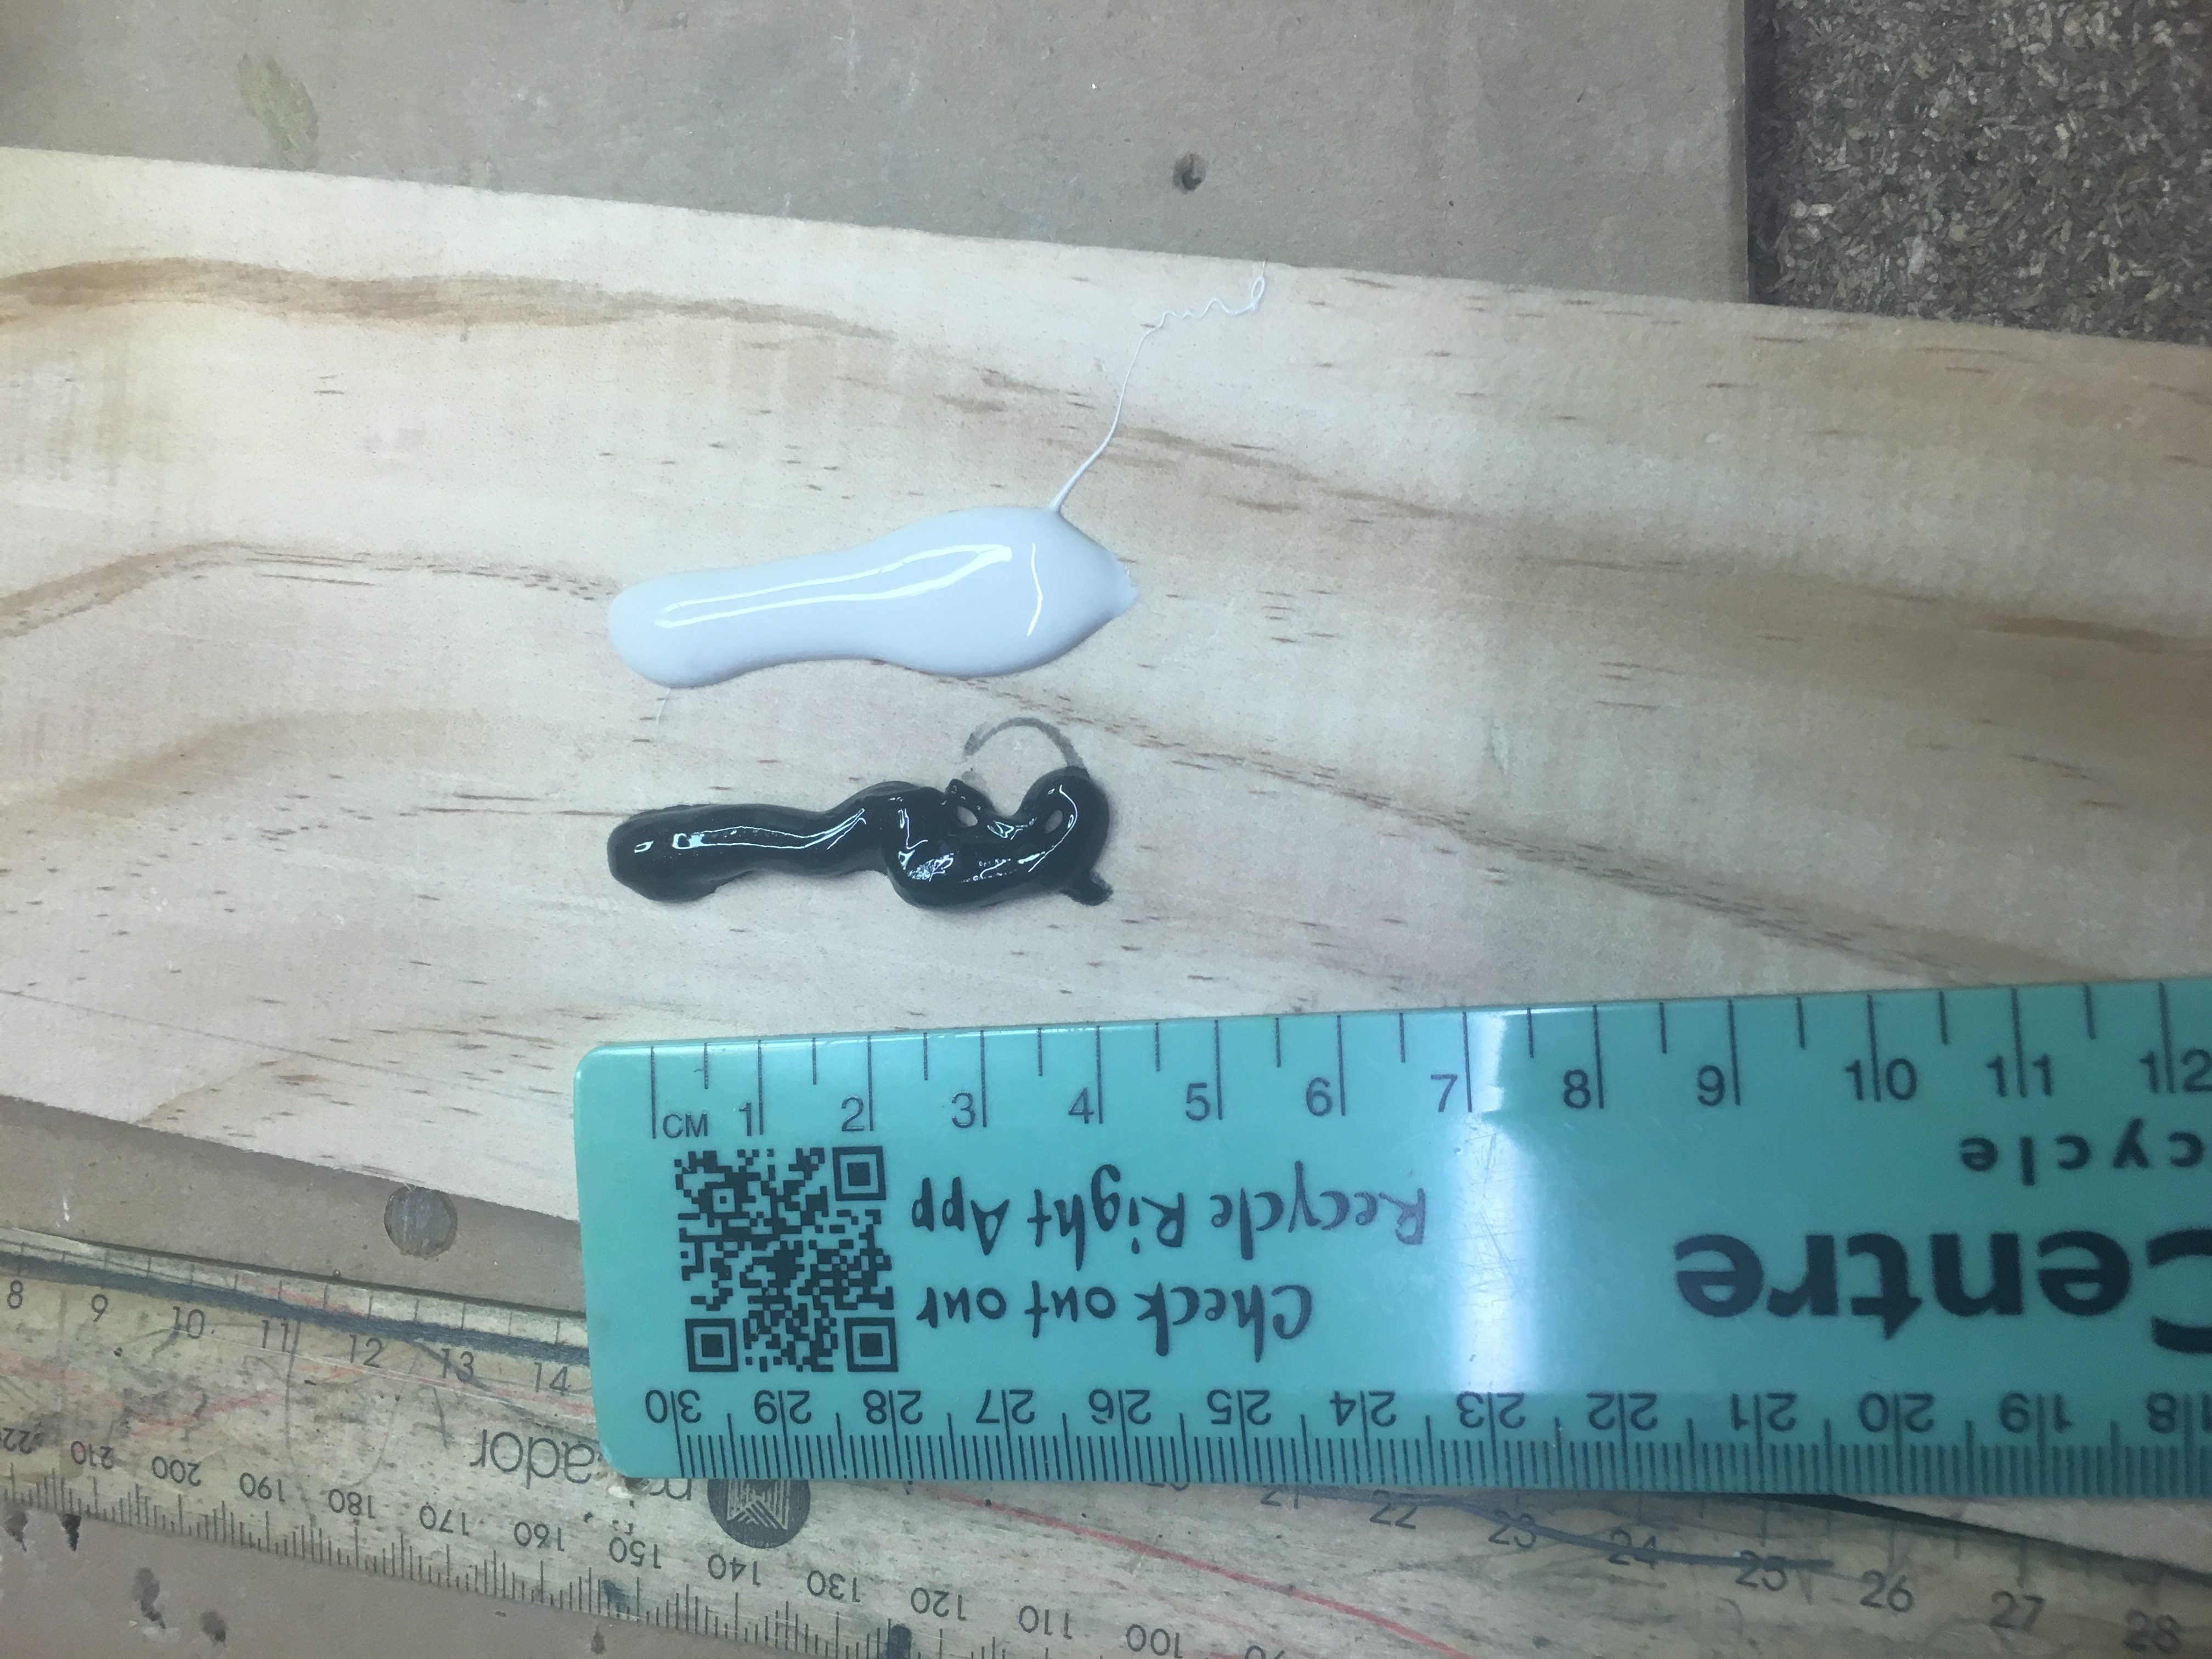
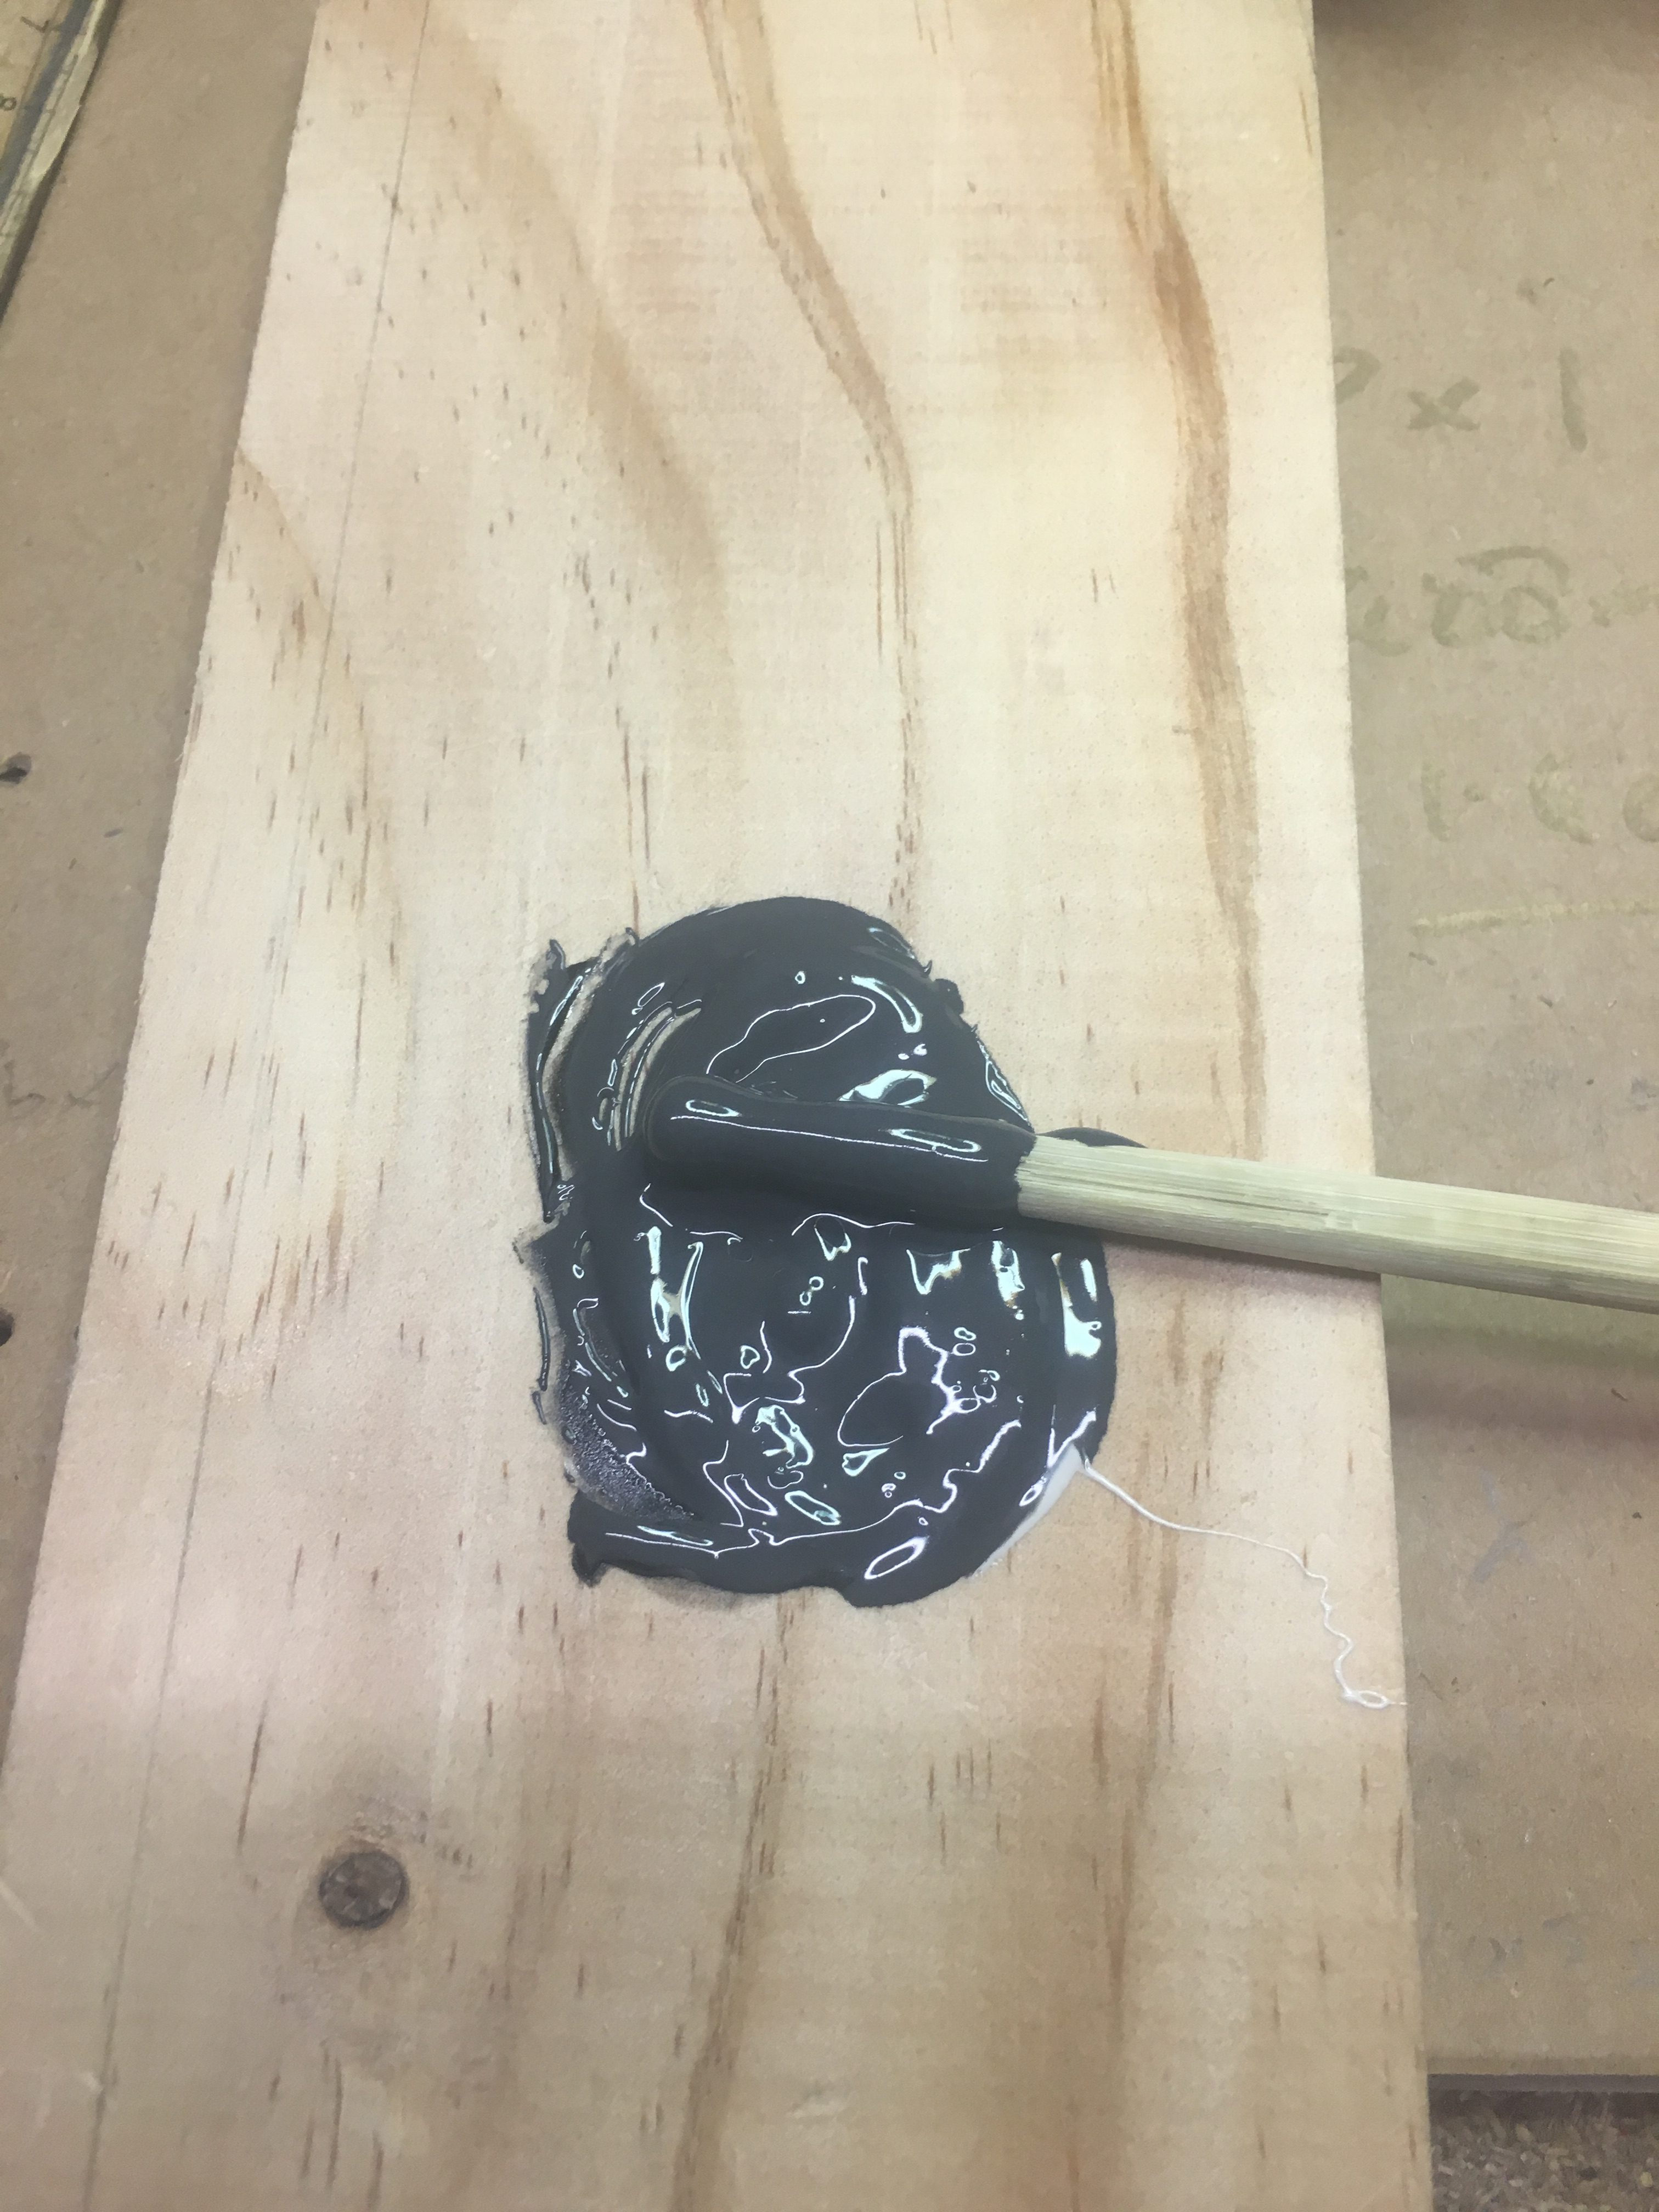
- Then I mix up equal amounts of J-B Weld black and white on a clean surface for mixing.
- I start time for 20 minutes. This tells me how long I have to go.
- I apply this to the root of the fin as evenly as possible, and try and avoid it going over the side
- Clean off excess J-B Weld off sides very carefully using Methylated Spirits and paper towel.
- Carefully lower the Fin into the slot, make sure that the J-B Weld doesn’t get on to the “Air-Frame”
- Apply a bit of a wriggling action to get the glue to fill gapes
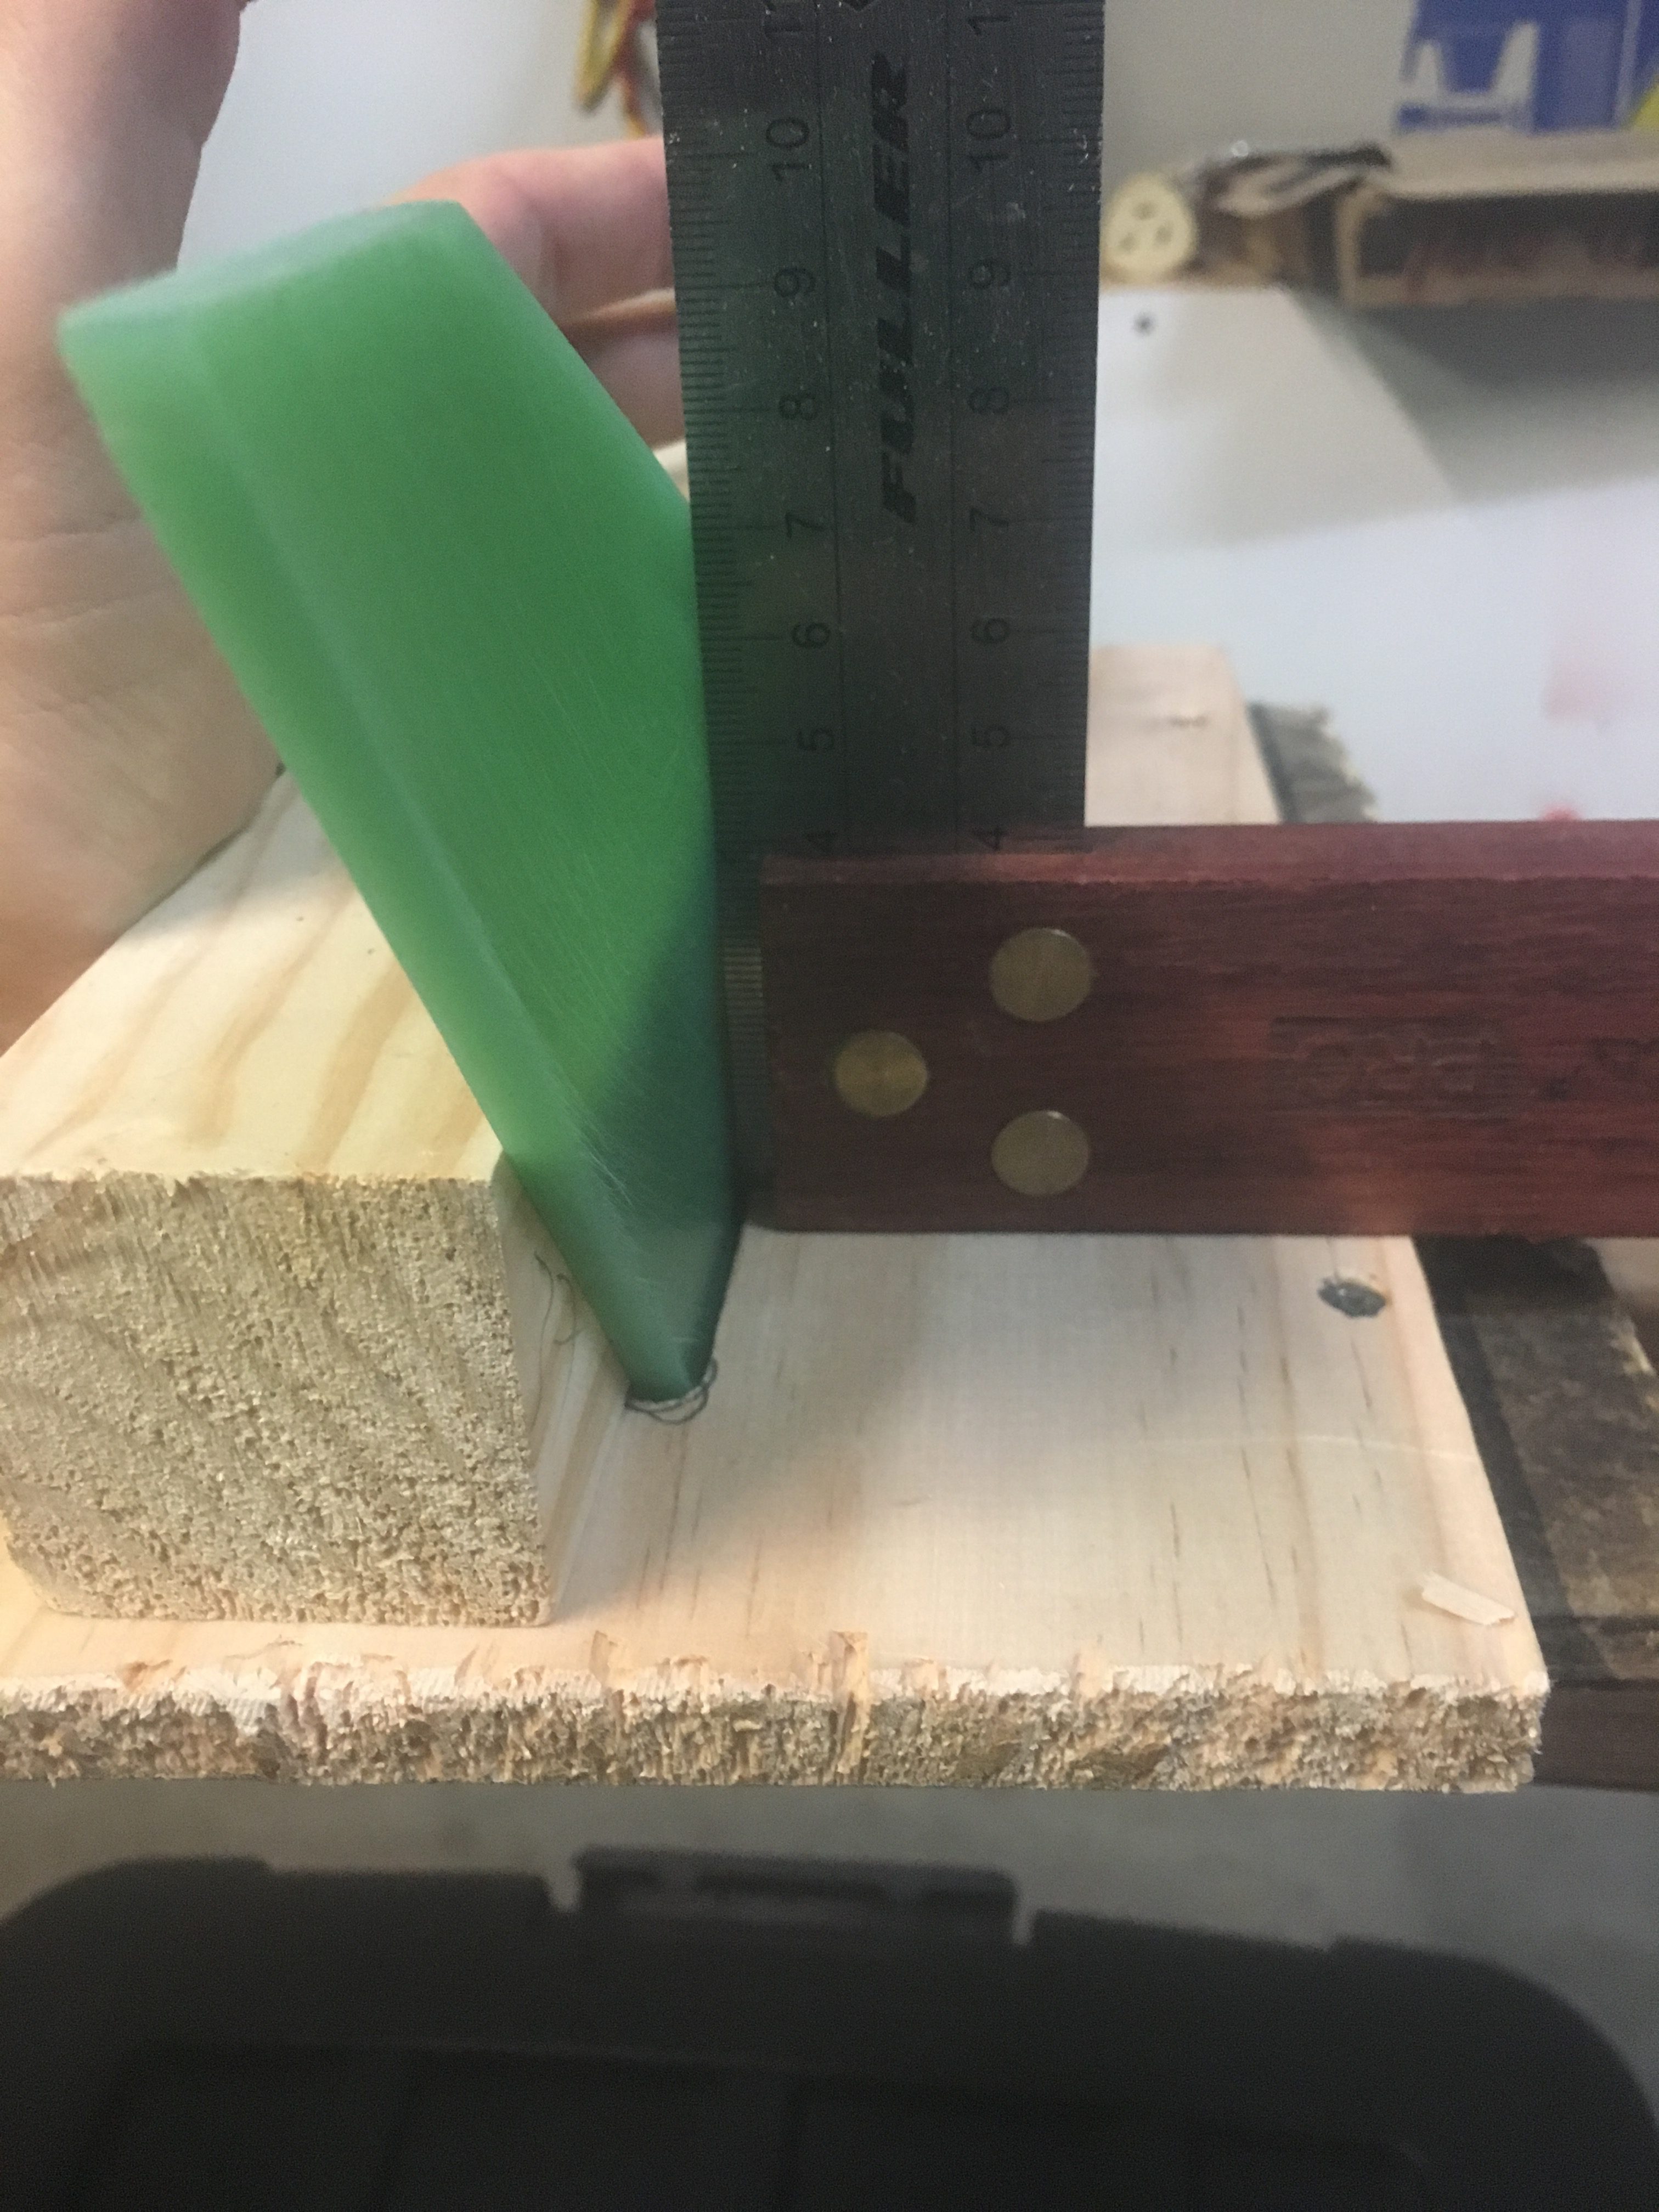
- Make sure the Fin is 90 degrees and use clamps and wood blocks to ensure that the fin cannot move
- Leave it for 15 hrs minimum!
Here are some pictures:-