Need to glue two more components –
- Coupler to Nose Cone
- Switch Ring to Payload Coupler unit
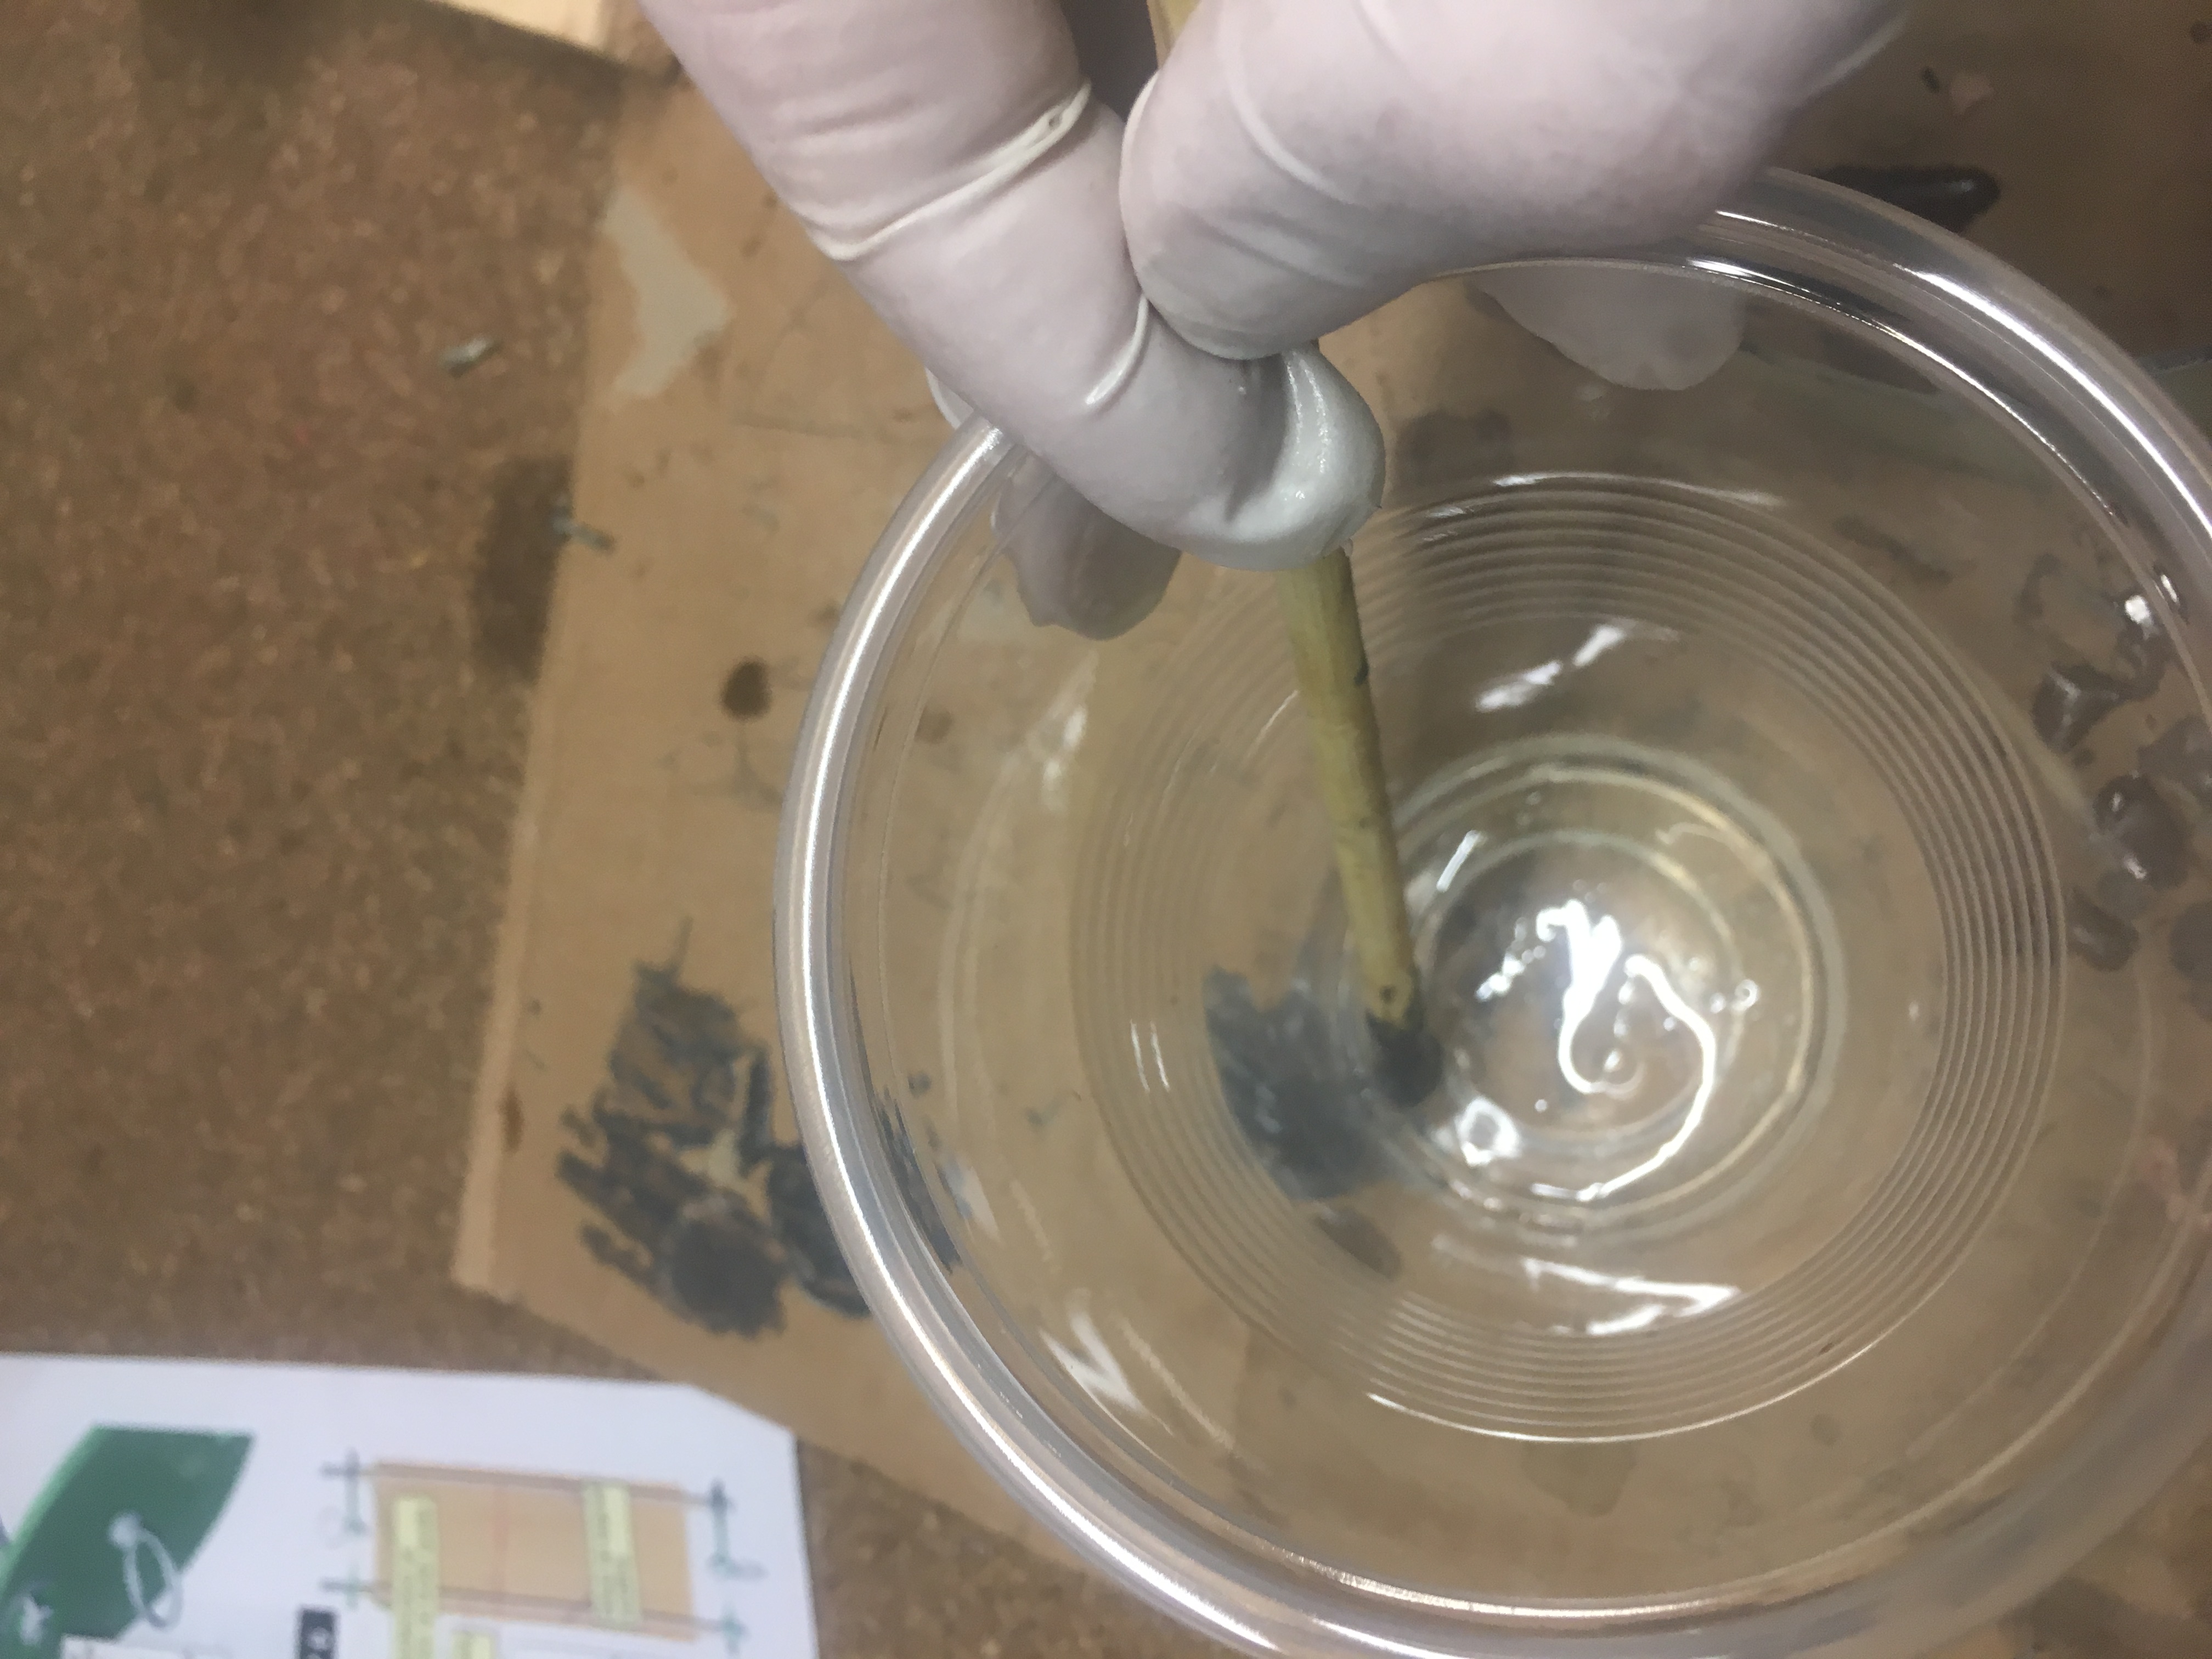
Used Bob Smith Epoxy to attach them. BS Epoxy is easy to spread and because we only need a thin film it won’t drip and make a mess like some epoxy, e.g. West Systems.
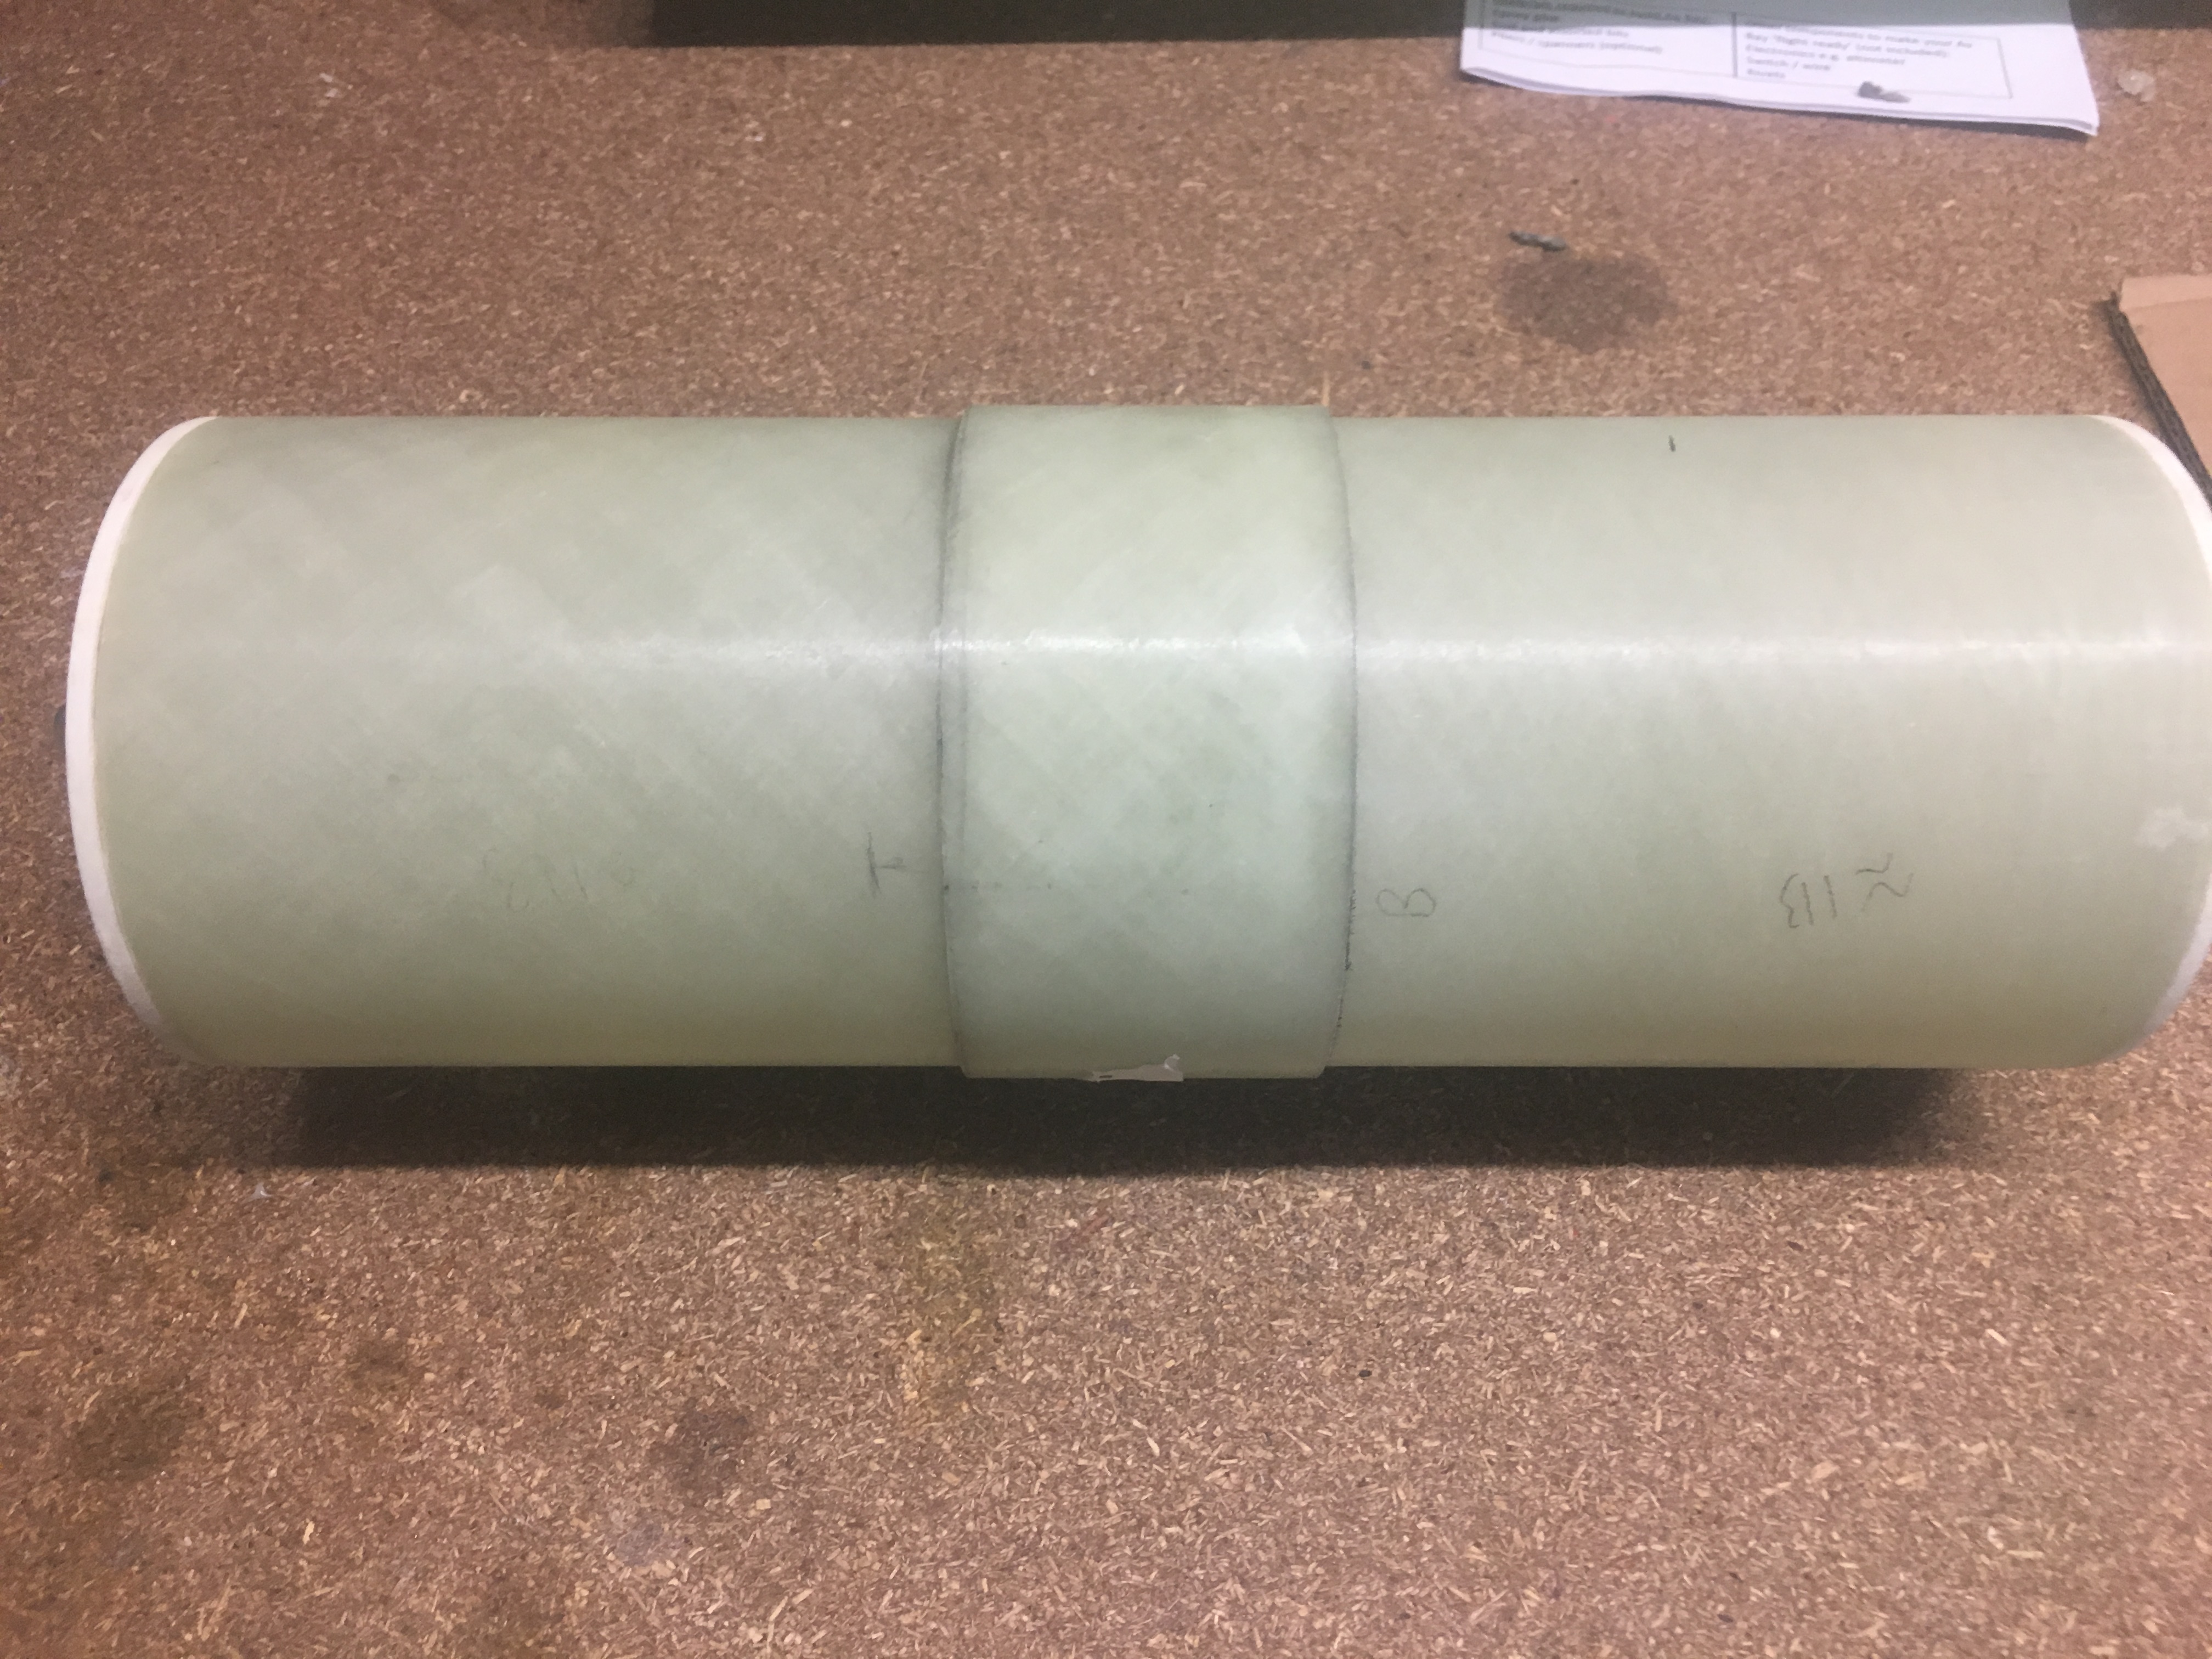
The Payload Switch Ring
Below are pictures of Payload Switch ring.
Tape is reduce amount of Epoxy getting into places I don’t want it to go.
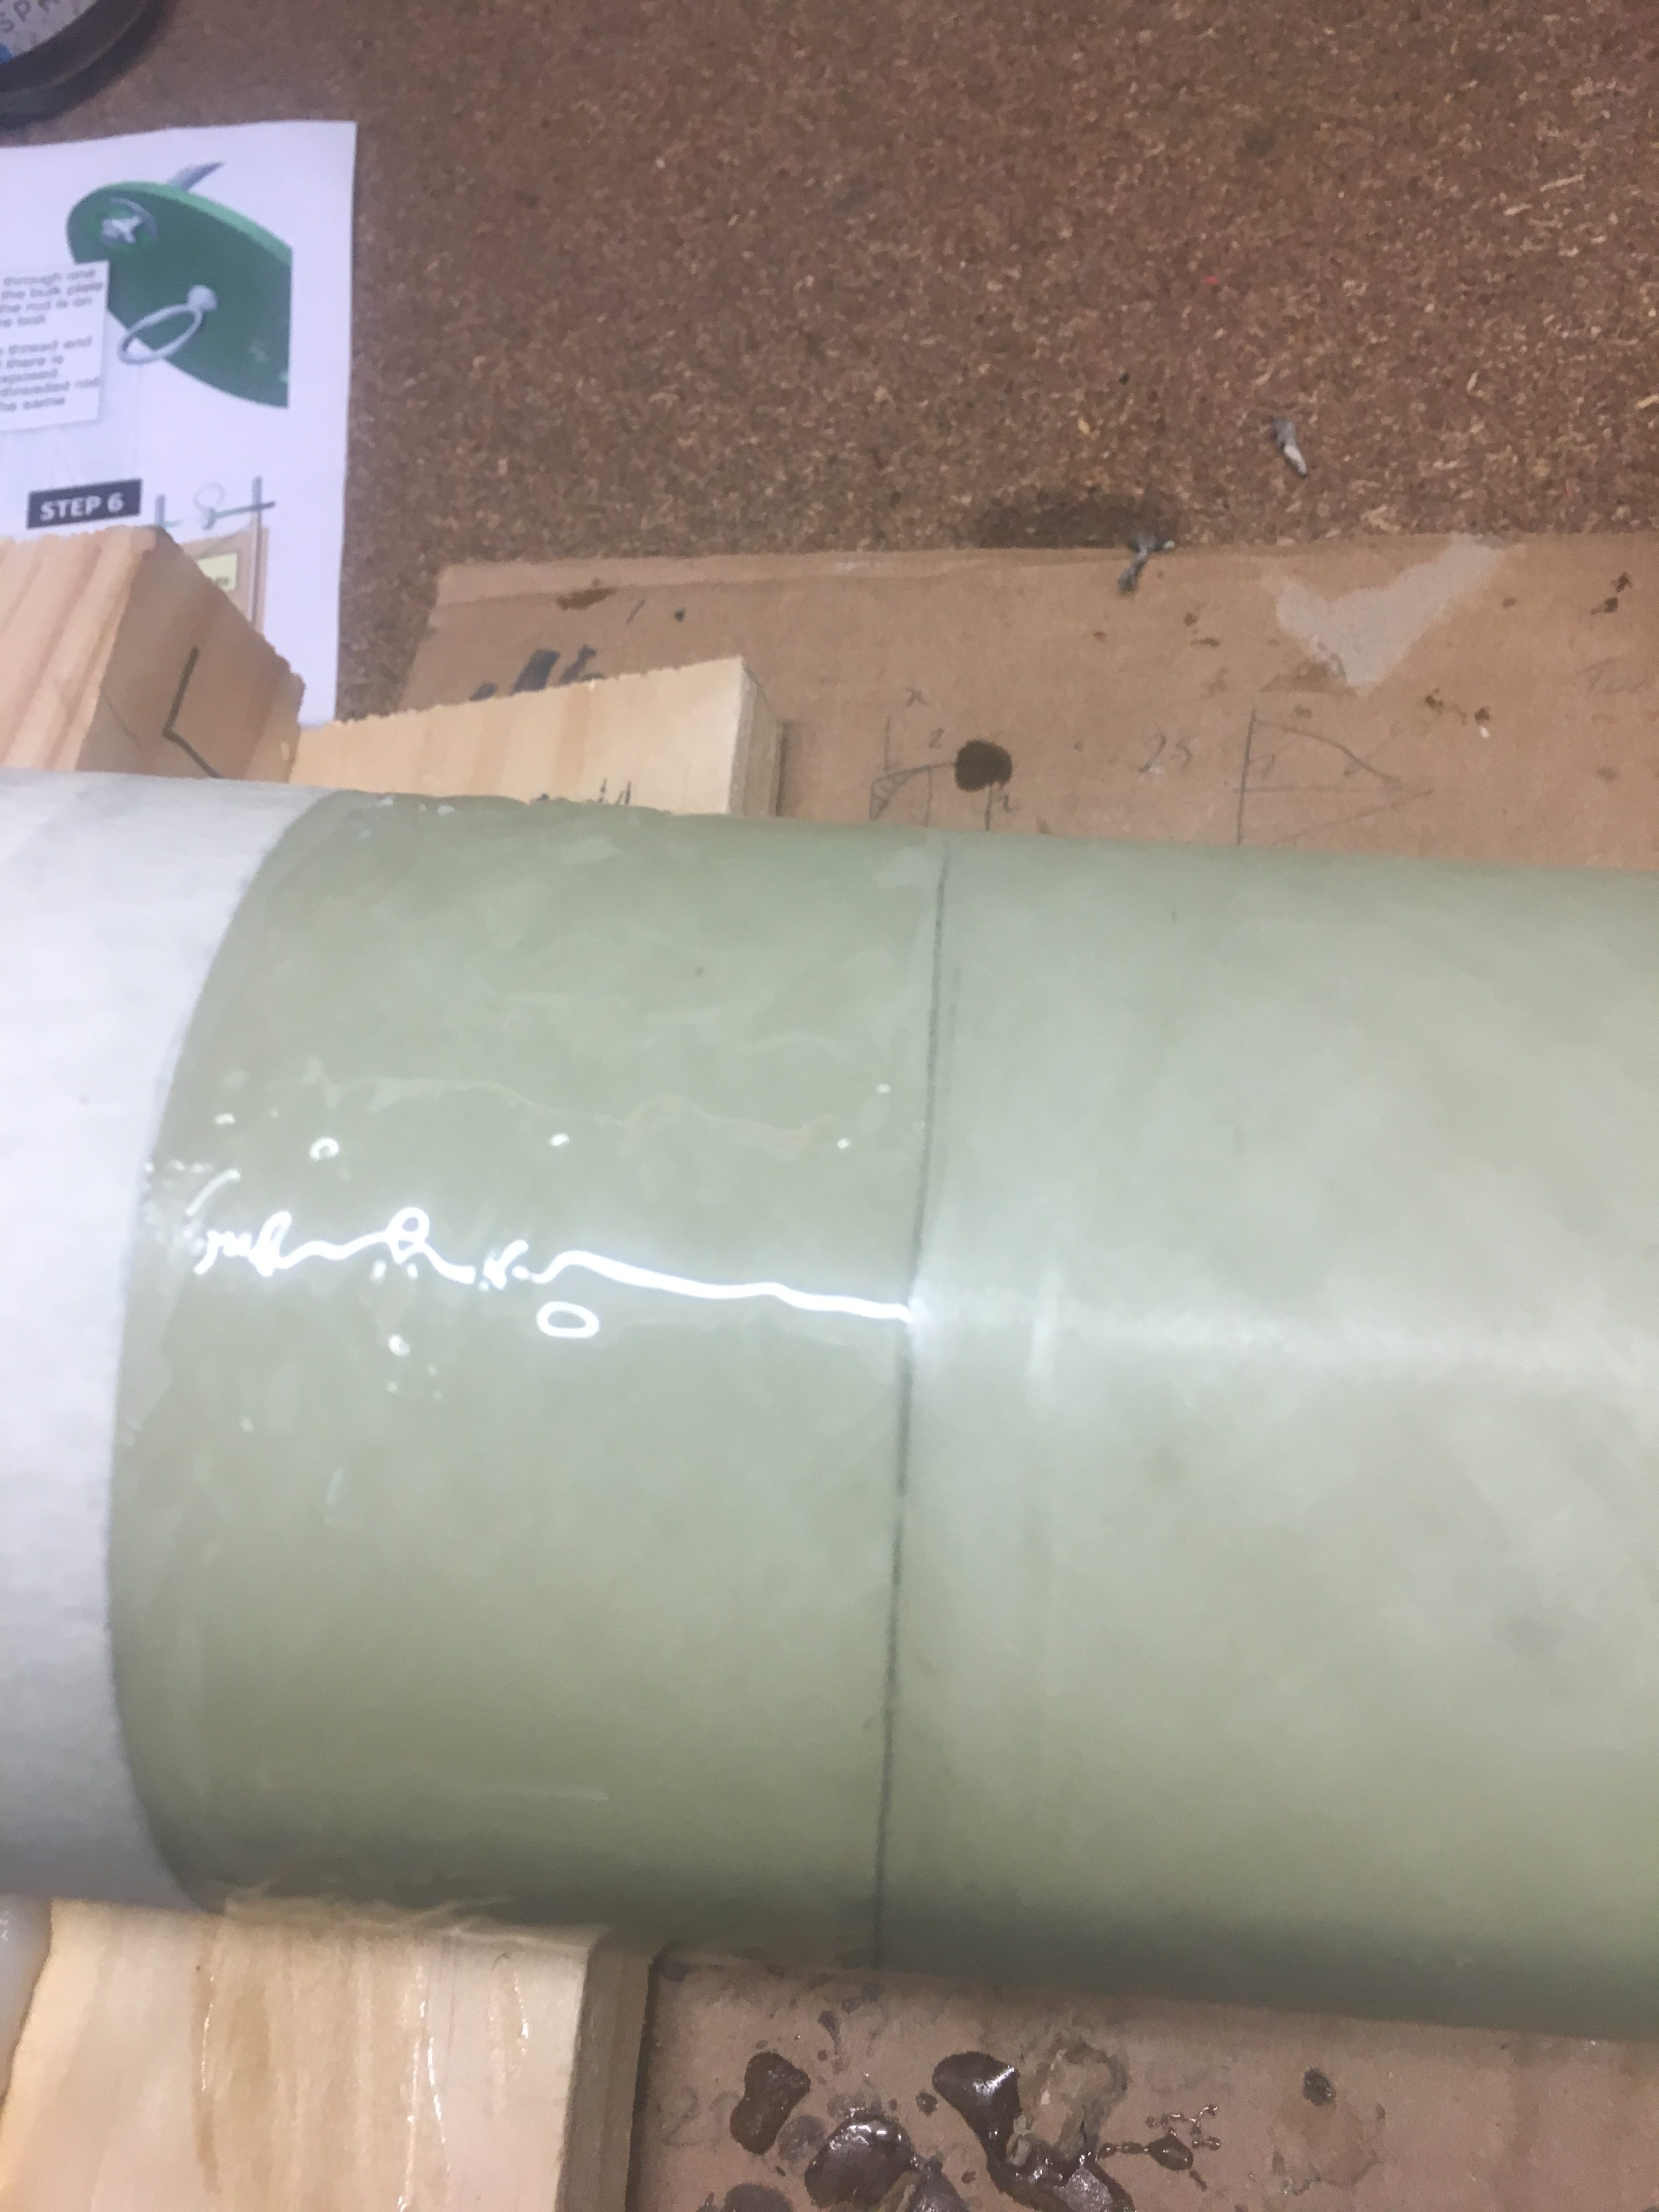
Then we just slid the Switch Ring on, wriggling it a little to ensure thorough epoxy across both surfaces.
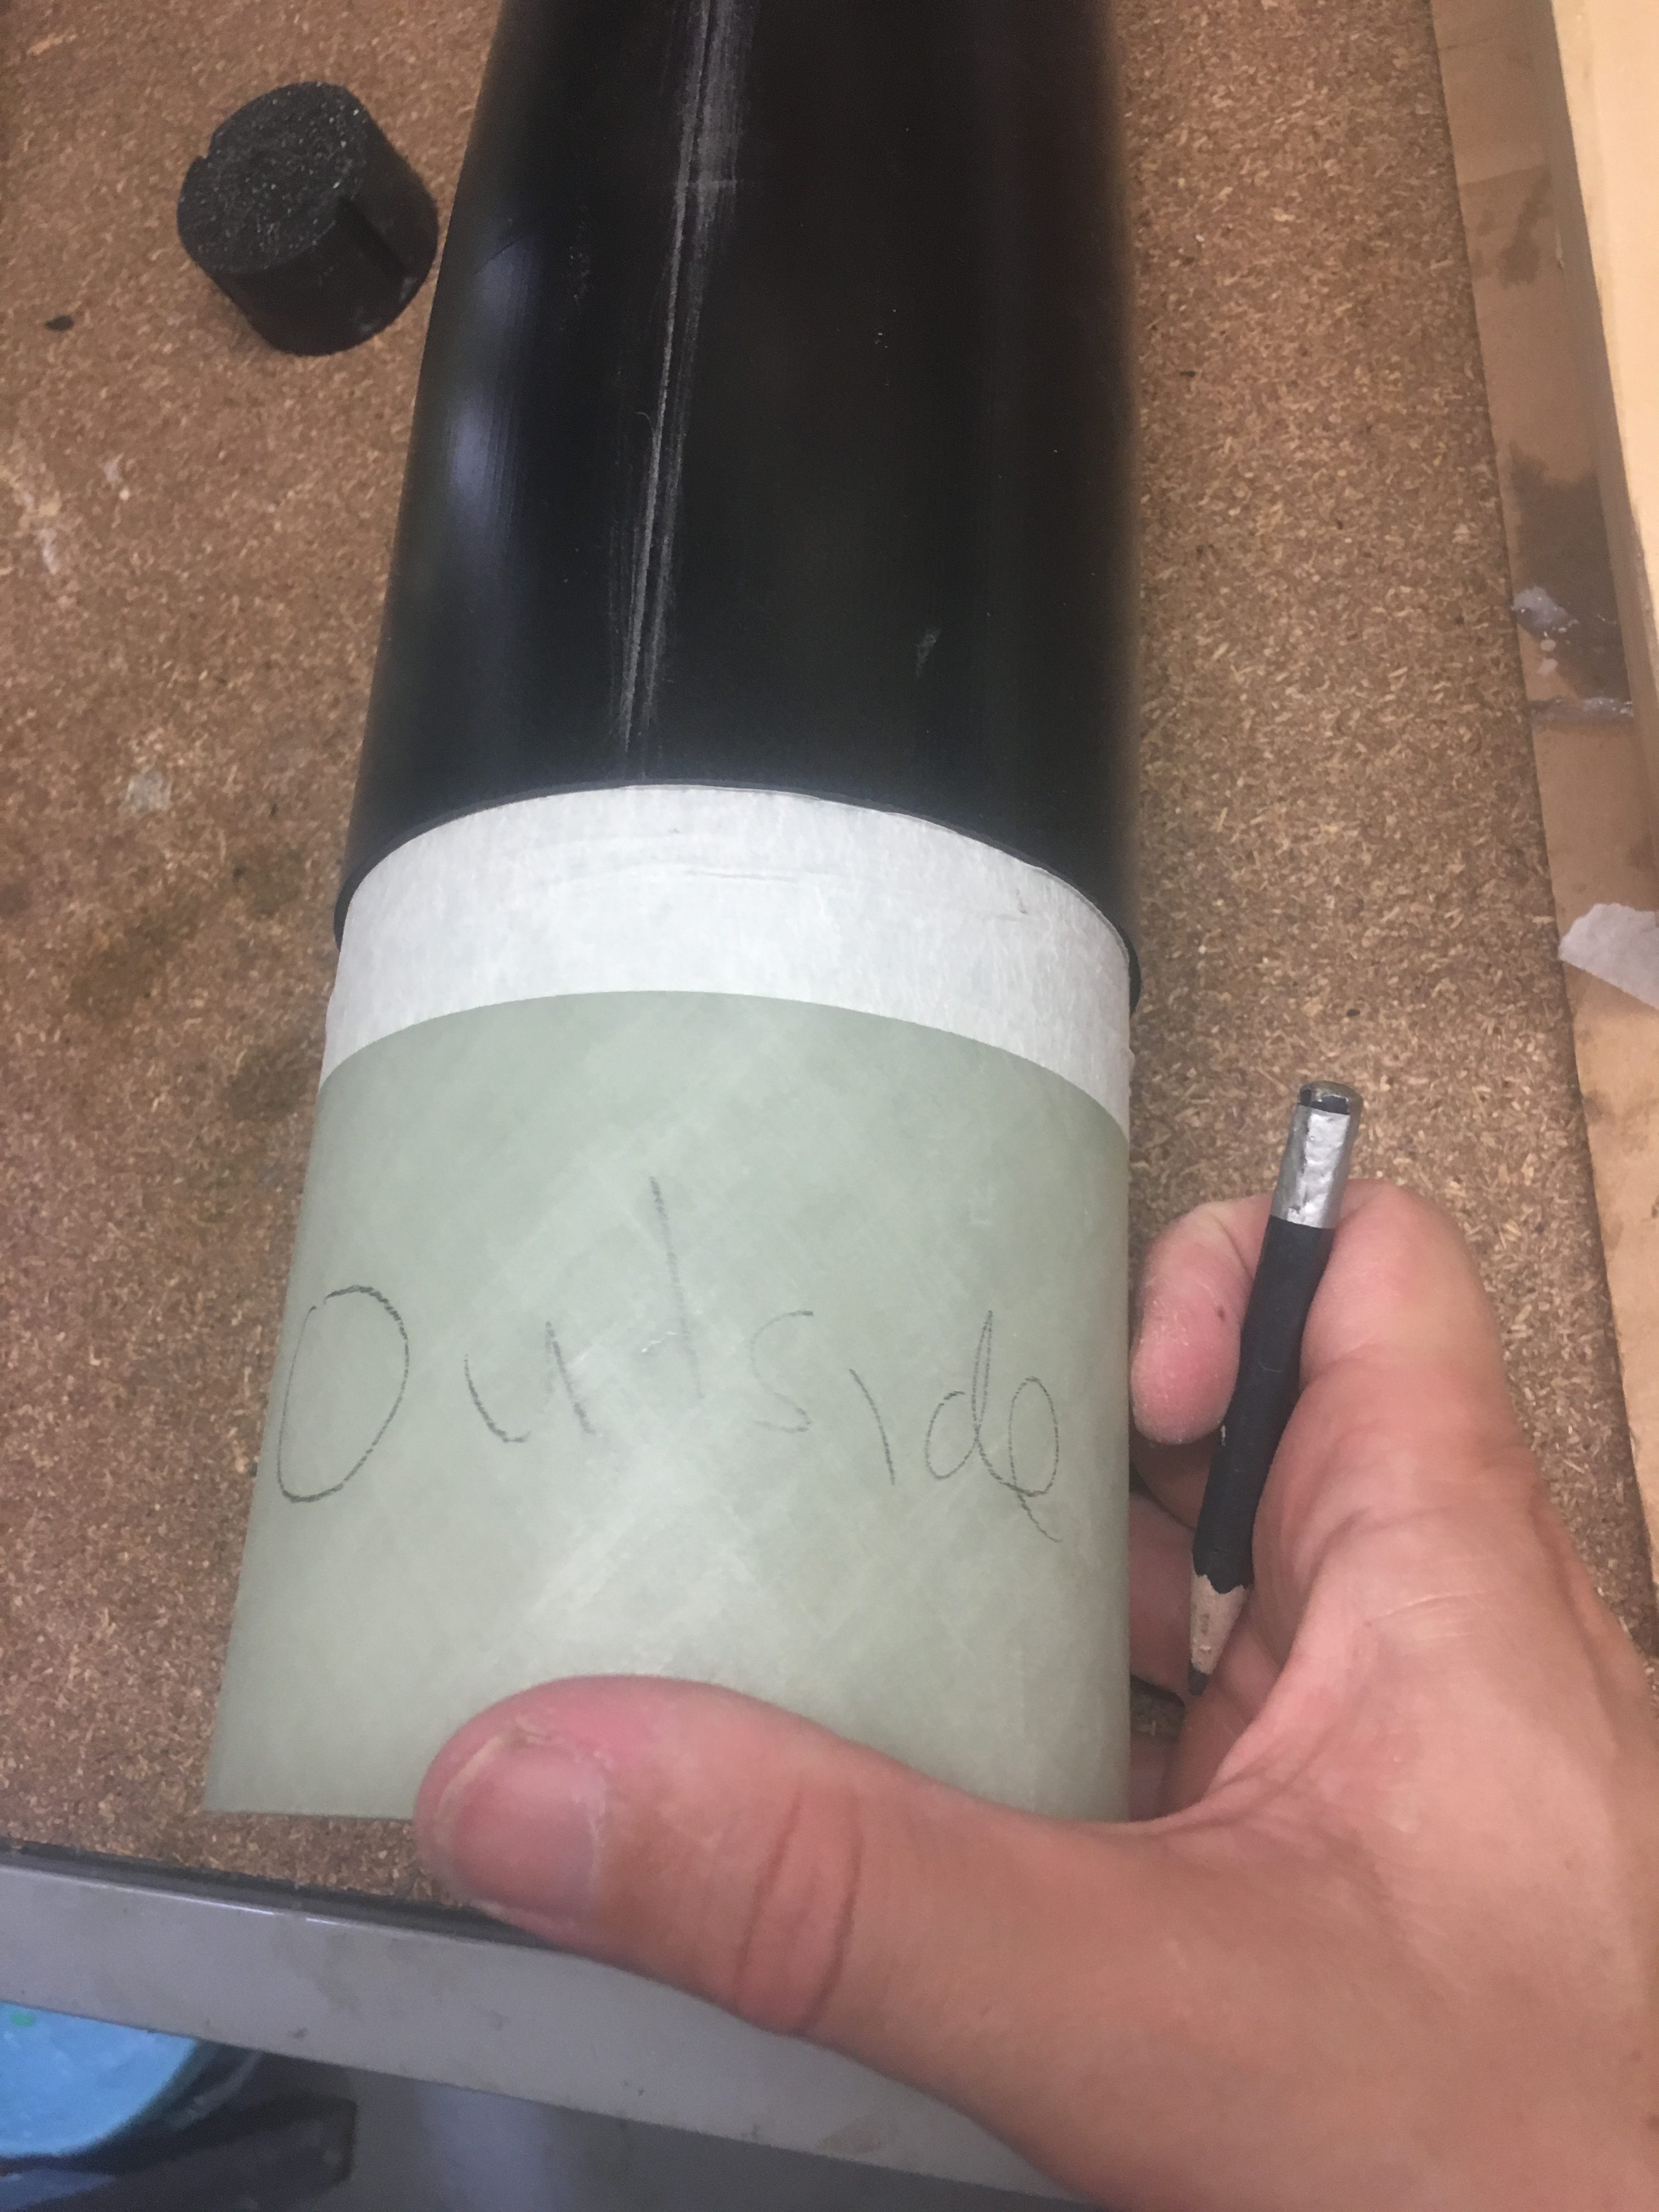
Nose Cone – Coupler

Assembling the rocket