The sprayed clear coat, while rather flat, is nevertheless pitted. So I decided that I should try and improve the finish. To do this I needed to sand and polish it.
What the clear coat looks like
The clear coat looks like the surface of orange. This makes the light look distorted. The eye piece was very good at showing me the imperfections.
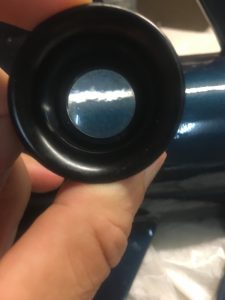
Infact this is often referred to as “Orange Peel”. I suspect the Orange Peel I see isn’t as bad as some coats, but I still wanted to remove it.
Removing the imperfections
The first thing I have to do is remove the imperfections. This I did by using 1200, 1500 and finally 2000 grit sand paper.
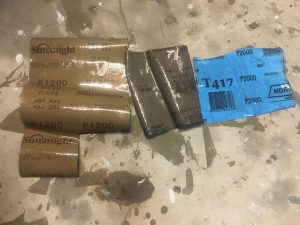
I could probably have used 1000 grit come to think of it, but using 1200 grit made me feel a bit better as I didn’t want to risk going through the clear (though there is almost no risk because of the thickness of the clear coat).
The result was a smooth surface without any pitting that was very dull. I admit the dullness did concern me a little. Would I really be able to get that shine back?
Polishing
I used the following product for polishing.
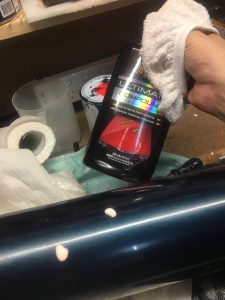
And I used a lot of manual rubbing (circular motion) to bring out the shine.
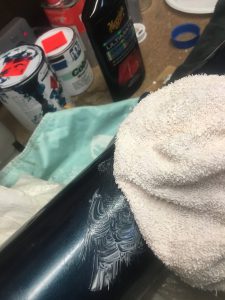
I decided against a machine to polish it. I just didn’t want to risk ruining the paint work. Even if I had a machine, I still needed to get into some of the hard spots.
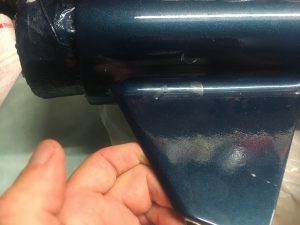
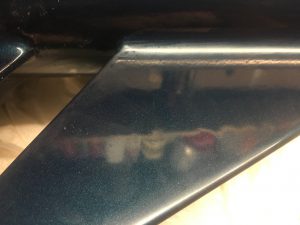
Occasionally, the result was poor and this was because I had not sanded the surface sufficiently. So I sanded it a bit more and this resulted in excellent results. See two photos below, one of an un-polished fin and the other of a polished fin.
The Nose cone
The orange peel on the nose coat was much less a problem. Not sure why. Anyhow, I decided to polish this as well and got pretty good results.
