The Fillet Epoxy
I created the fillets using West Systems. The products used were:-
- 105 Epoxy
- 206 Hardener
- 413 Filler (this supersedes 403 filler)
- Masking tape
Tool used to shape the Fillets
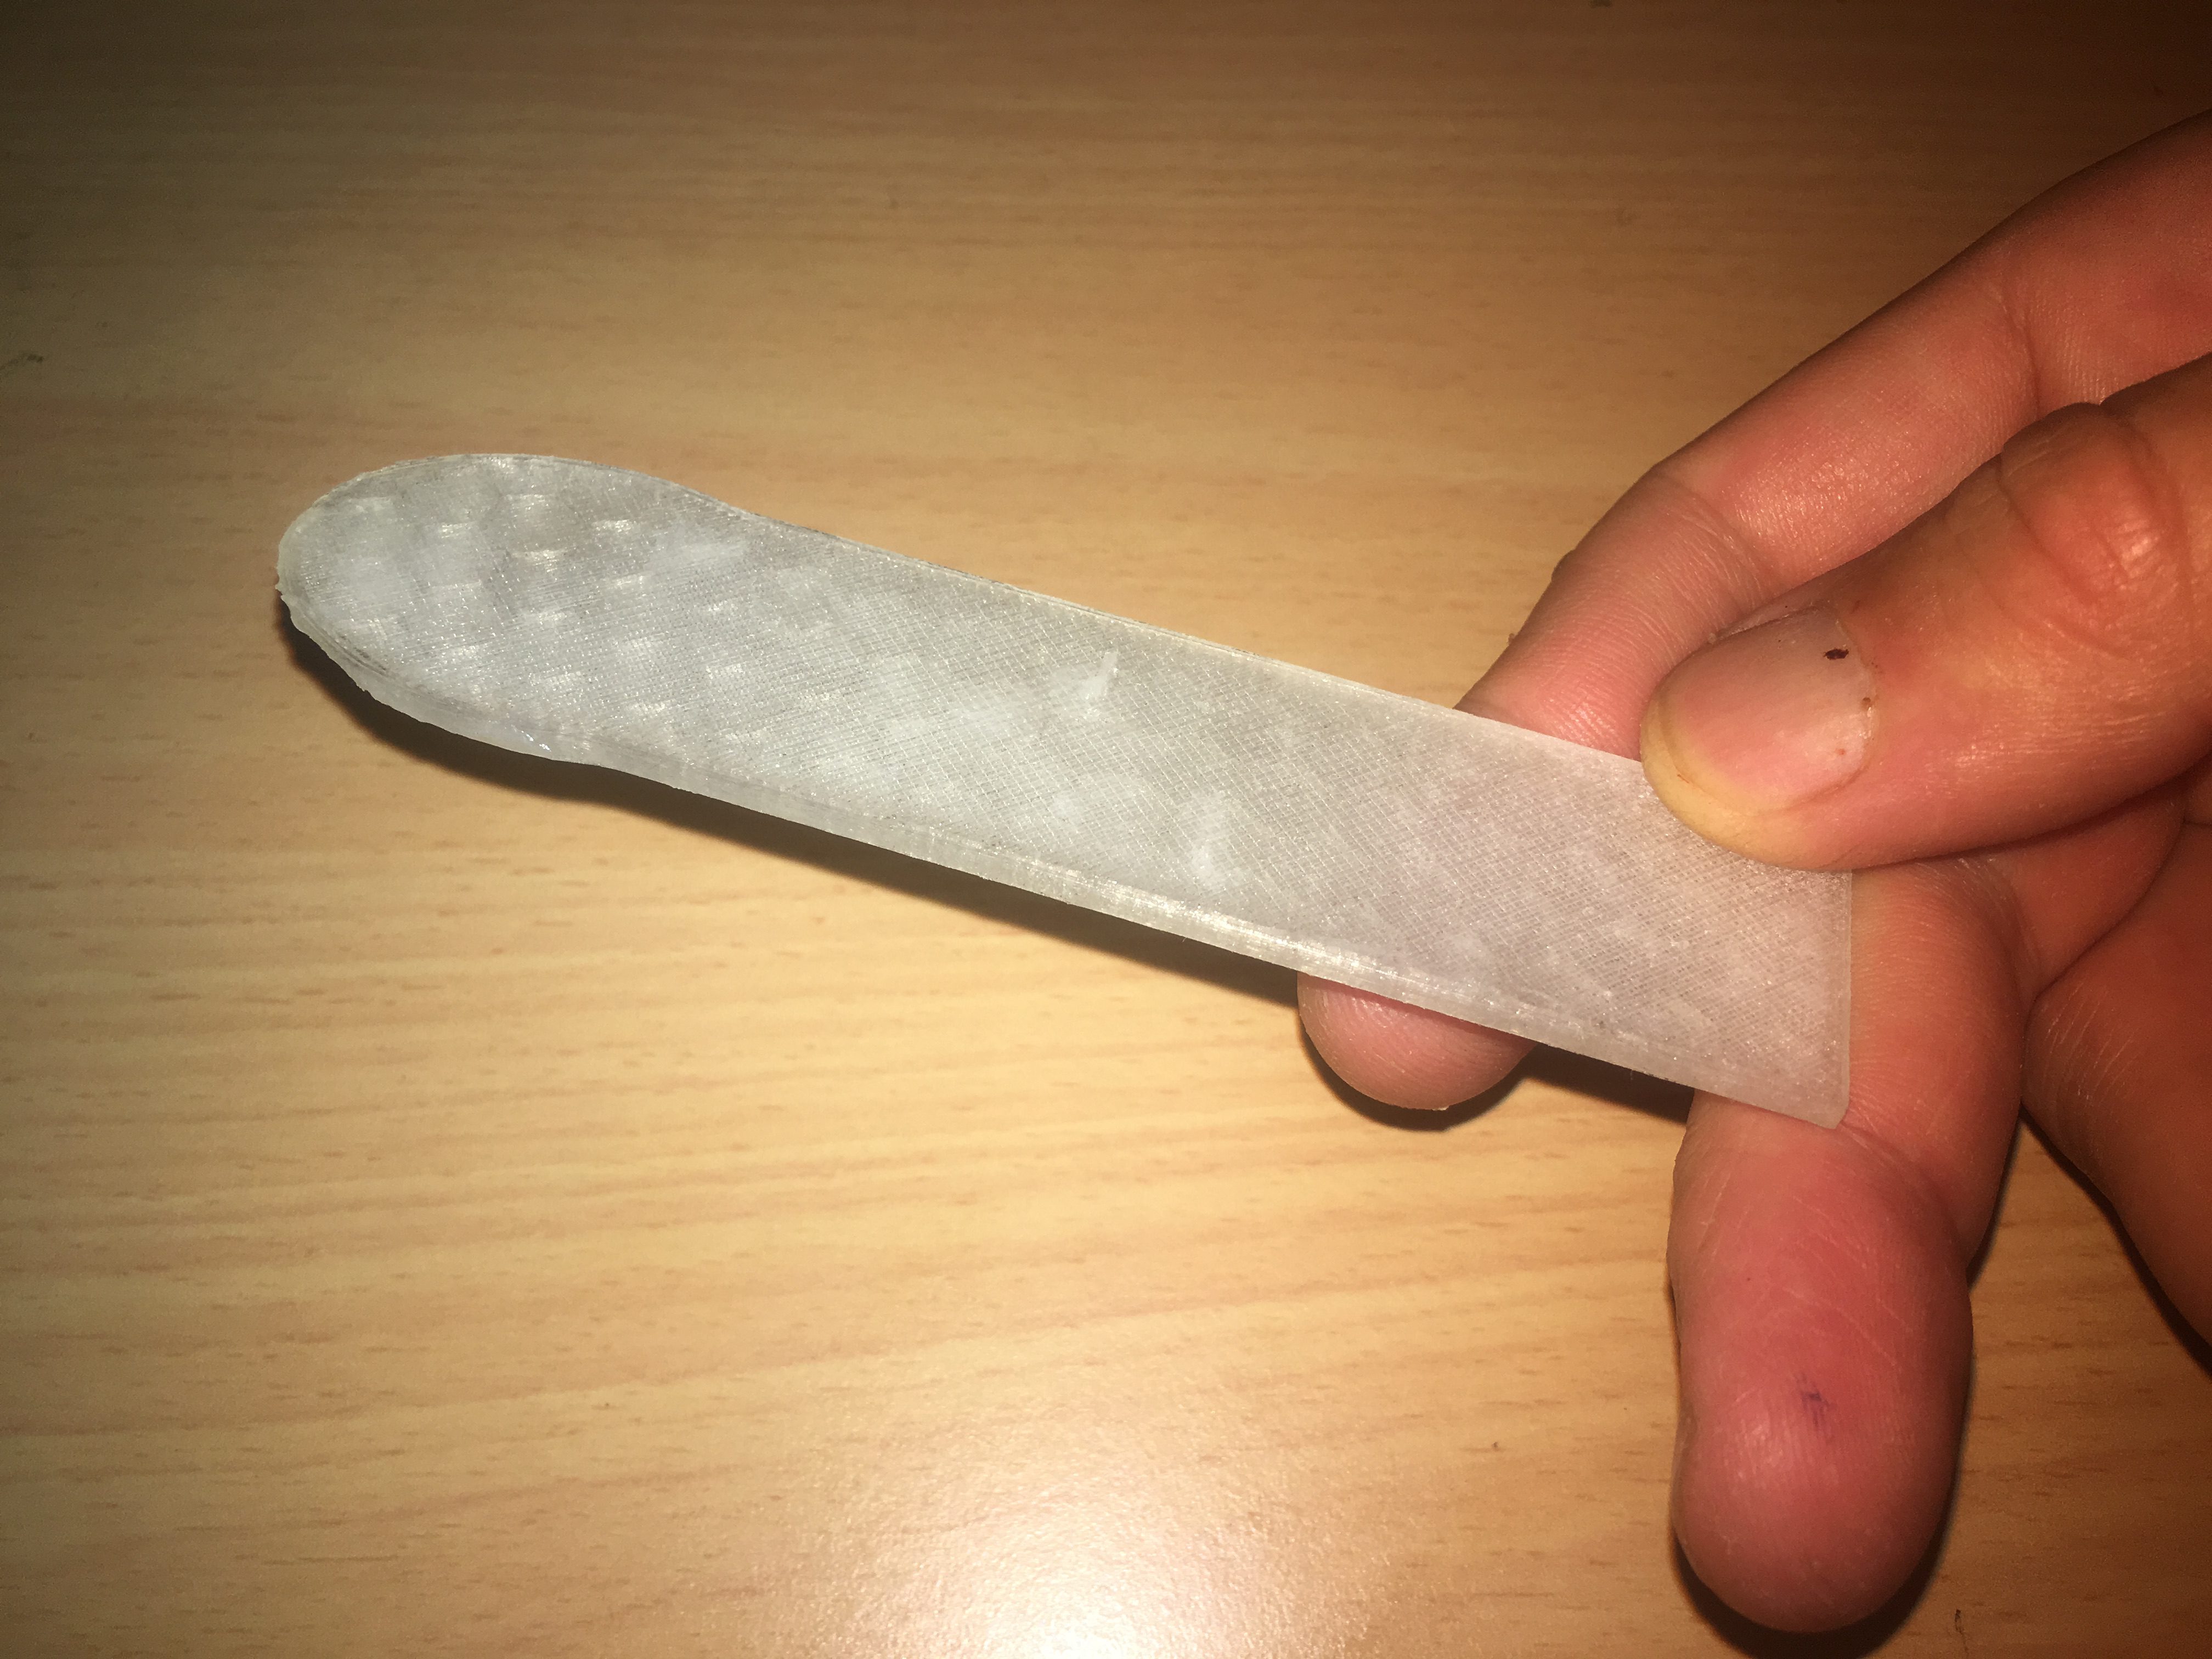
I created a special tool (pictured below) to help shape the fillets. This tool was created using my 3-D printer. It was shaped to give a fillet of radius approx 6 to 7mm.
![Screenshot taken in FreeCad of tool](http://leederville.net/rocket/wp-content/uploads/2018/09/tool.png)
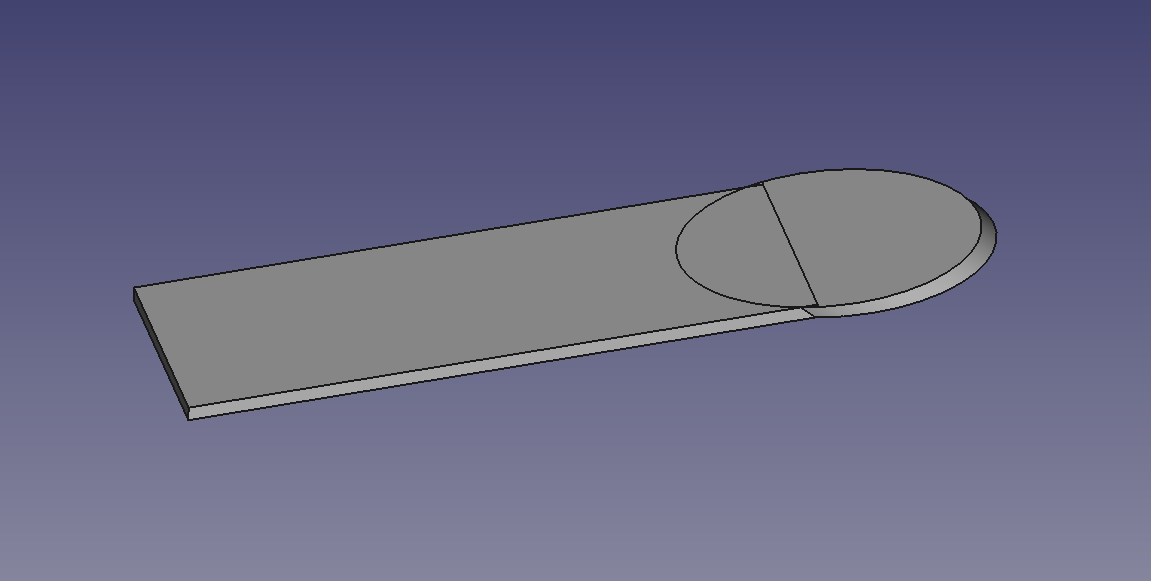
The tool was created in FreeCad using a cylinder of radius of 7mm sliced at 45 degrees and attached to a “handle”. This allows me to drag the tool along the surface at 45 degrees, knowing that the curvature of the fillet is approx 7mm.
Here is a photo of it:-
![Tool for shaping the fin fillets.](http://leederville.net/rocket/wp-content/uploads/2018/09/IMG_6020-e1536052854489.jpg)
The Procedure
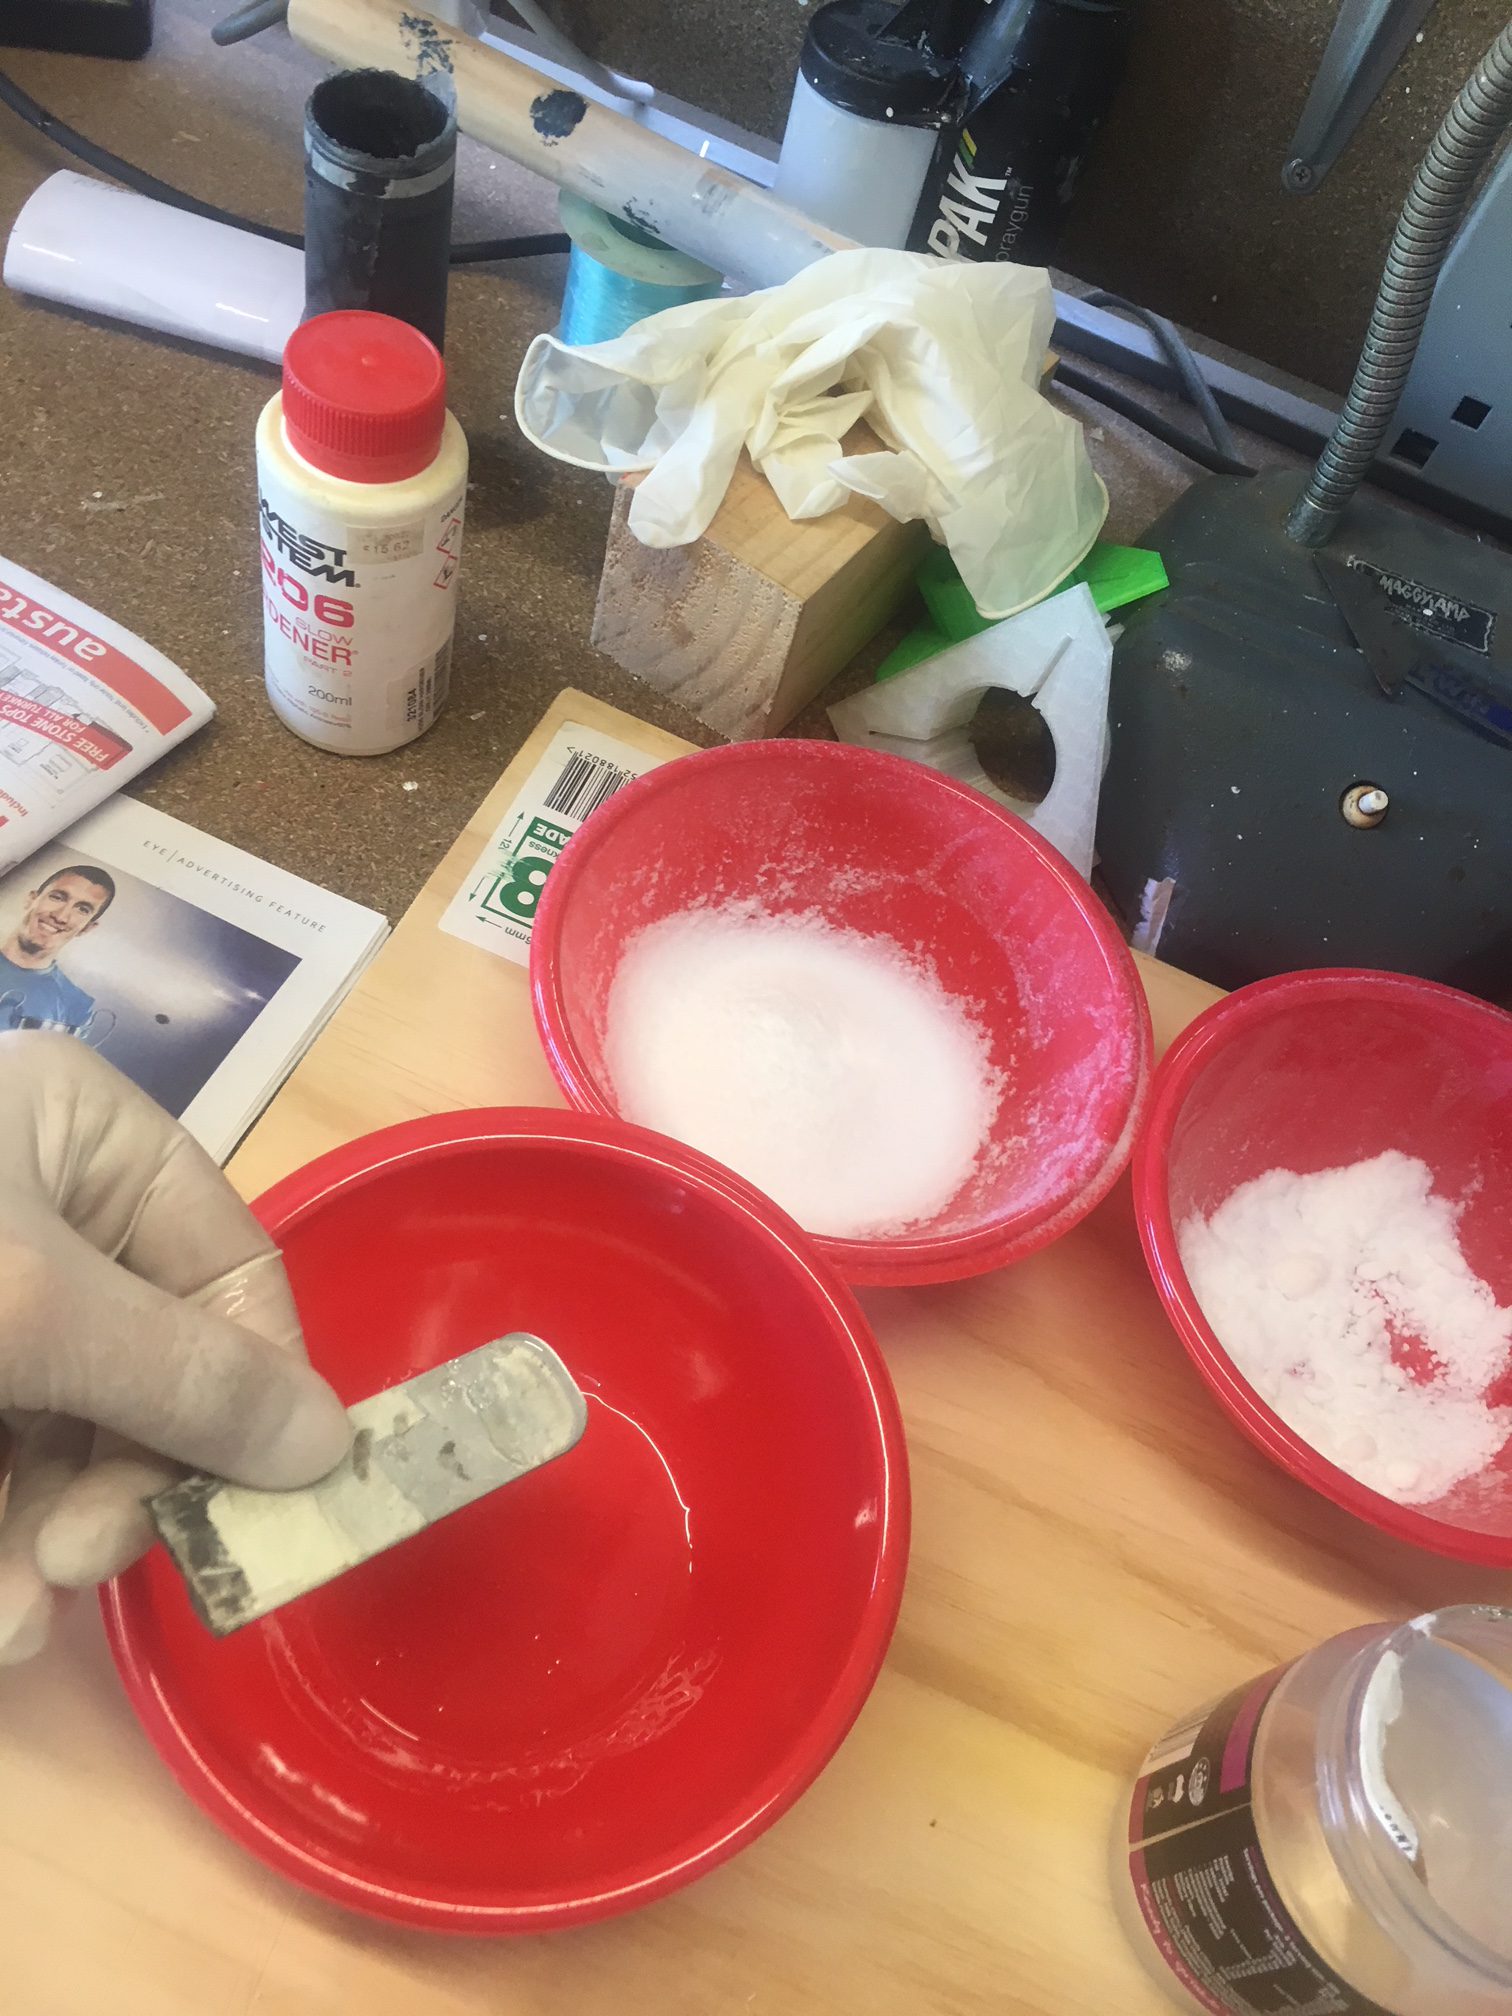
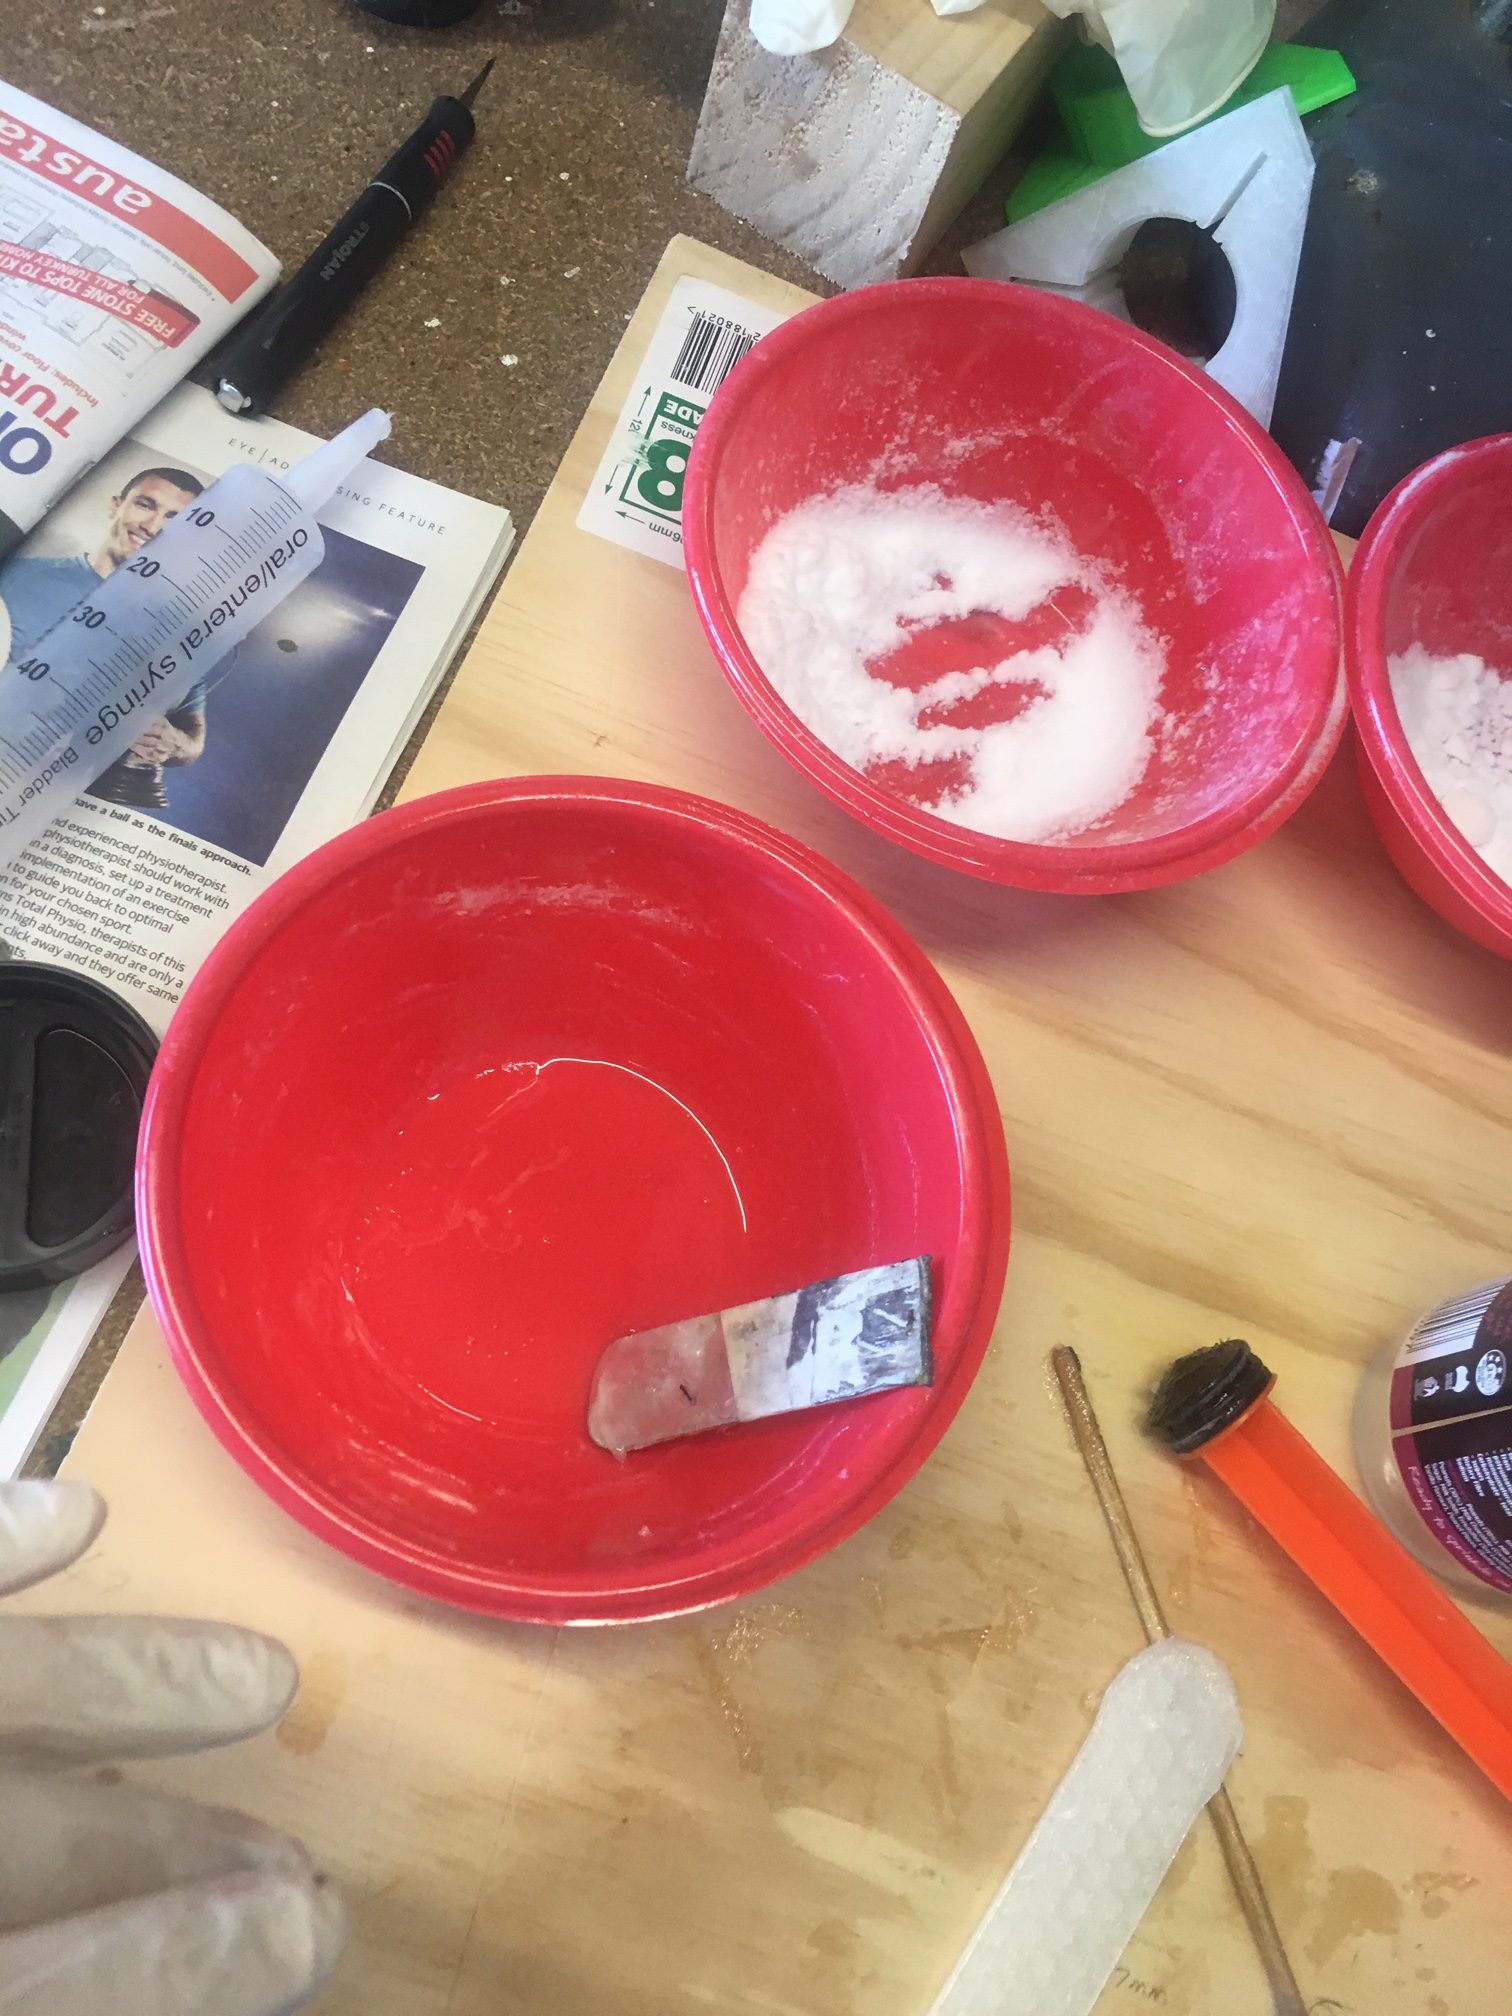
I measured 105 Epoxy and 206 Hardener materials by volume using a syringe. I passed the 413 through a sieve to remove the lumps. Then I introduced 413 filler in small quantities, until it’s consistency was that it JUST held its shape. Then I loaded this Epoxy into another syringe and squeezed it into the fin roots and shaped them.
![Mixing up the Epoxy](http://leederville.net/rocket/wp-content/uploads/2018/09/IMG_5849-1-e1536053463645.jpg)
![Epoxy/hardener thoroughly mixed.](http://leederville.net/rocket/wp-content/uploads/2018/09/IMG_5853-1-e1536053480467.jpg)
![Putting prepared Epoxy into Syringe ready for use in rocket.](http://leederville.net/rocket/wp-content/uploads/2018/09/IMG_5850-1.jpg)
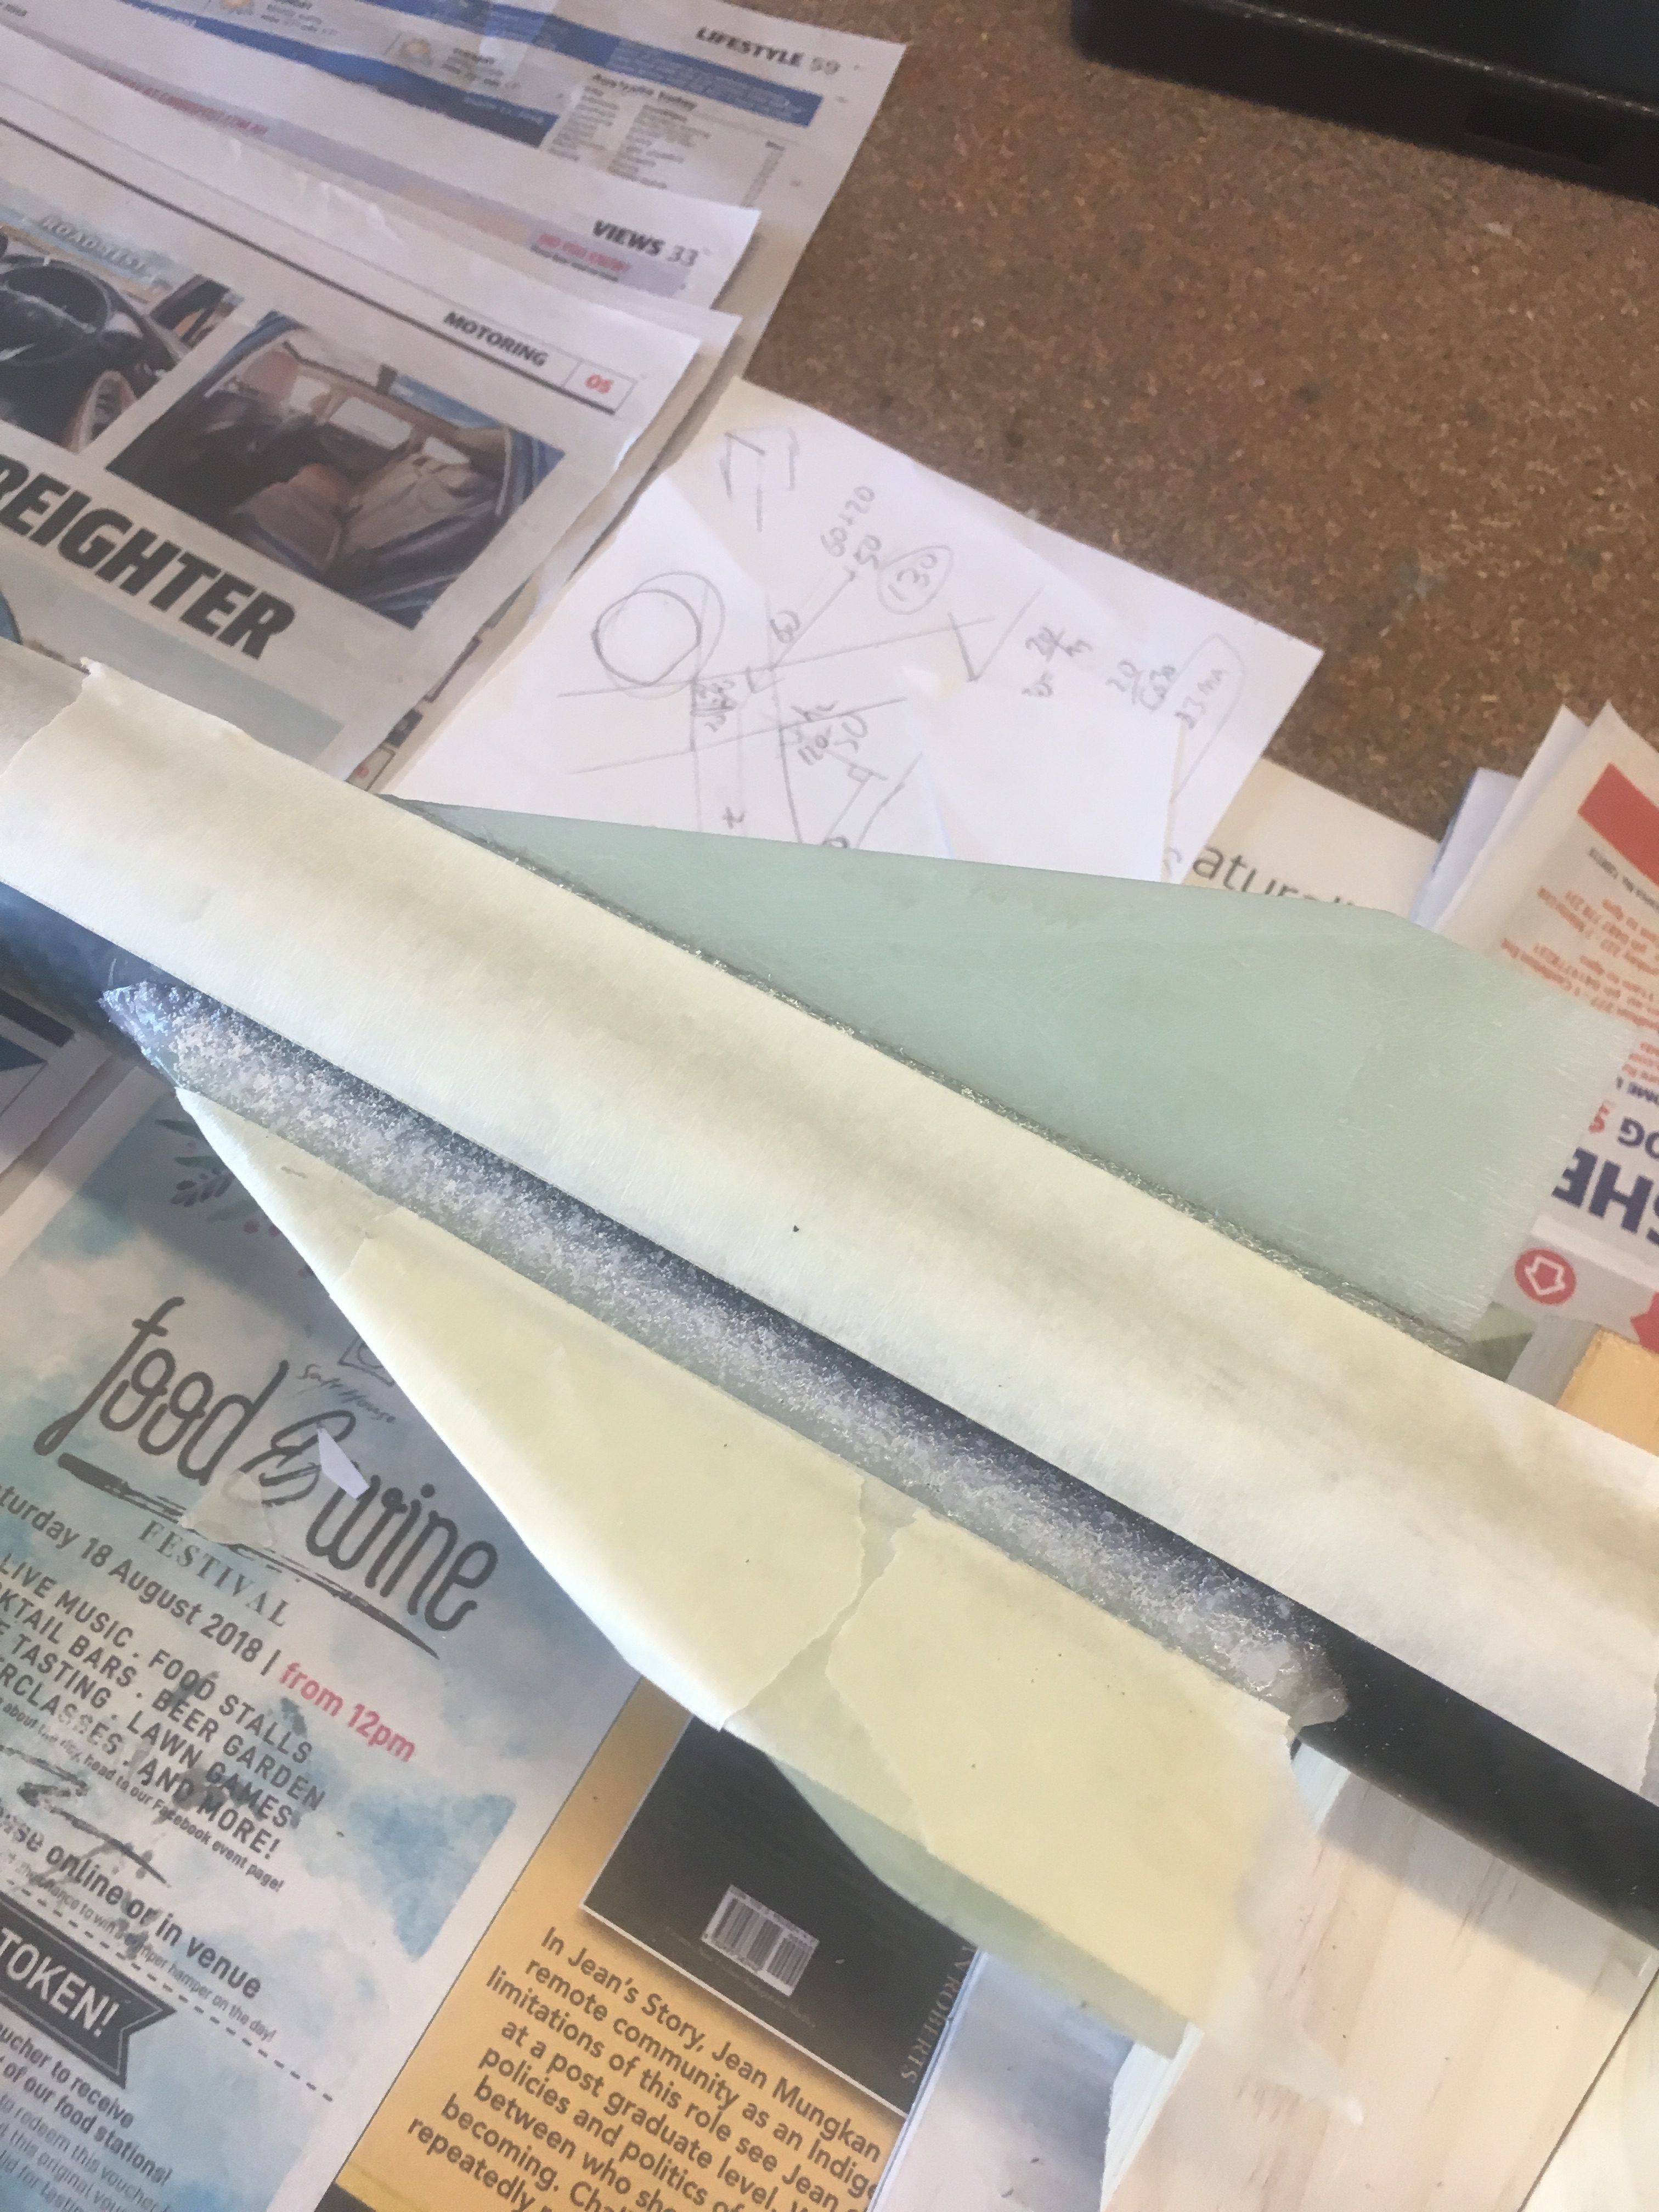
Creating the fillets
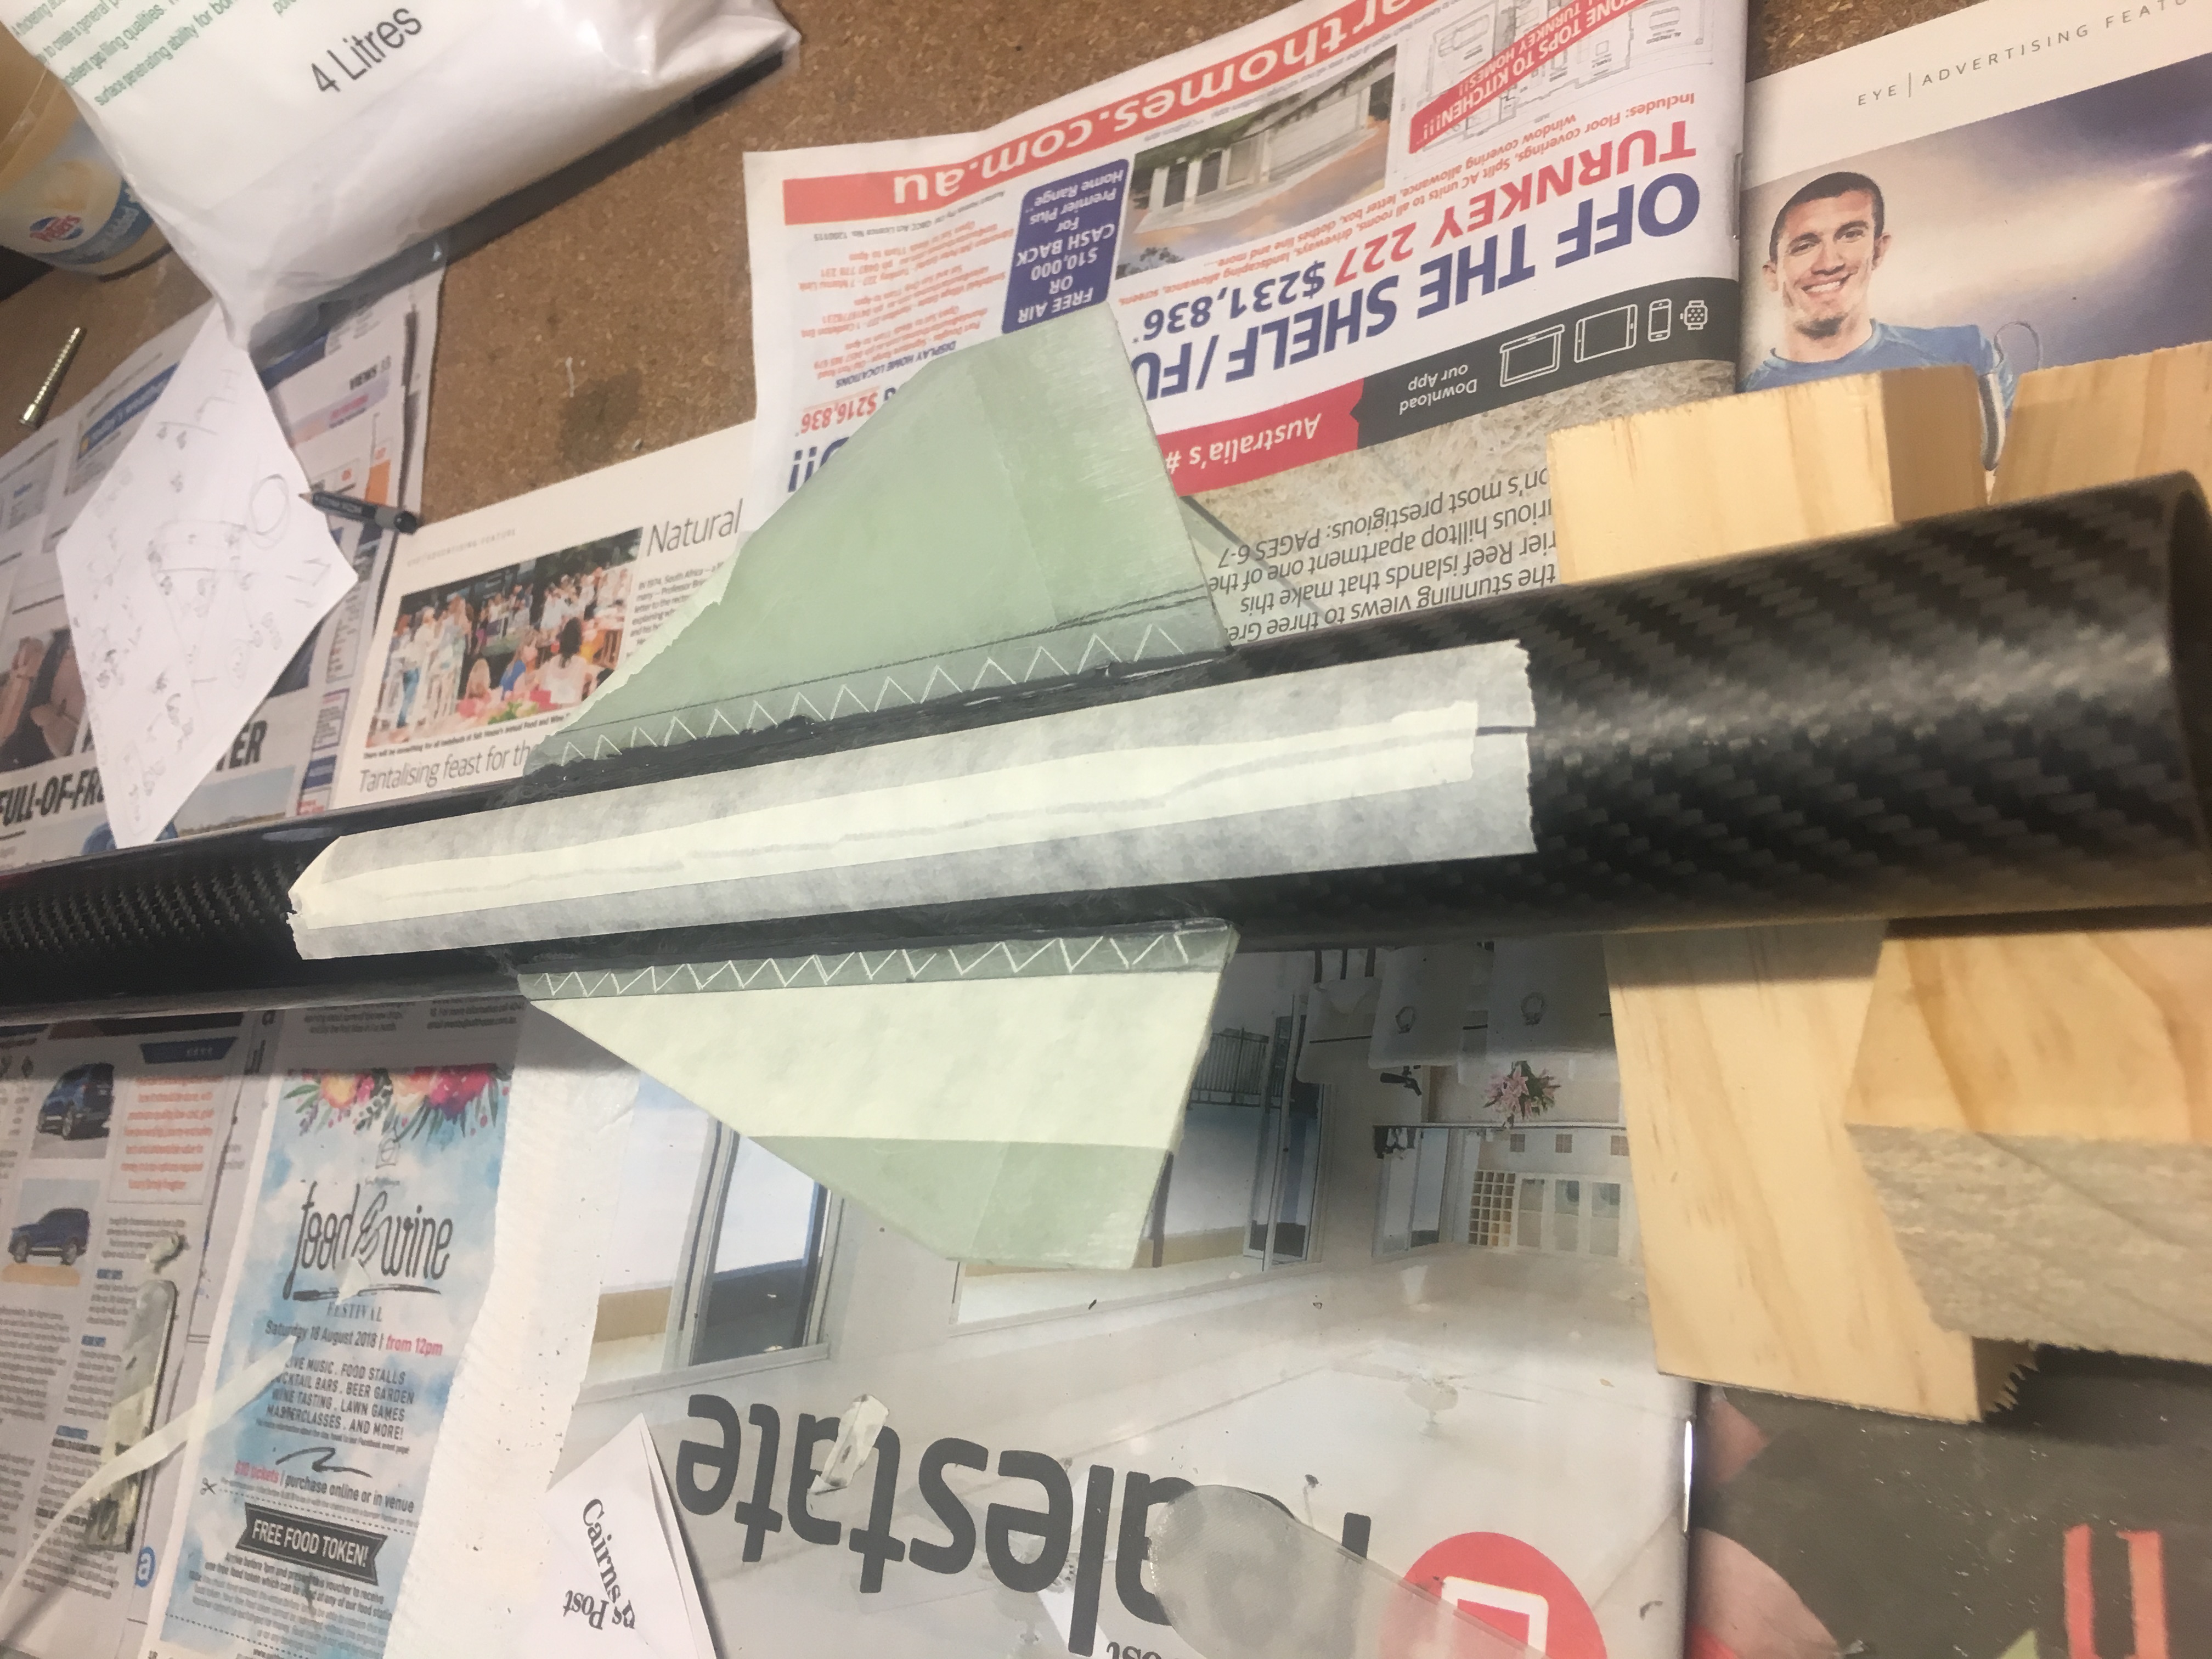
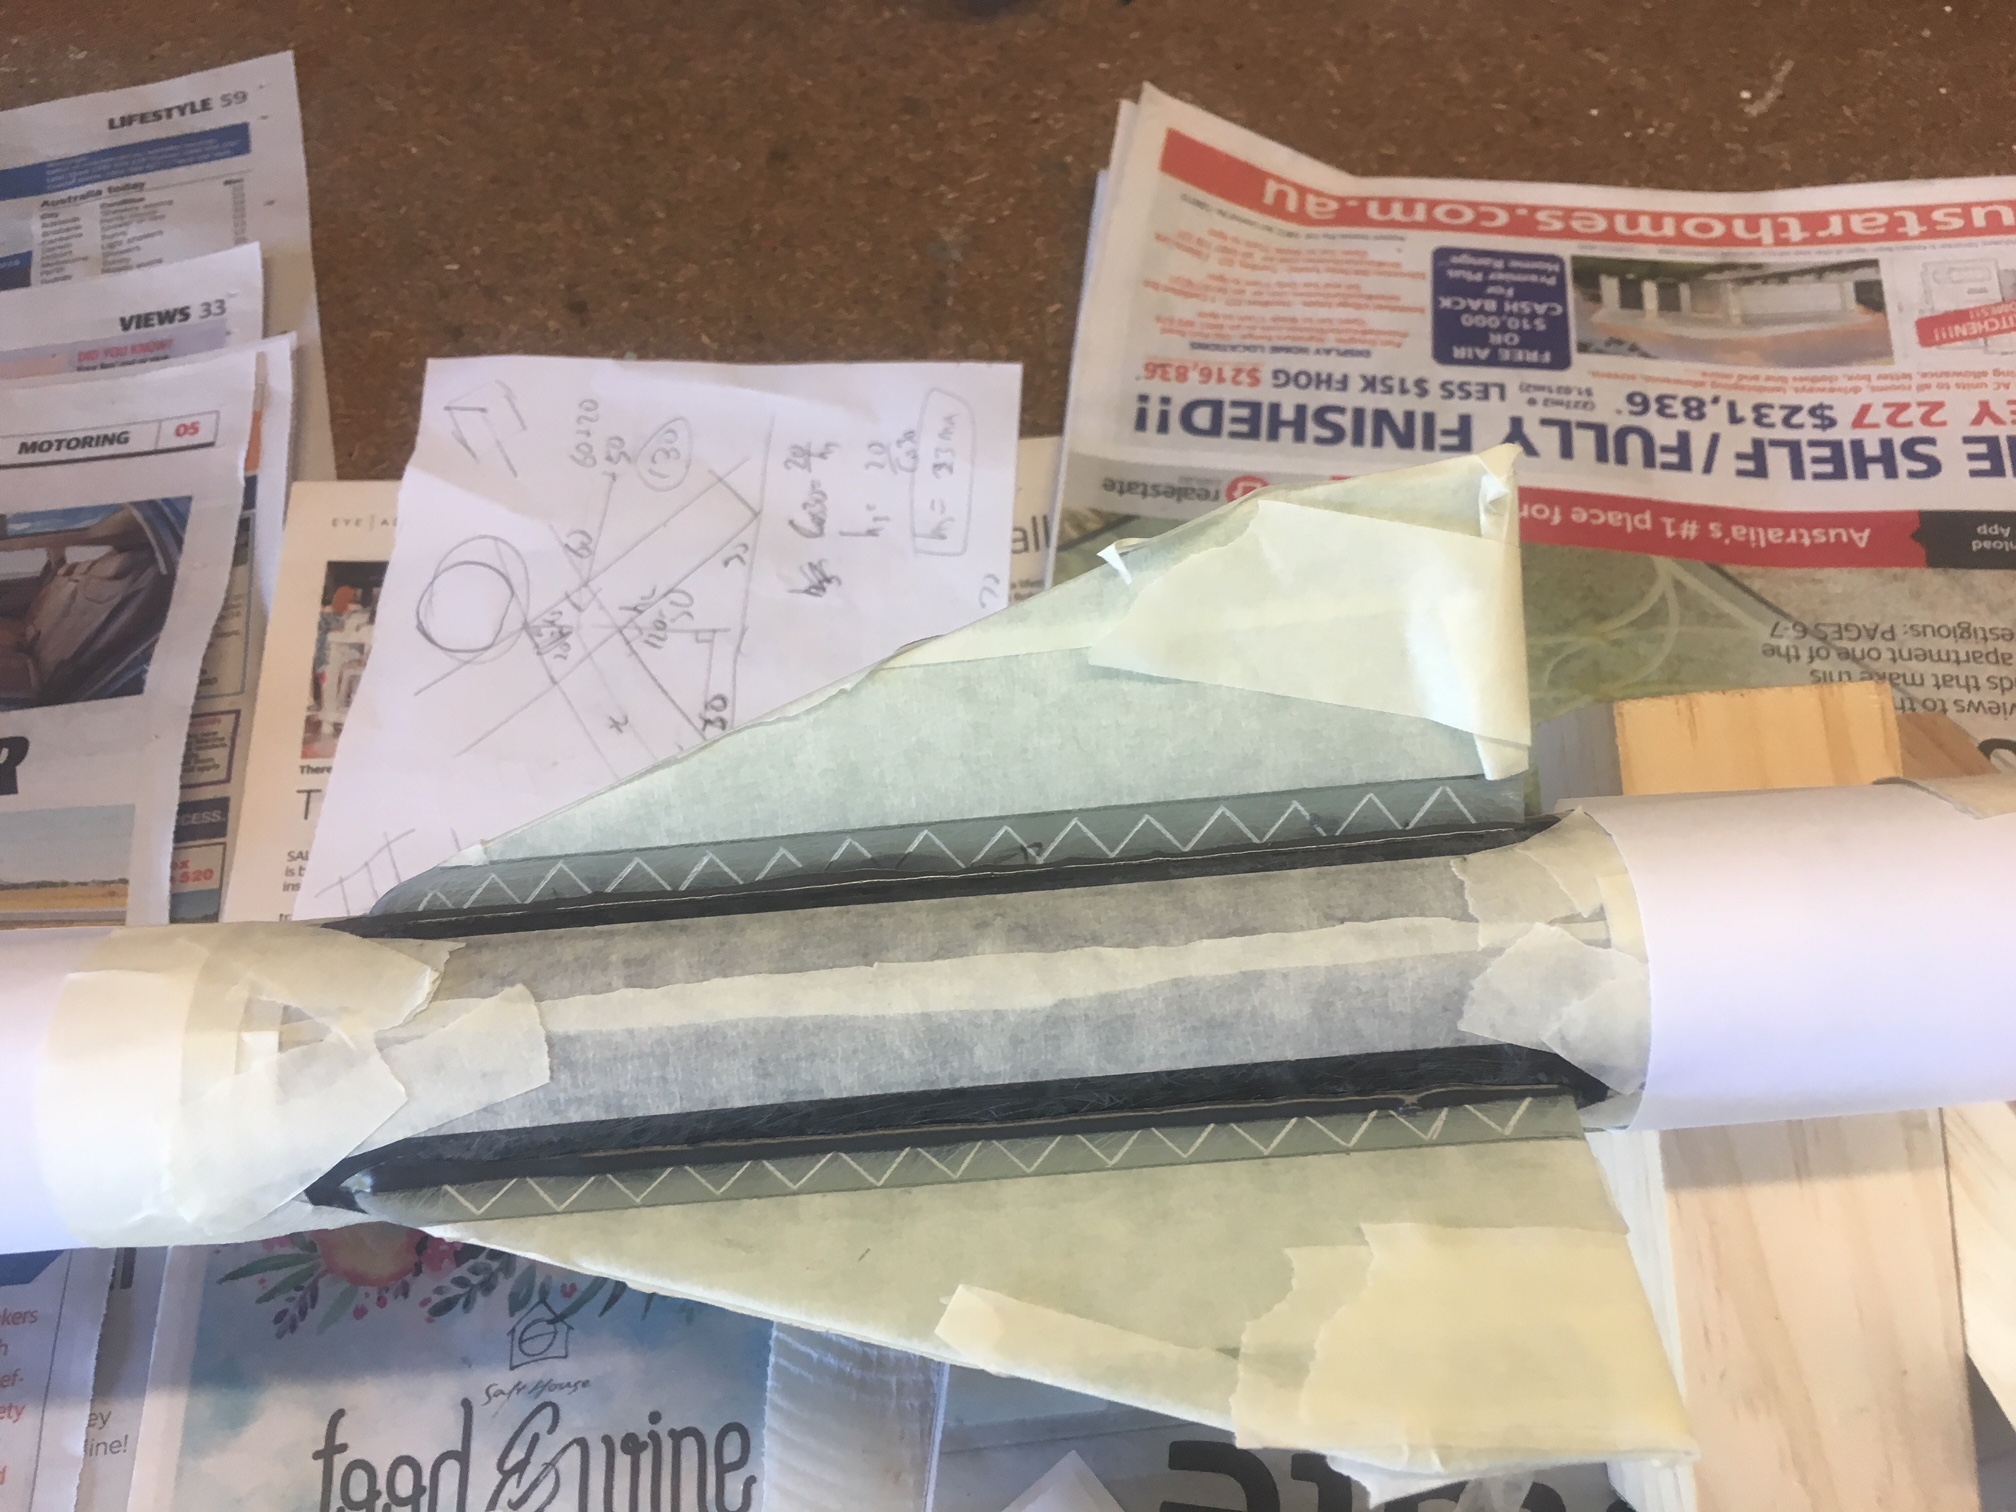
Because the fin fillets are so small, I created ALL the fillets in one go. I actually ran out of epoxy and had to create a small second batch. I have it a few days to cure. Below are some photos of me preparing the rocket for filleting, by taping it up.
![Carefully taping up the areas, in preparation for creating fillets.](http://leederville.net/rocket/wp-content/uploads/2018/09/IMG_5841.jpg)
![All taped up - ready to apply Epoxy.](http://leederville.net/rocket/wp-content/uploads/2018/09/IMG_5848-1.jpg)
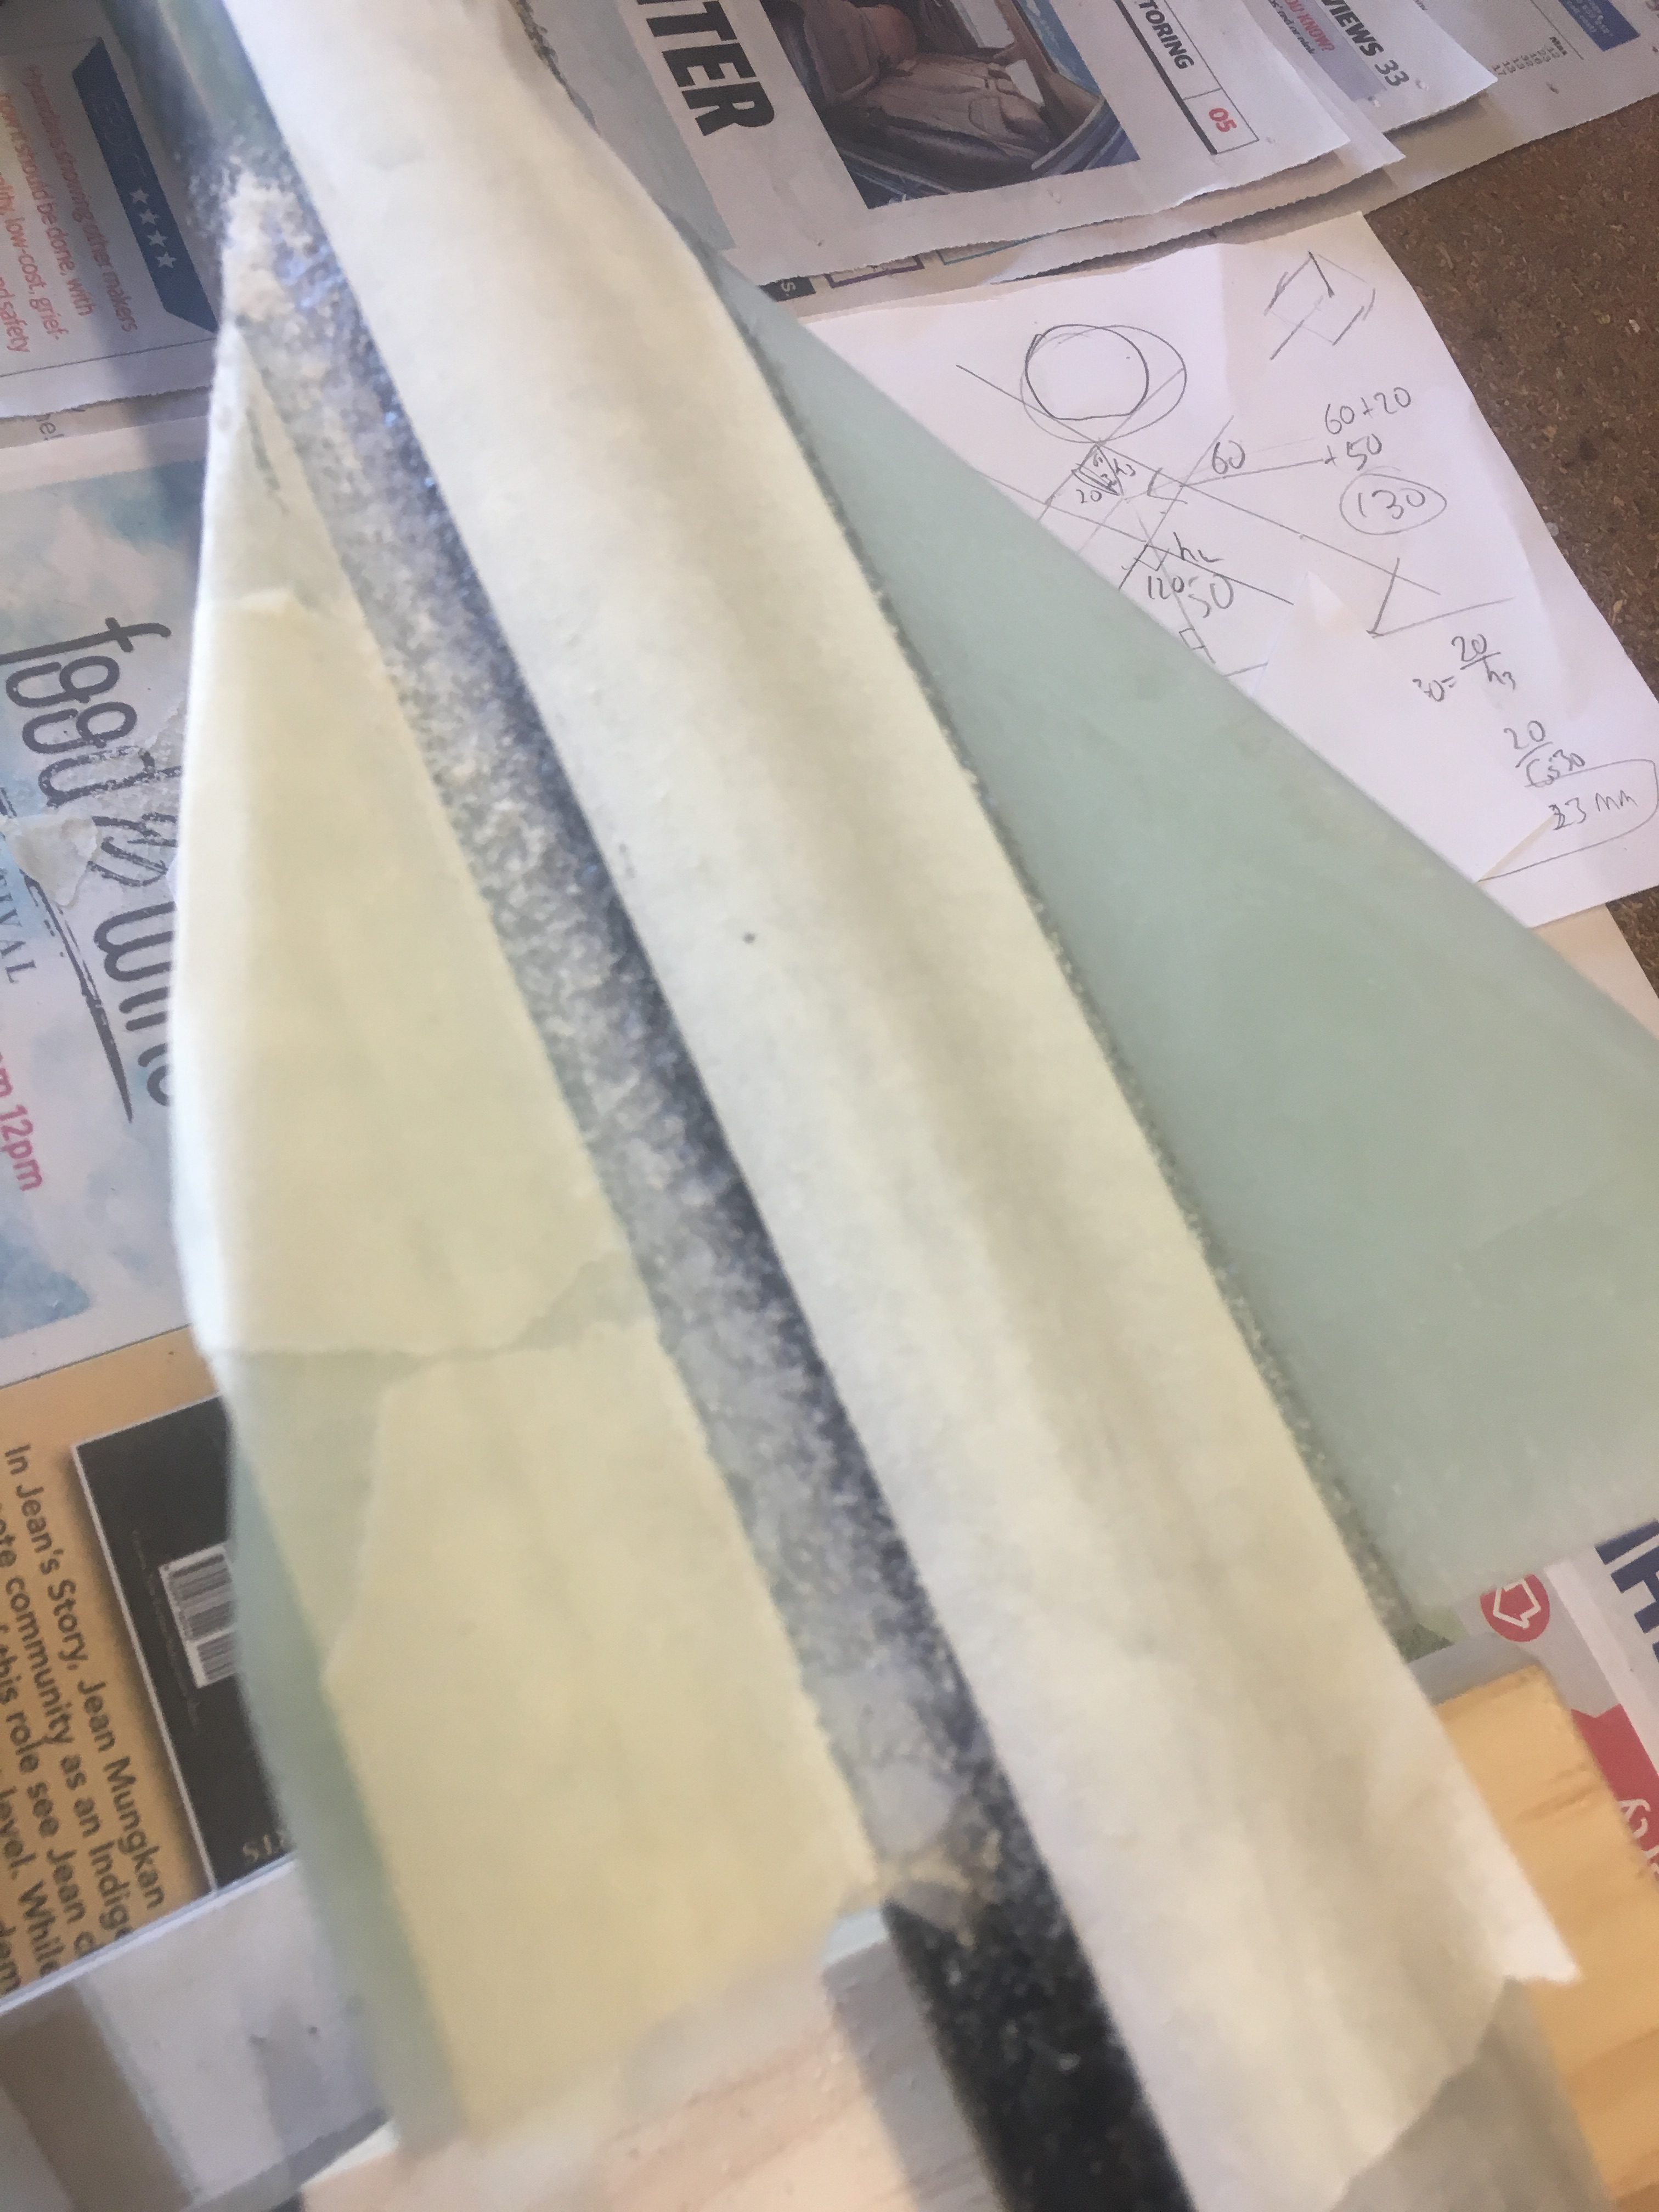
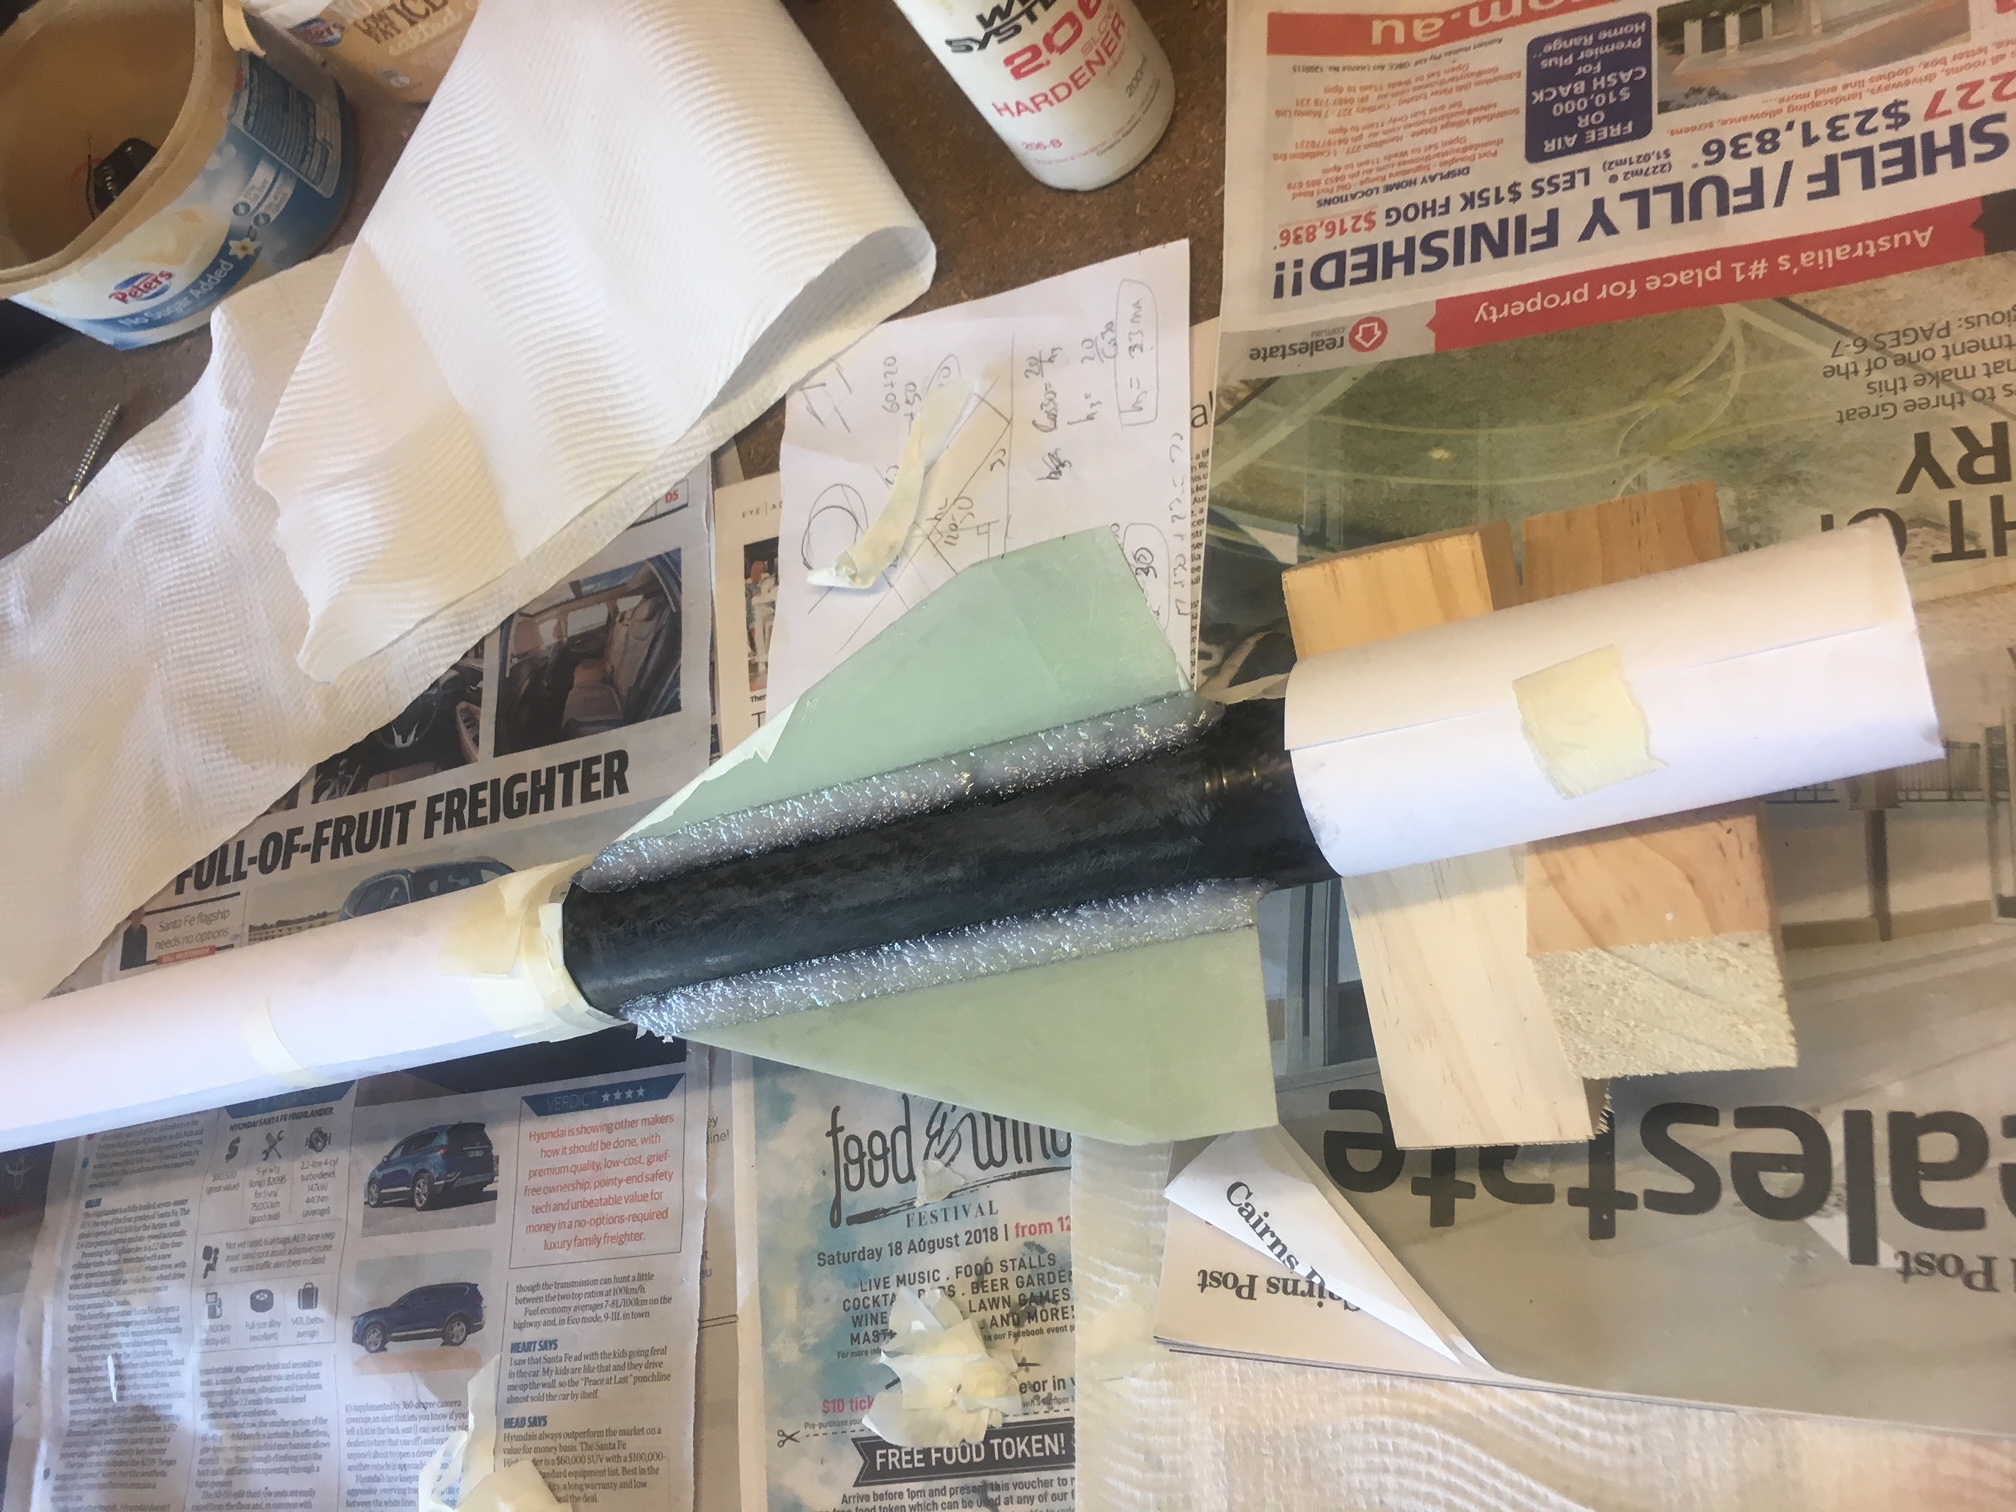
Below are photos of the finished job.
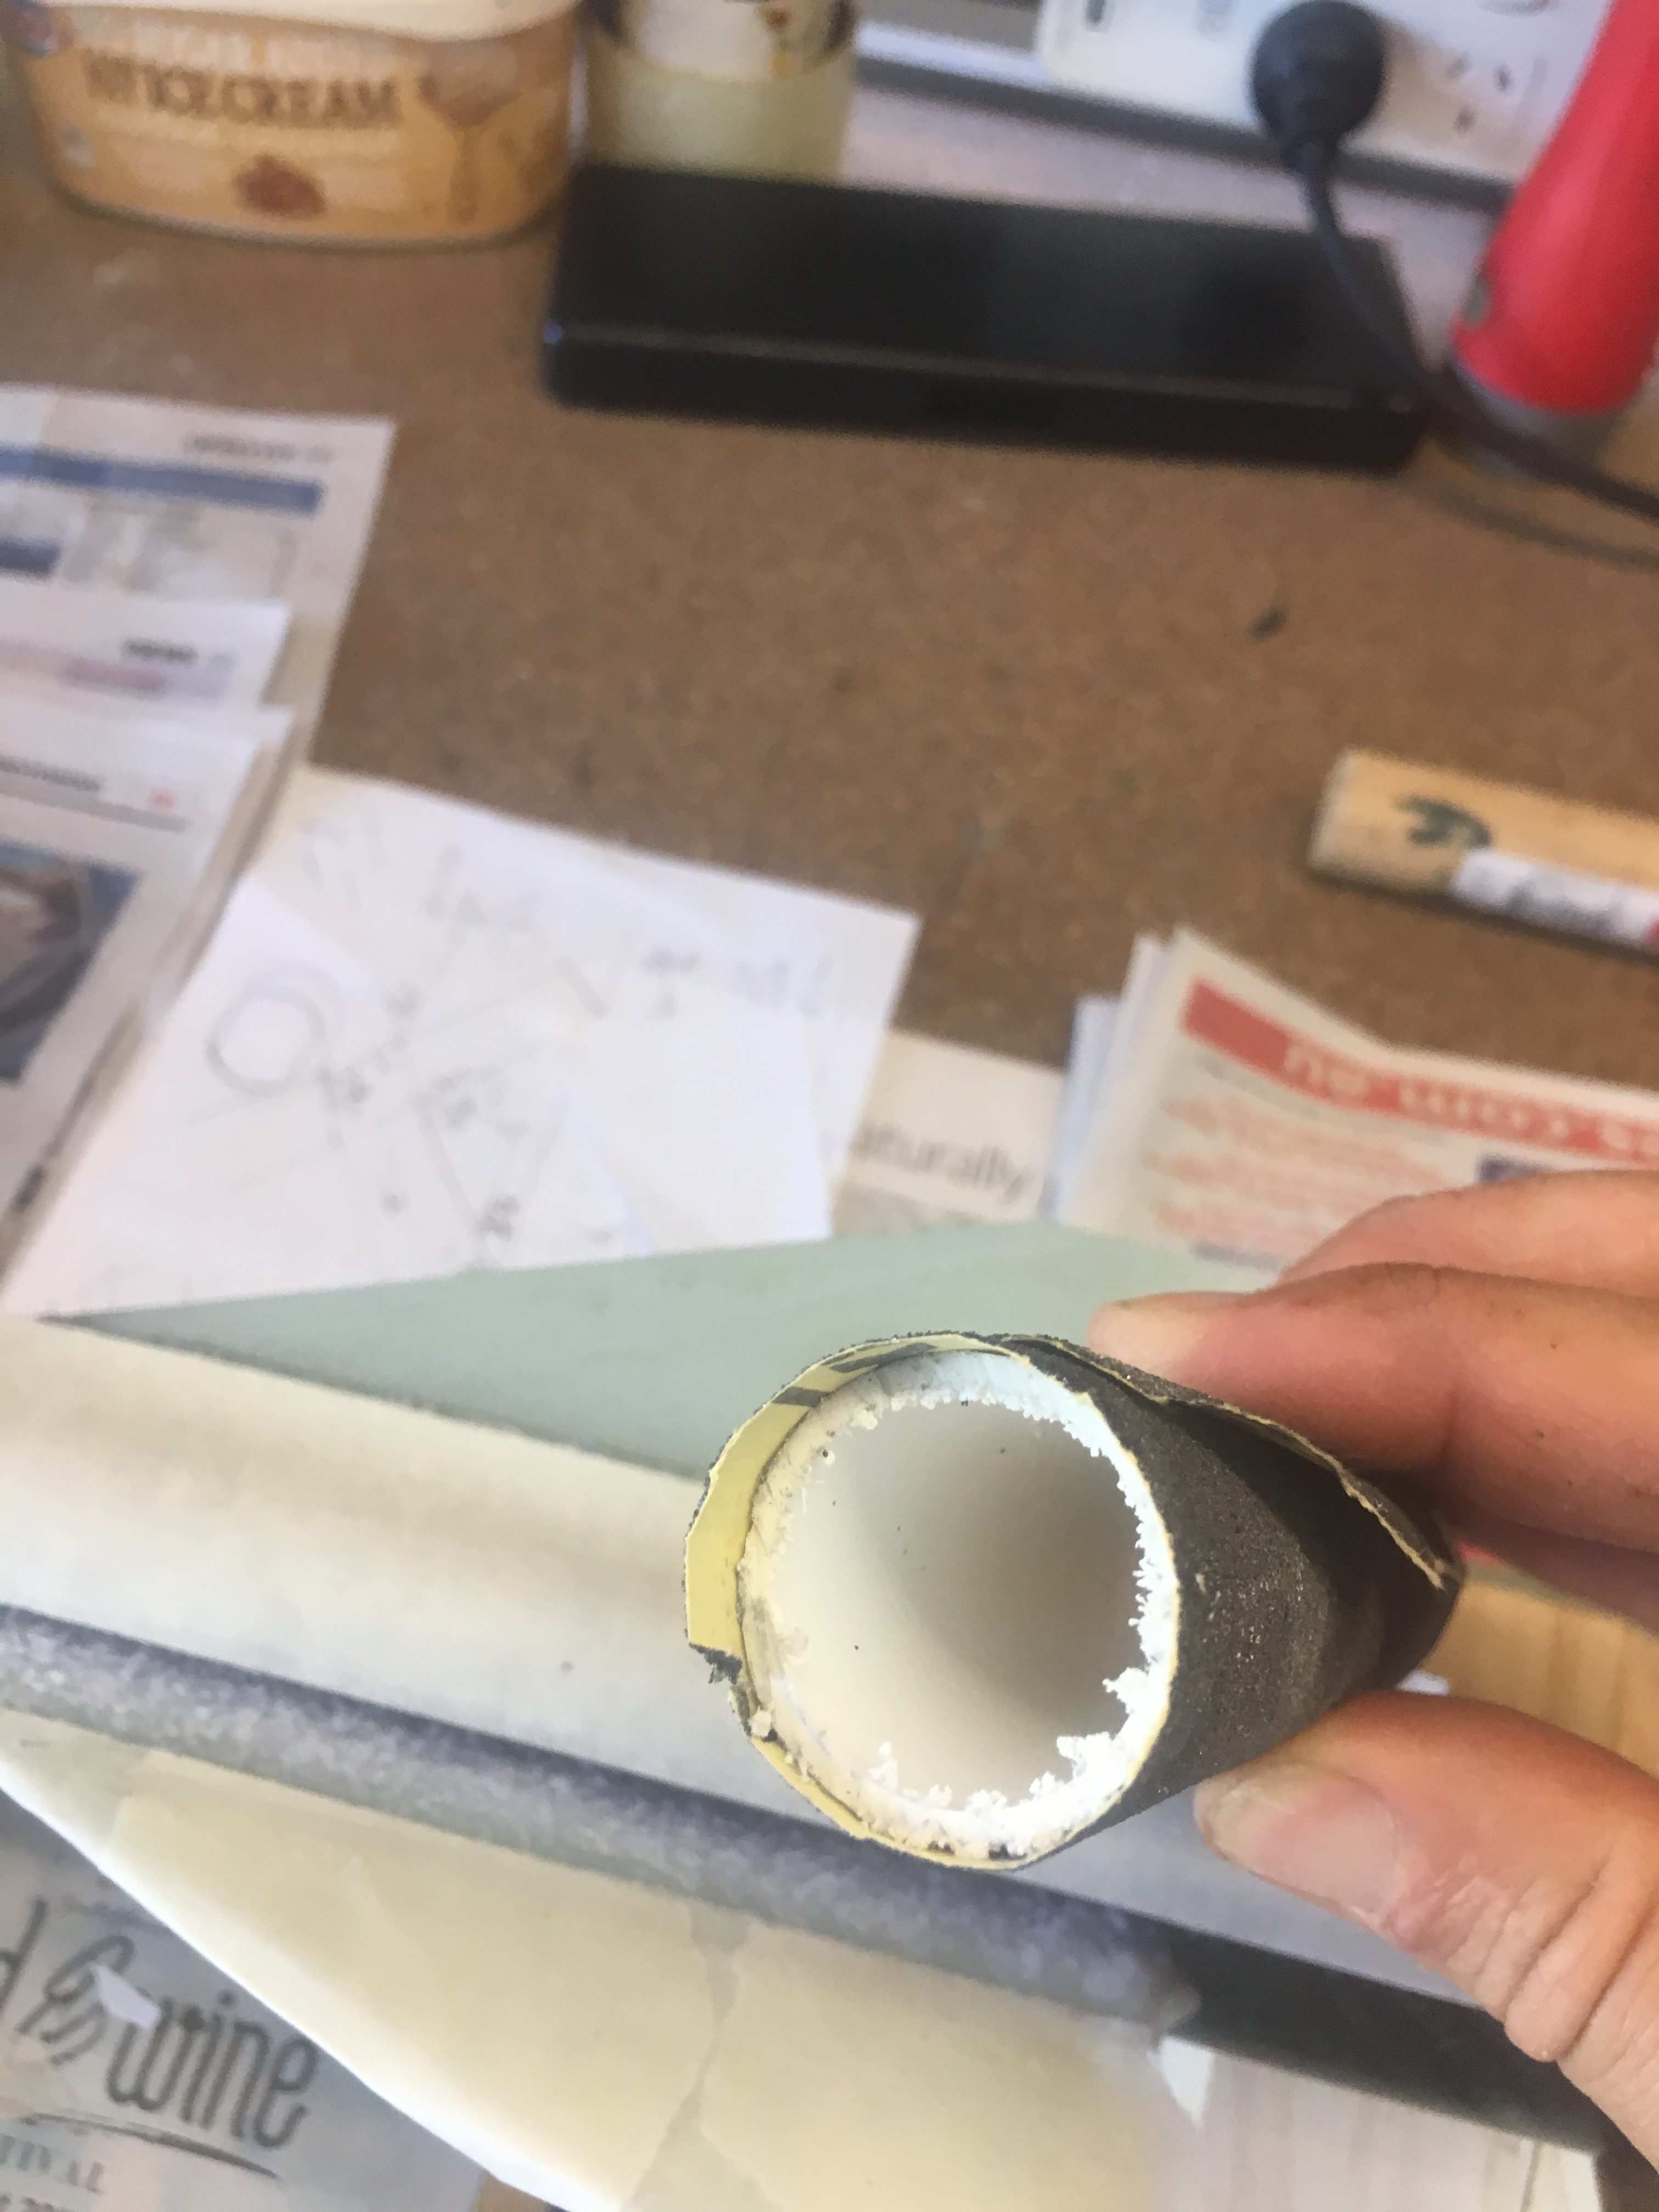
![Epoxy fillet created.](http://leederville.net/rocket/wp-content/uploads/2018/09/IMG_5851-1.jpg)
![Epoxy fillet created - tape removed.](http://leederville.net/rocket/wp-content/uploads/2018/09/IMG_5852-1.jpg)
Sanding it down
The finish wasn’t flash, so I decided some sanding was required so that bumps to show through the tip-to-tip. NOTE: The aim was not to sand it down to completely remove the holes; The Tip-to-tip will handle this. I used a AA battery with Grit 60 sand paper.
![Taped off areas so that when sanding, I don't accidentally sand into the wrong areas.](http://leederville.net/rocket/wp-content/uploads/2018/09/IMG_5873-e1536054397794.jpg)
![Used Grit 80 to sand down the fillets](http://leederville.net/rocket/wp-content/uploads/2018/09/IMG_5874-e1536054276705.jpg)
![Used PCB tube to sand down the fillets. Also used a AA battery for some of the sanding.](http://leederville.net/rocket/wp-content/uploads/2018/09/IMG_5875-e1536054342445.jpg)
![Started sanding the fillets...](http://leederville.net/rocket/wp-content/uploads/2018/09/IMG_5876-e1536054421611.jpg)
![Sanding finished! Tape removed.](http://leederville.net/rocket/wp-content/uploads/2018/09/IMG_5877-e1536054445421.jpg)