The Jigs
I created some jigs using my 3-D printer to hold the fins in place. I had a few goes at getting ones that would slip on easily…but not too easily. This is so the fins could not flop about.
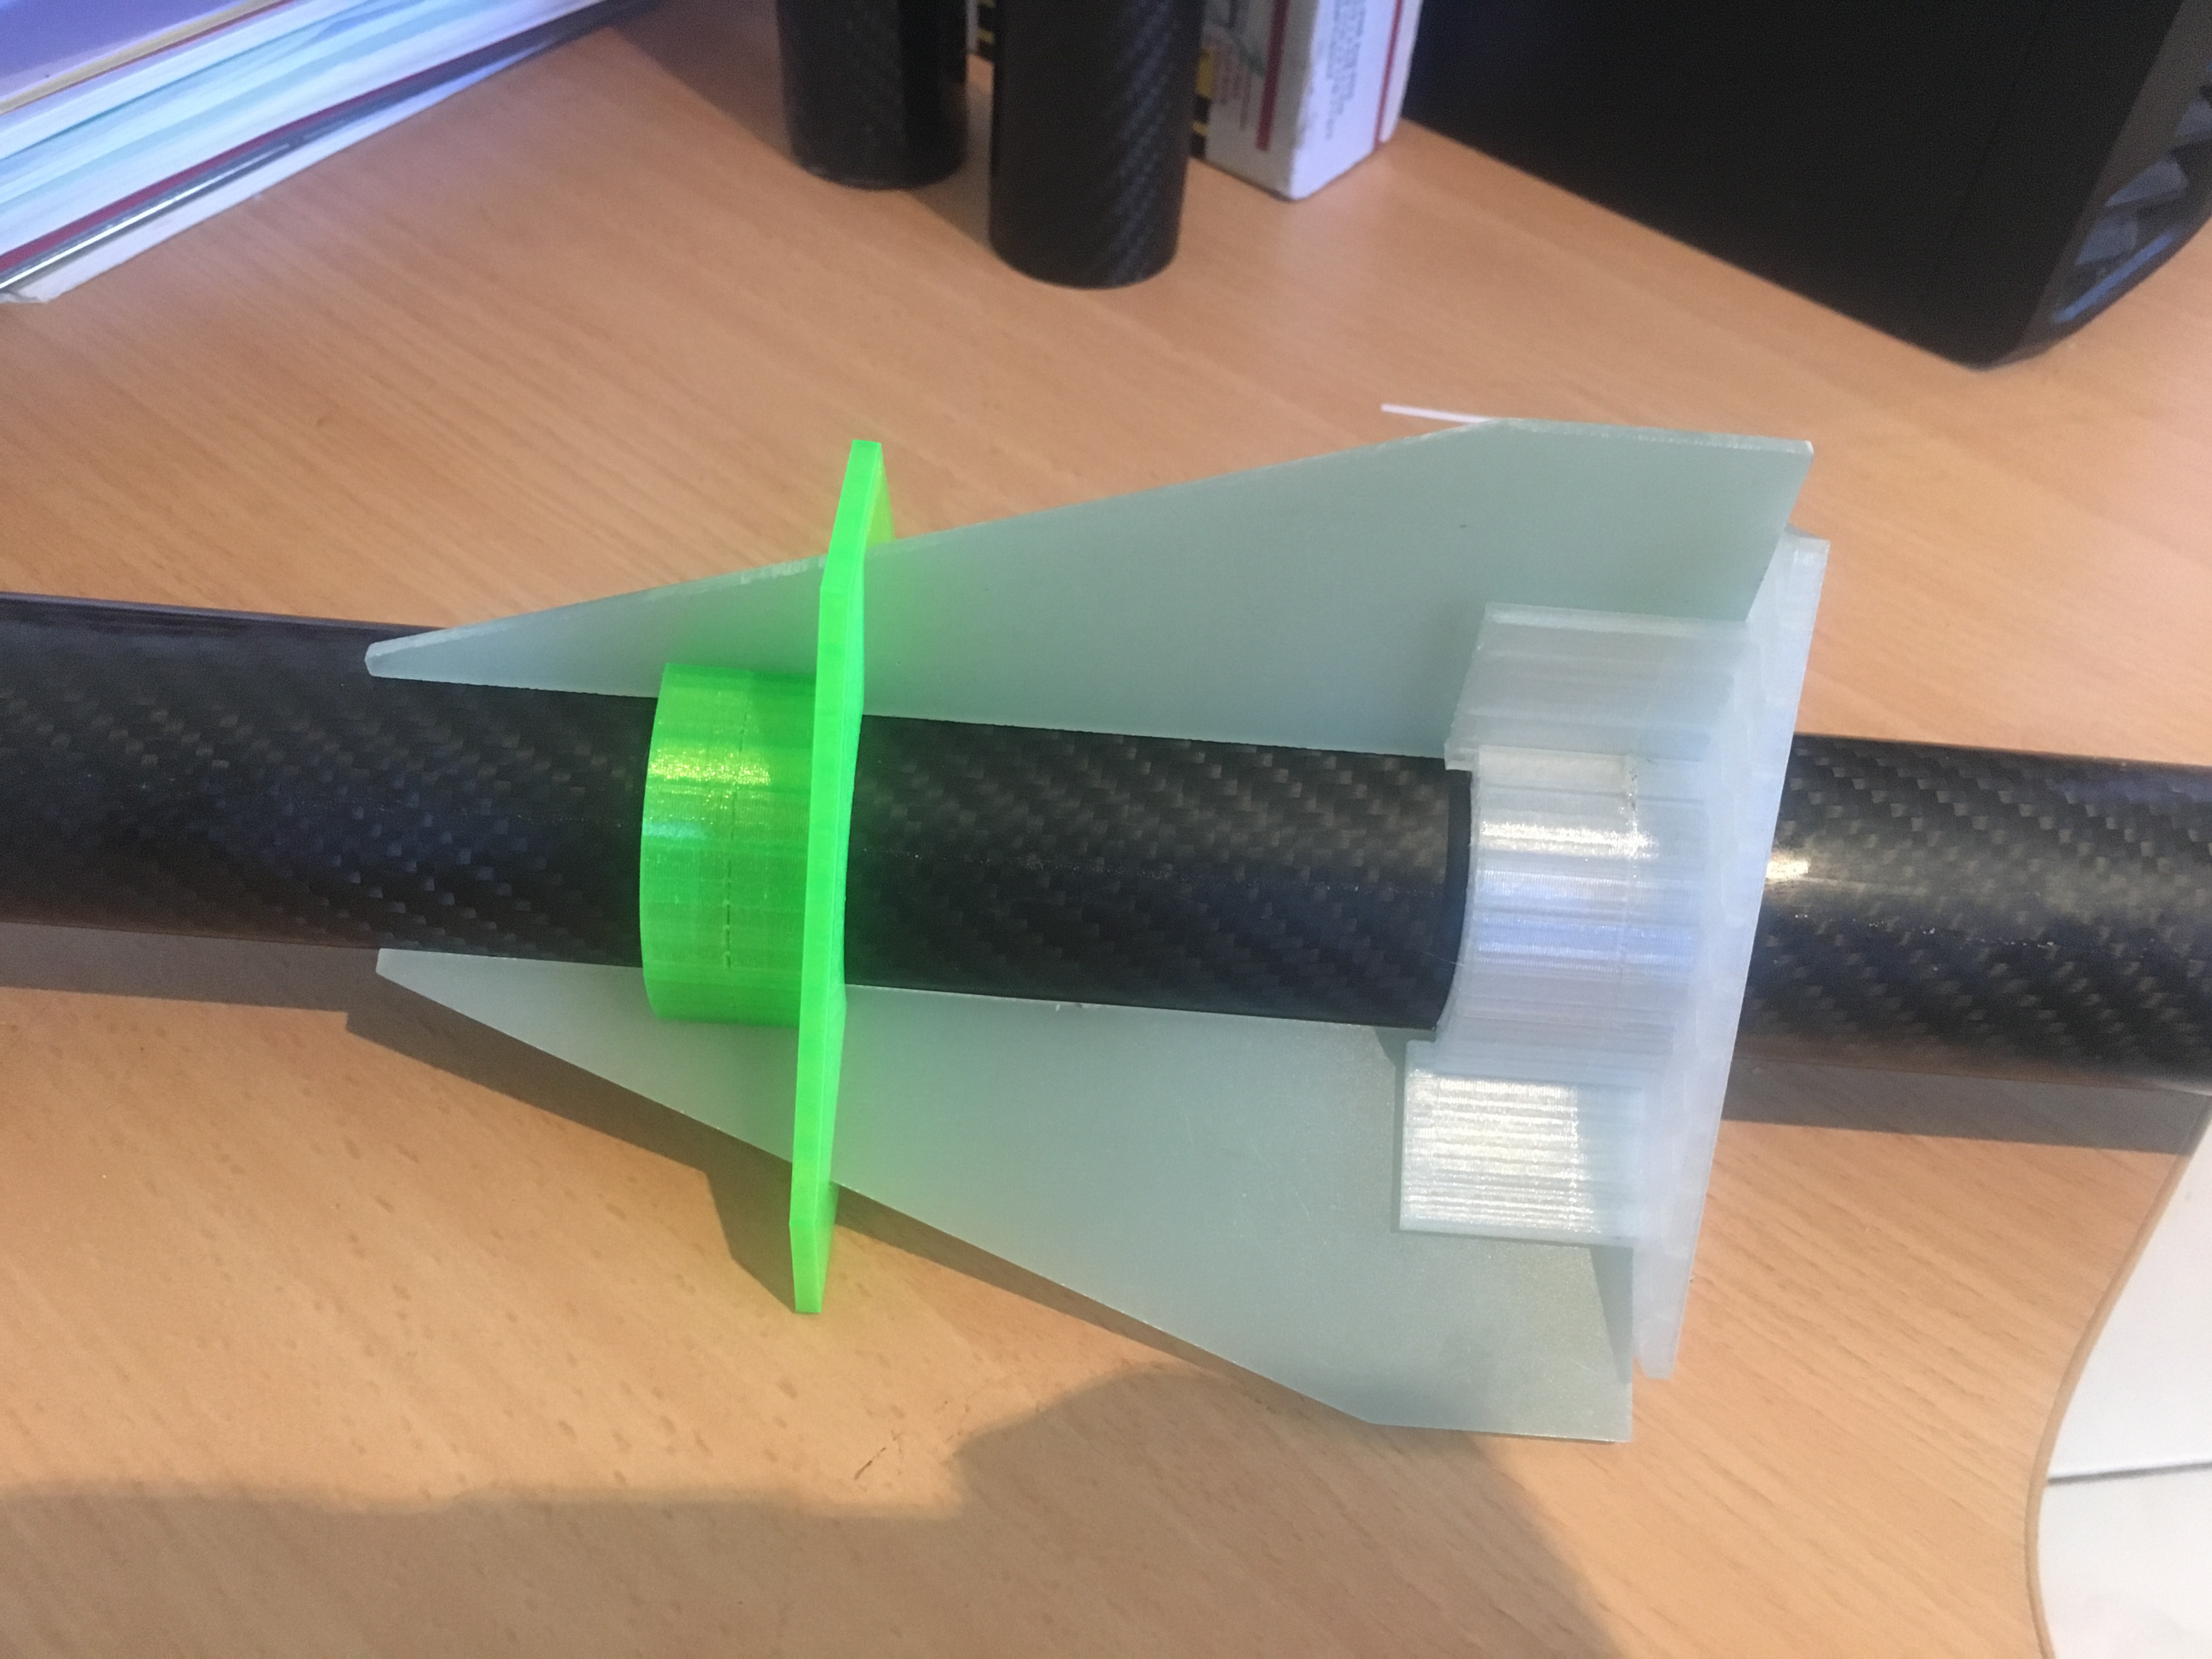
You may wonder how I avoided JB-Weld getting on to the Jig. Well, I have a gap between the air-frame and the inner surface of the Jig. So I was able to carefully insert the fin with minimal or no JB-Weld getting on the jig. In some cases the fin did stick a little to the 3-d print, but it was easily pried off.
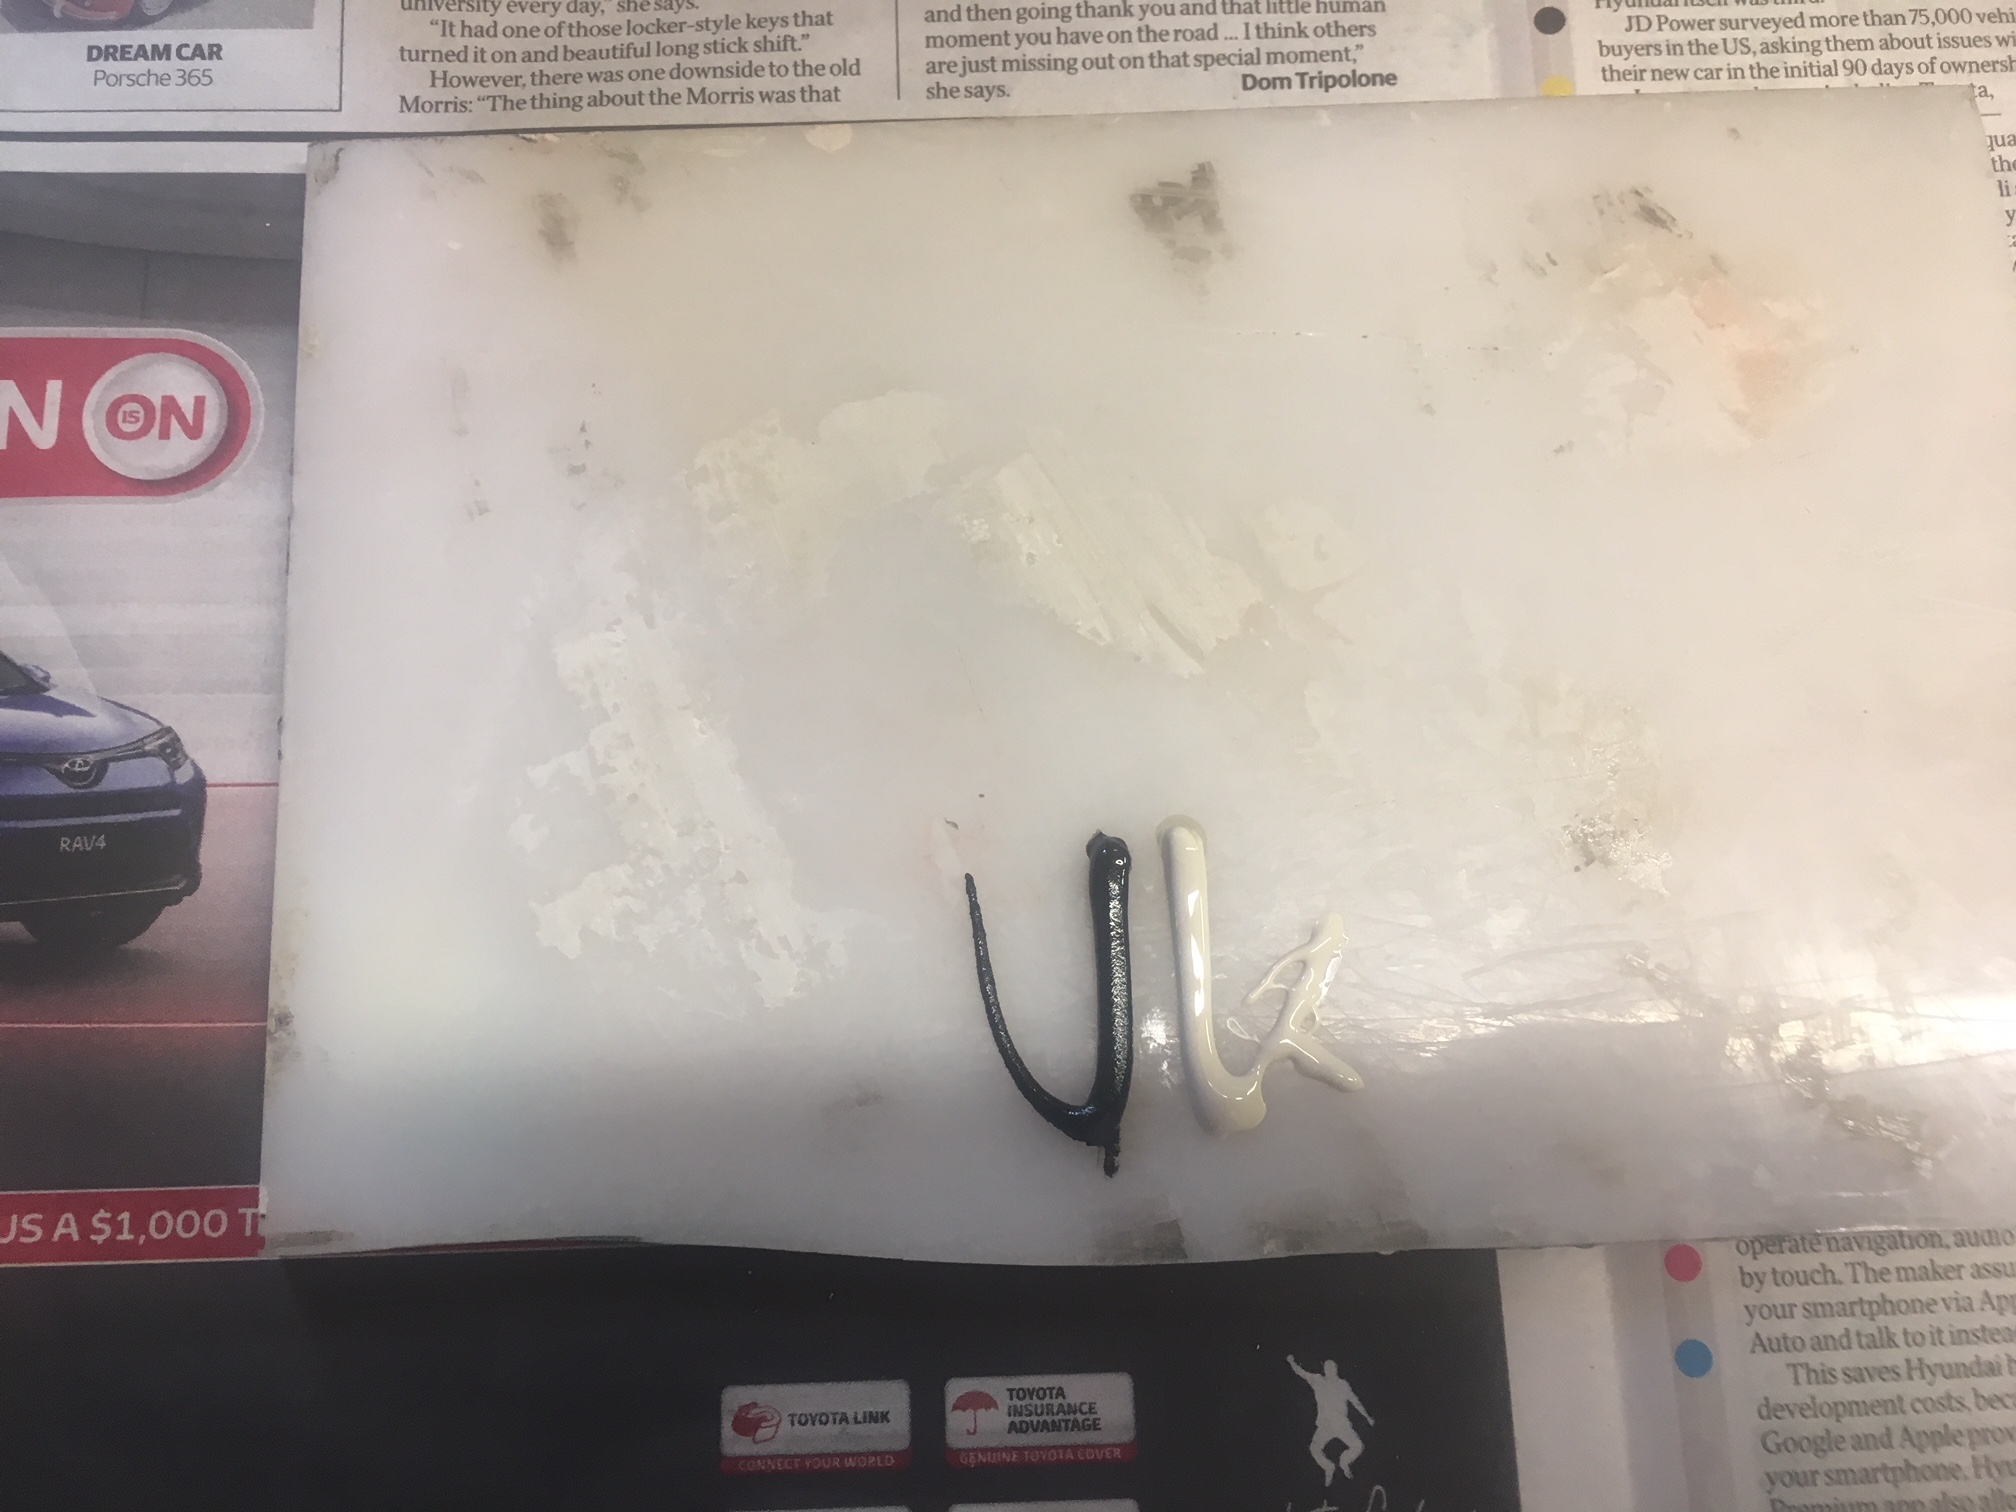
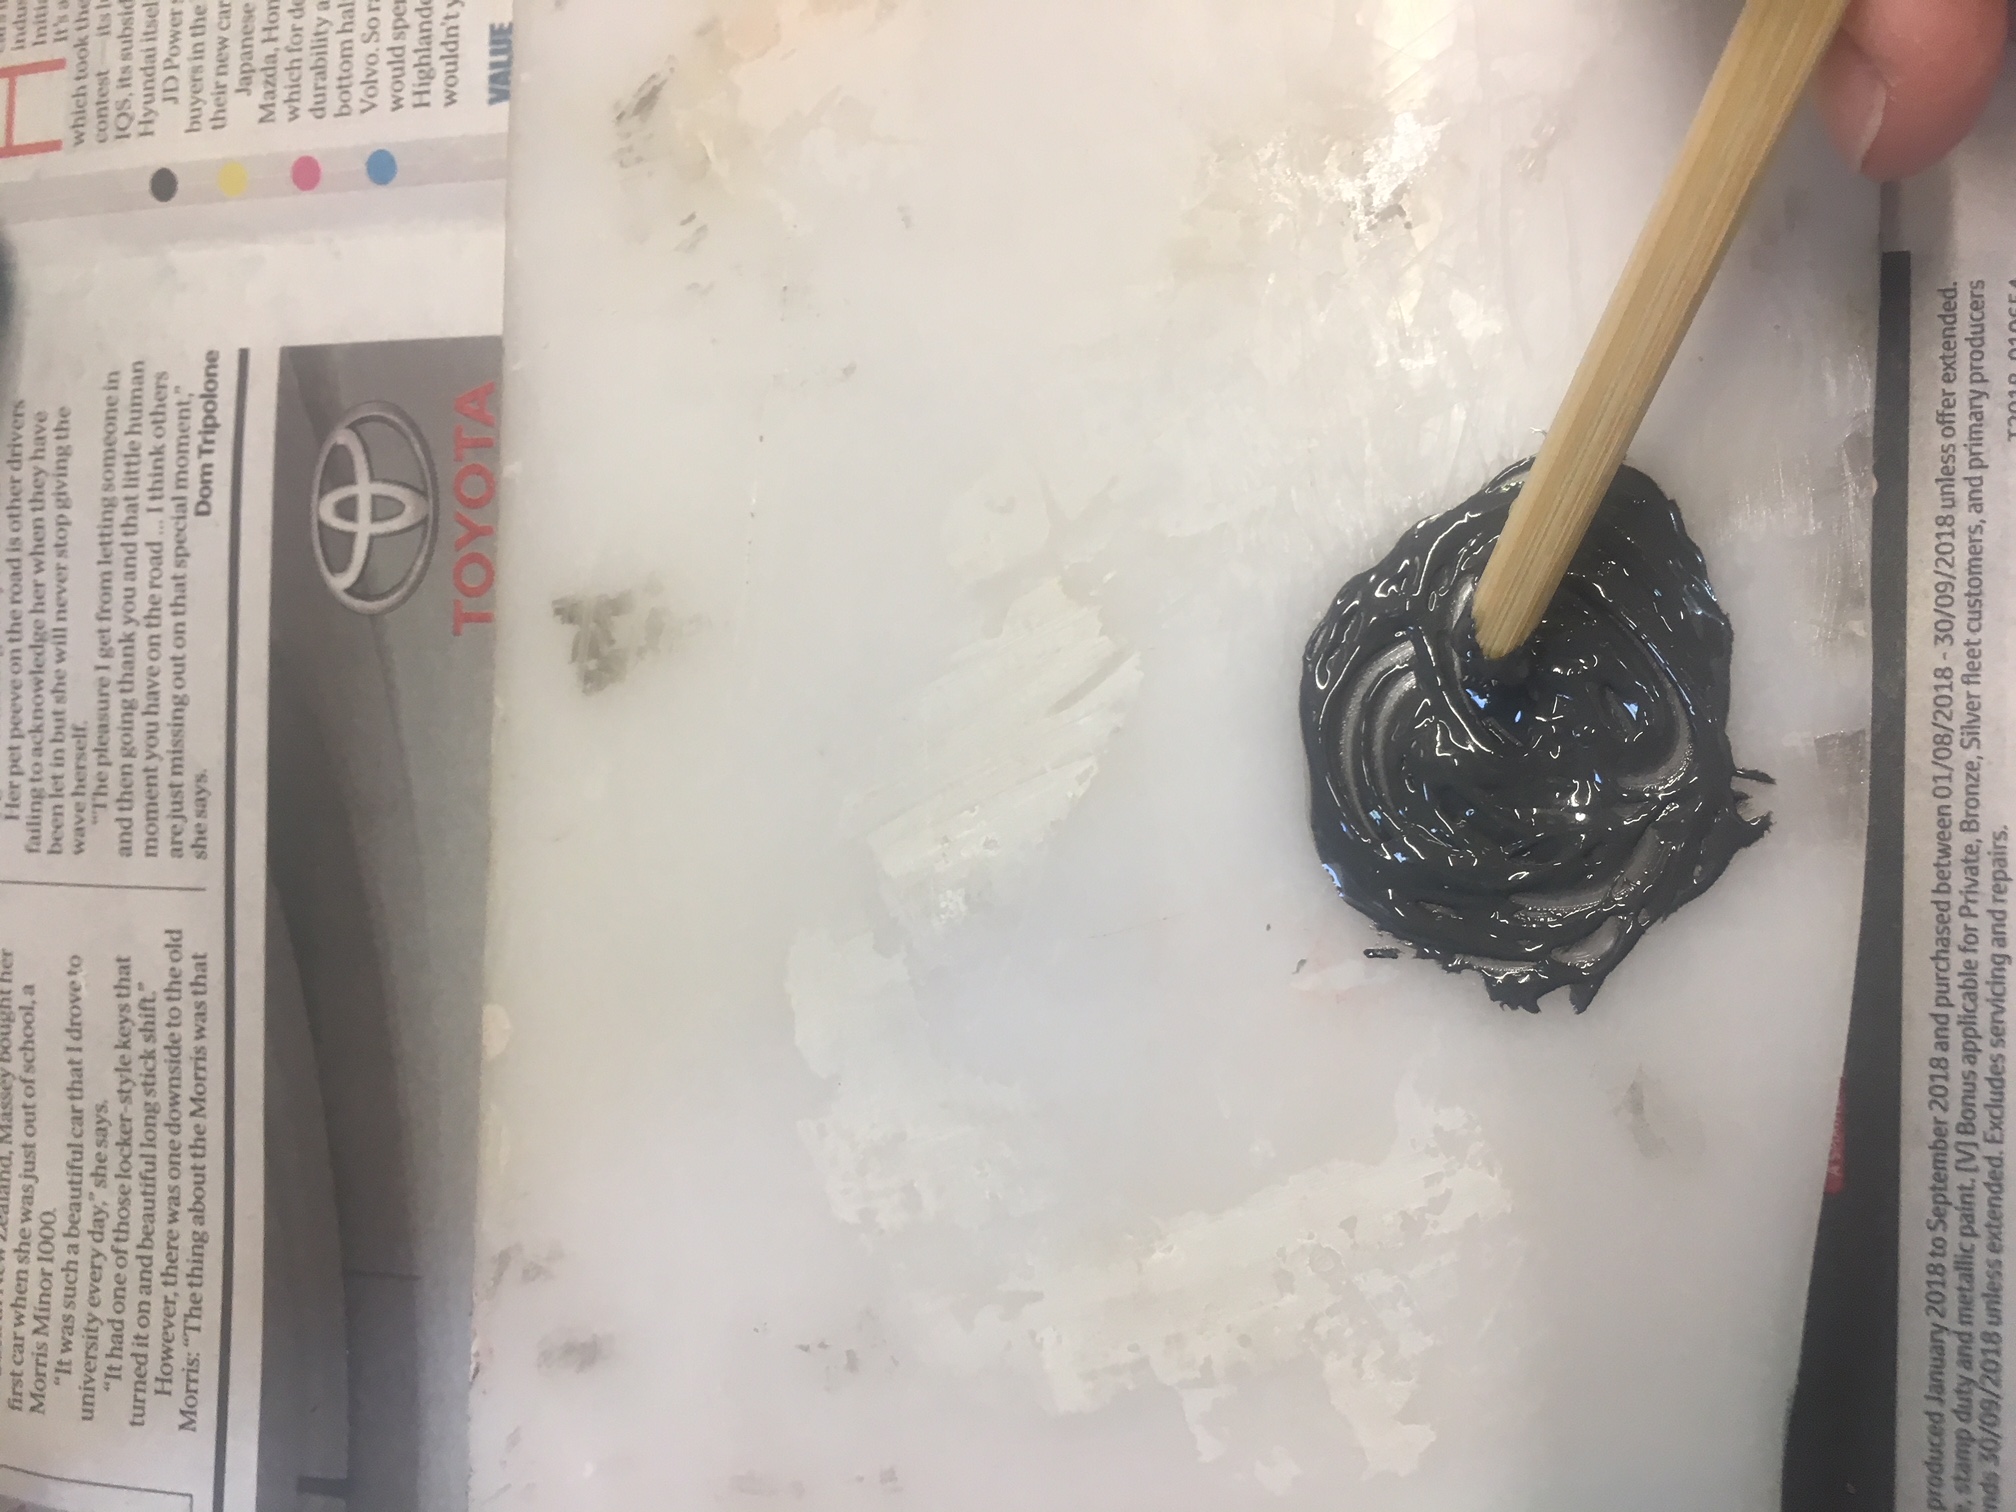
Attaching the Fins
I used JB-Weld Epoxy to attach the fins, just like I did for the previous rocket build. I didn’t have the luxury that I had then of being able to see through the air-frame to look at the adhesion of the epoxy. But that is okay. I only attached one fin at a time, giving it 24 hrs for the epoxy to cure.
Photos
Here are some photos of the process.