The finish of the Epoxy on the CF air-frame wasn’t staying shiny/beautiful. Also there were a few imperfections that I wasn’t happy with. So I decided the best course of action was to apply a clear coat. I could then sand to 2000 Grit and polish it to perfection.
The Paint
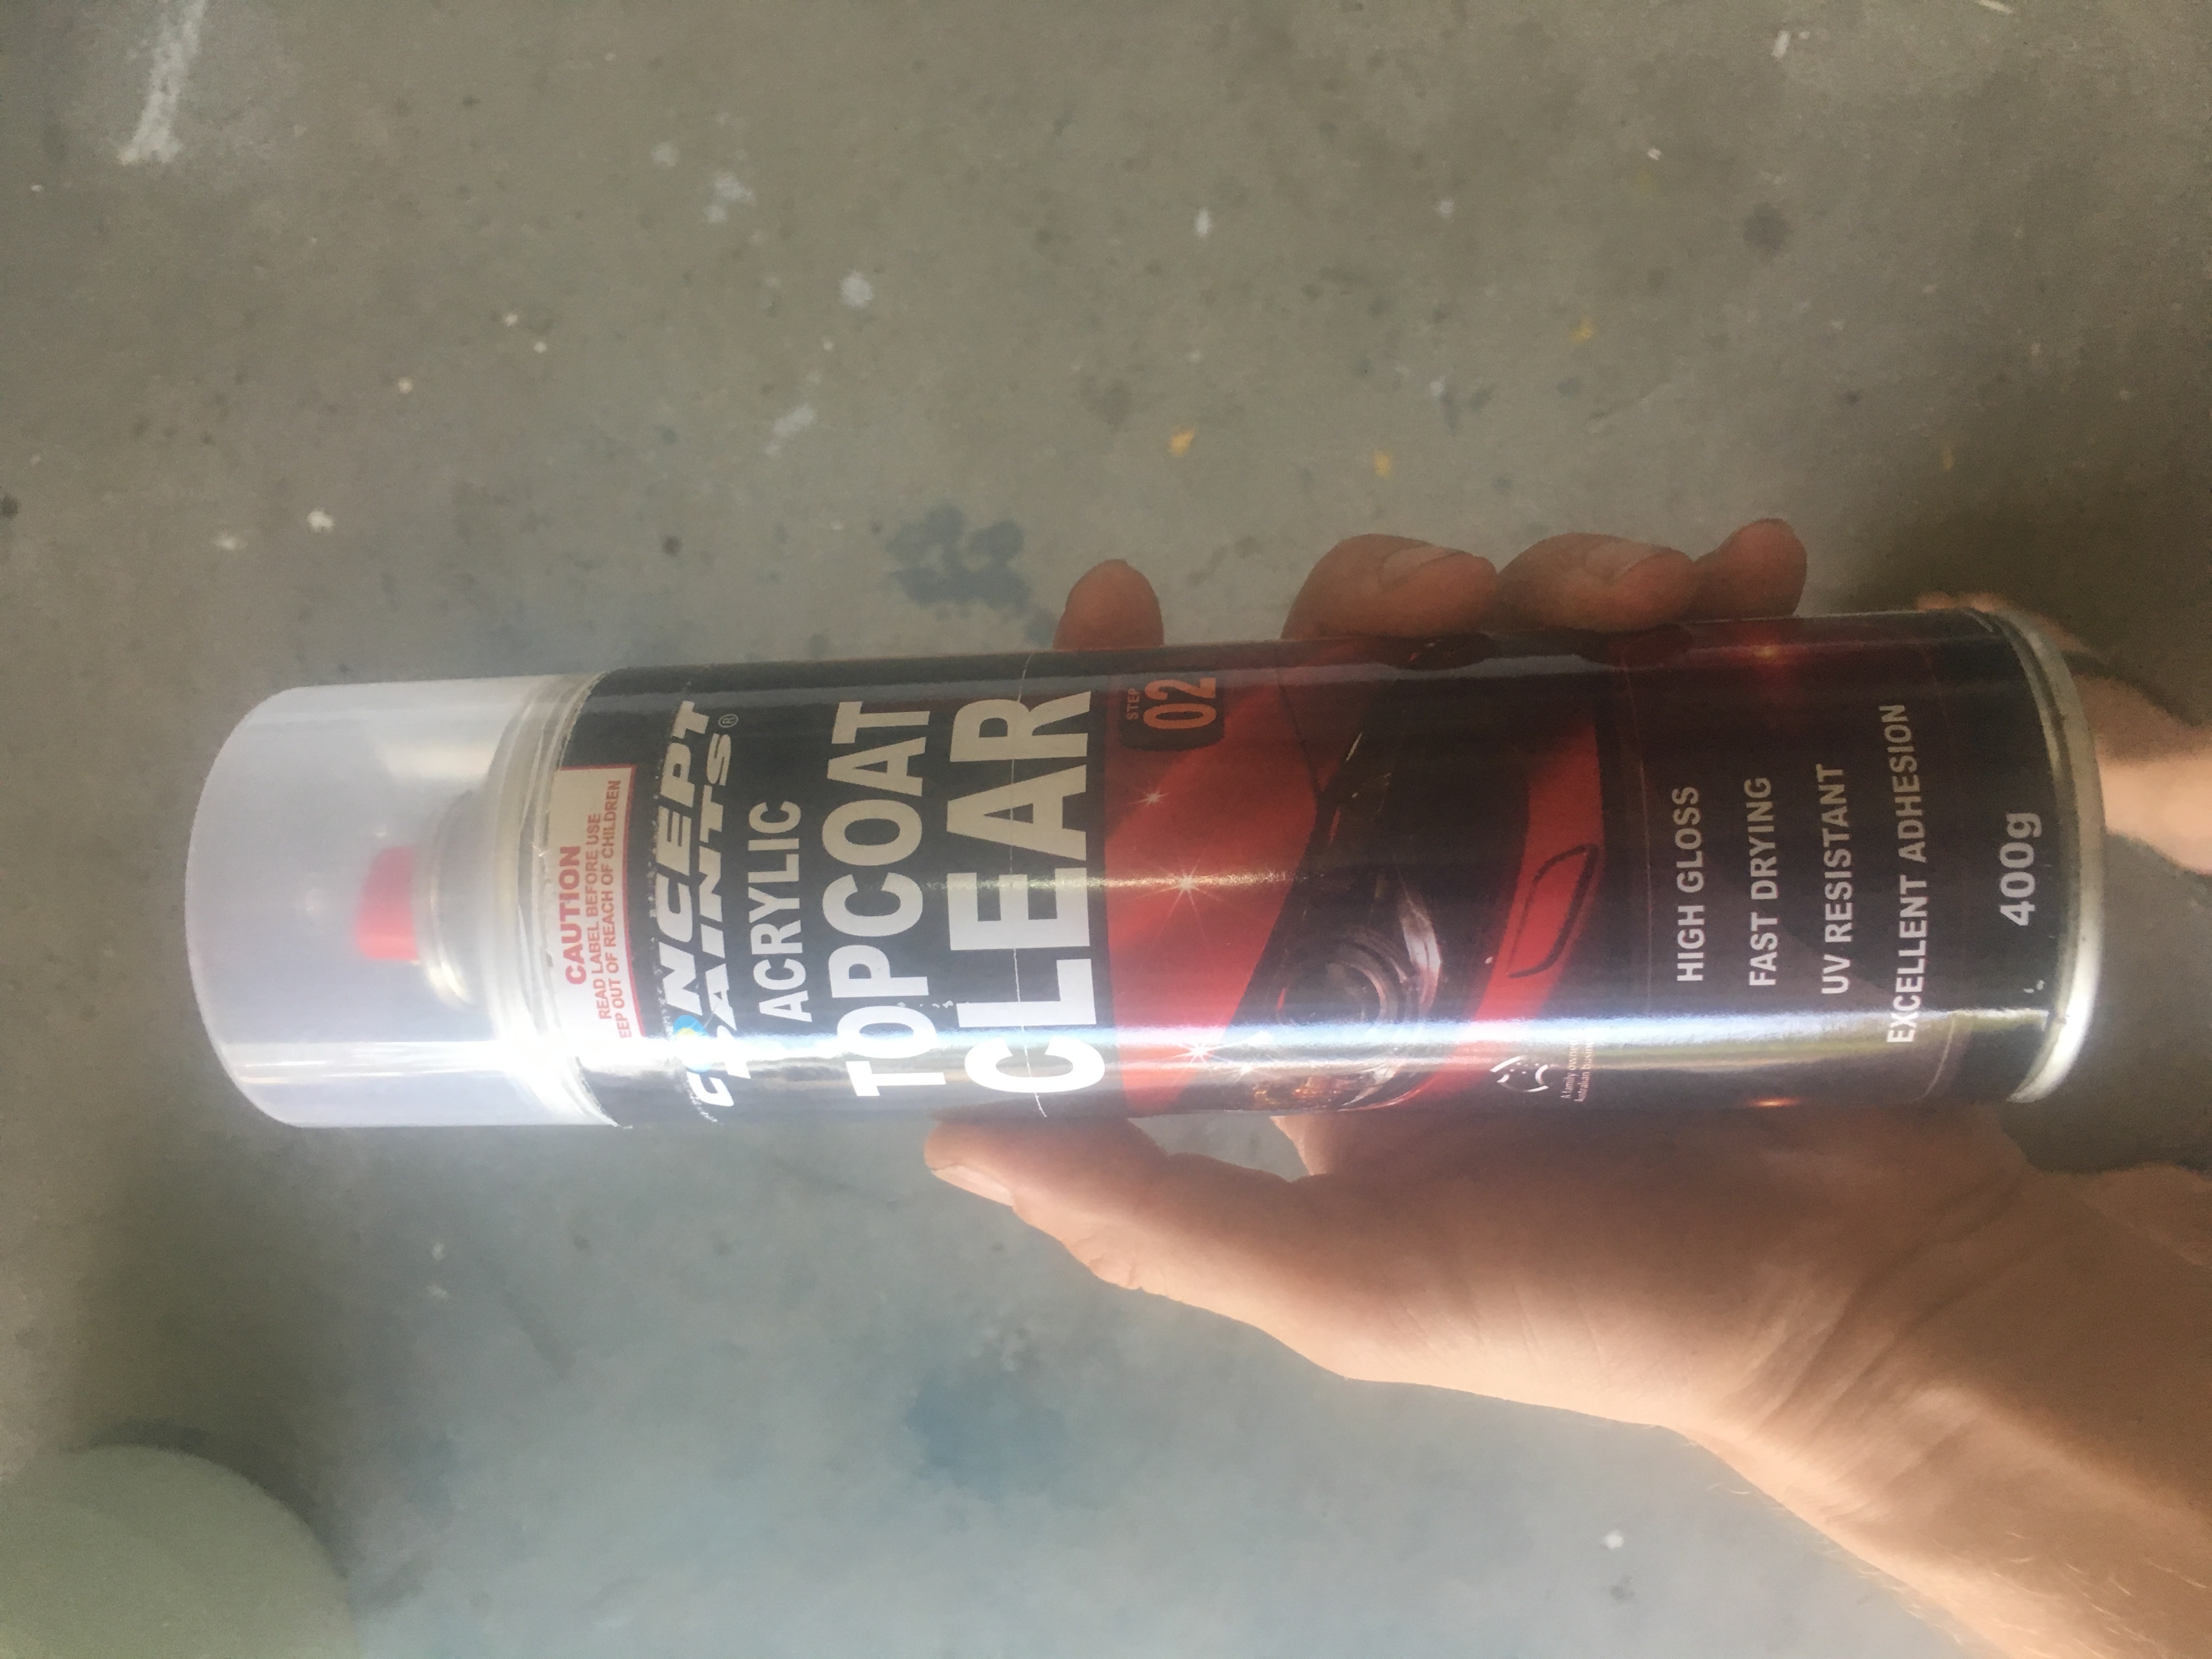
I used Acrylic clear coat from AutoBarn – a large can.

The Test Run
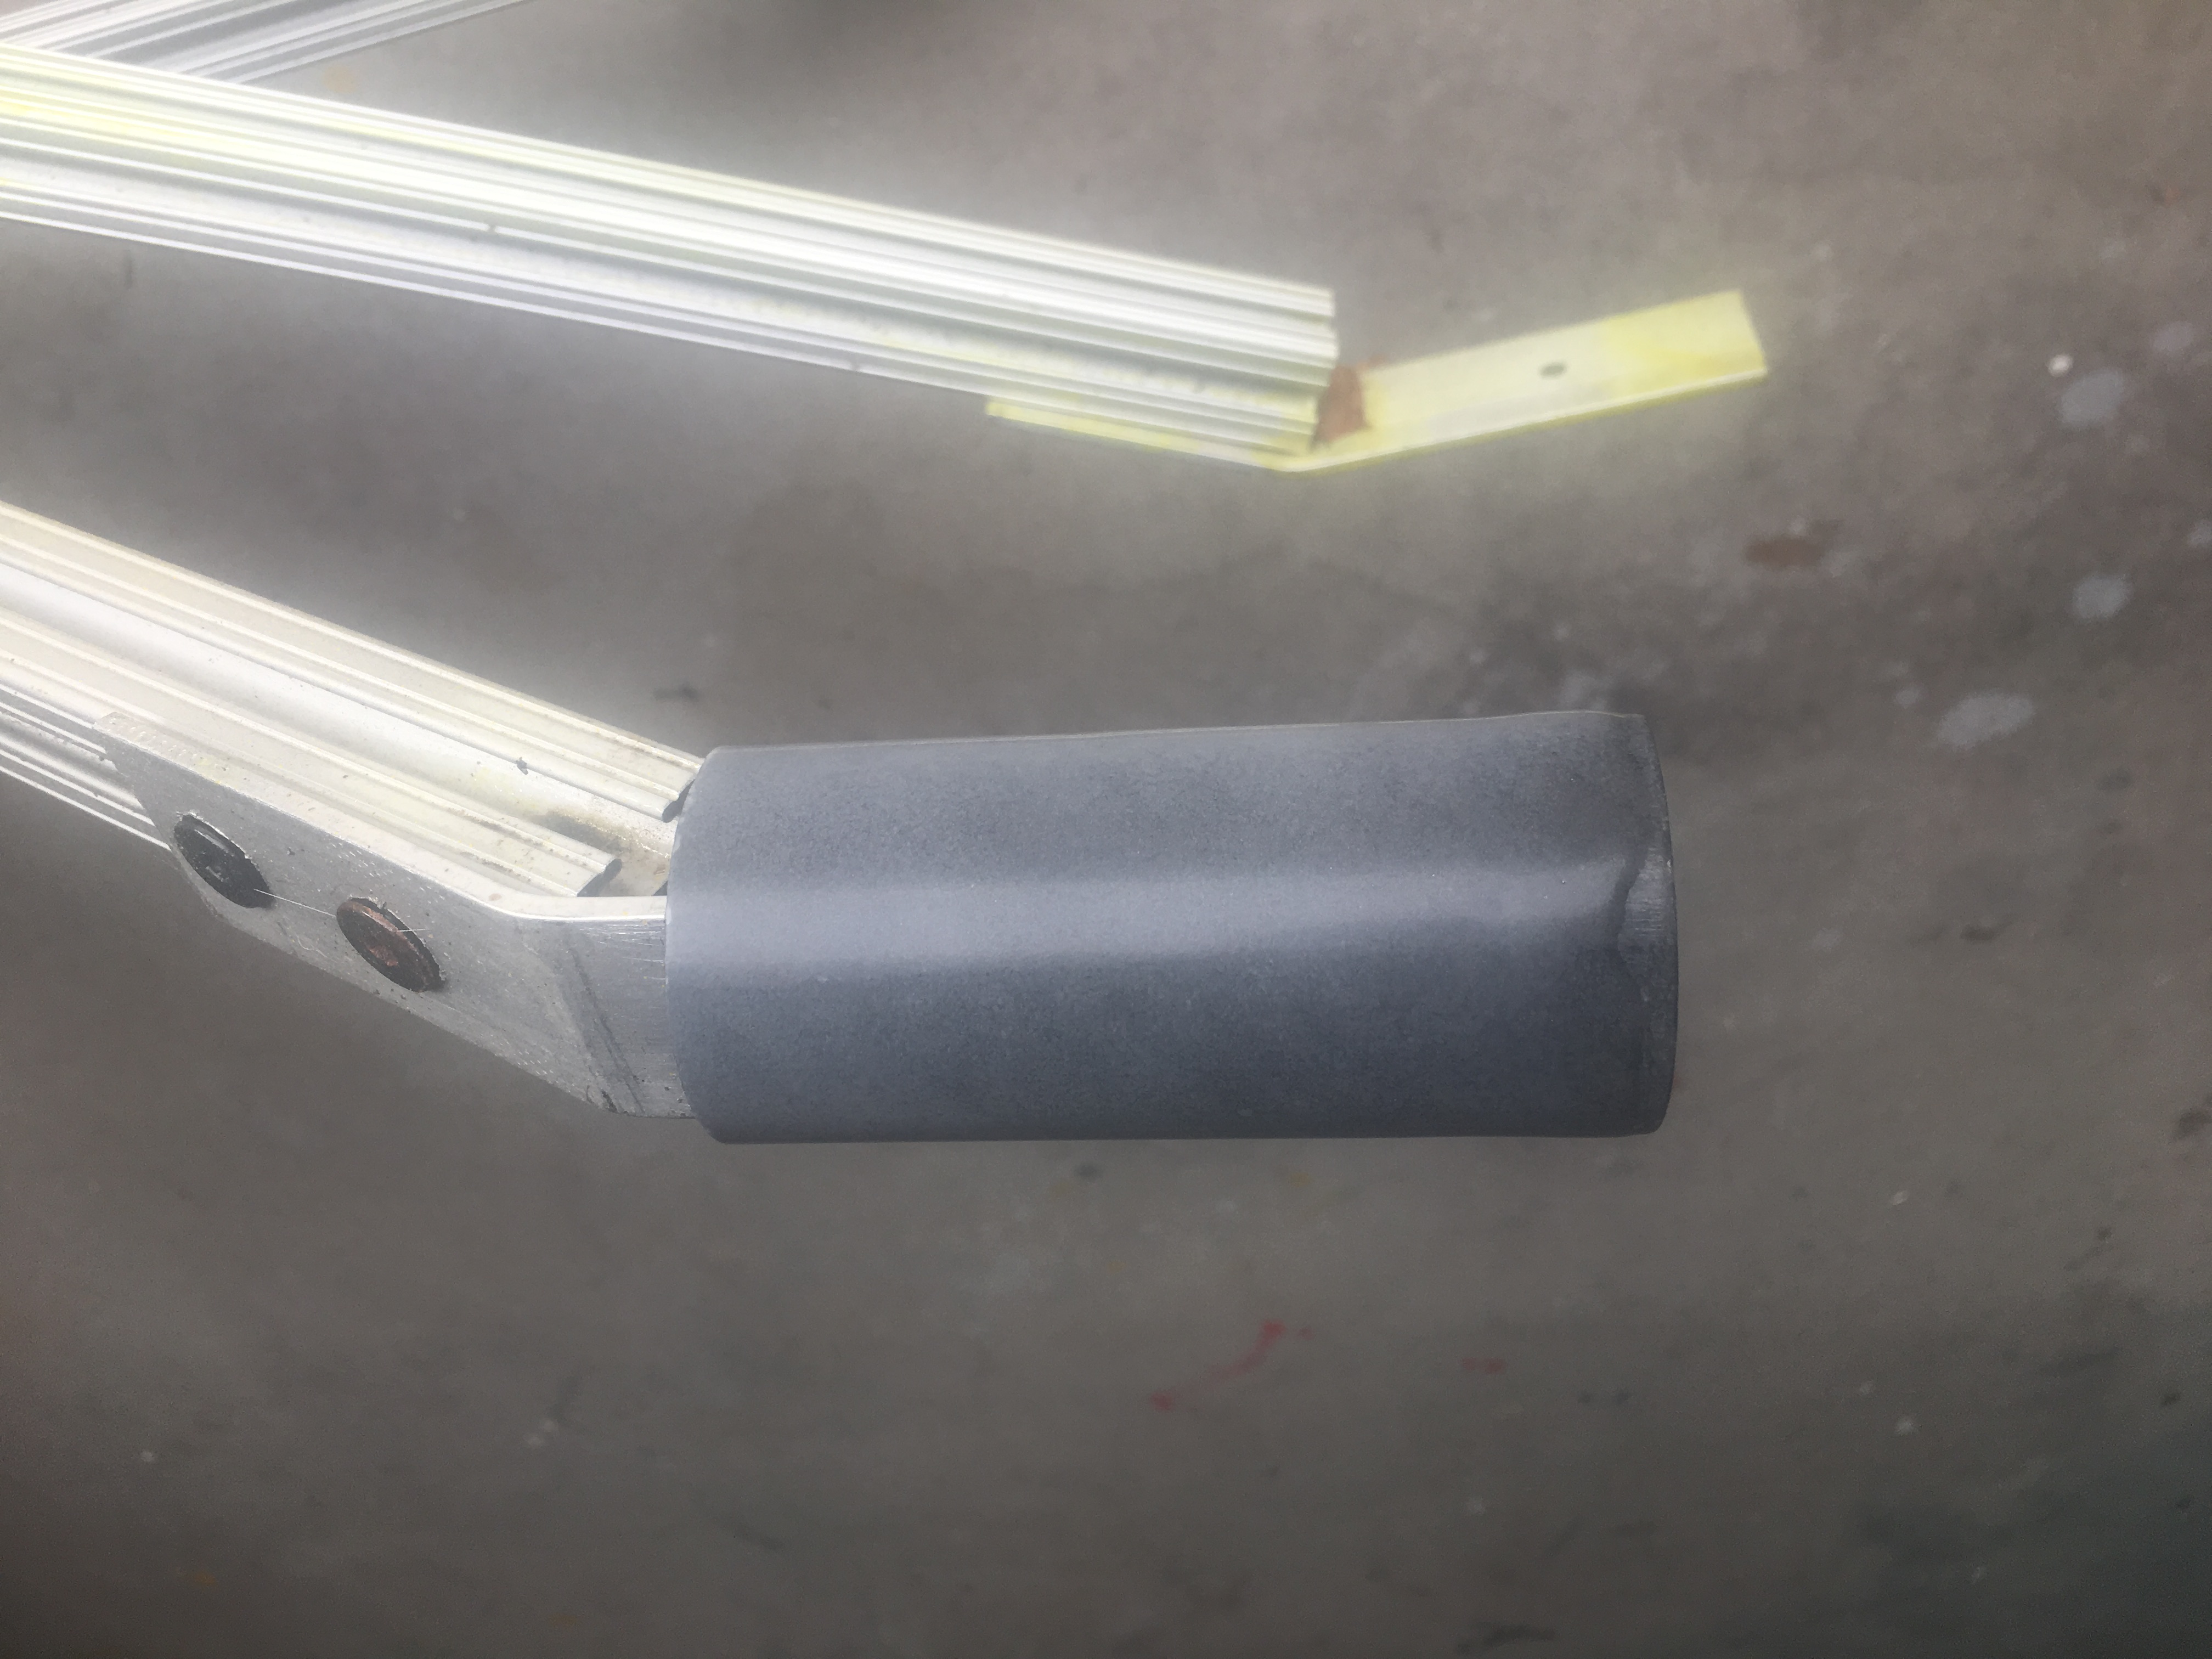
I first did a test run on a piece of tube because I didn’t want to assume it would just work.
To my shock after a few coats of clear coat it looked terrible and I thought that I would have to forget applying a clearcoat until I found out what was a happening. I thought it was perhaps due to humidity, but I was advised by a friend that you might have problems with rain, but humidity should not cause what I was seeing.

So I decided to sand it from 1500, then 2000 and finally 3000 before polishing.

Thank heavens!
The Real Run
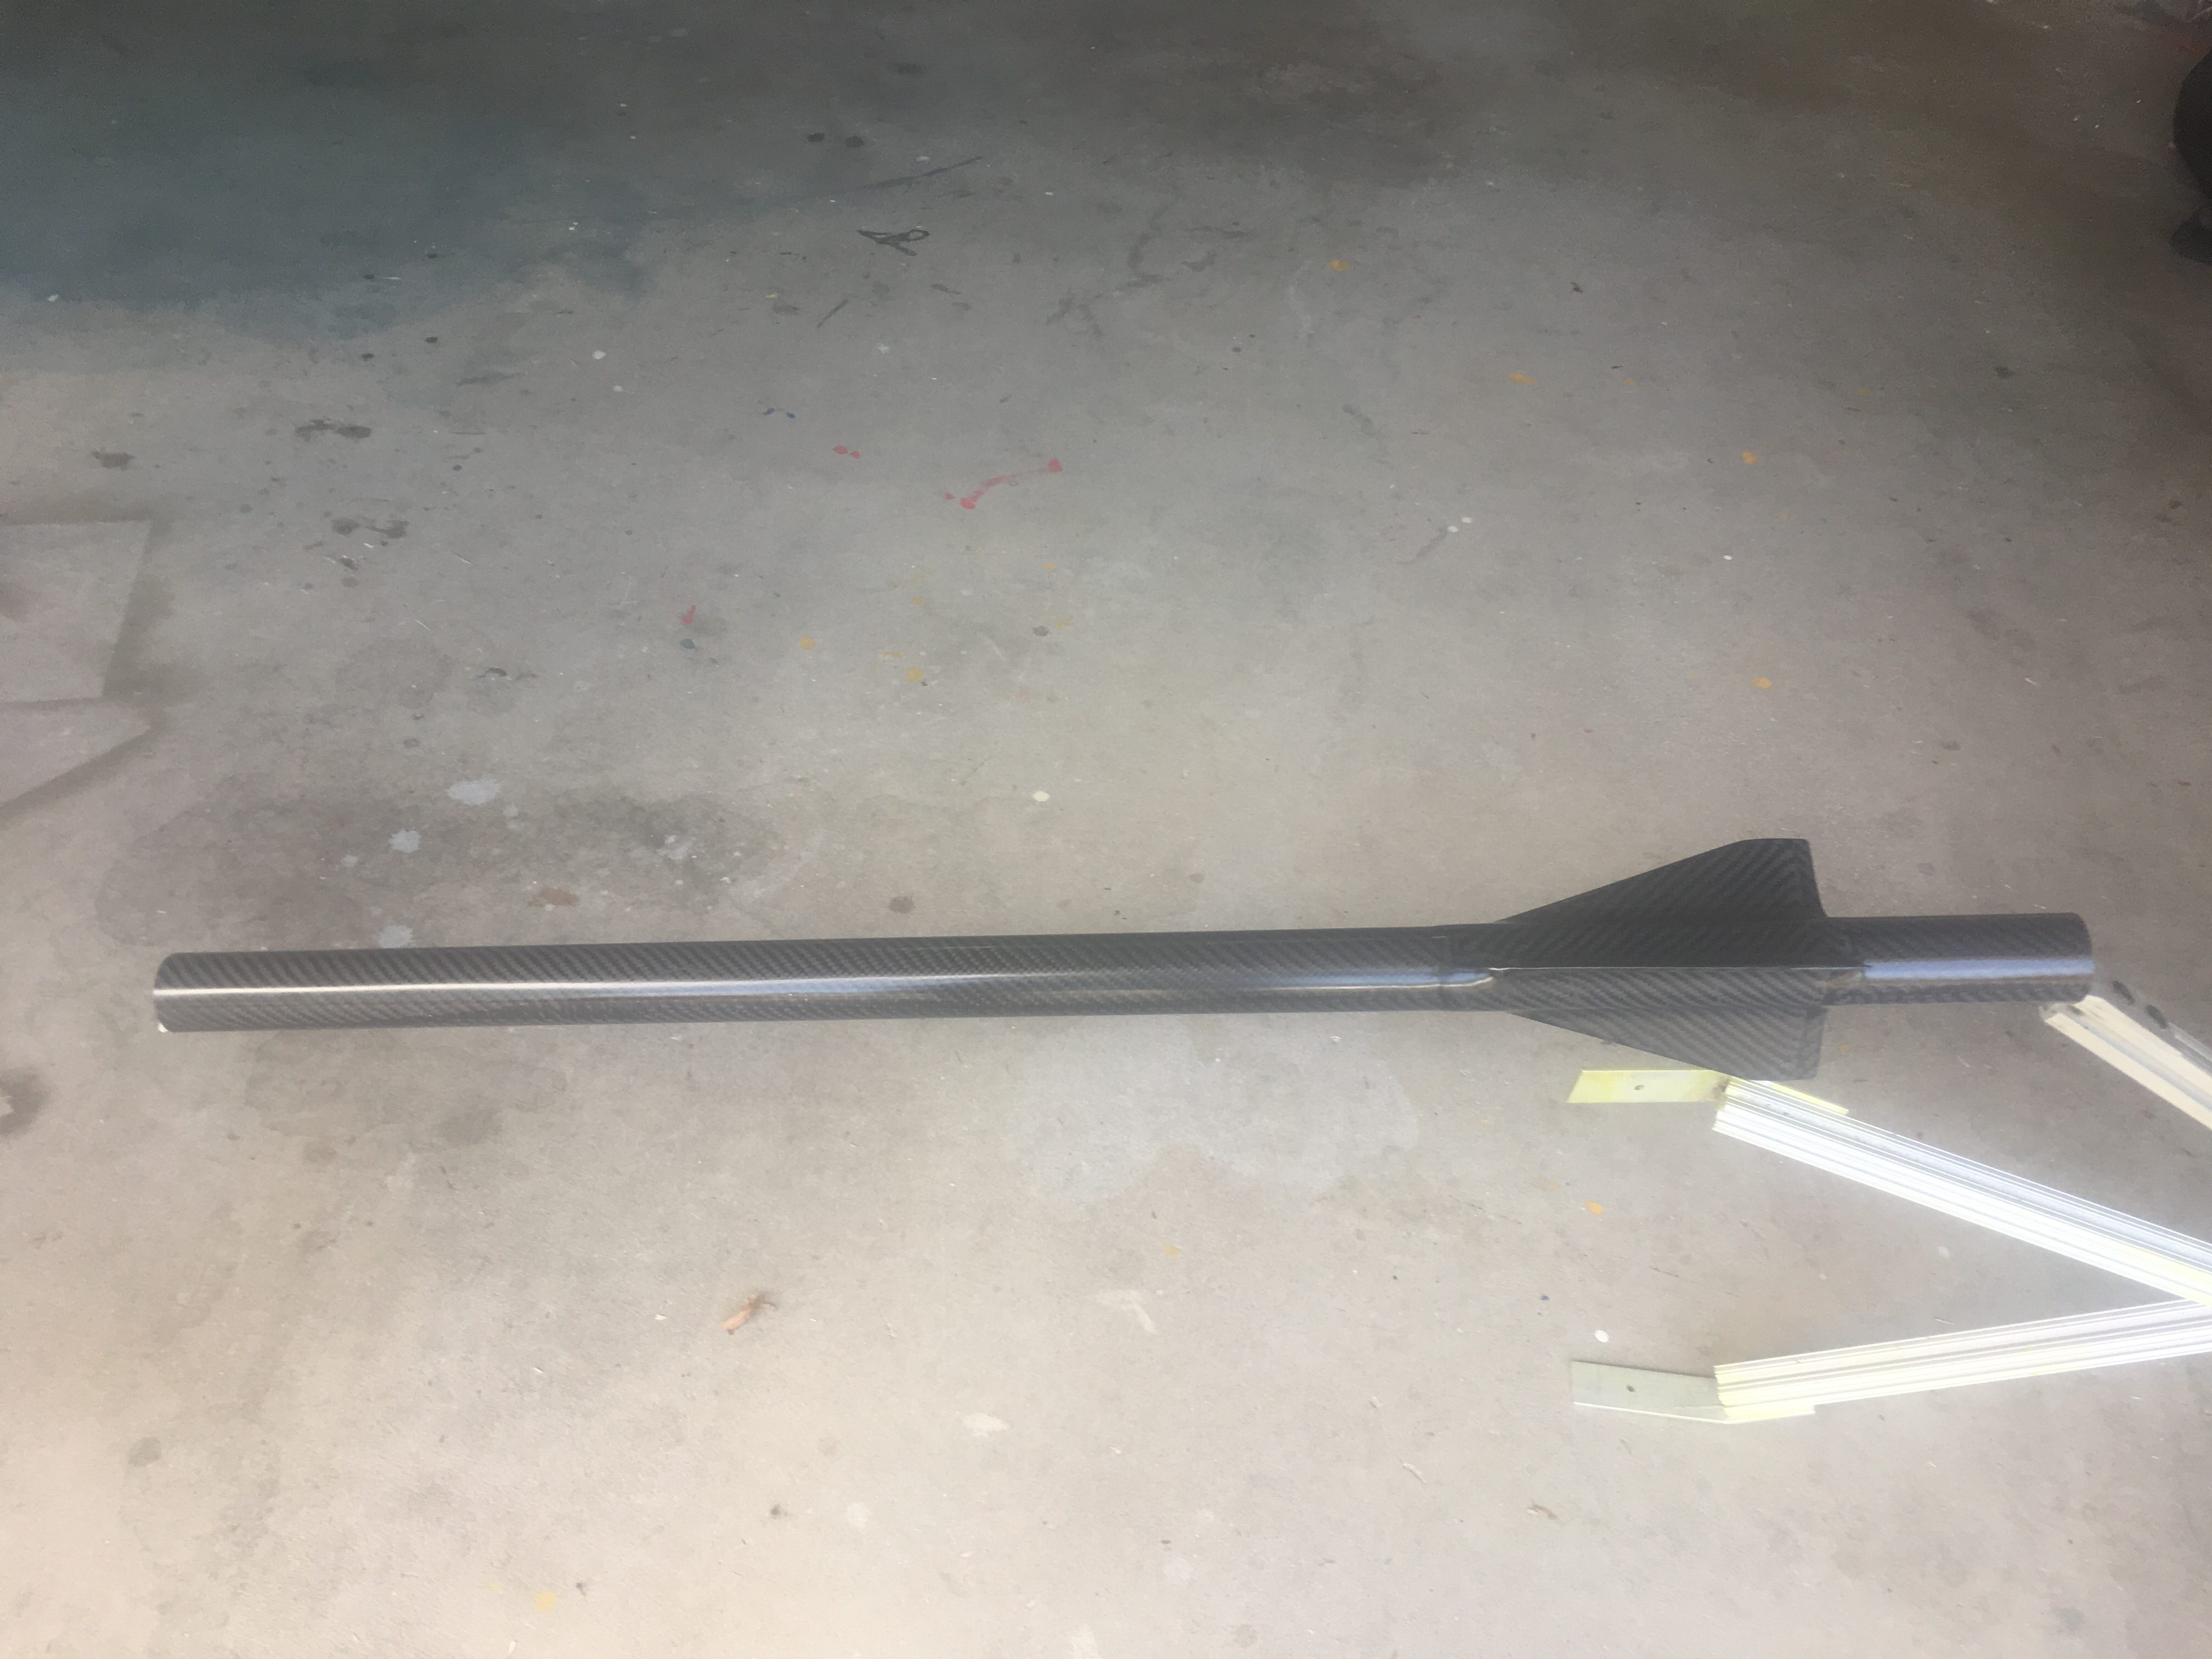
I then proceed to apply clear coat to the rocket. I applied 4 coats. Below are some photos I took.


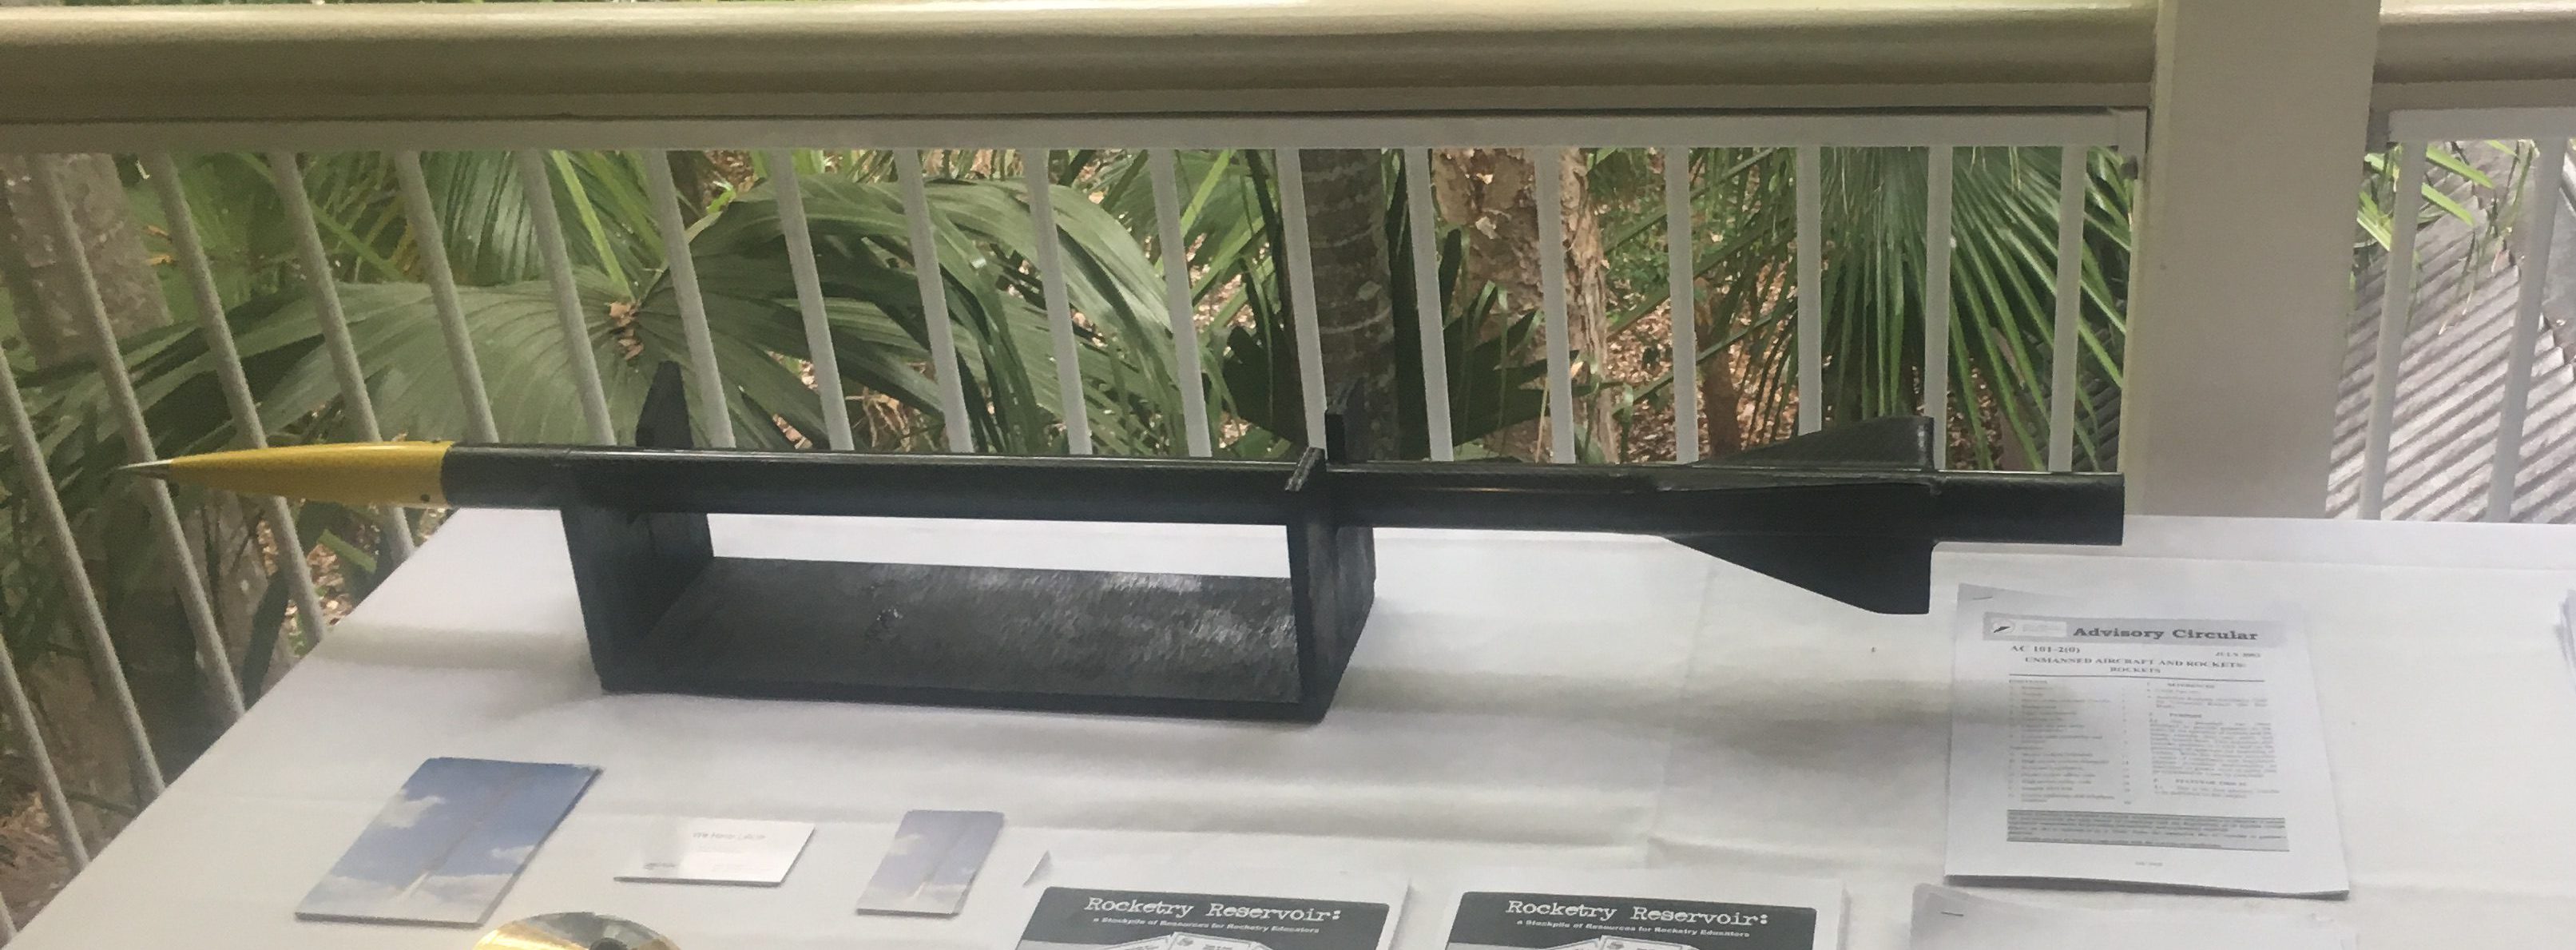
Here is photo of it looking splendid at a presentation of my rockets.

