I’m constructing my own air-frames.
The set-up
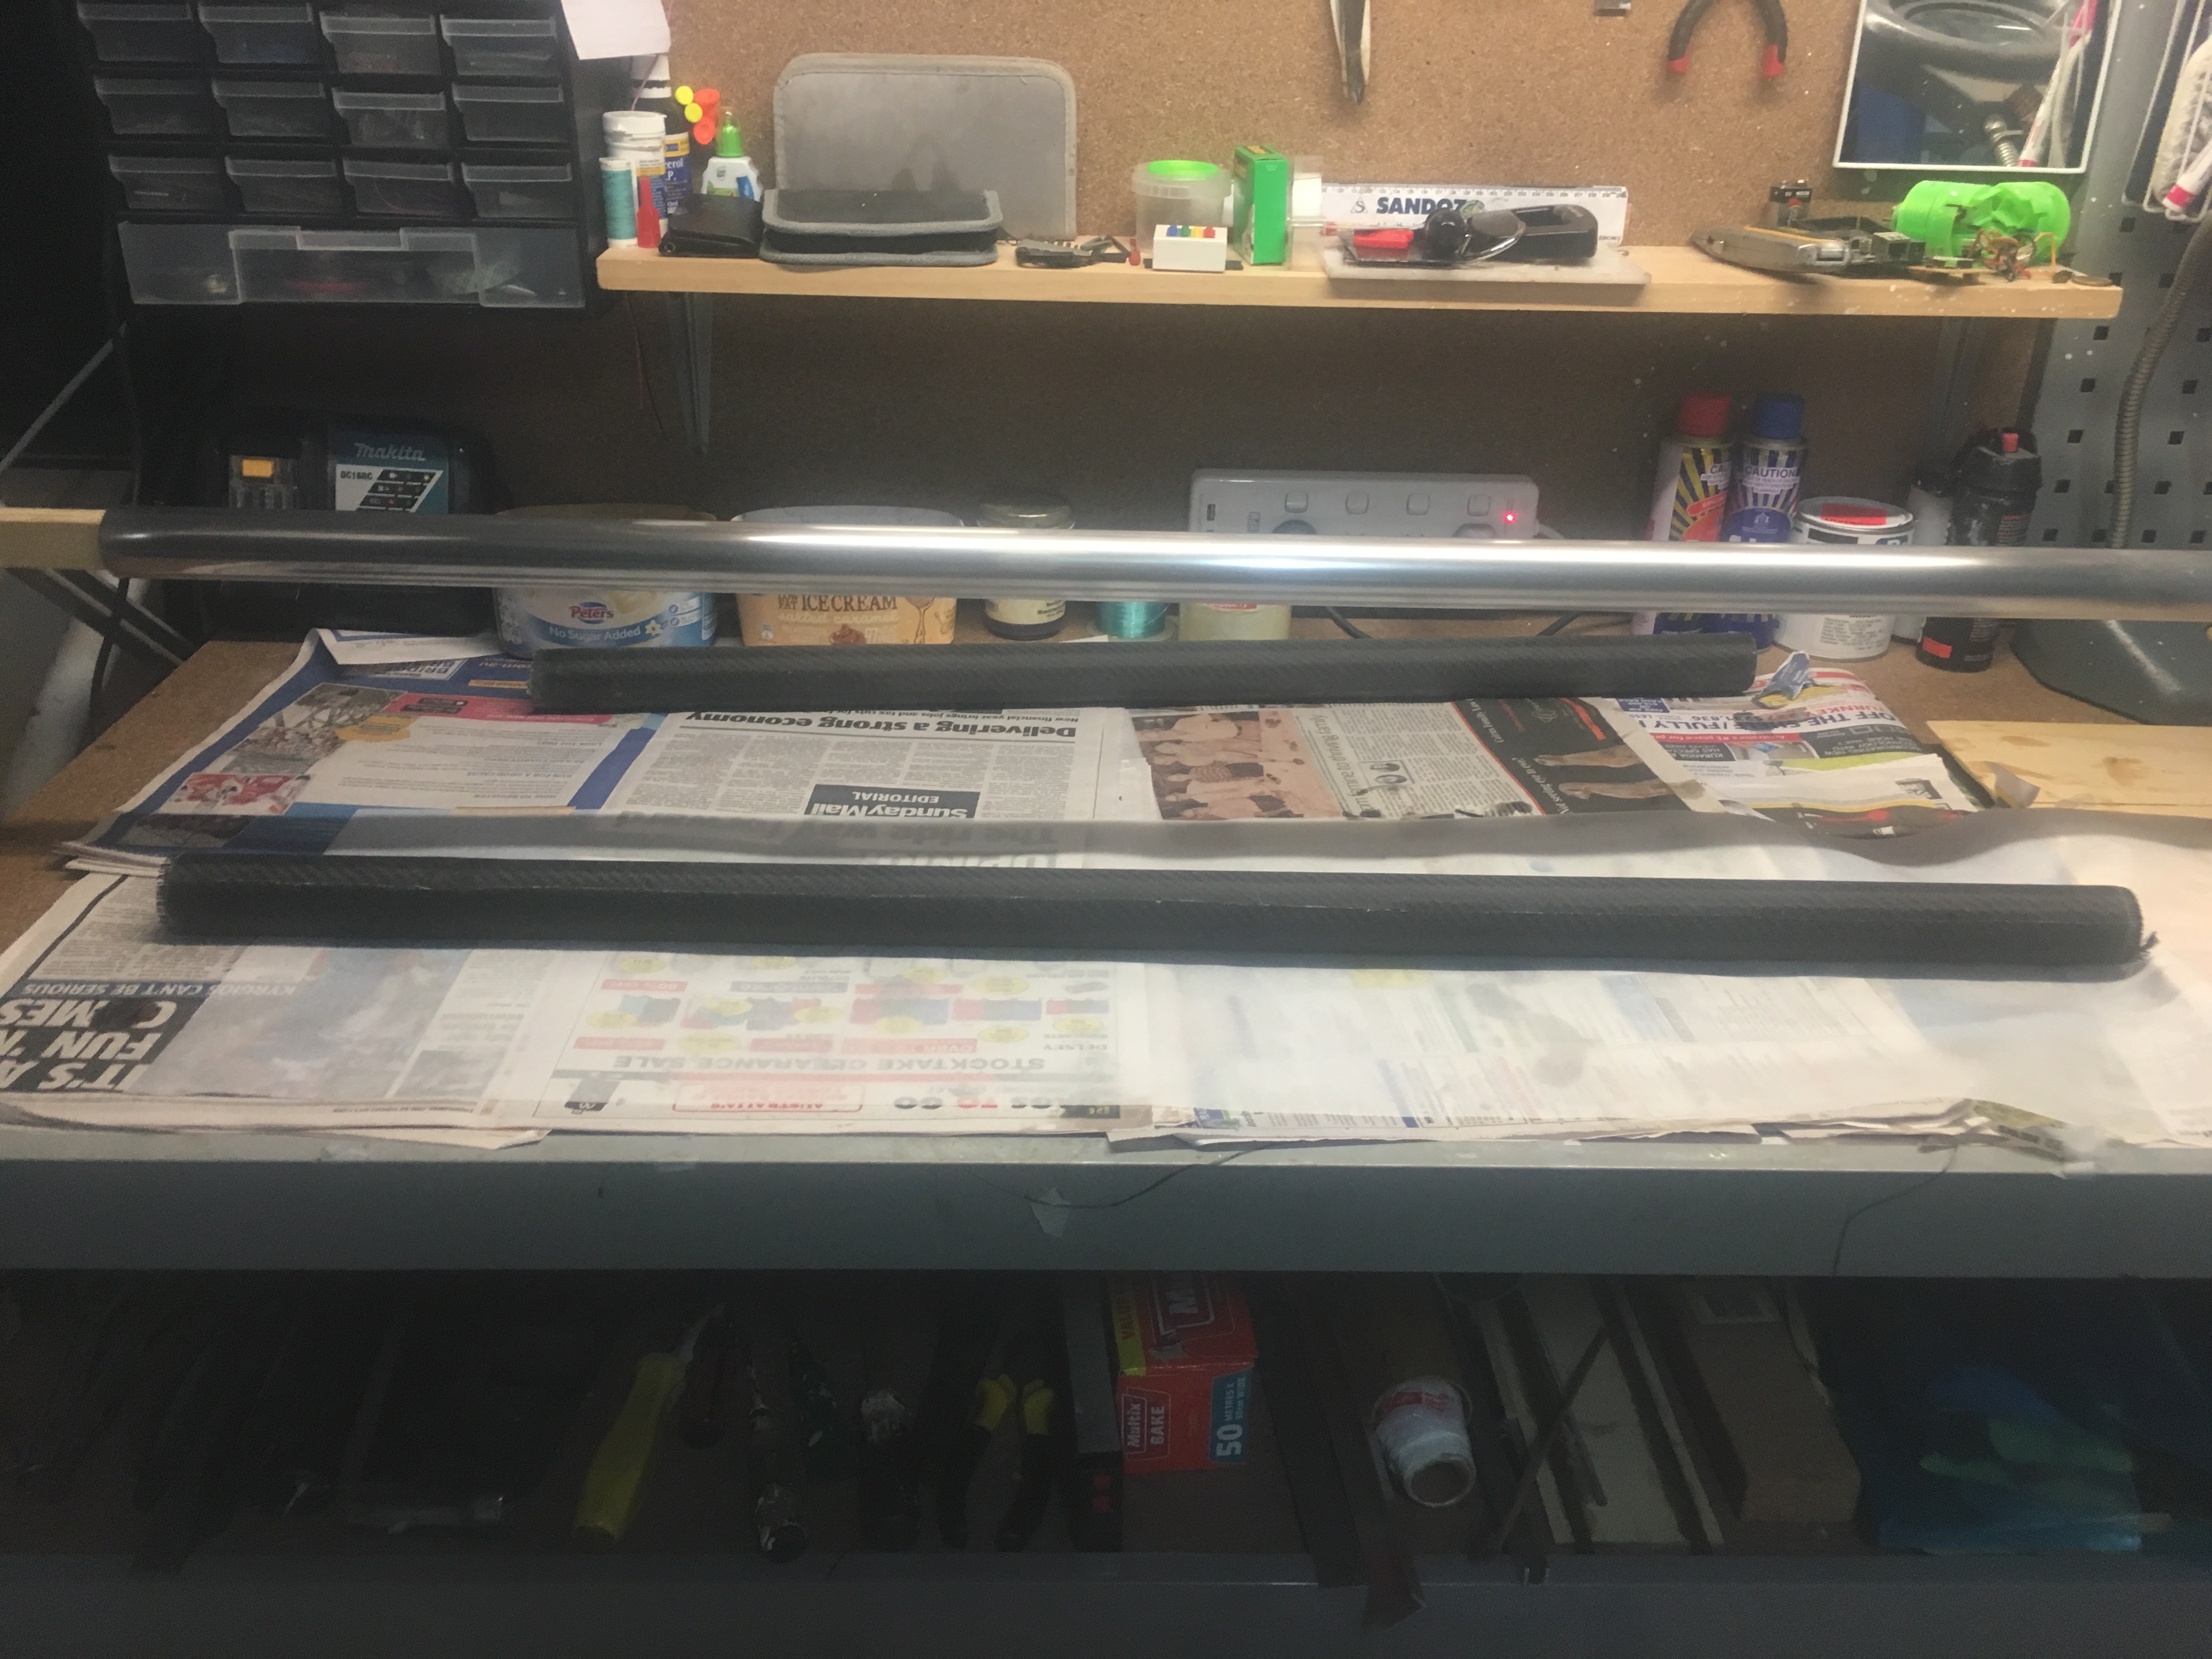
I have on my work-bench two posts at either end held in place using G-clamps. Then I have a sanded down length of wood with a Aluminium Mandrel that slides over this wood. The Mandrel is 38.10 mm in diameter and is 3 mm thick.
Mandrel preparation
The Mandrel was sanded using 120 right down to 1500 wet sanded. I then cleaned it with Methylated spirits and then I used Brasso to bring up a really nice shine. Then I cleaned it again with Methlyated spirits and paper towels. I did many goes over this to ensure there was absolutely no grime at all. On the left hand side of the Mandrel I beveled the edge to ensure there was nothing sticking out that might stop me sliding off the air-frame.

NOTE: Brasso is a Coles product in Australia. It is supposed to be for Brass, Steel, etc, but Not Aluminium. It’s sister product Silvo is meant to be for Aluminium, but I found Brasso did a much better job.
After the mandrel was cleaned up, I got some Glad Bake grease proof paper and cut to the following dimensions:-
1300mm x 280mm
This was wrapped around the Mandrel length-wise so that it went around twice + ~10mm. It was then glued to itself using a GlueStick. I confirmed that it was reasonably tight and could slide. The left hand side is the end I get the Air-frame off.
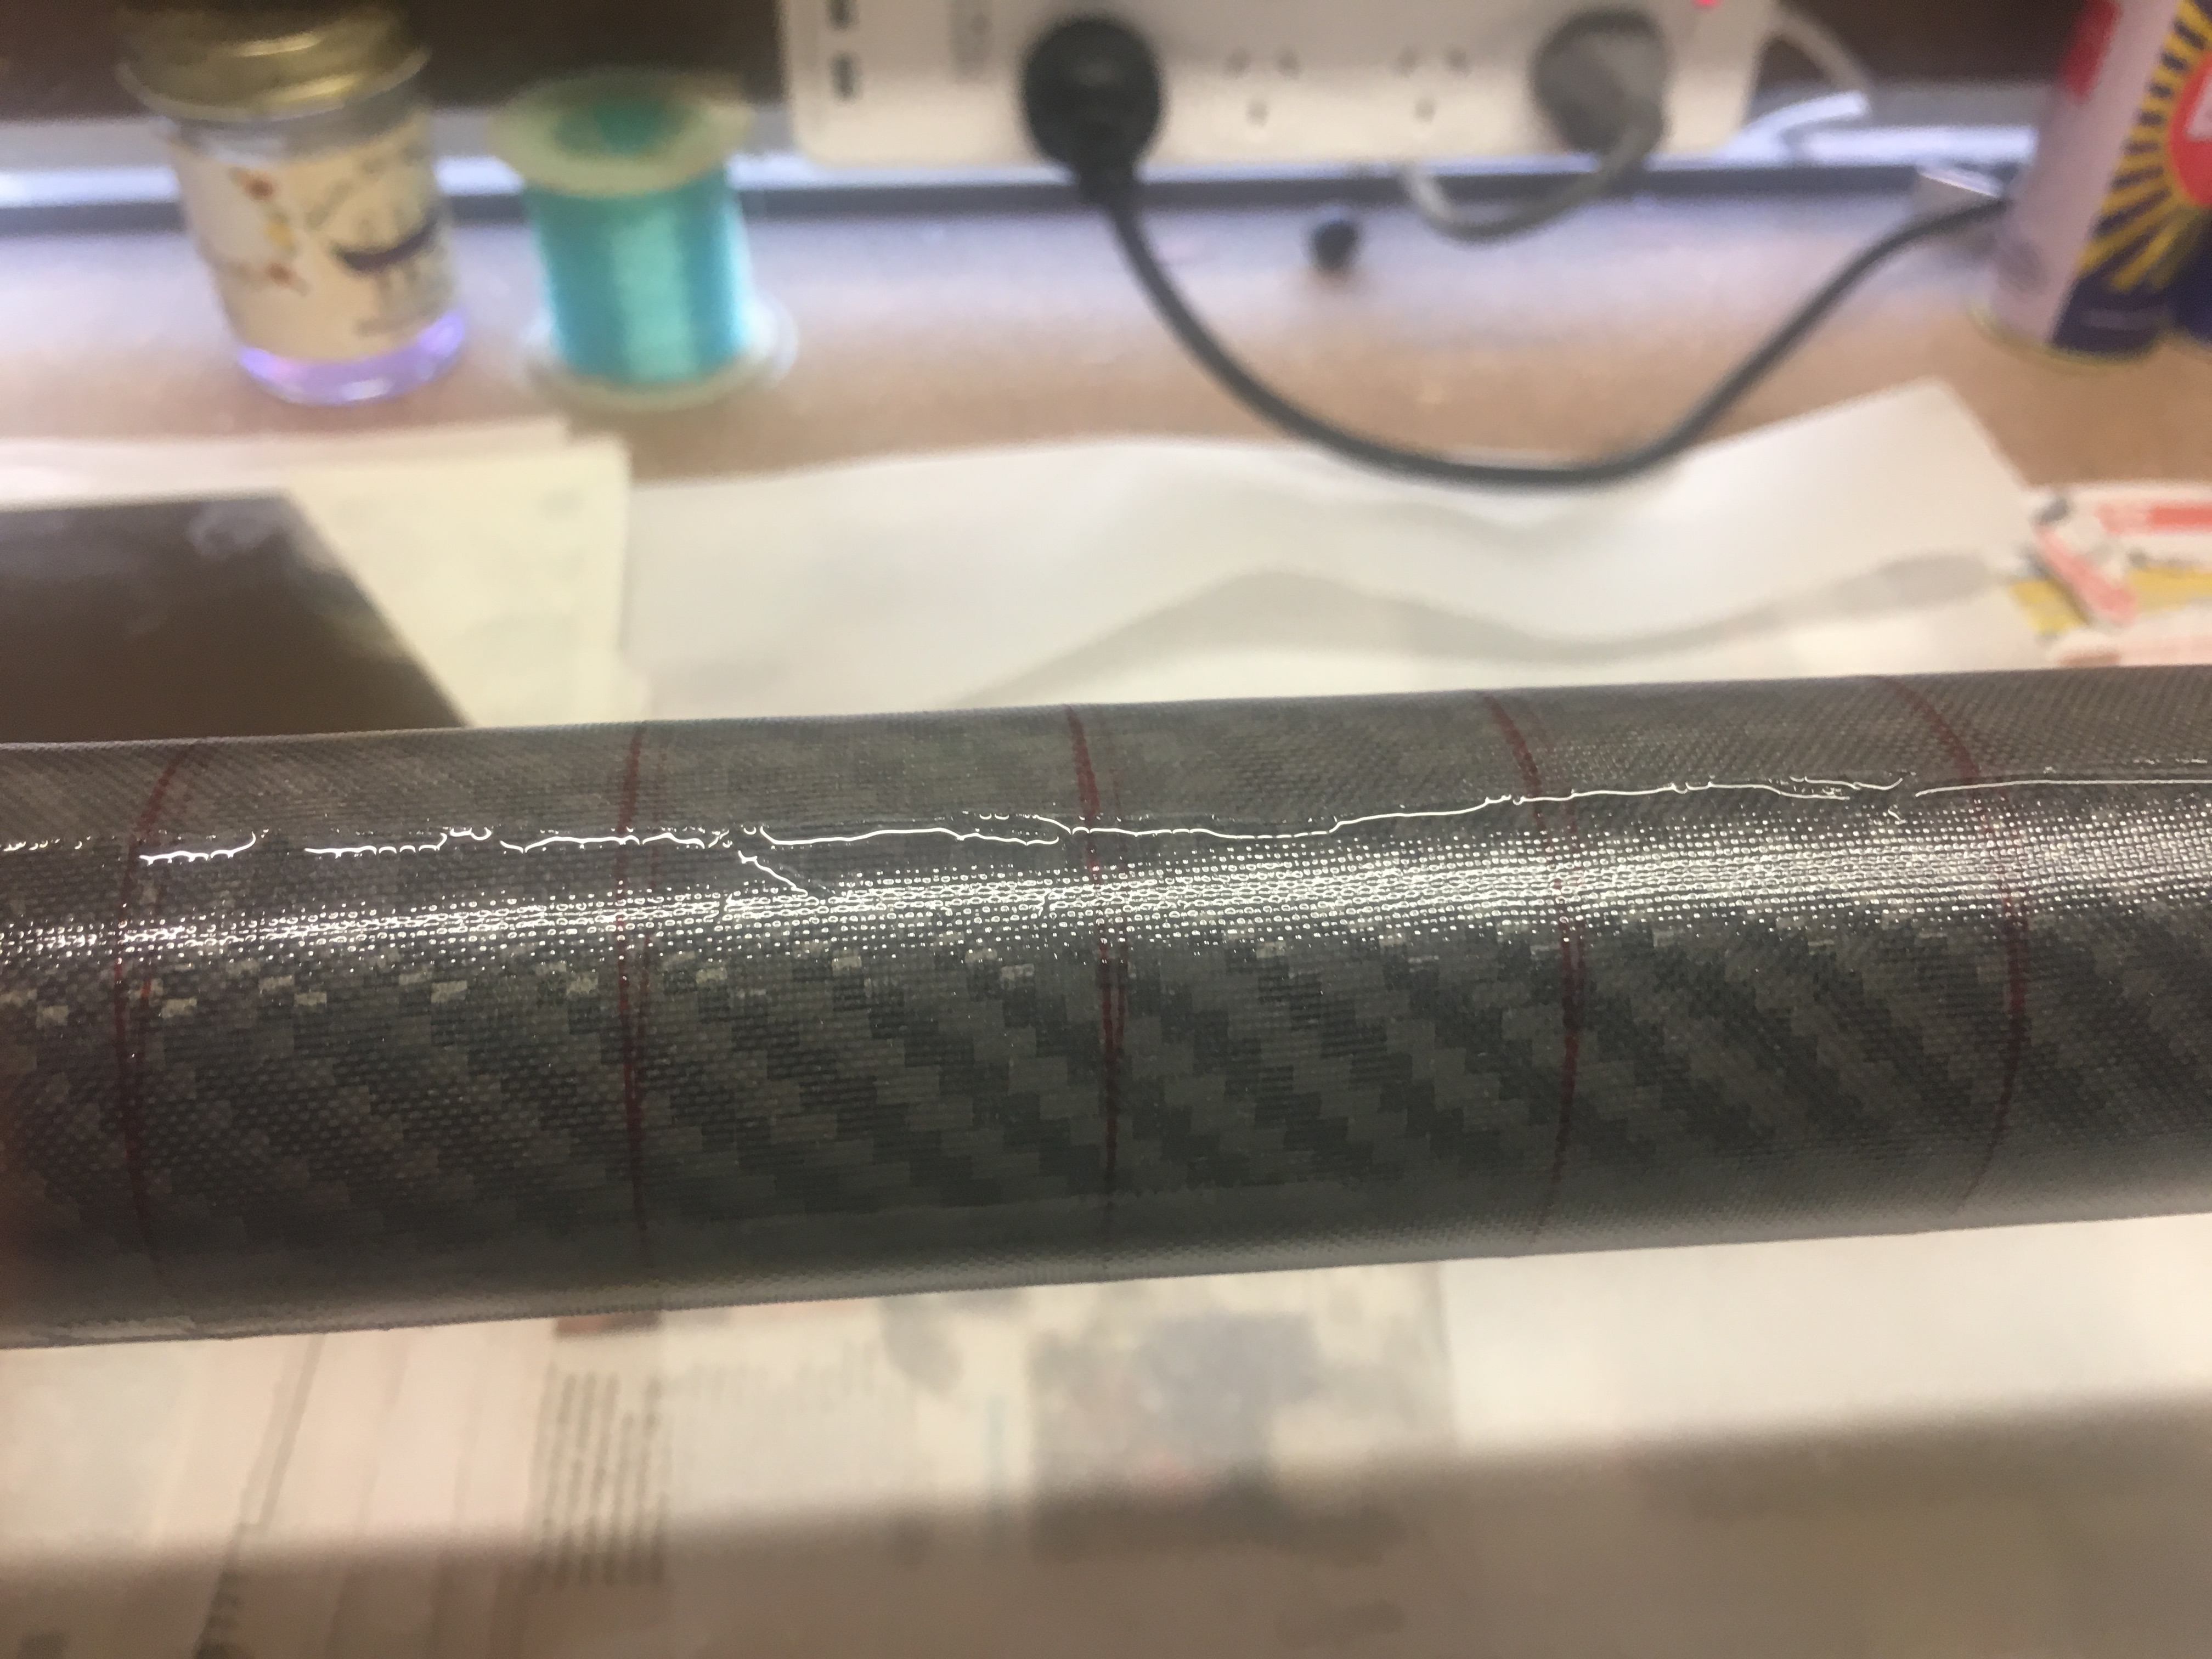
The Peel Ply
I use Nylon Peel Ply.

It has a red-trace about every 50mm through it. I cut approximately 300mm of it off the 1270mm reel of material. I then used my USB heat gun device (that came with the 3-D printer) to cut off the 20mm off one of the long edges to give us a straight edge with no loose threads. I then did the same with the other long side so that I had the Peel Ply with dimensions 1270mm x 265mm – with no loose threads.
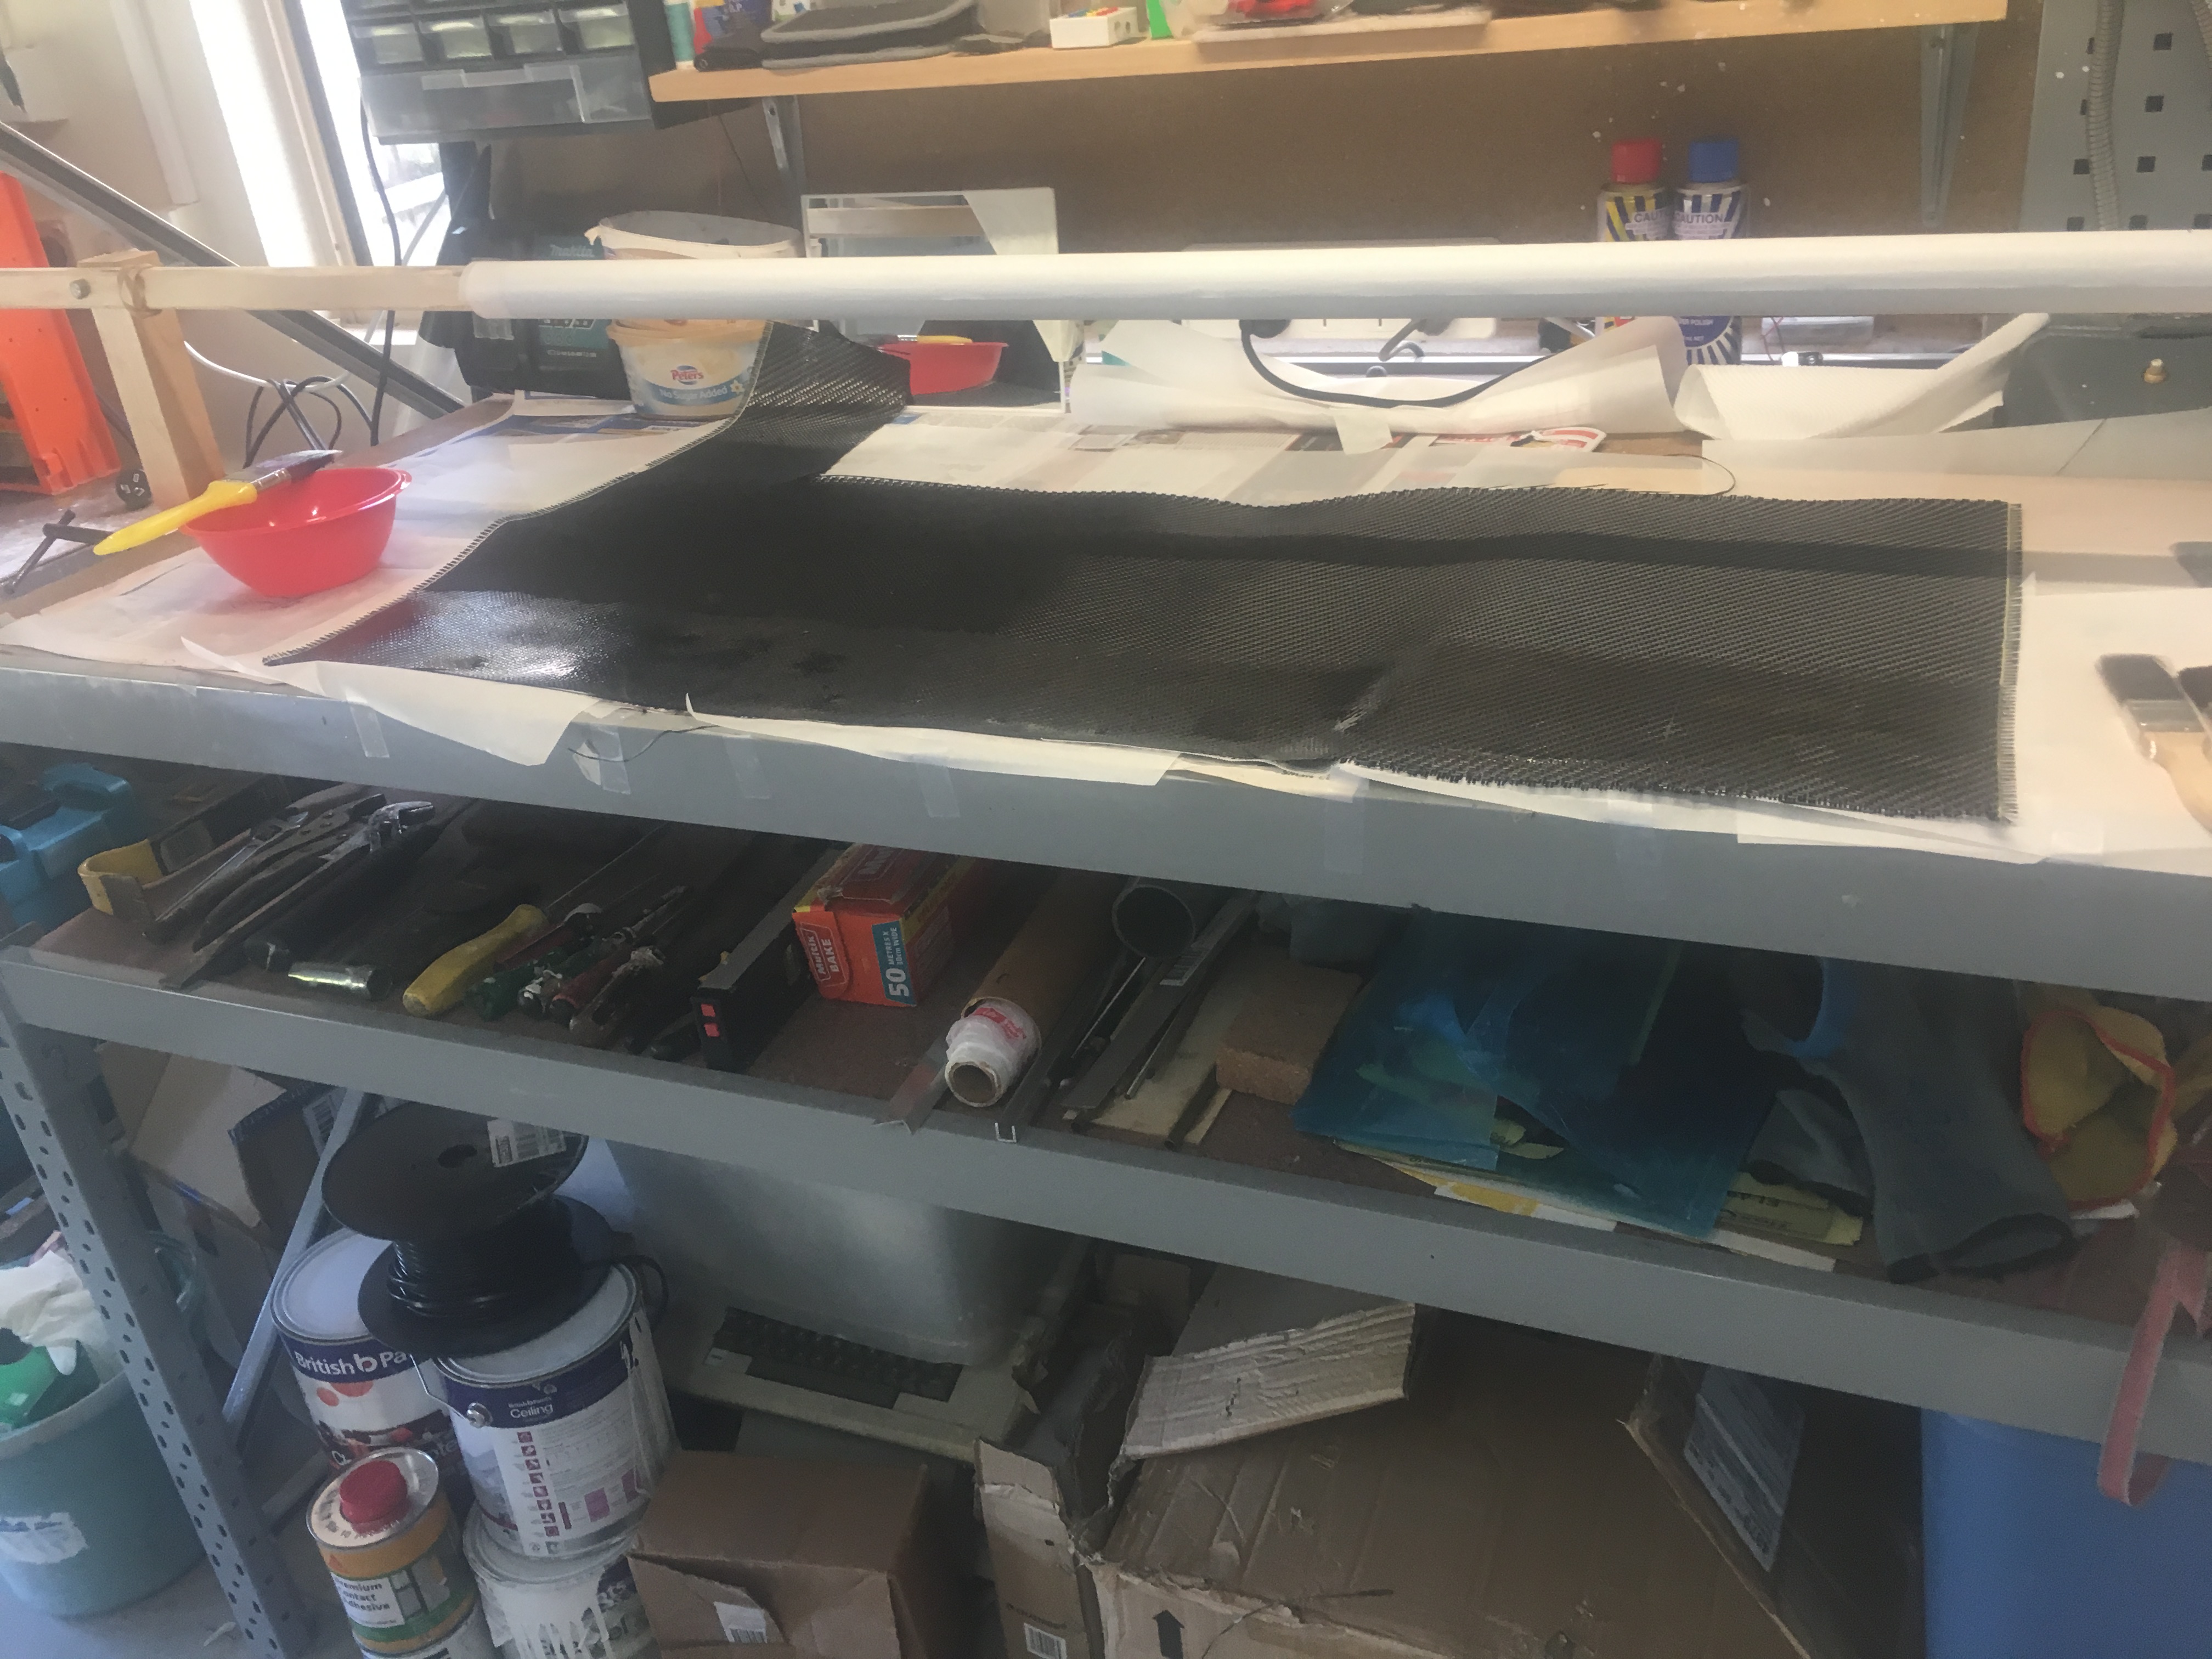
The Carbon Fibre fabric
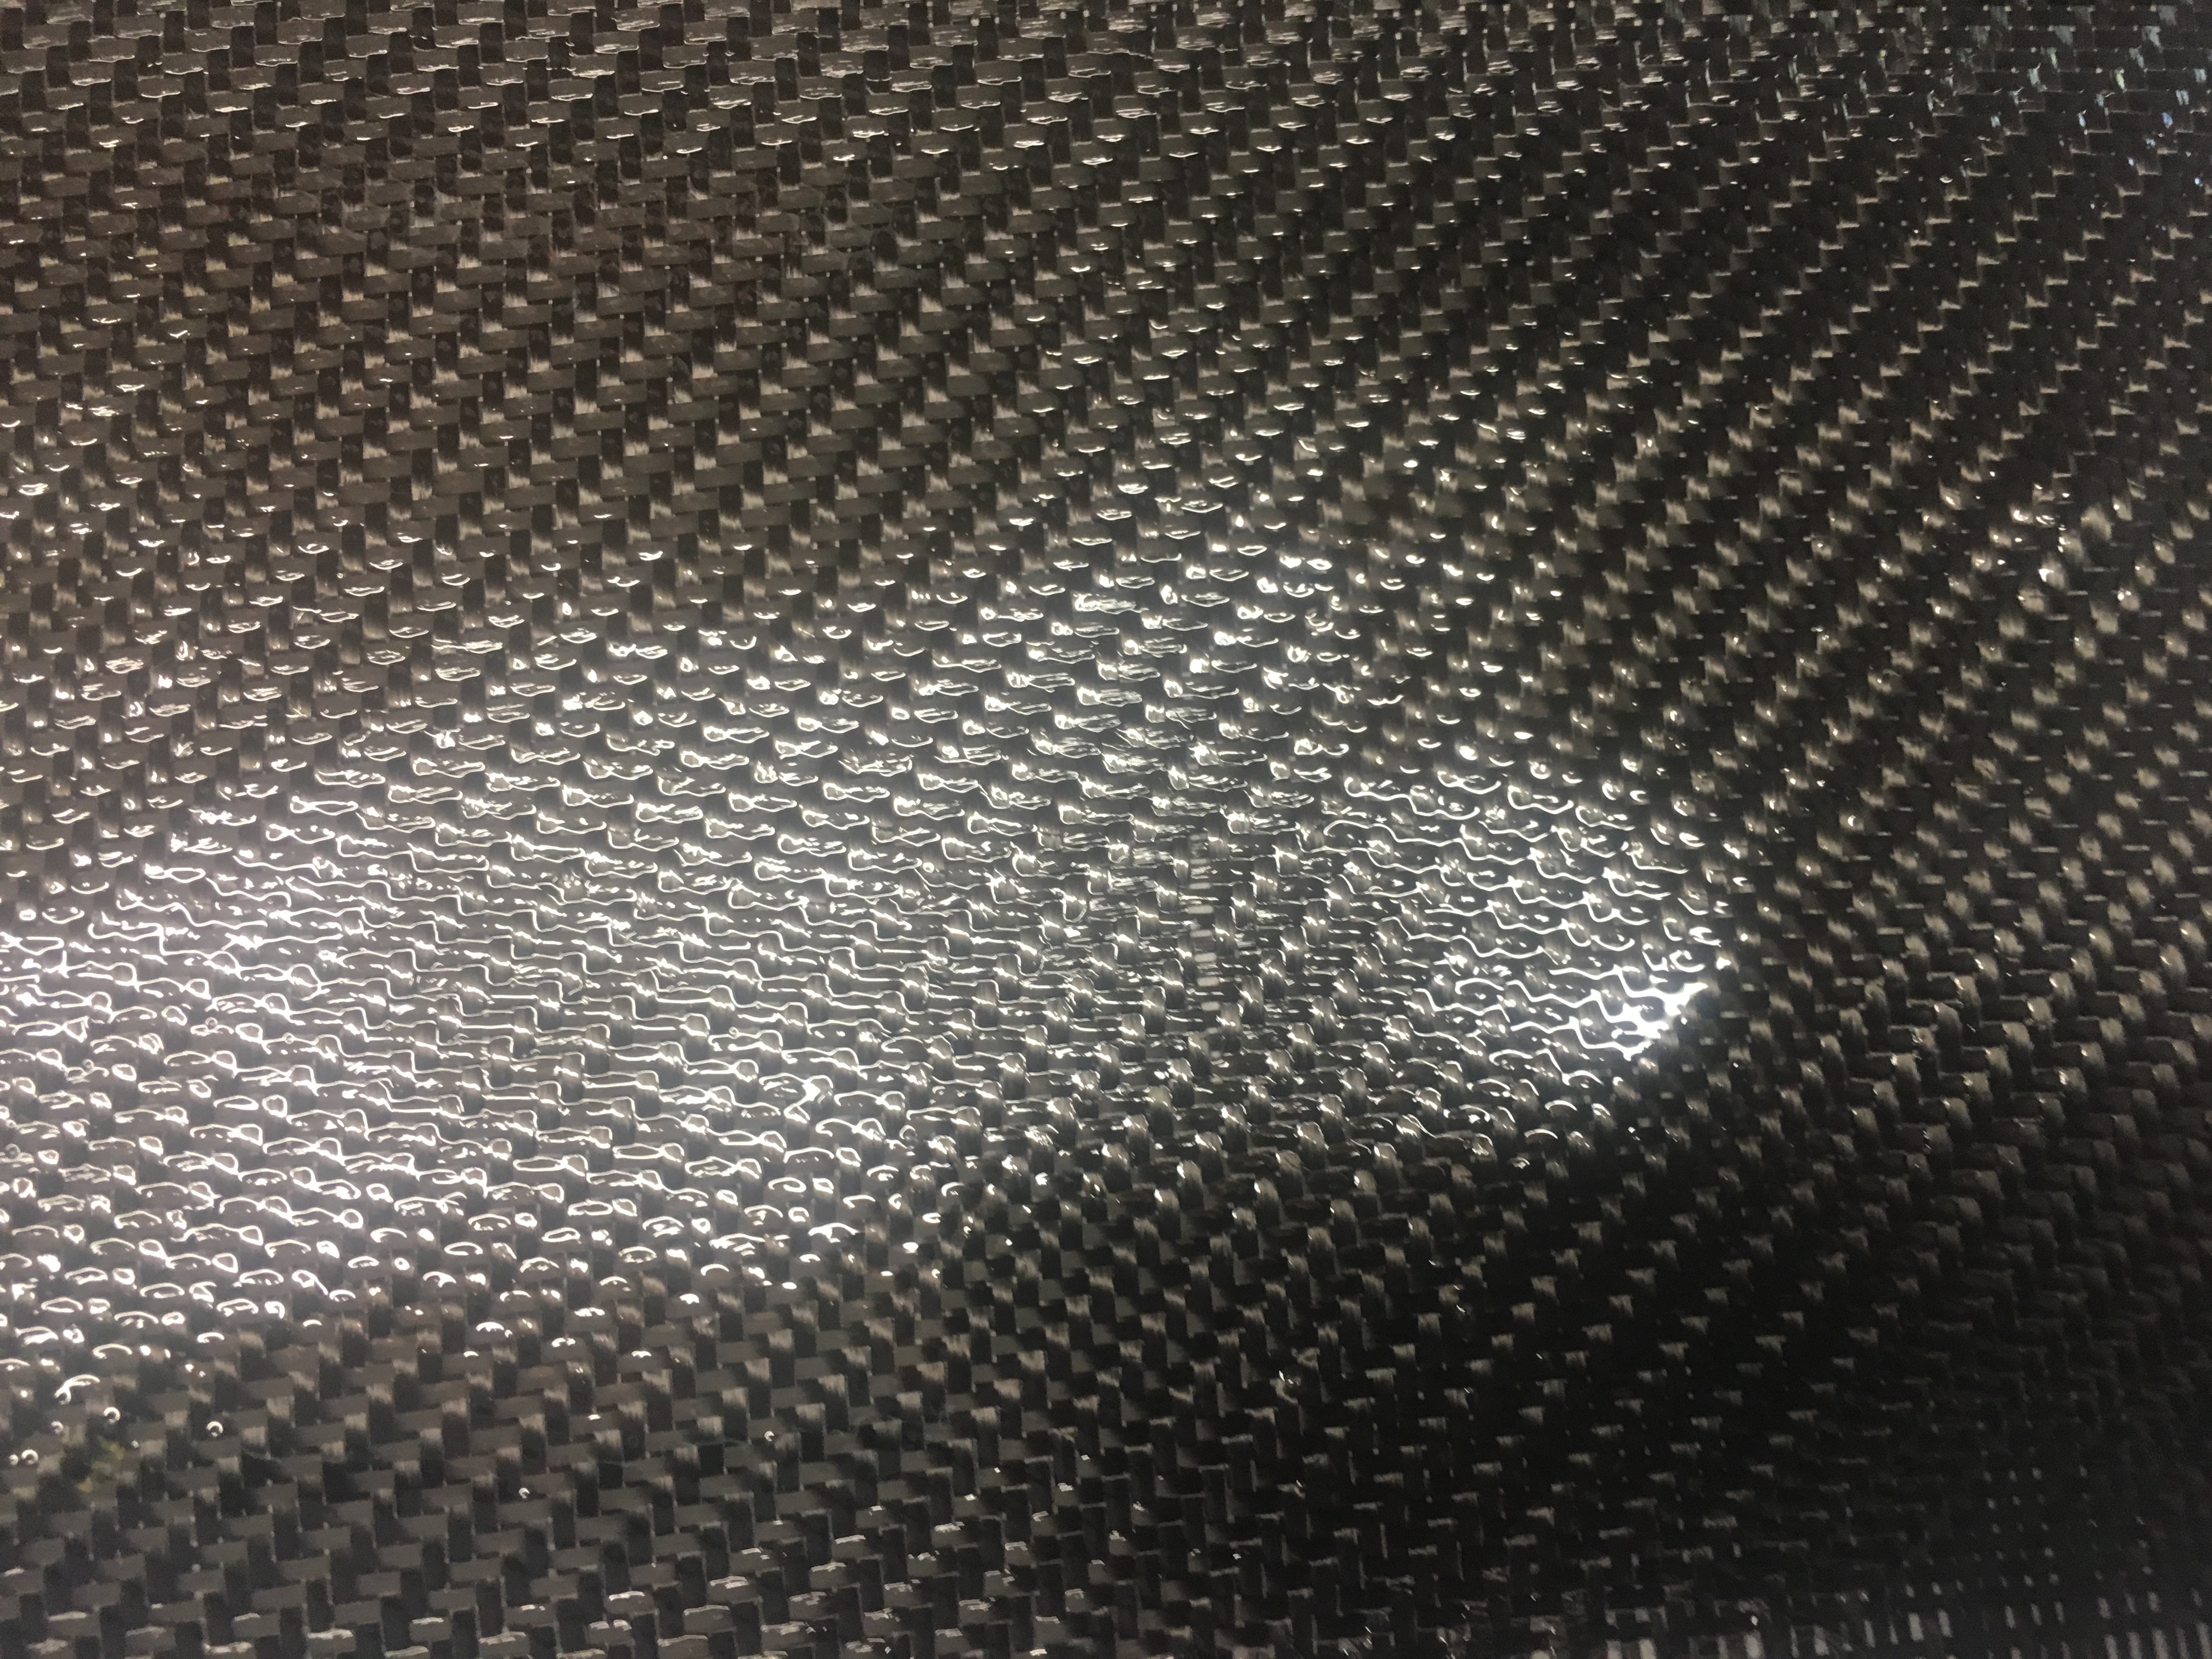
The fabric I used is Twill 2×2. It is a weave that a lot of other people use.
Then I cut the Carbon Fibre fabric from the 5meter roll. I took GREAT care when doing this work. I did this all on the ground and because tidiness is so important, I vacuumed the ground before hand. I then measured out the fabric to look like the following.
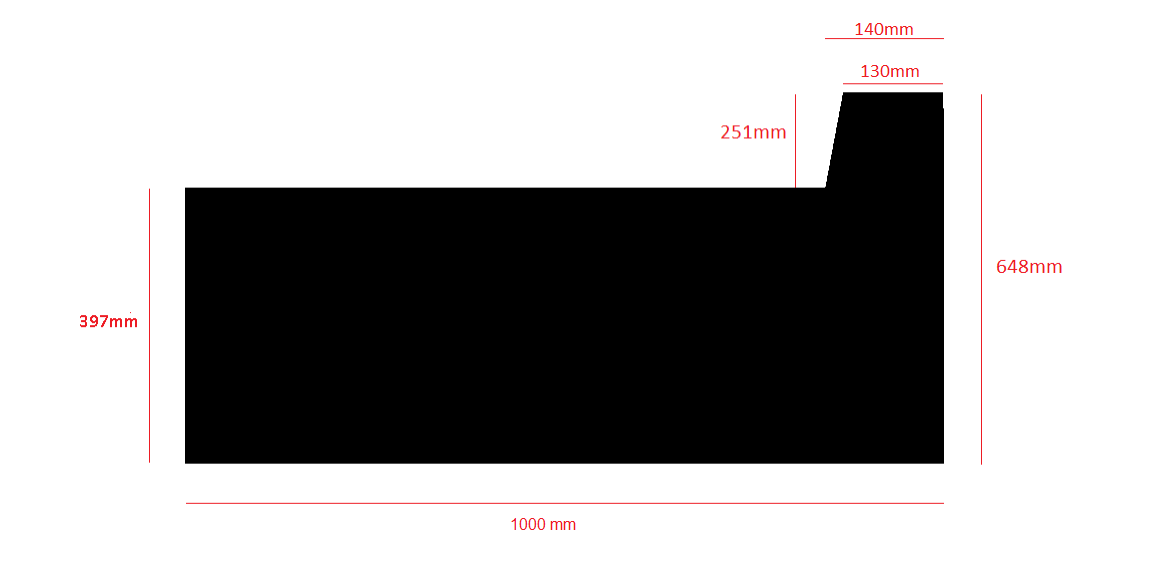
After it was cut, I weight it. It came in at 83 grams. You will notice that on the right side, the fabric is a bit wider. This is so the base of the air-frame is slightly greater diameter, so the rear closure is smaller diameter than the Air-frame. This will make two stage (where this is the second stage) a lot easier.
The epoxy
I used K3600 Renlam epoxy. I made three lots of epoxy because I ran out. Batch sizes were:-
- 132grams
- 40 grams
- 35 grams
After making the first batch, I wetted out the first 120mm of the CF fabric. This was done to minimize dry spots that appear. And it worked!
The CF was sticking to the Glad Bake I had carefully laid out on the bench beforehand, but I was able to pull it away from the Glad Bake and put it on to the Mandrel. It took a few goes to get it all lined up on the Mandrel. Not an easy process. Then I was able to start applying more Epoxy.
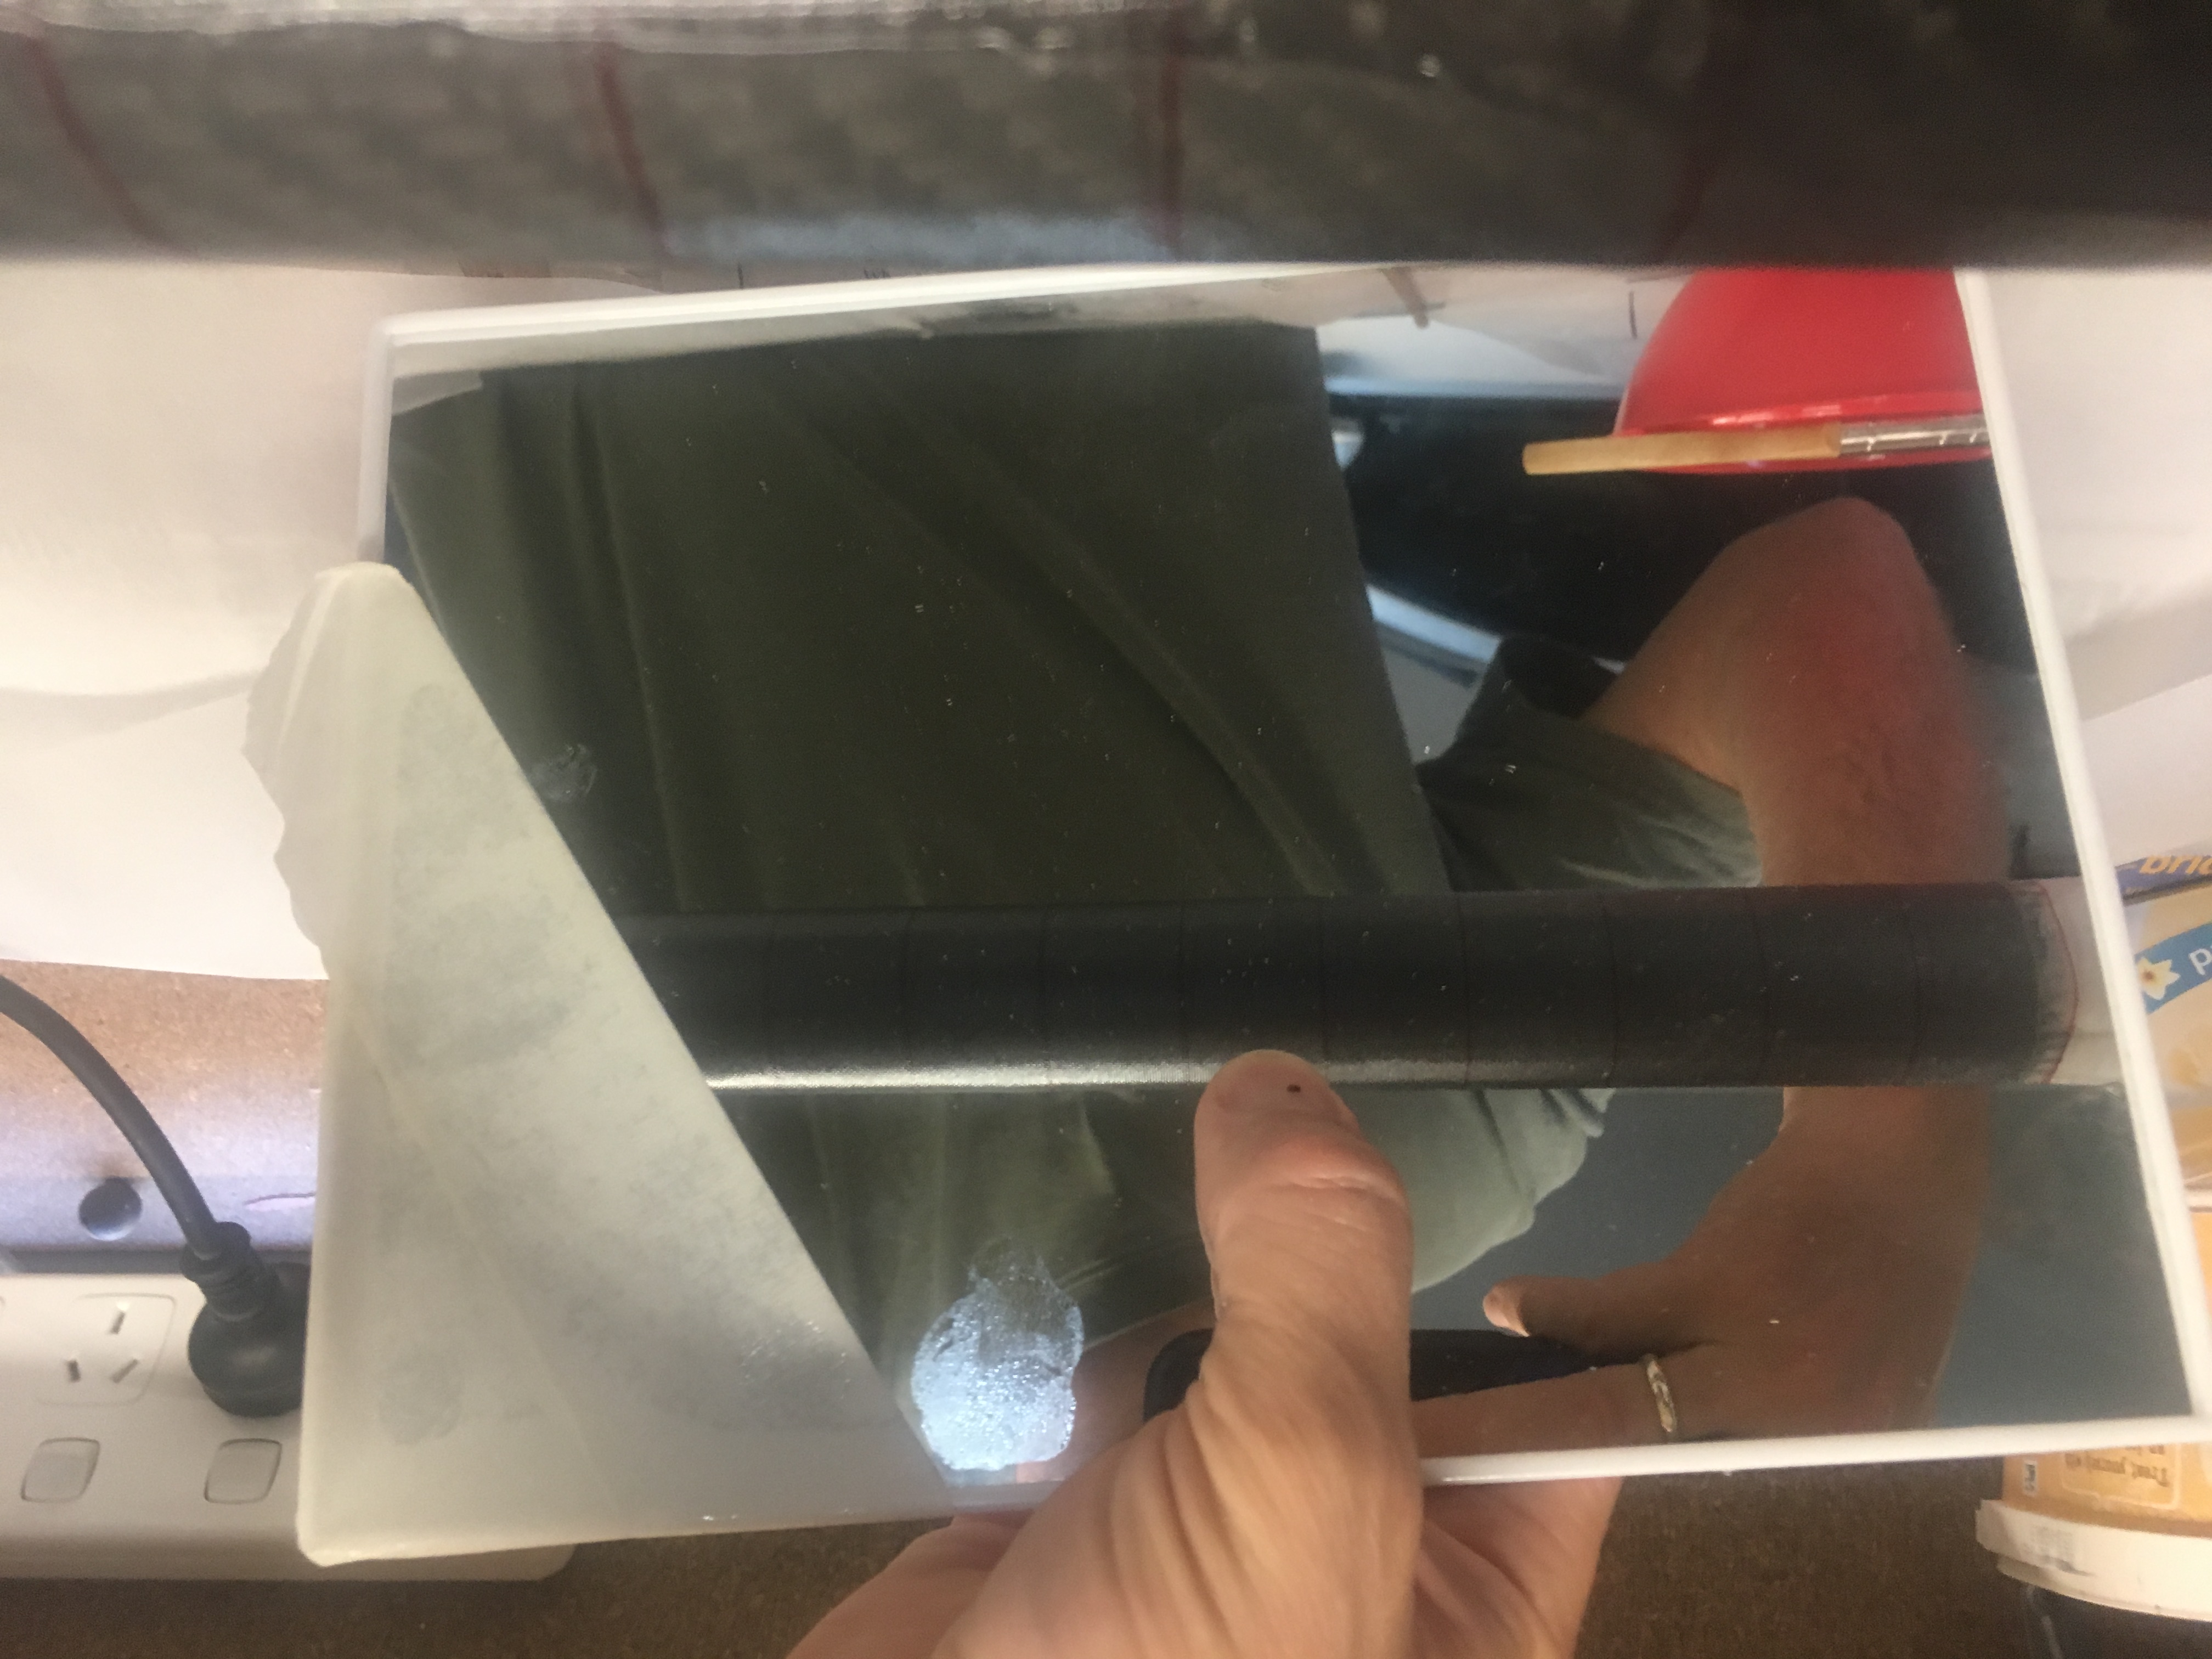
I spent a fair amount of time examining the tube after the rolling. I wanted to make sure I hadn’t missed anything.

Removal of the Air-Frame.
That evening (23:00), 12 hours after applying the Peel Ply, I removed the Air-frame off the Mandrel. It was quite easy. I removed the Glade Bake and I then removed the Peel Ply. The Glad Bake stuck to the inside of the air-frame, but I was able to tease it off with a piece of aluminium right-angle. I did a test fit of the motor casing. It fit well!
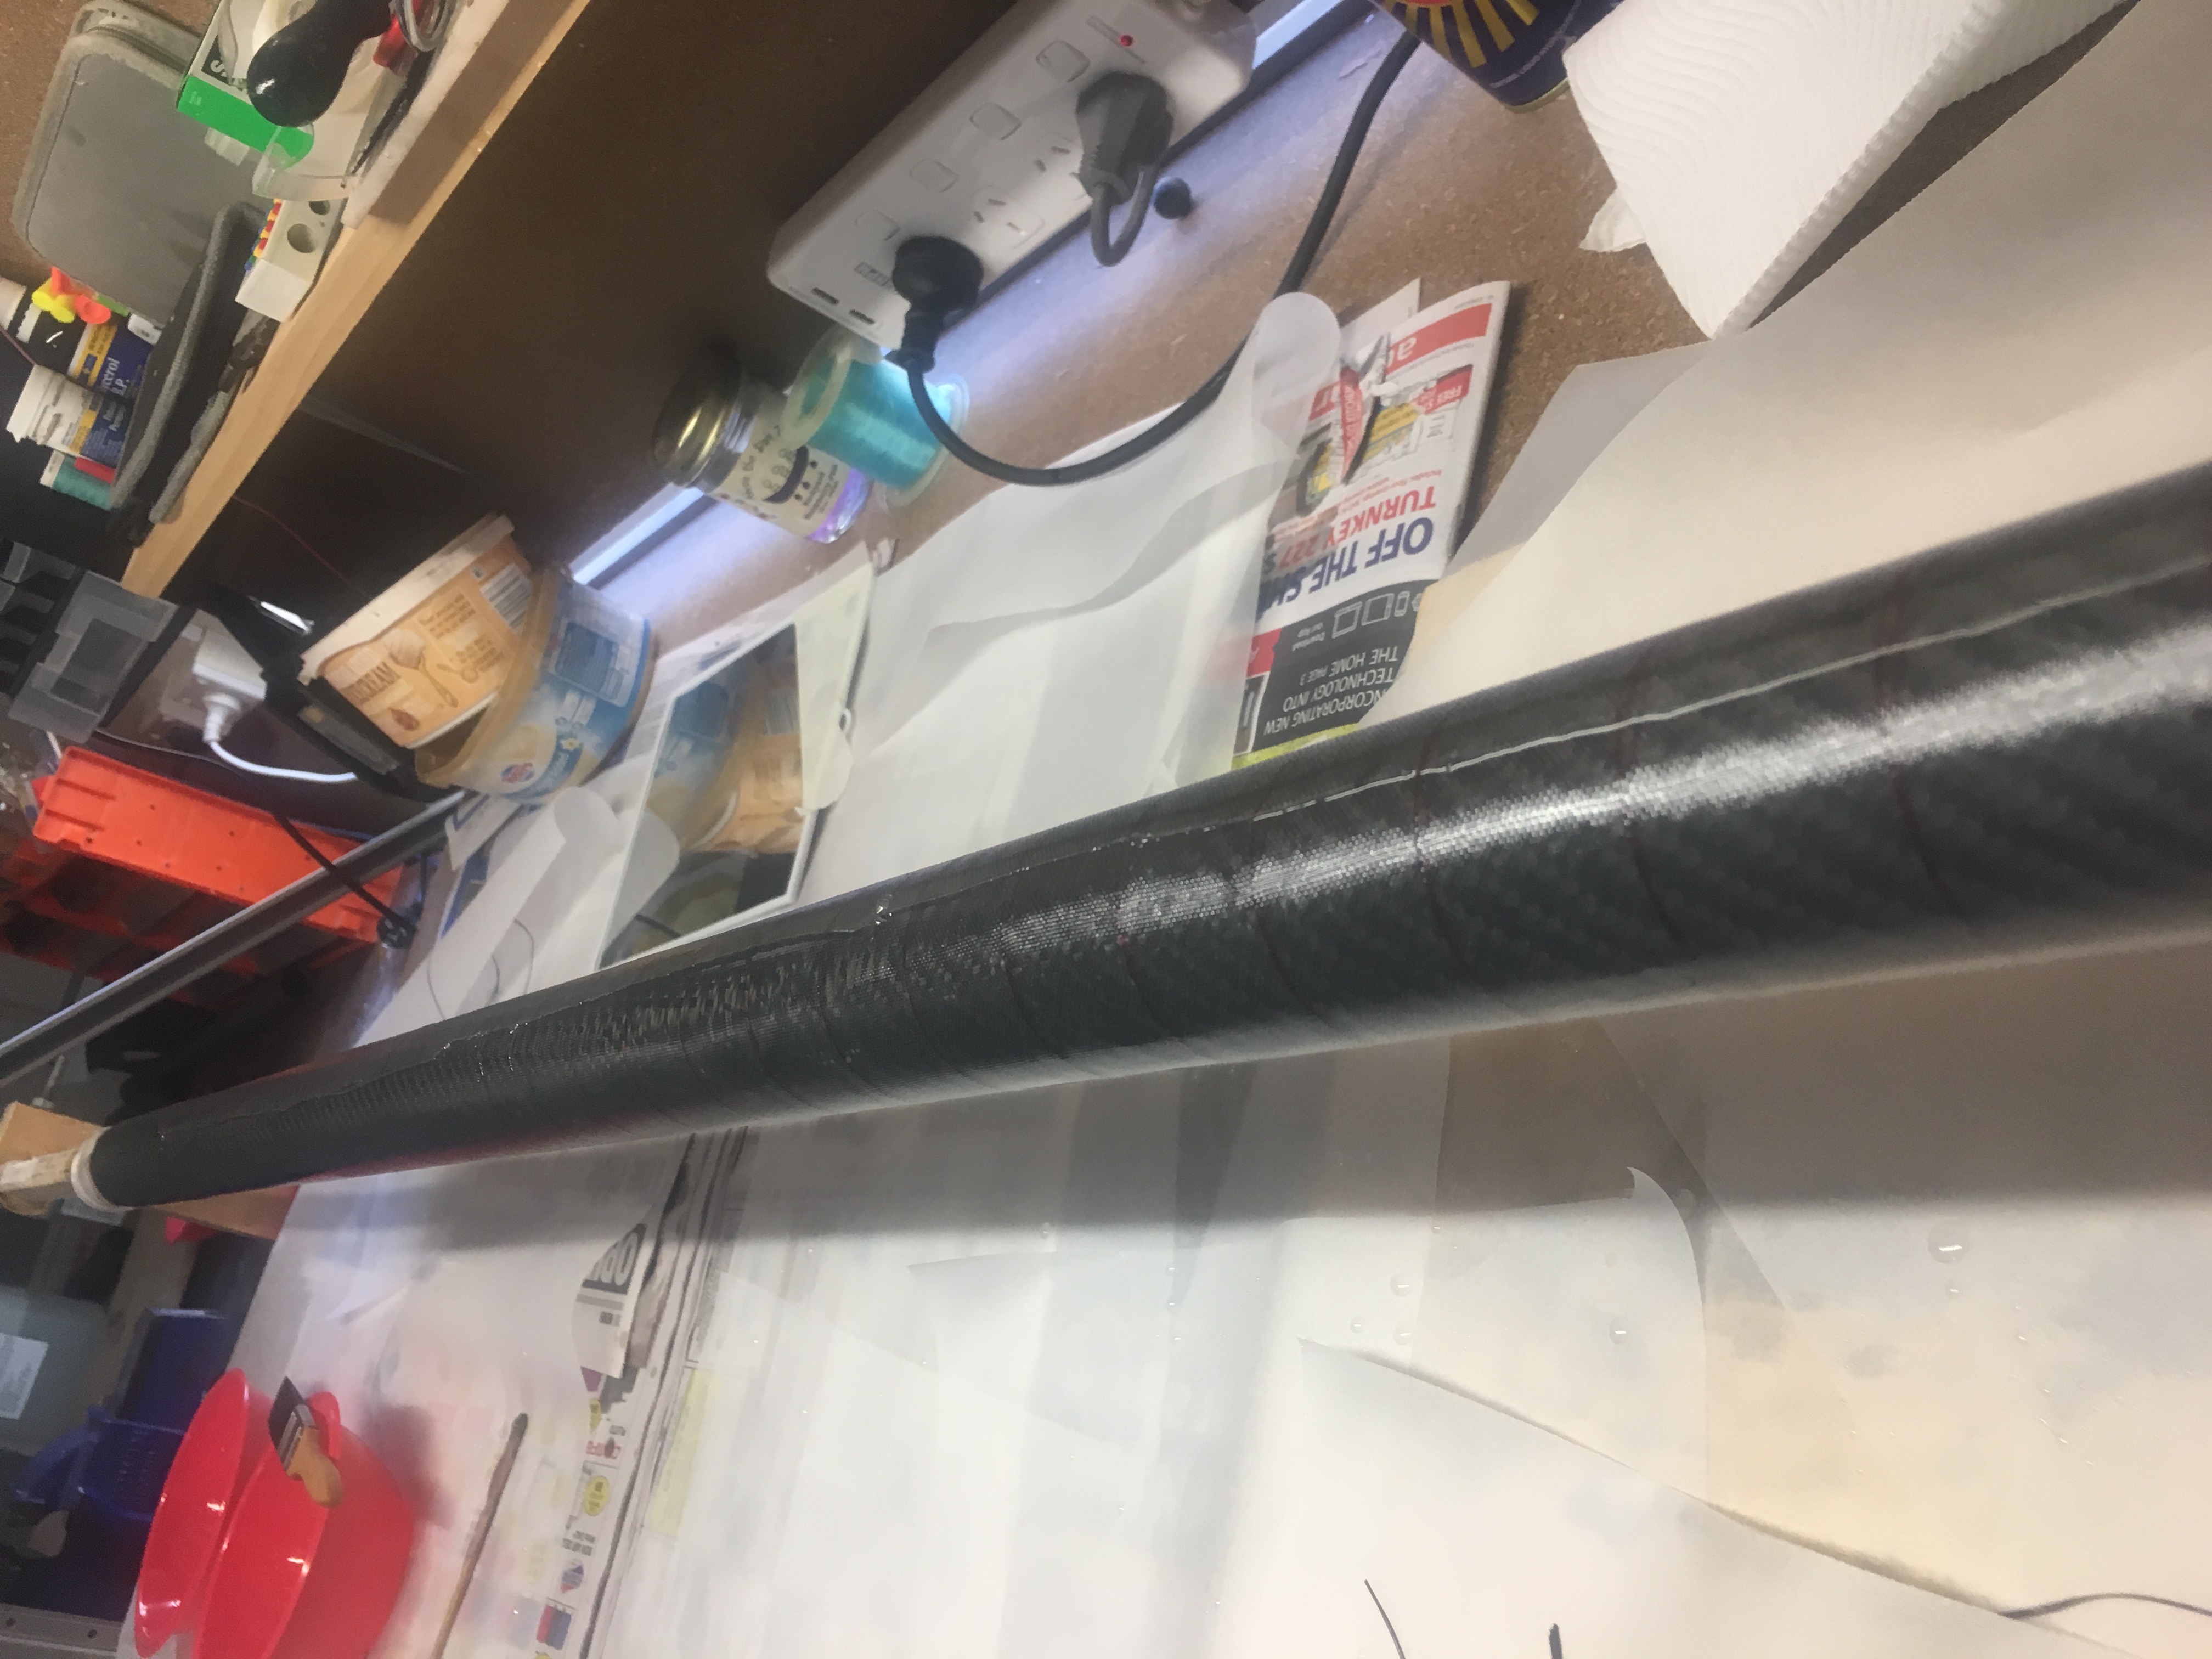
Then I set it aside in my office in vertical orientation to cure for about 48 hrs.
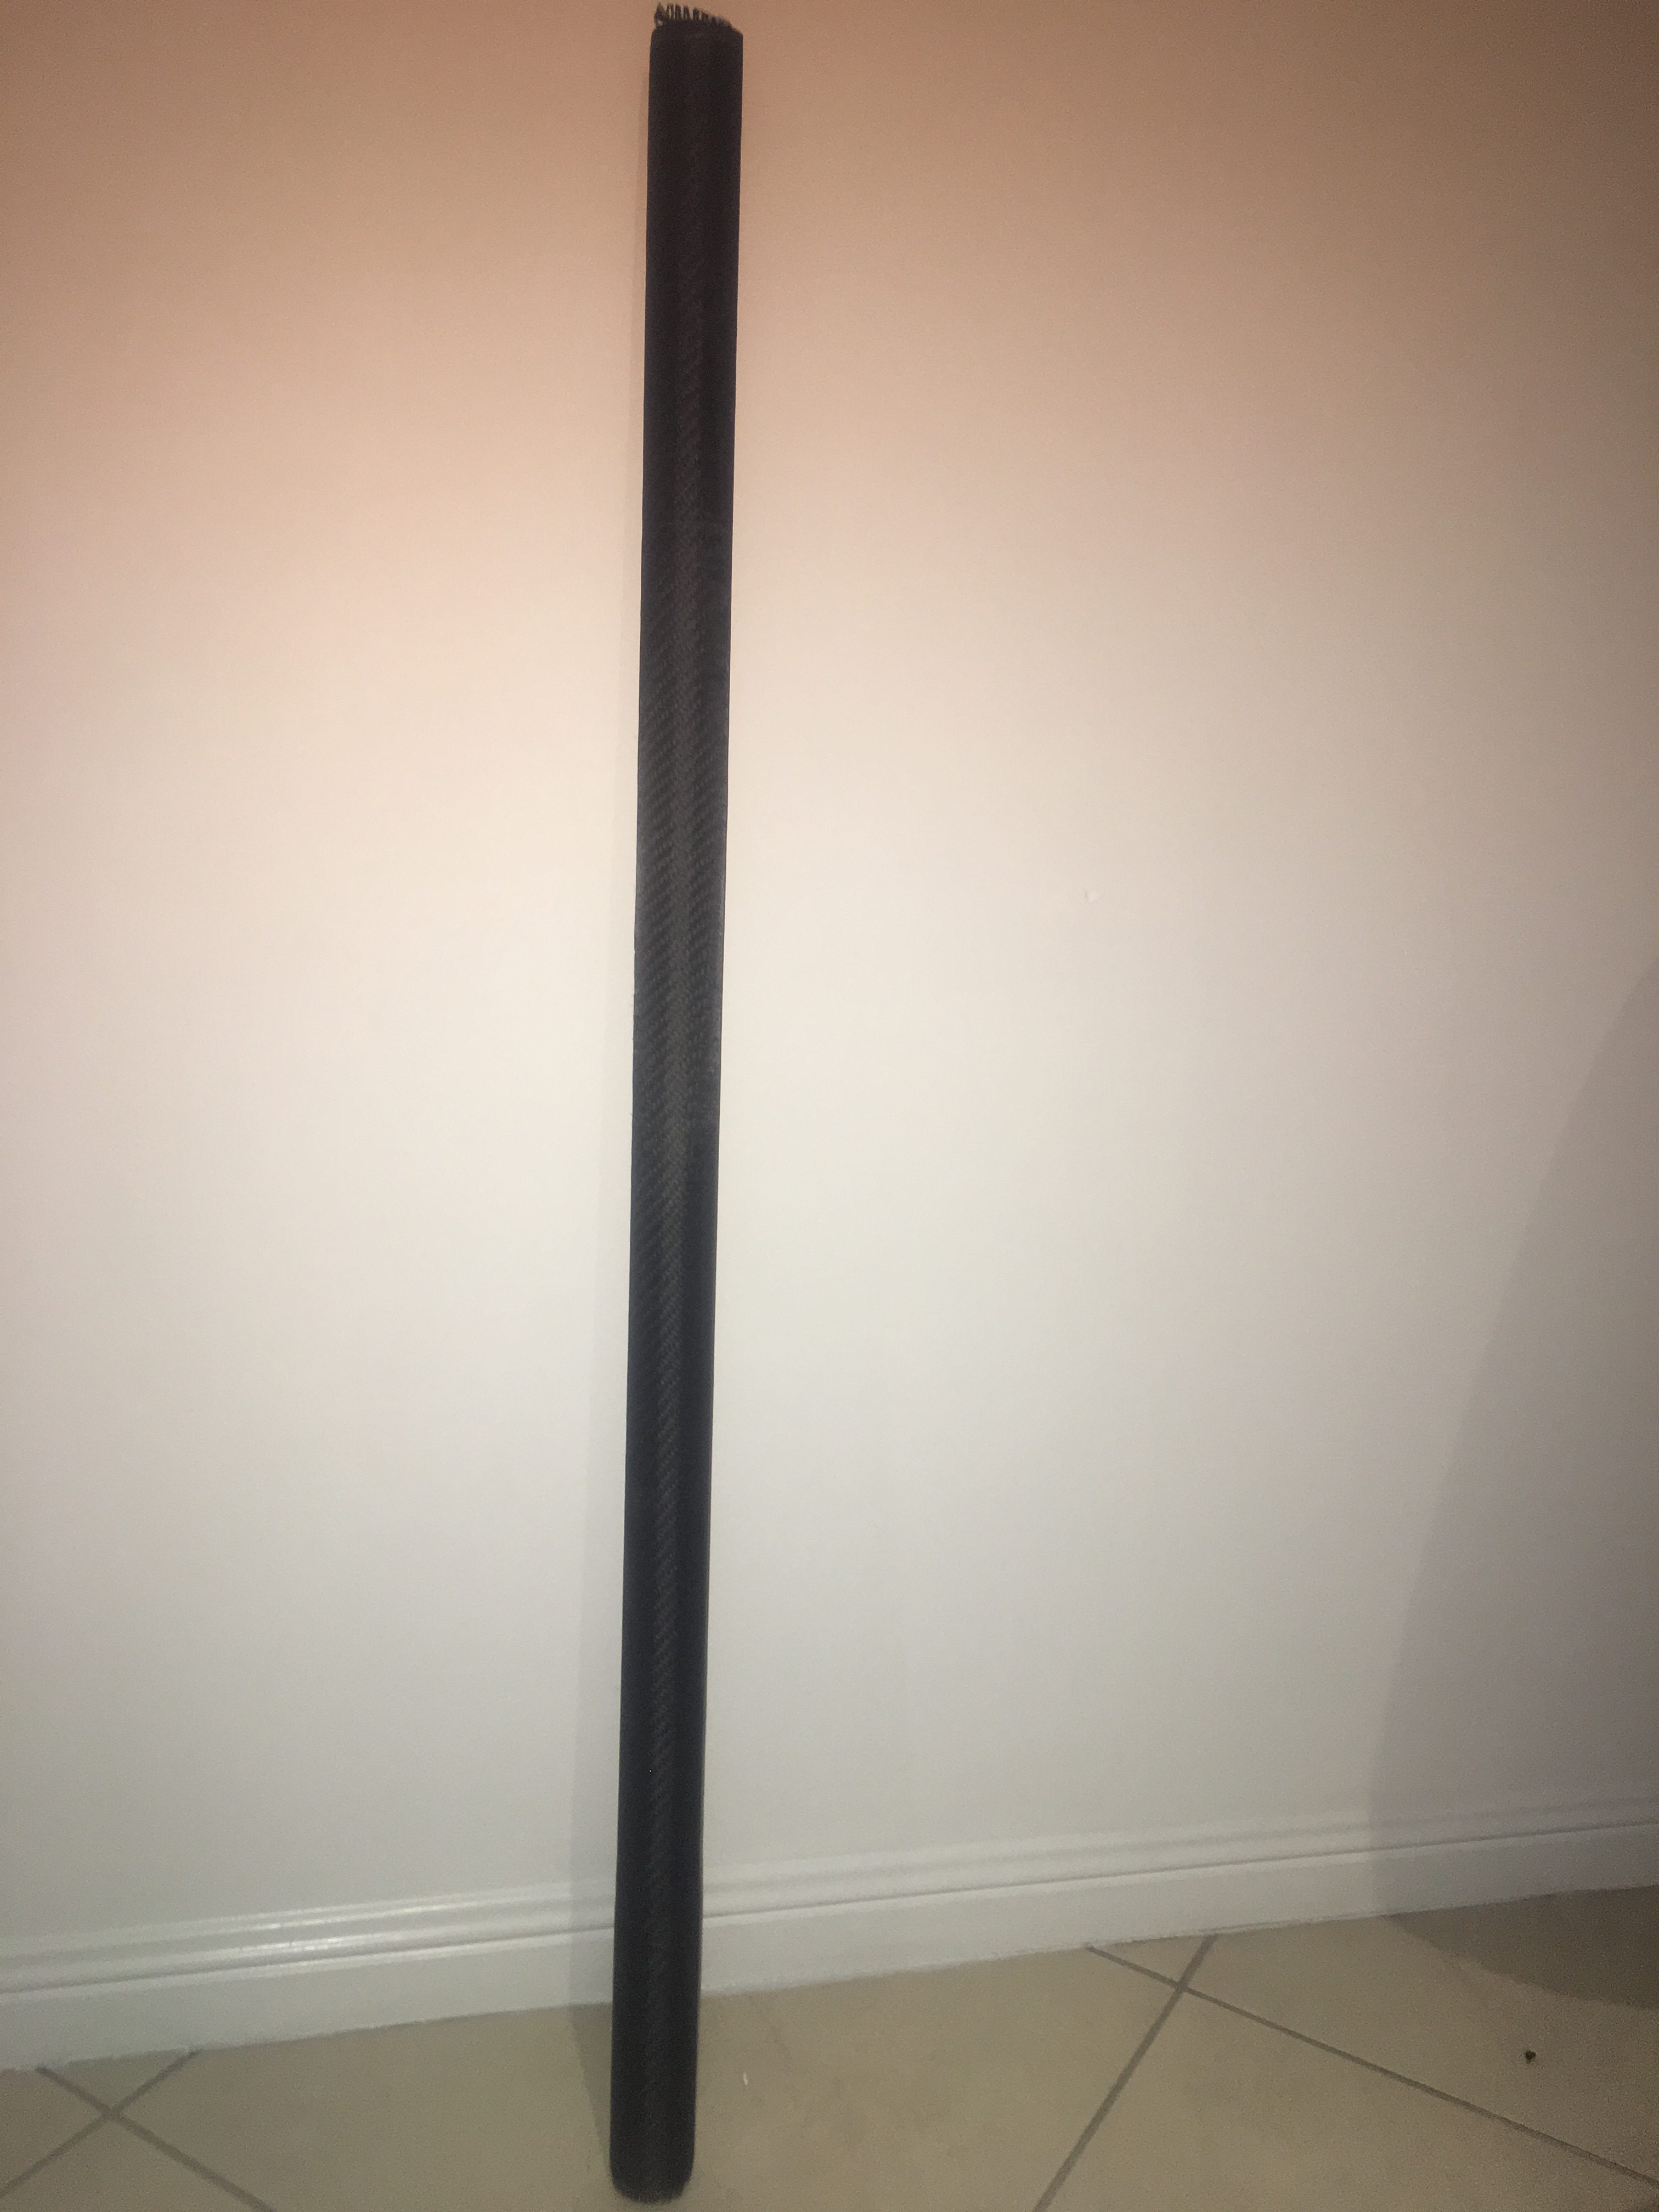
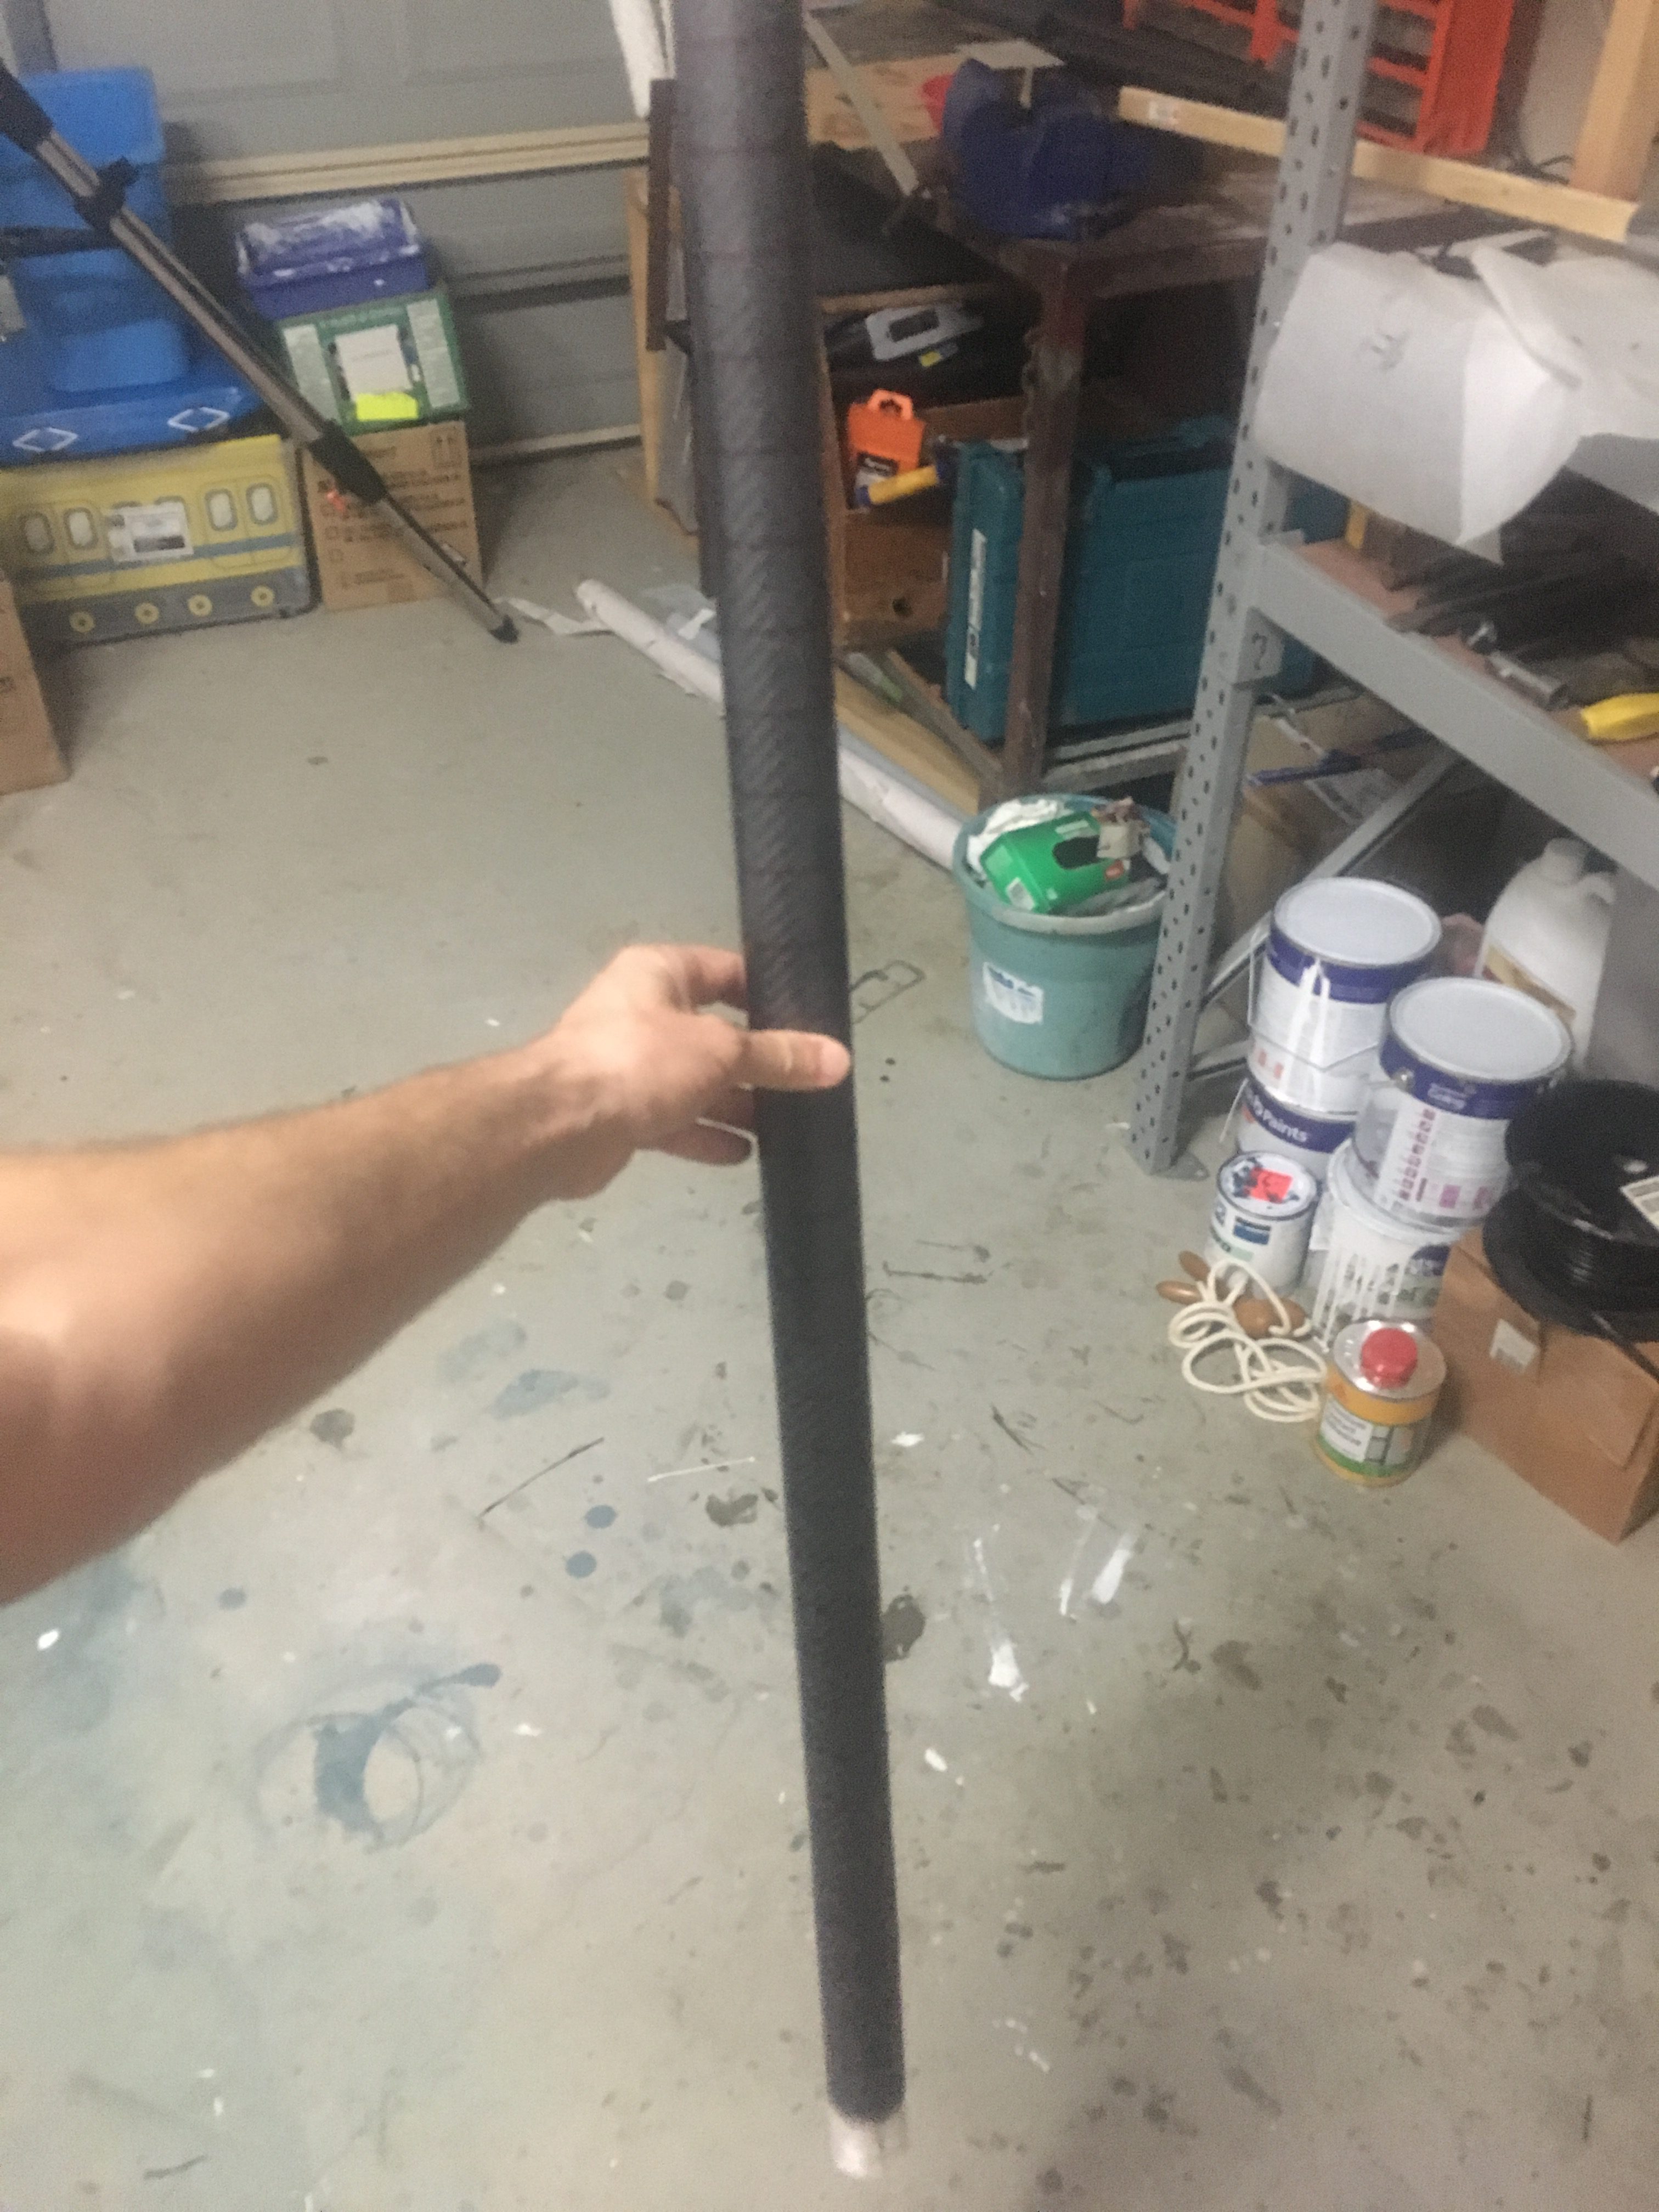
Here are some photos of the finished tube.