Category Archives: BumbleBee

Trial Carbon Fibre Layup

Did a trial run doing a layup of Carbon Fibre on to G10 material on the weekend.

Layup consisted of:-
* Small piece of G10 material “roughed up” with Grit 60 sand paper,
* Two layers of CF
* Two pieces of Nylon Peel Ply
* K3600 Renlam Epoxy

The first piece of carbon fibre extended past the edge of G10 by about 15mm. The second layer was 5 mm within the edges.
I waited 5.5 hours after the layup to cut the excess off CF. It was easy to do.
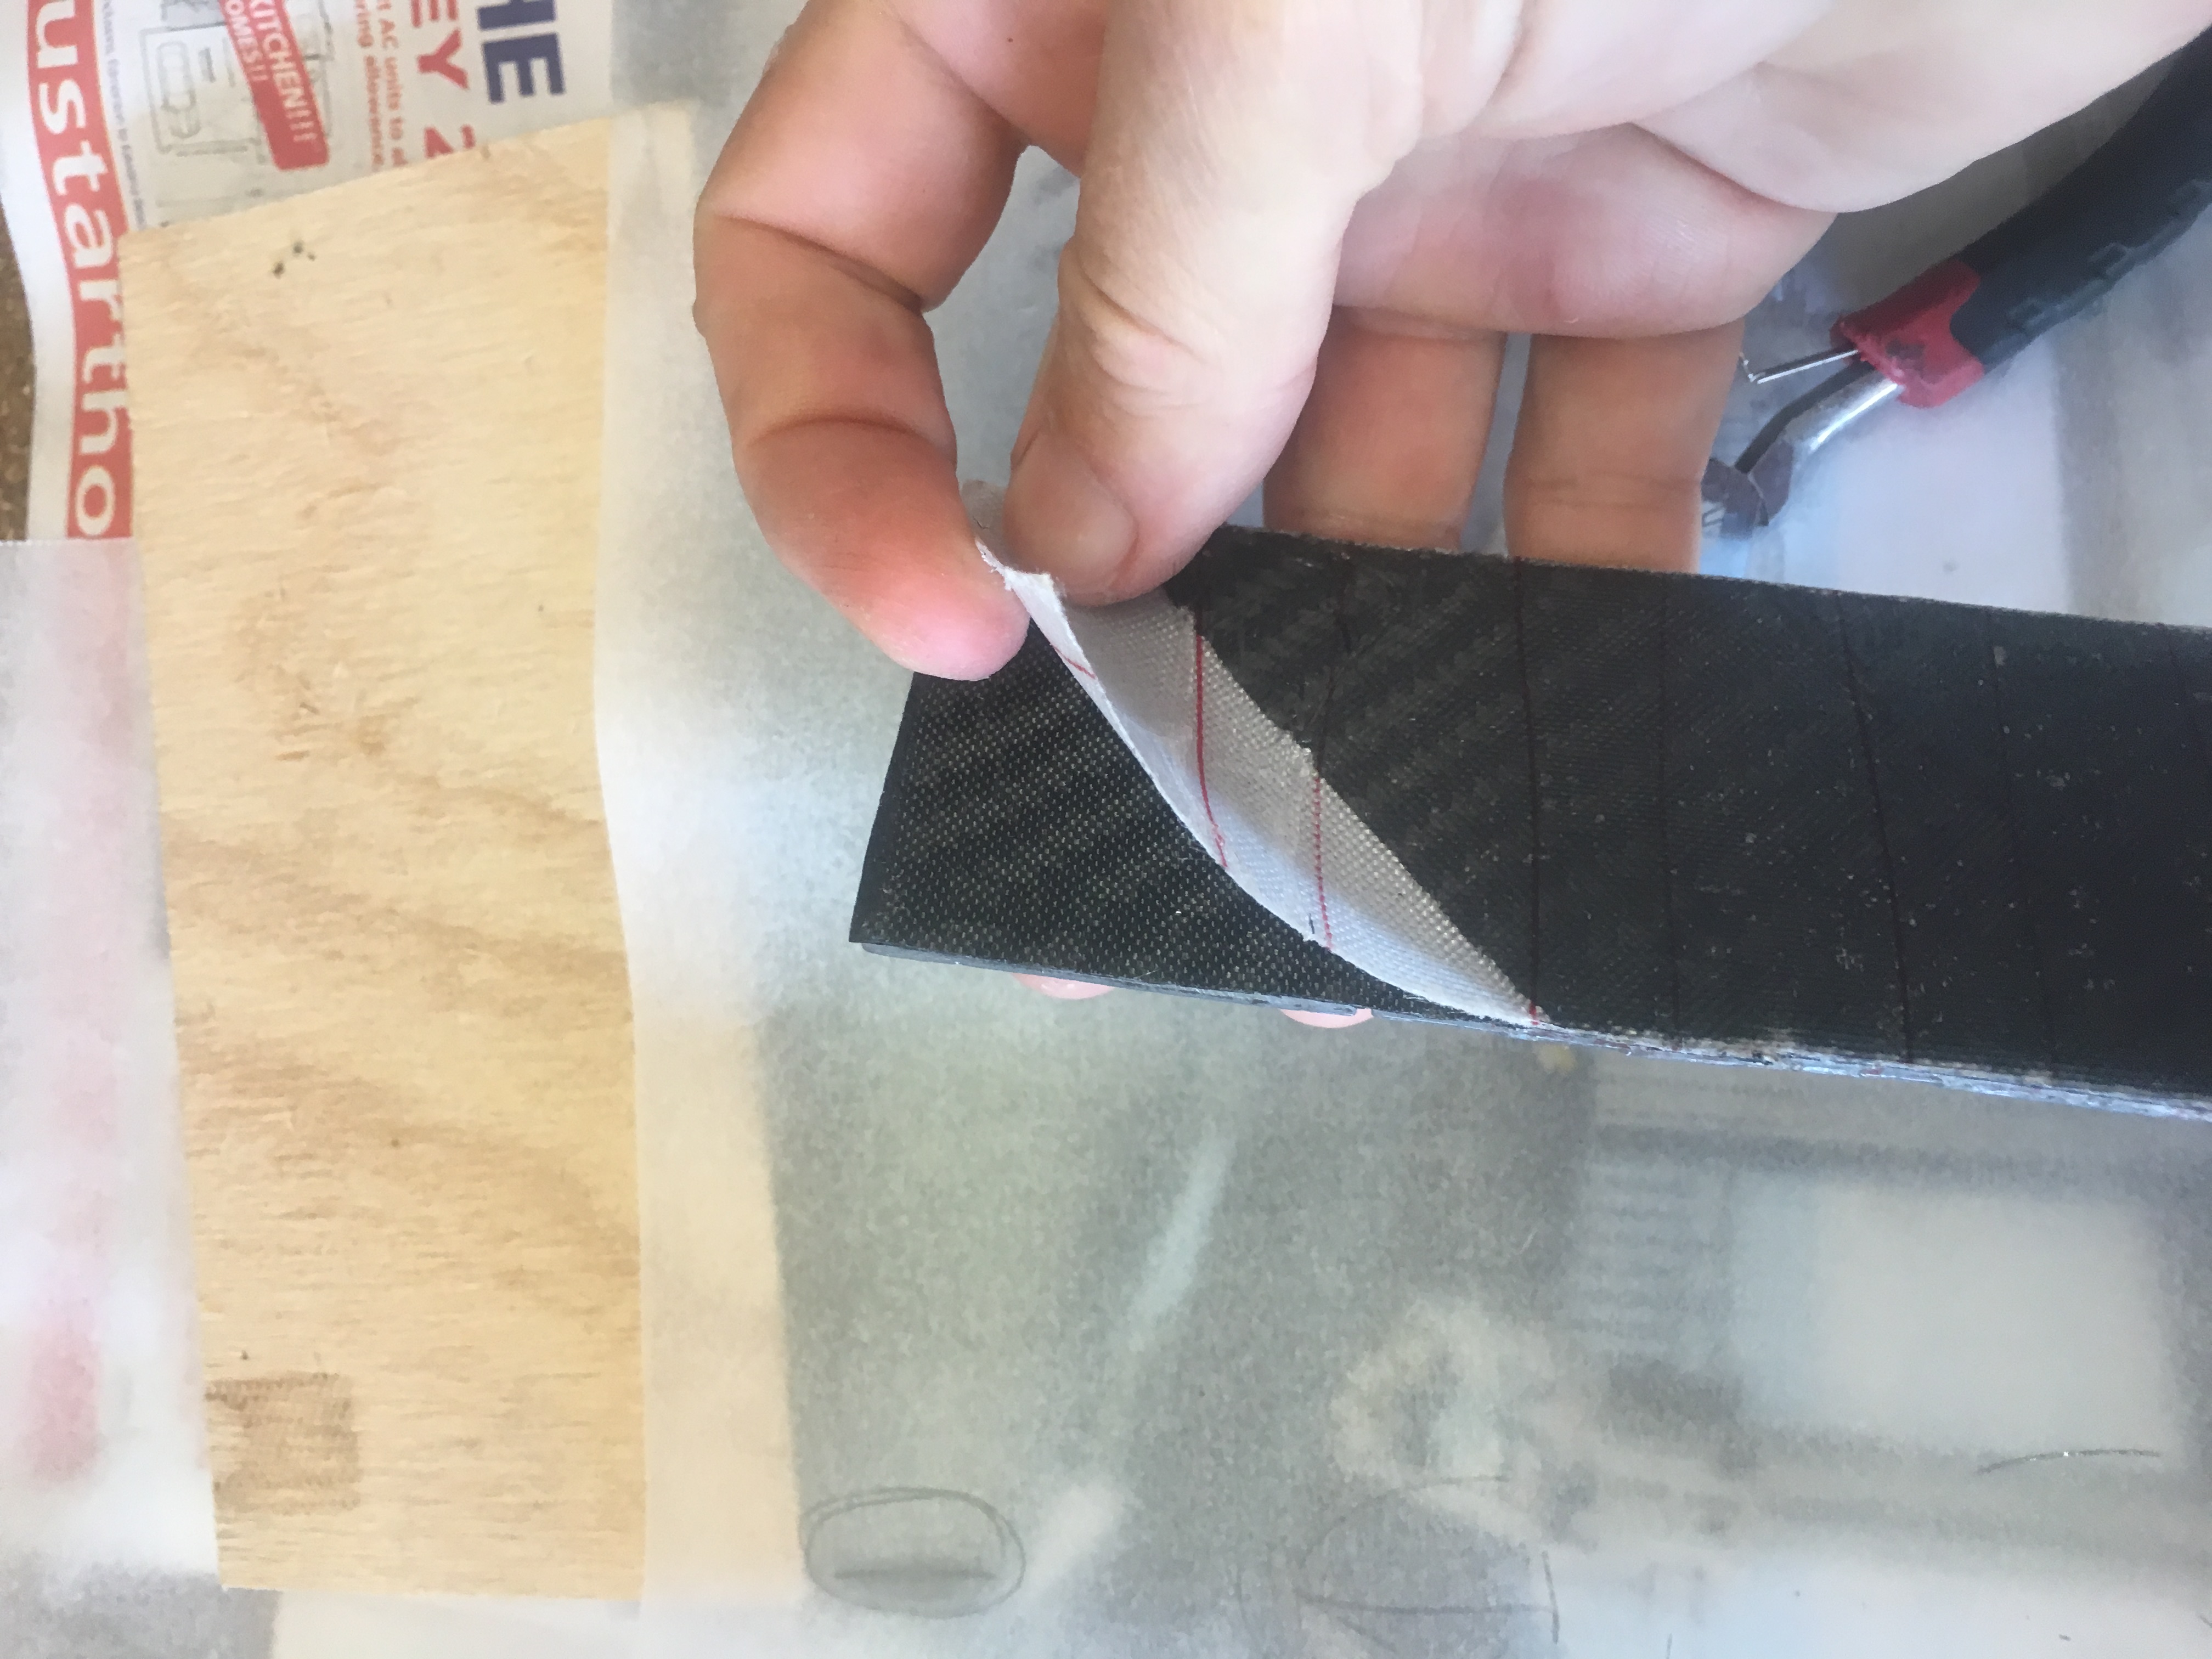
Waited another 15 hours before I removed the Peel Ply. It was easy to remove the Peel Ply.

Below are some photos I took.
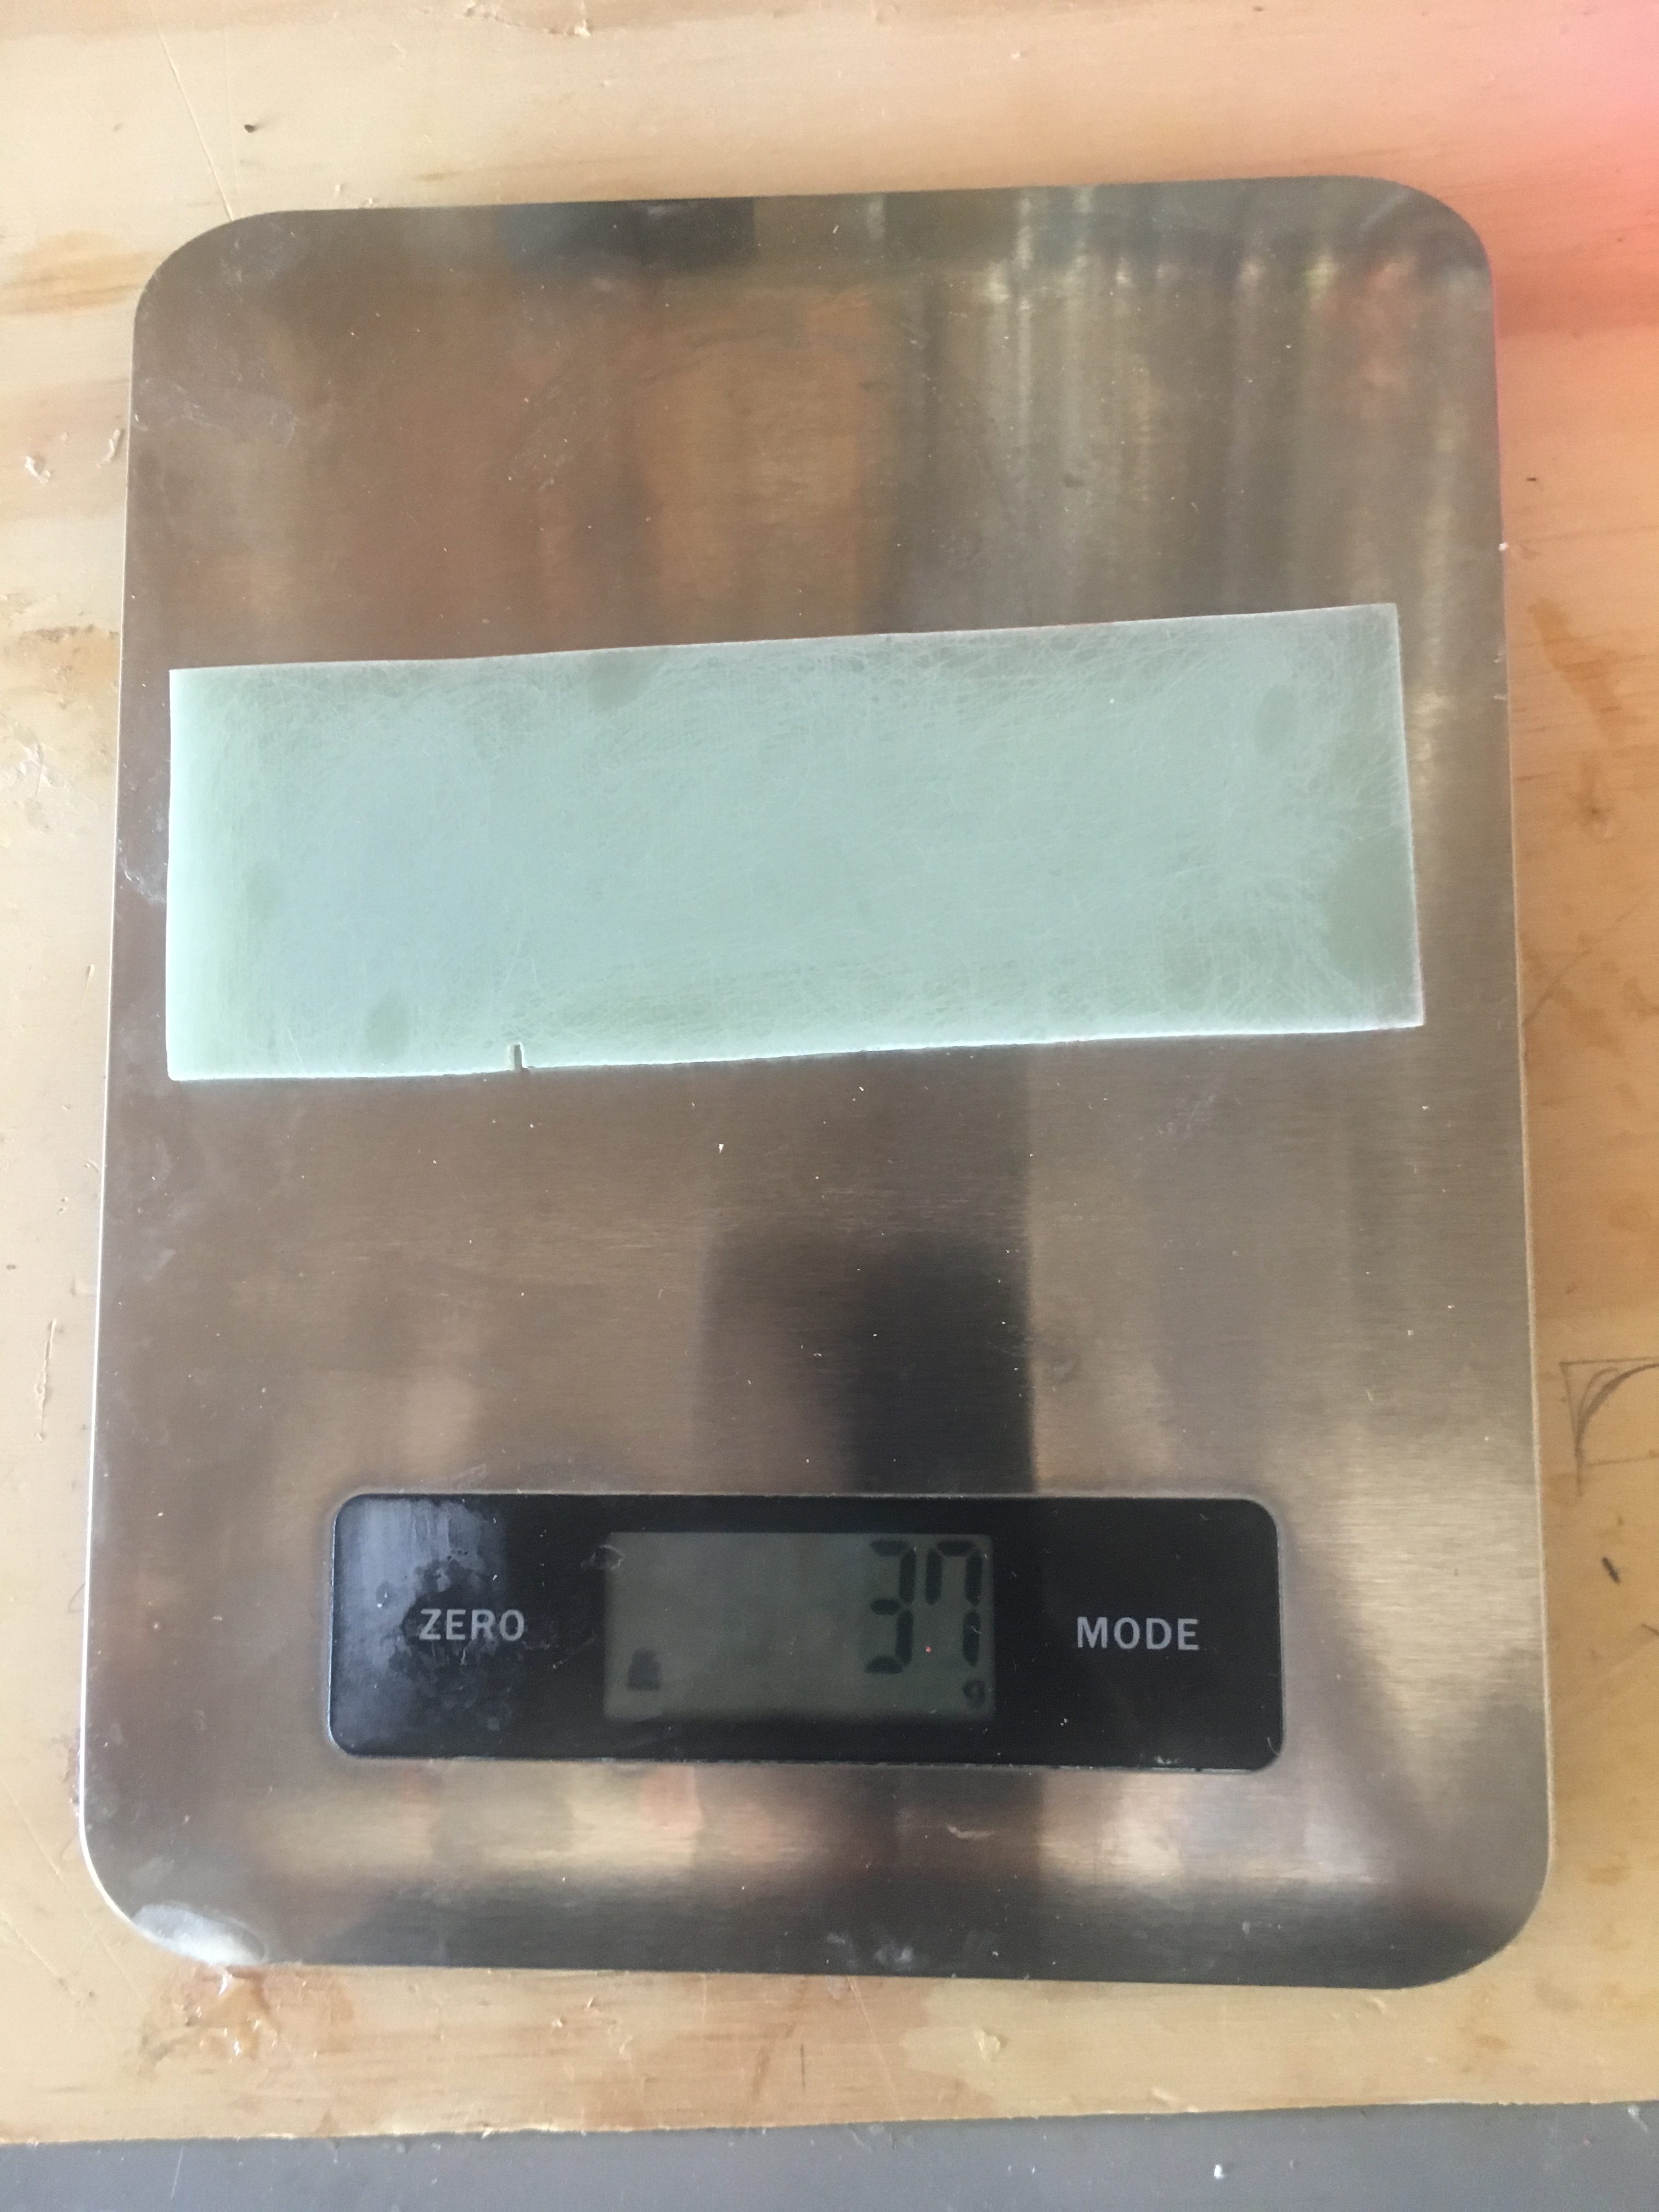
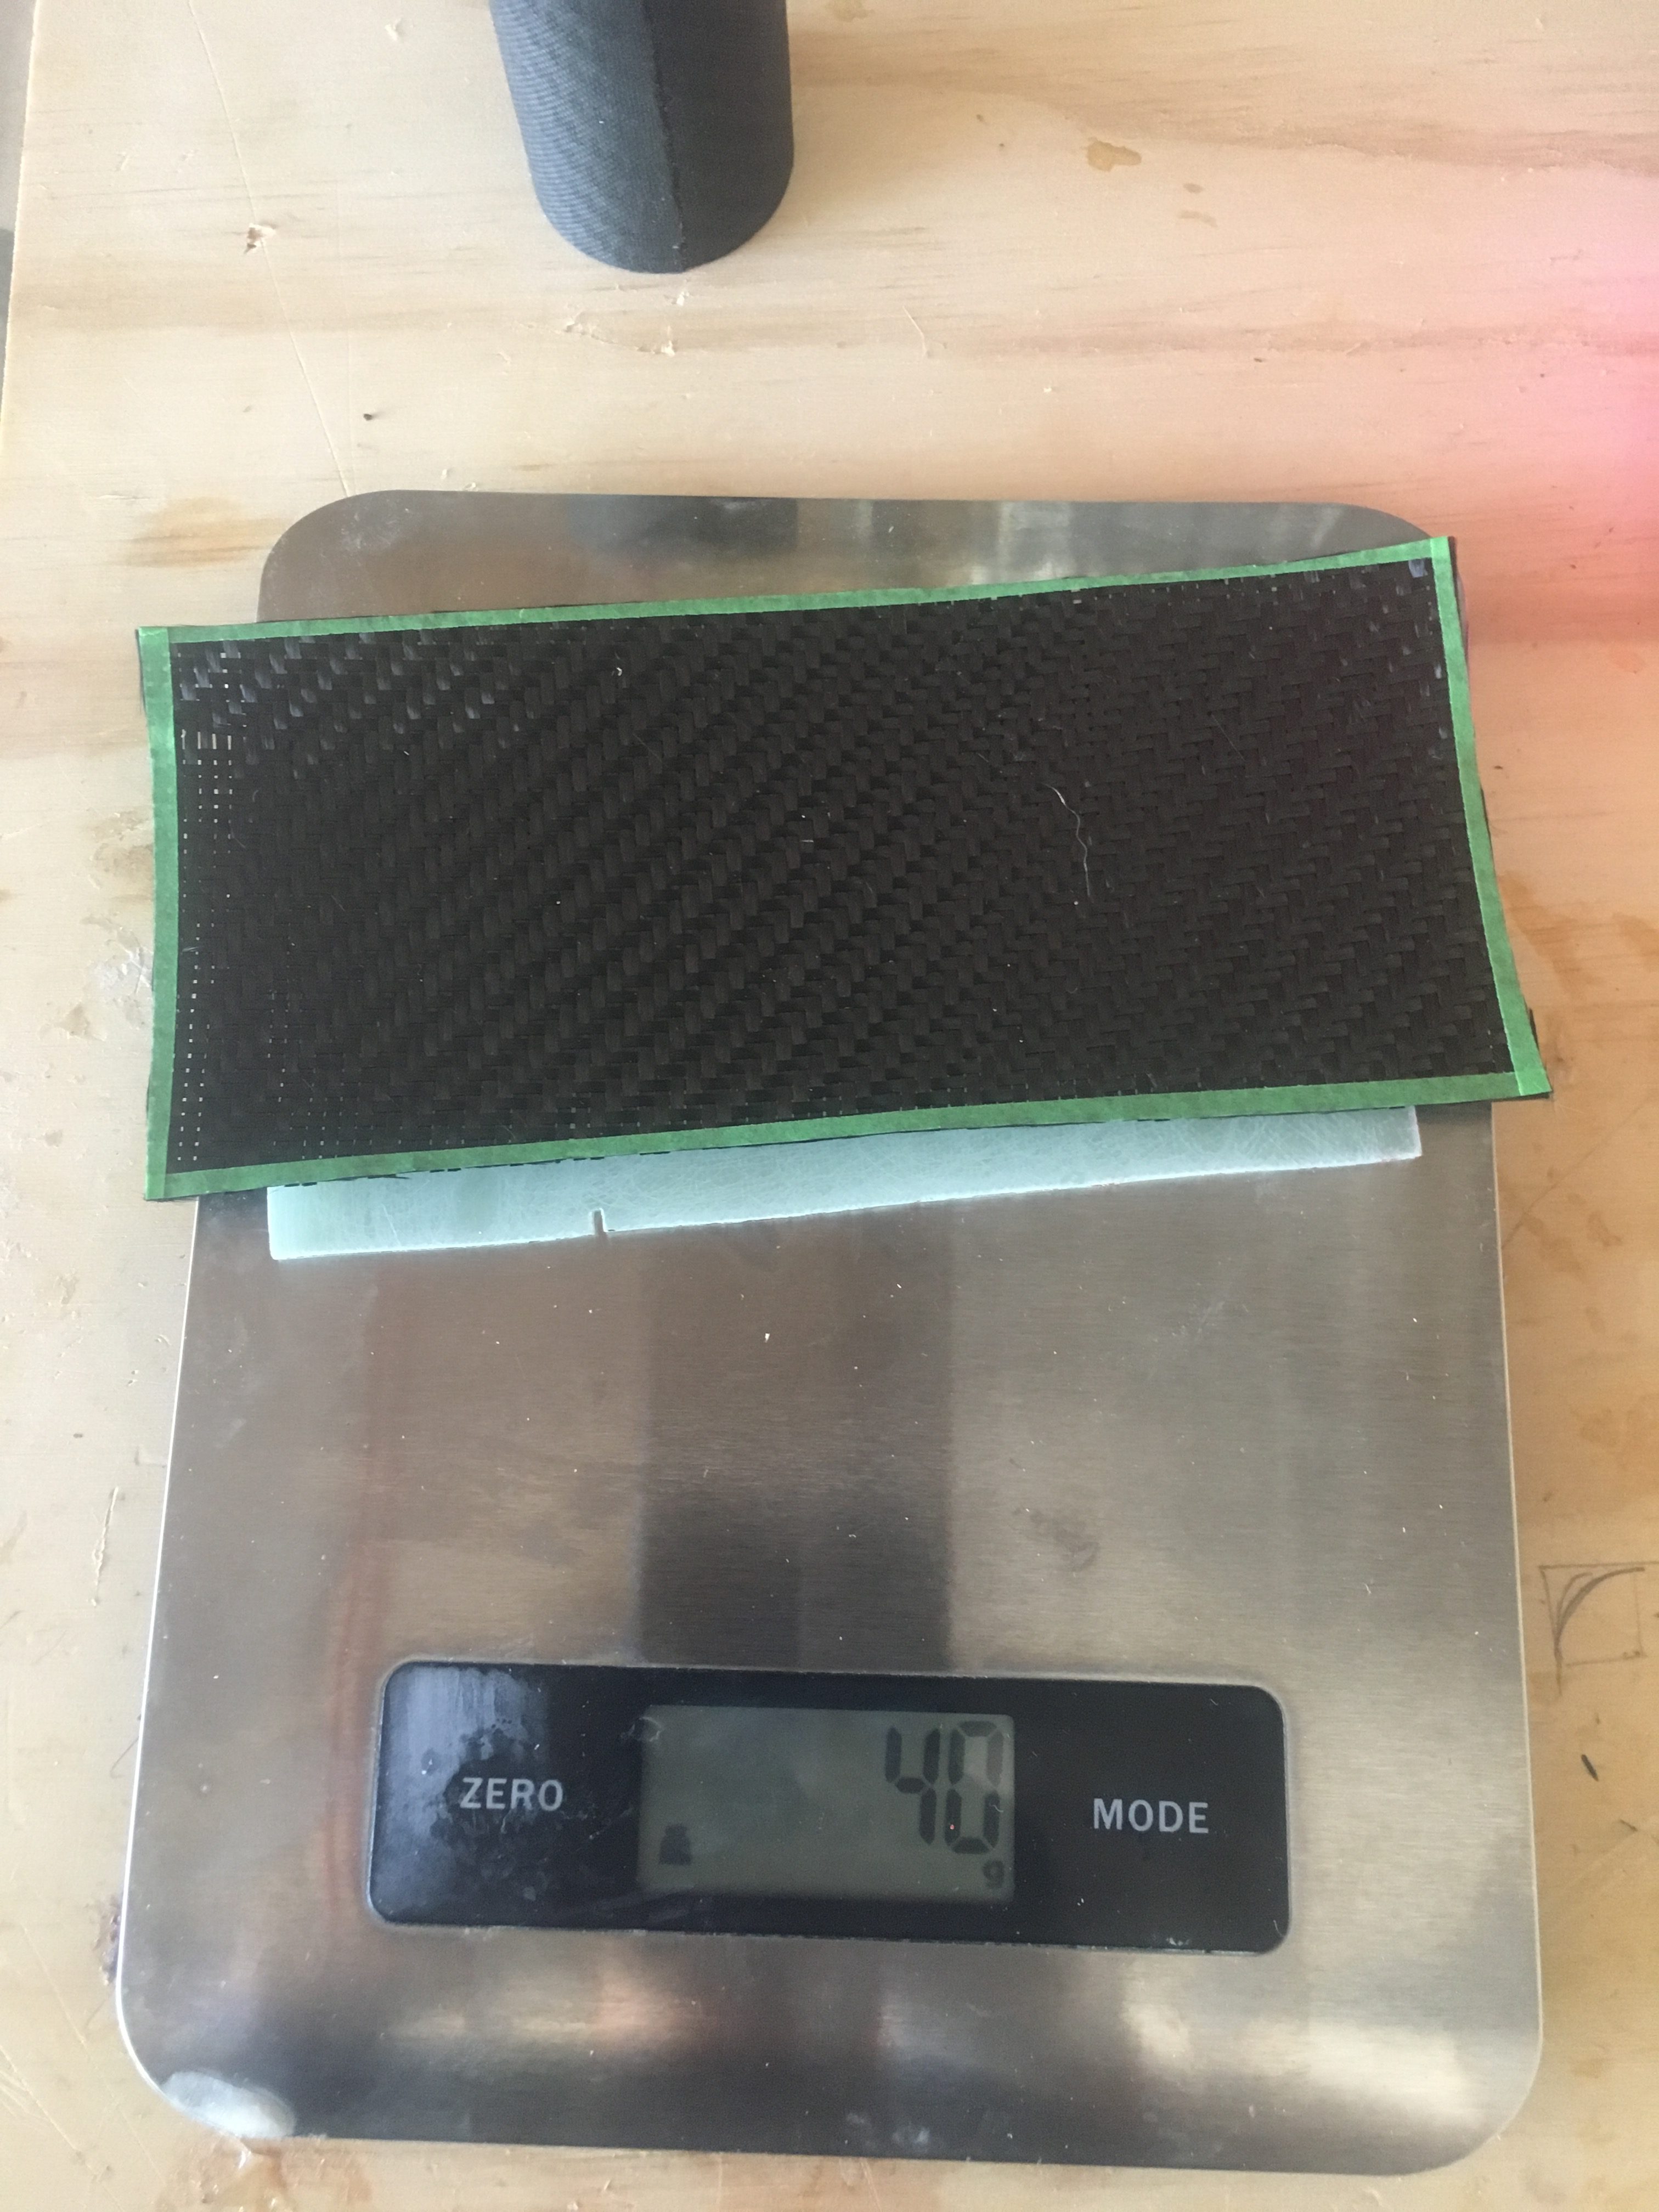
Weighing the G10 material


Weighing one piece of CF

So therefore the large piece of carbon fiber weights ~3 grams.
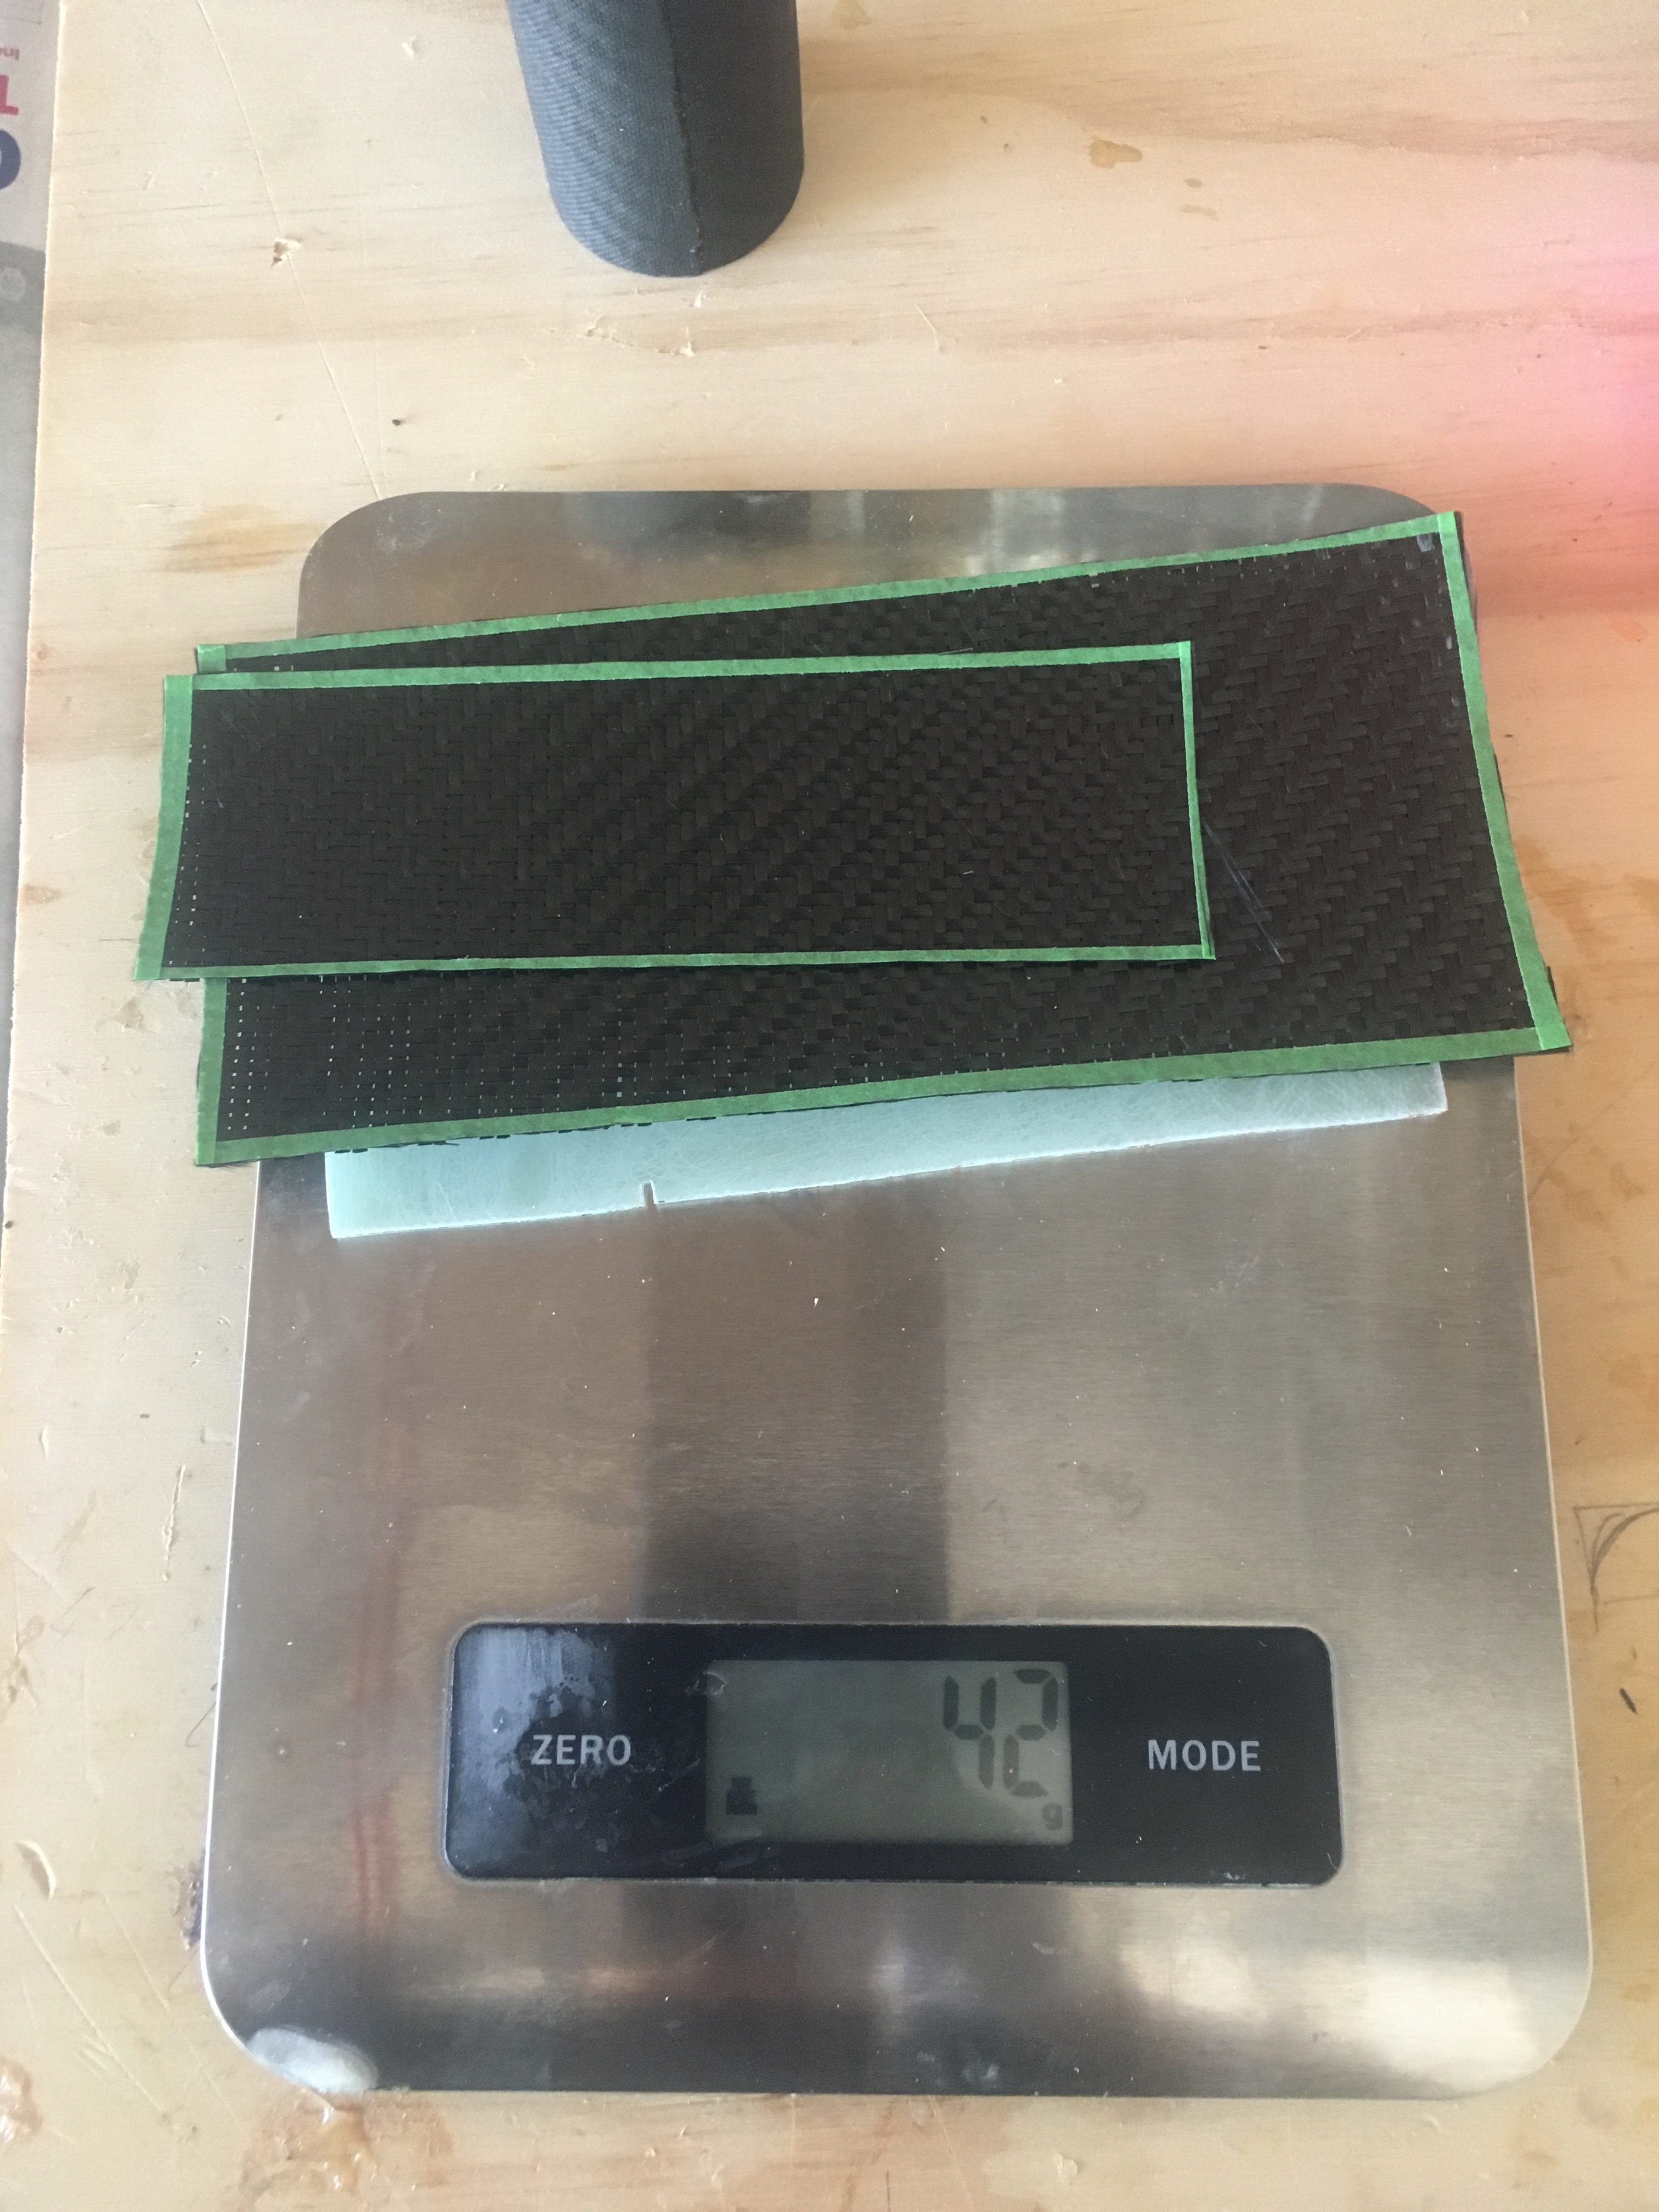
 

Weighing two pieces of CF

So therefore the smaller piece of carbon fiber weights ~2 grams.
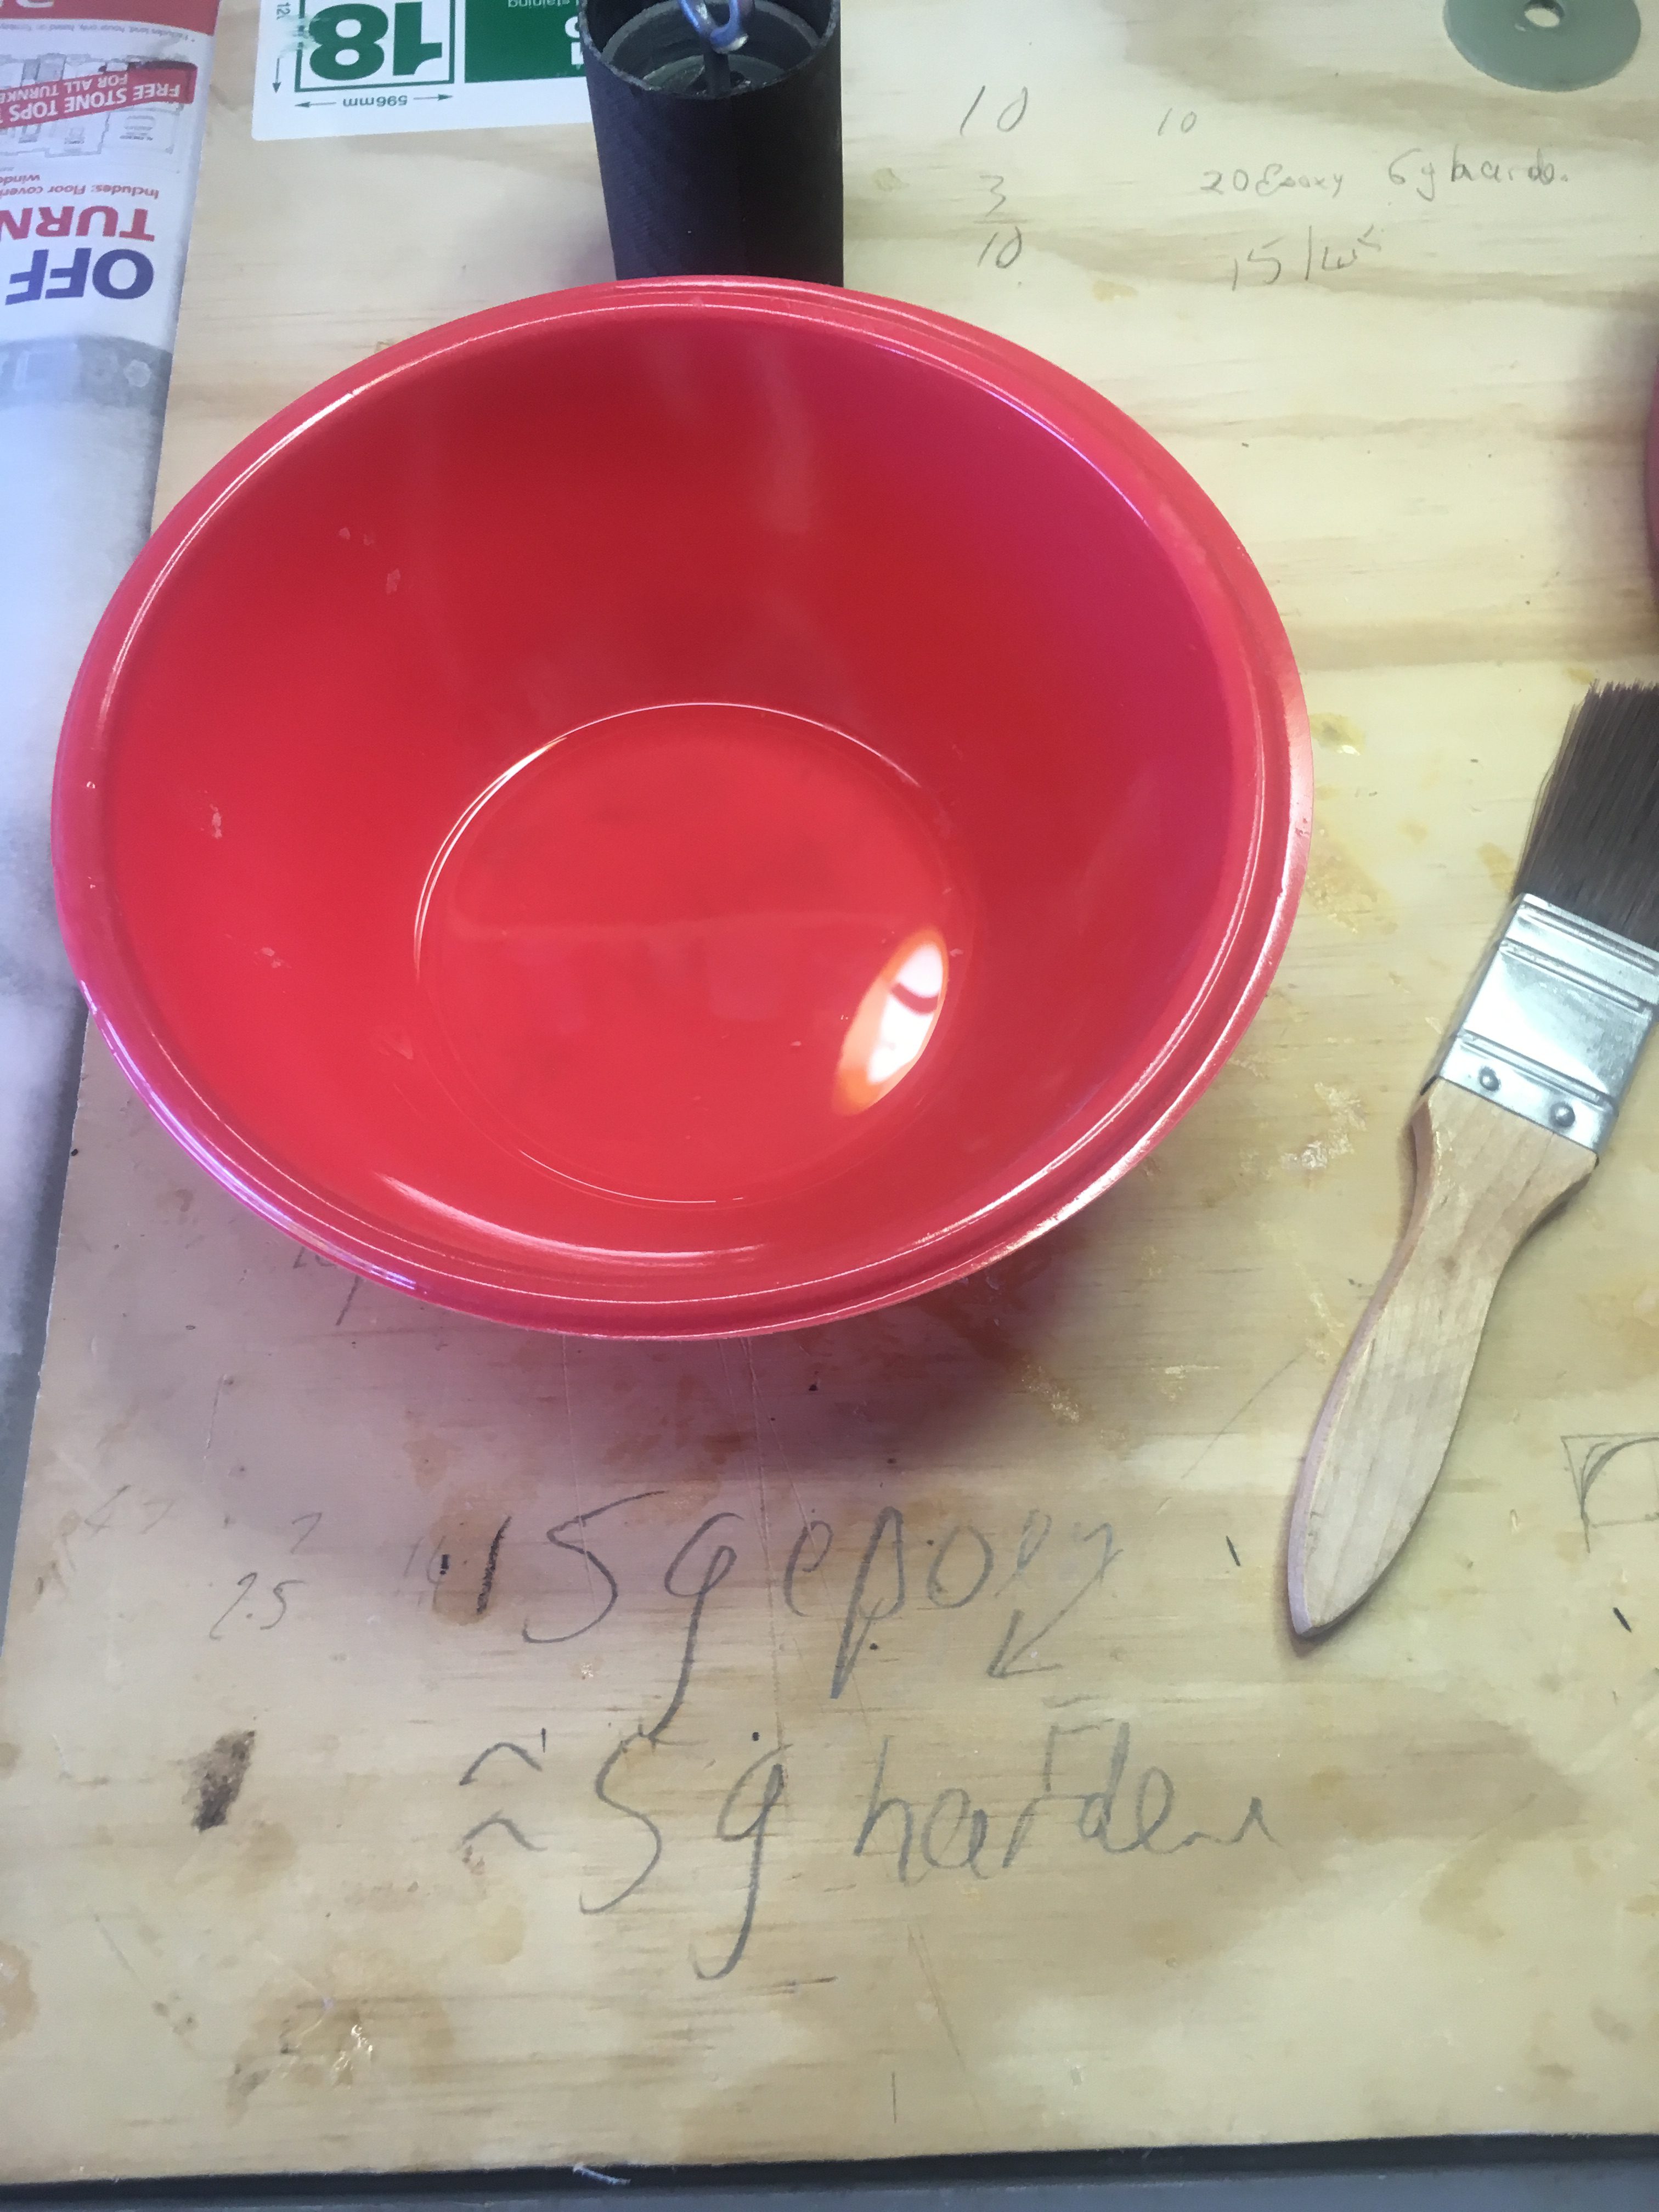
 

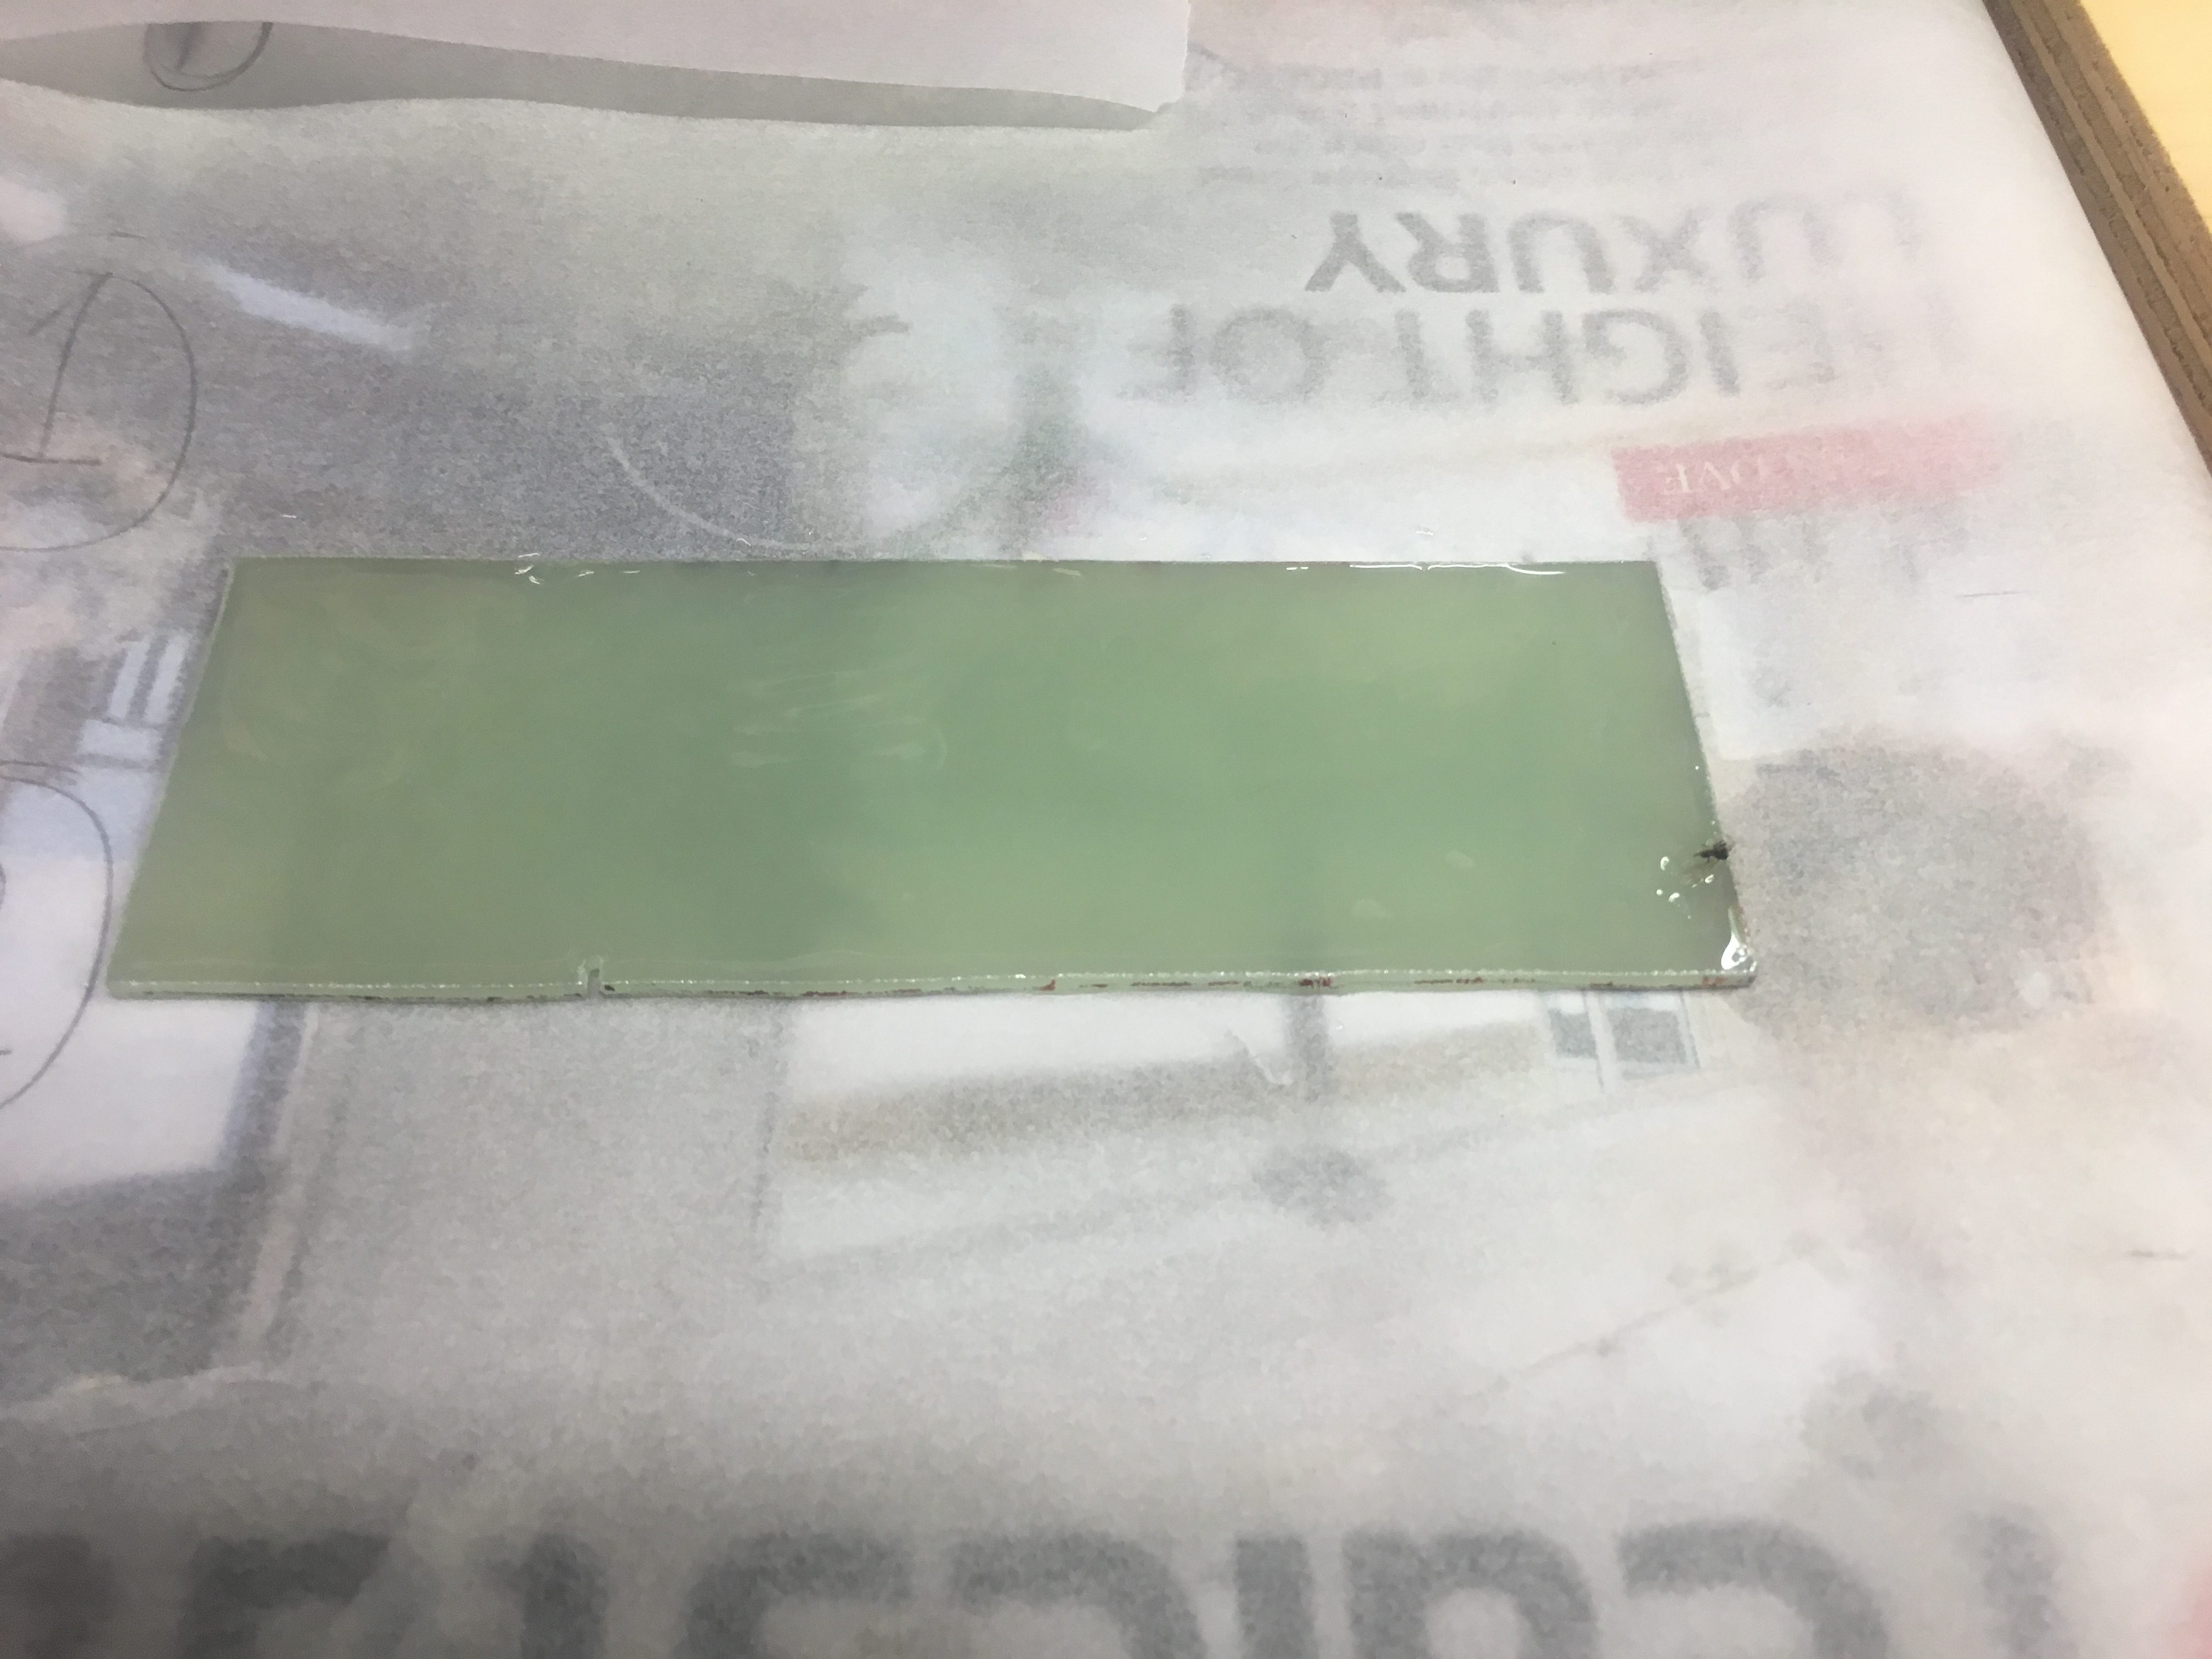
Mixed up the Renlam Epoxy.


Applied a generous amount of Epoxy to the G10 plate.
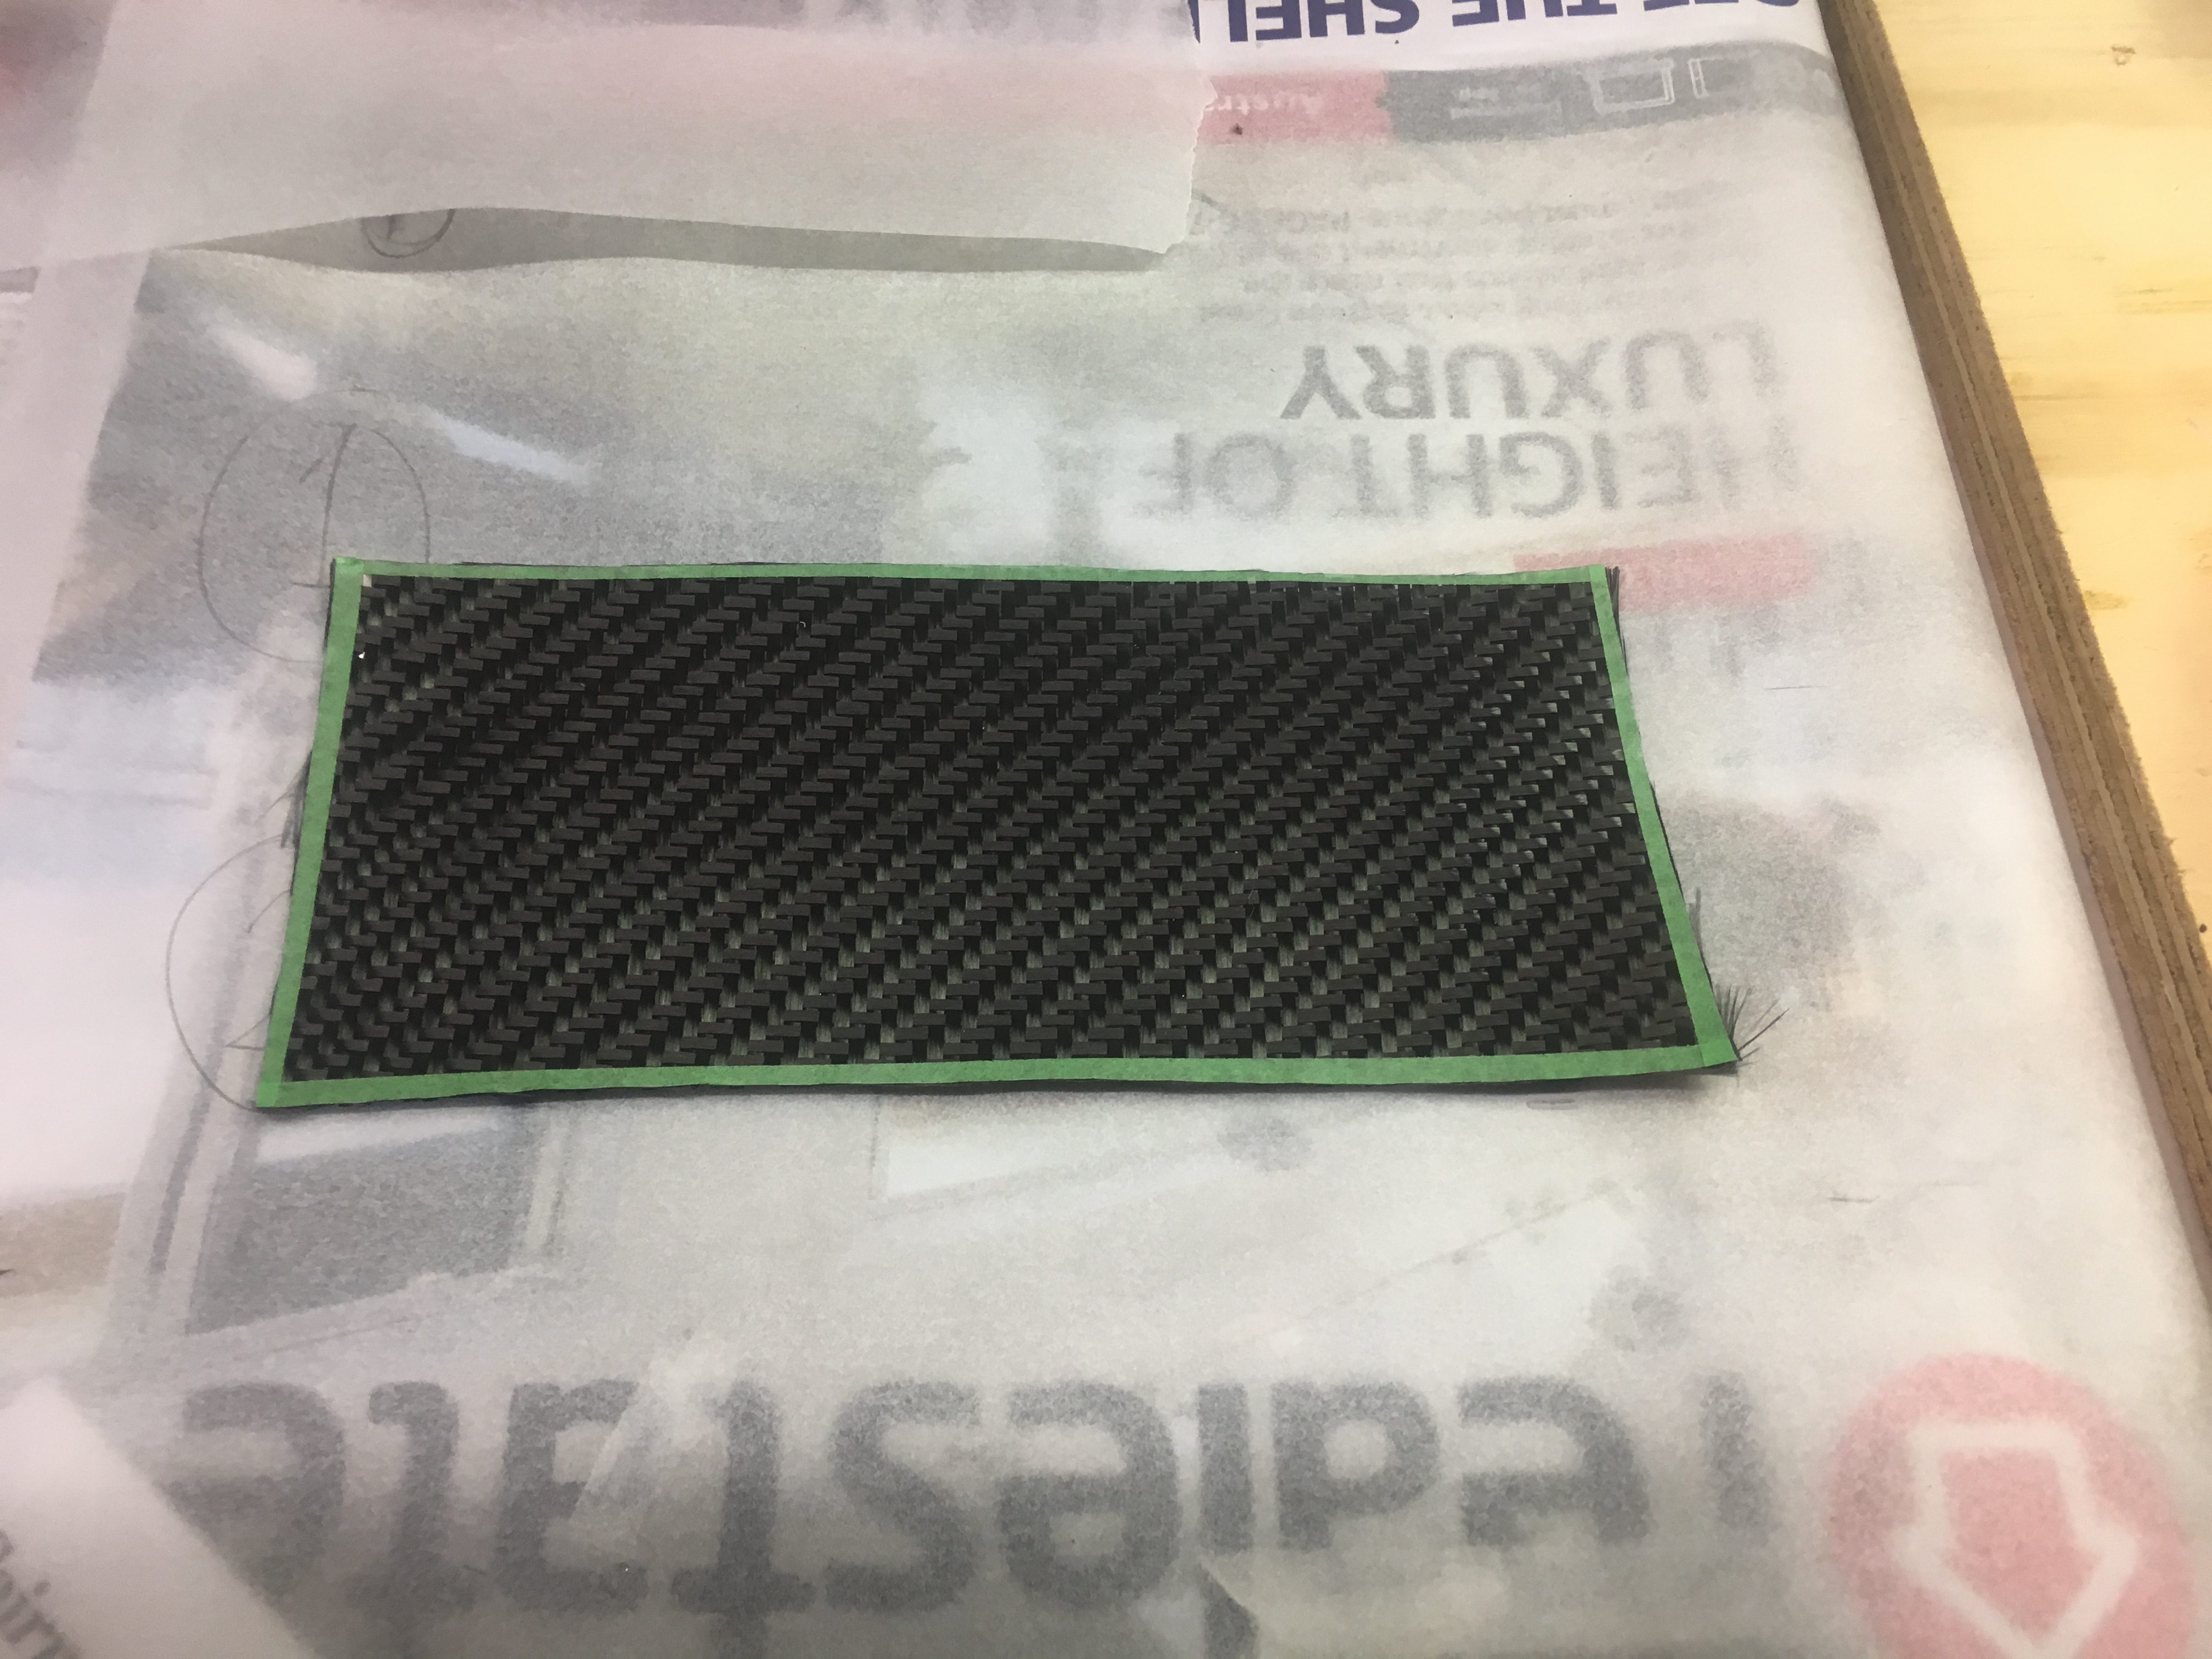
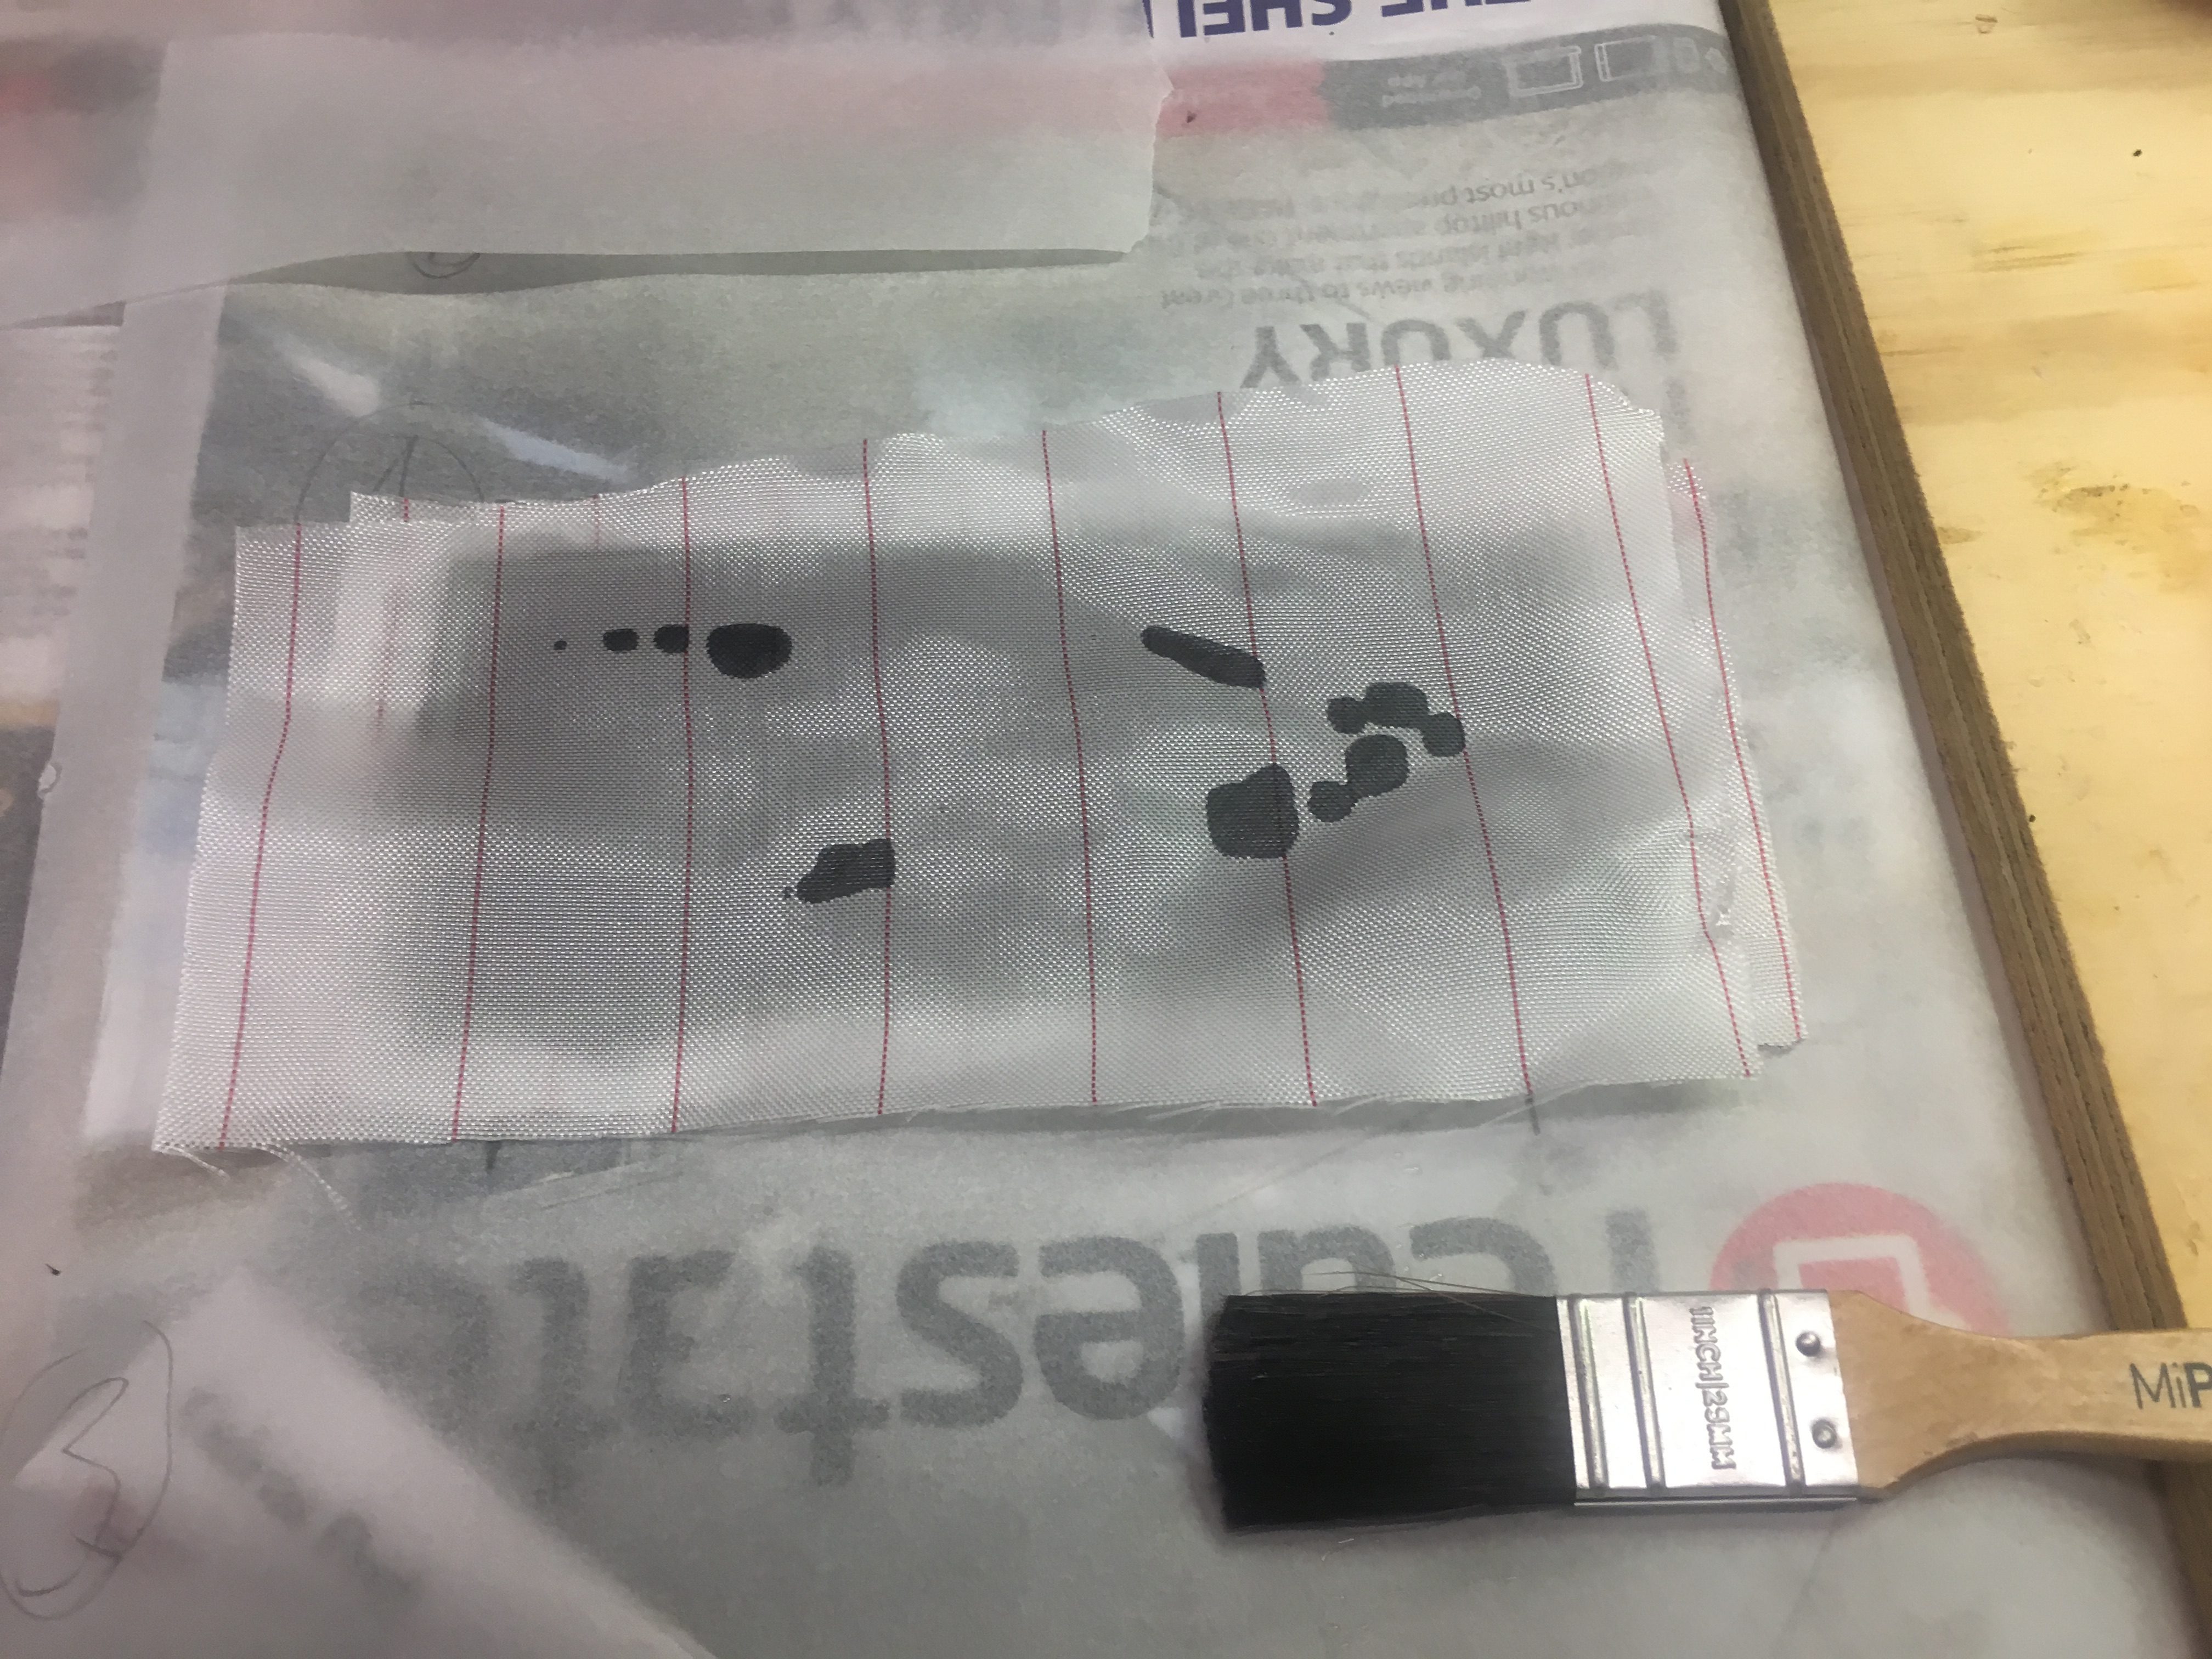
Placed Carbon Fibre on to the wetted G10 plate.


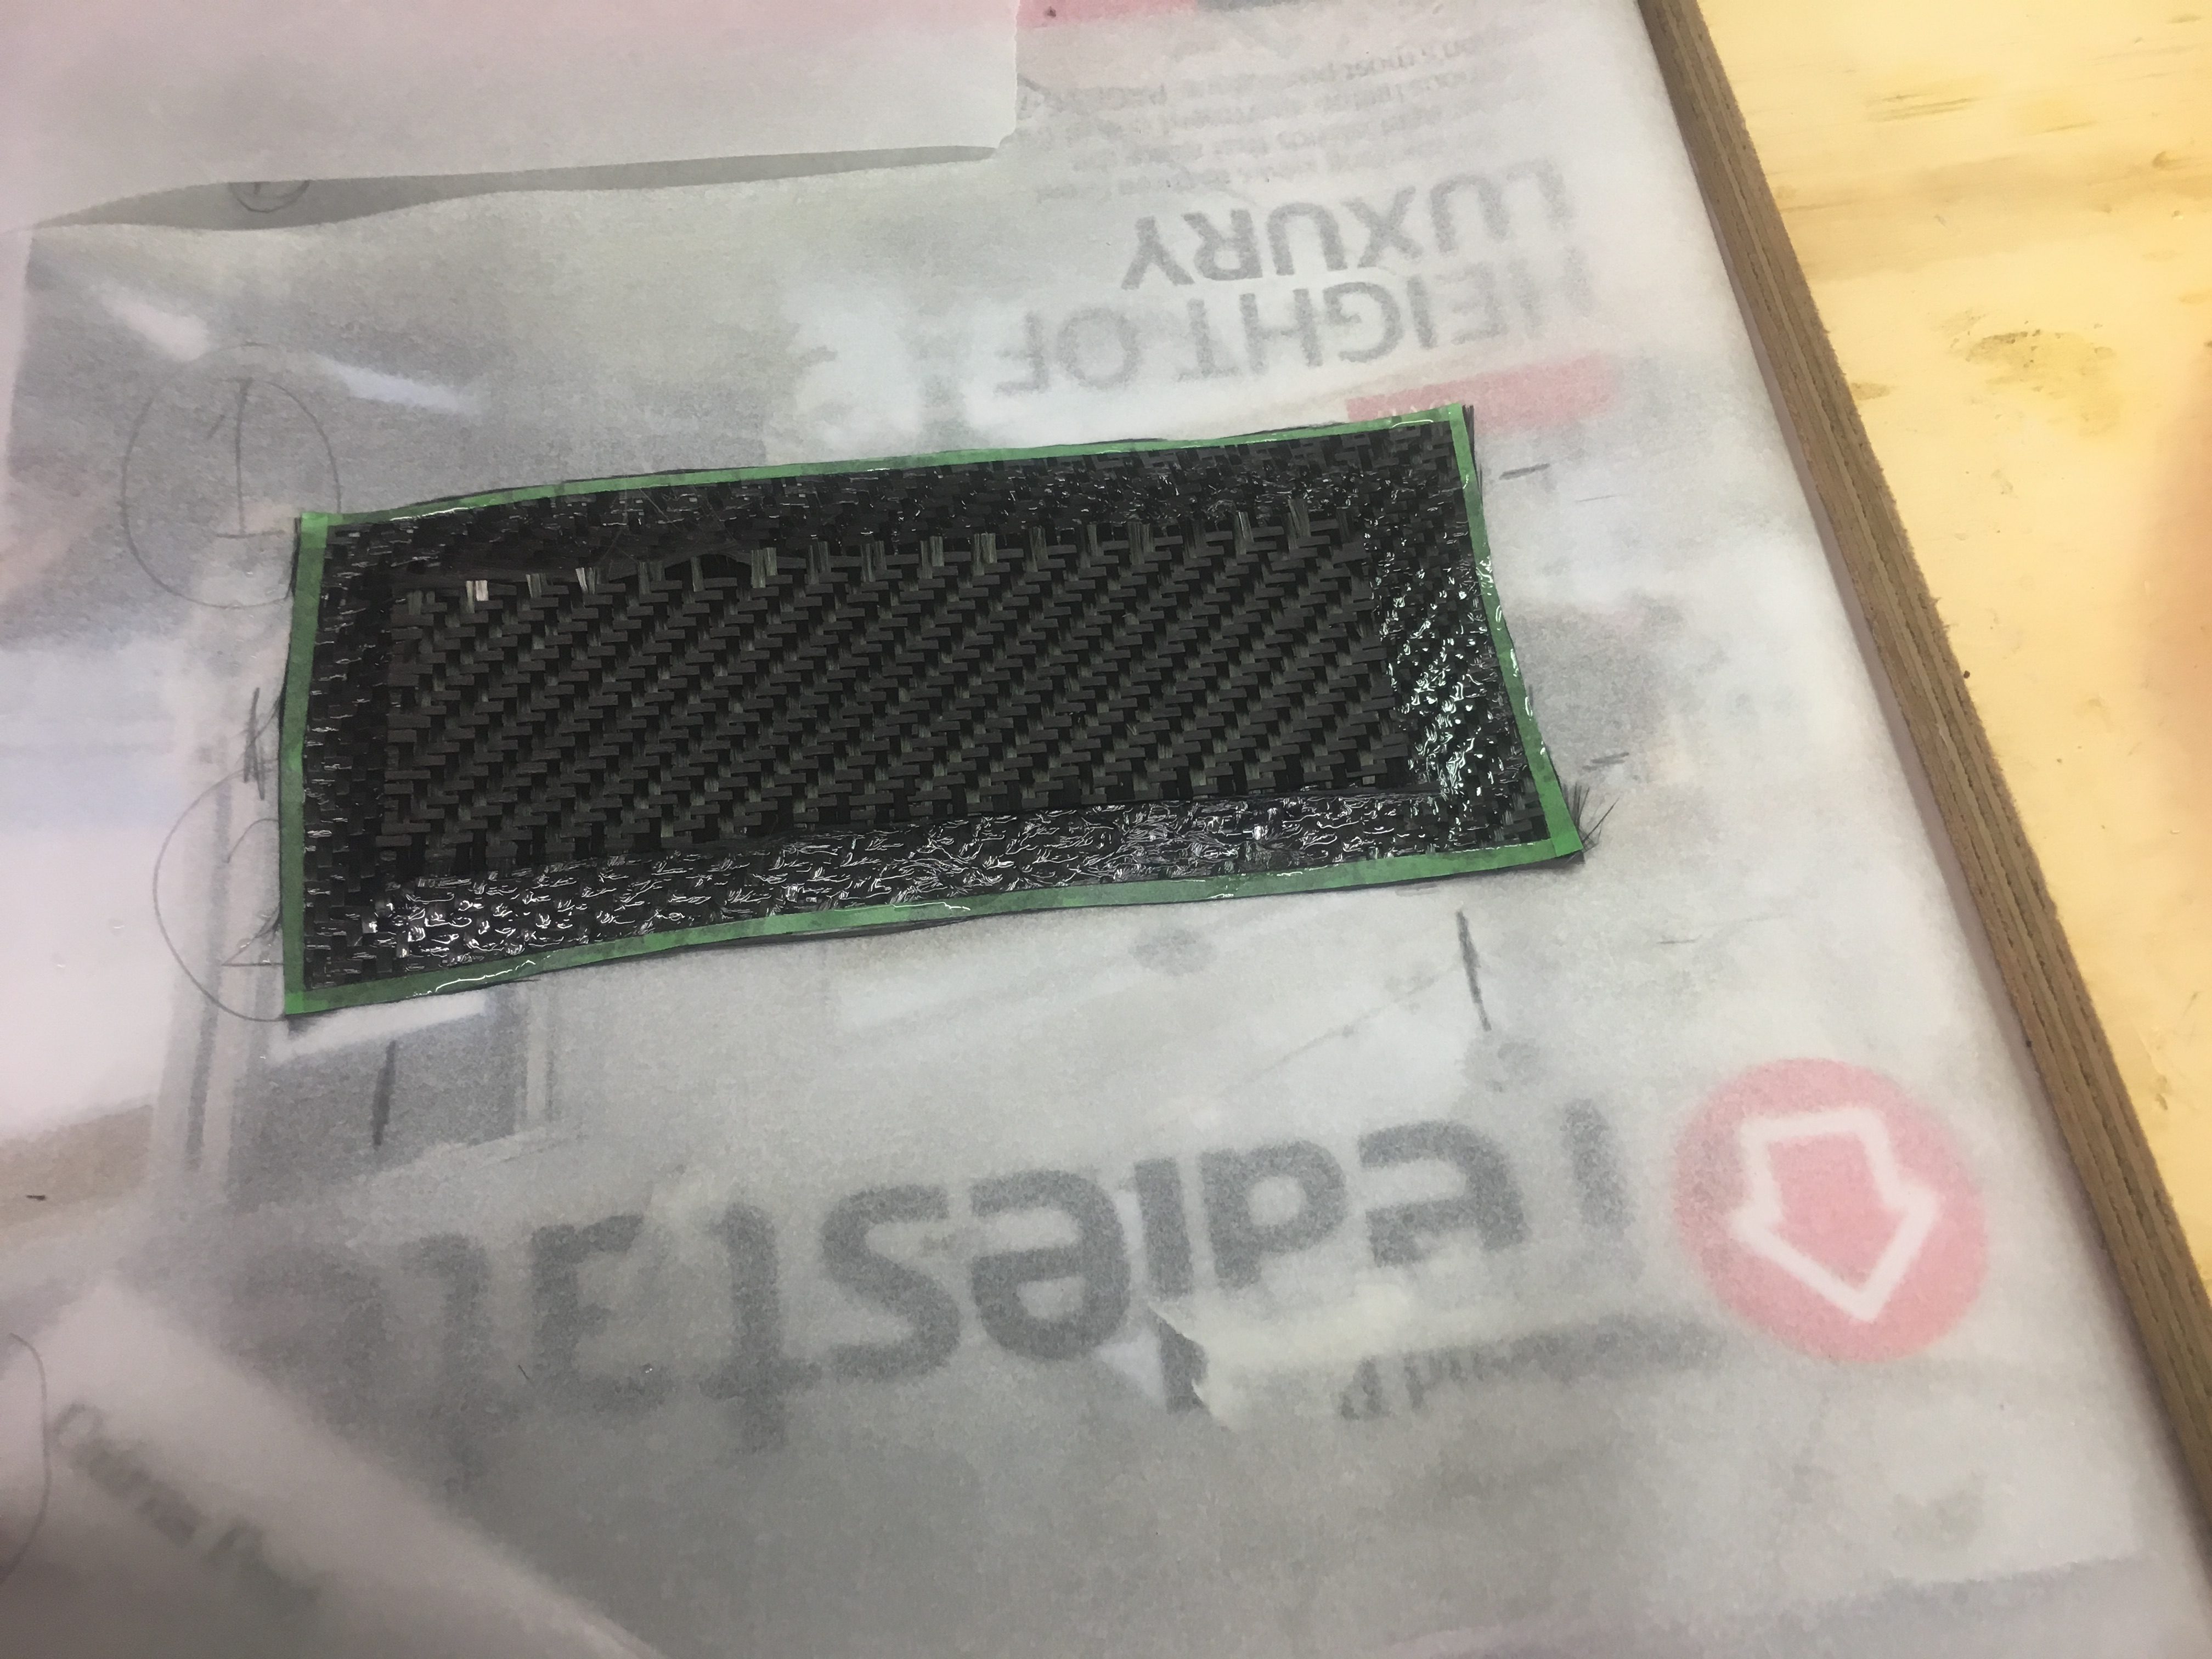
Applying more epoxy to first layer of Carbon Fibre - don't want to miss any bit of it.... and Added second piece of Carbon Fibre
Applying more epoxy to first layer of Carbon Fibre – don’t want to miss any bit of it…. and Added second piece of Carbon Fibre


Wetted out the second layer of Carbon Fibre.


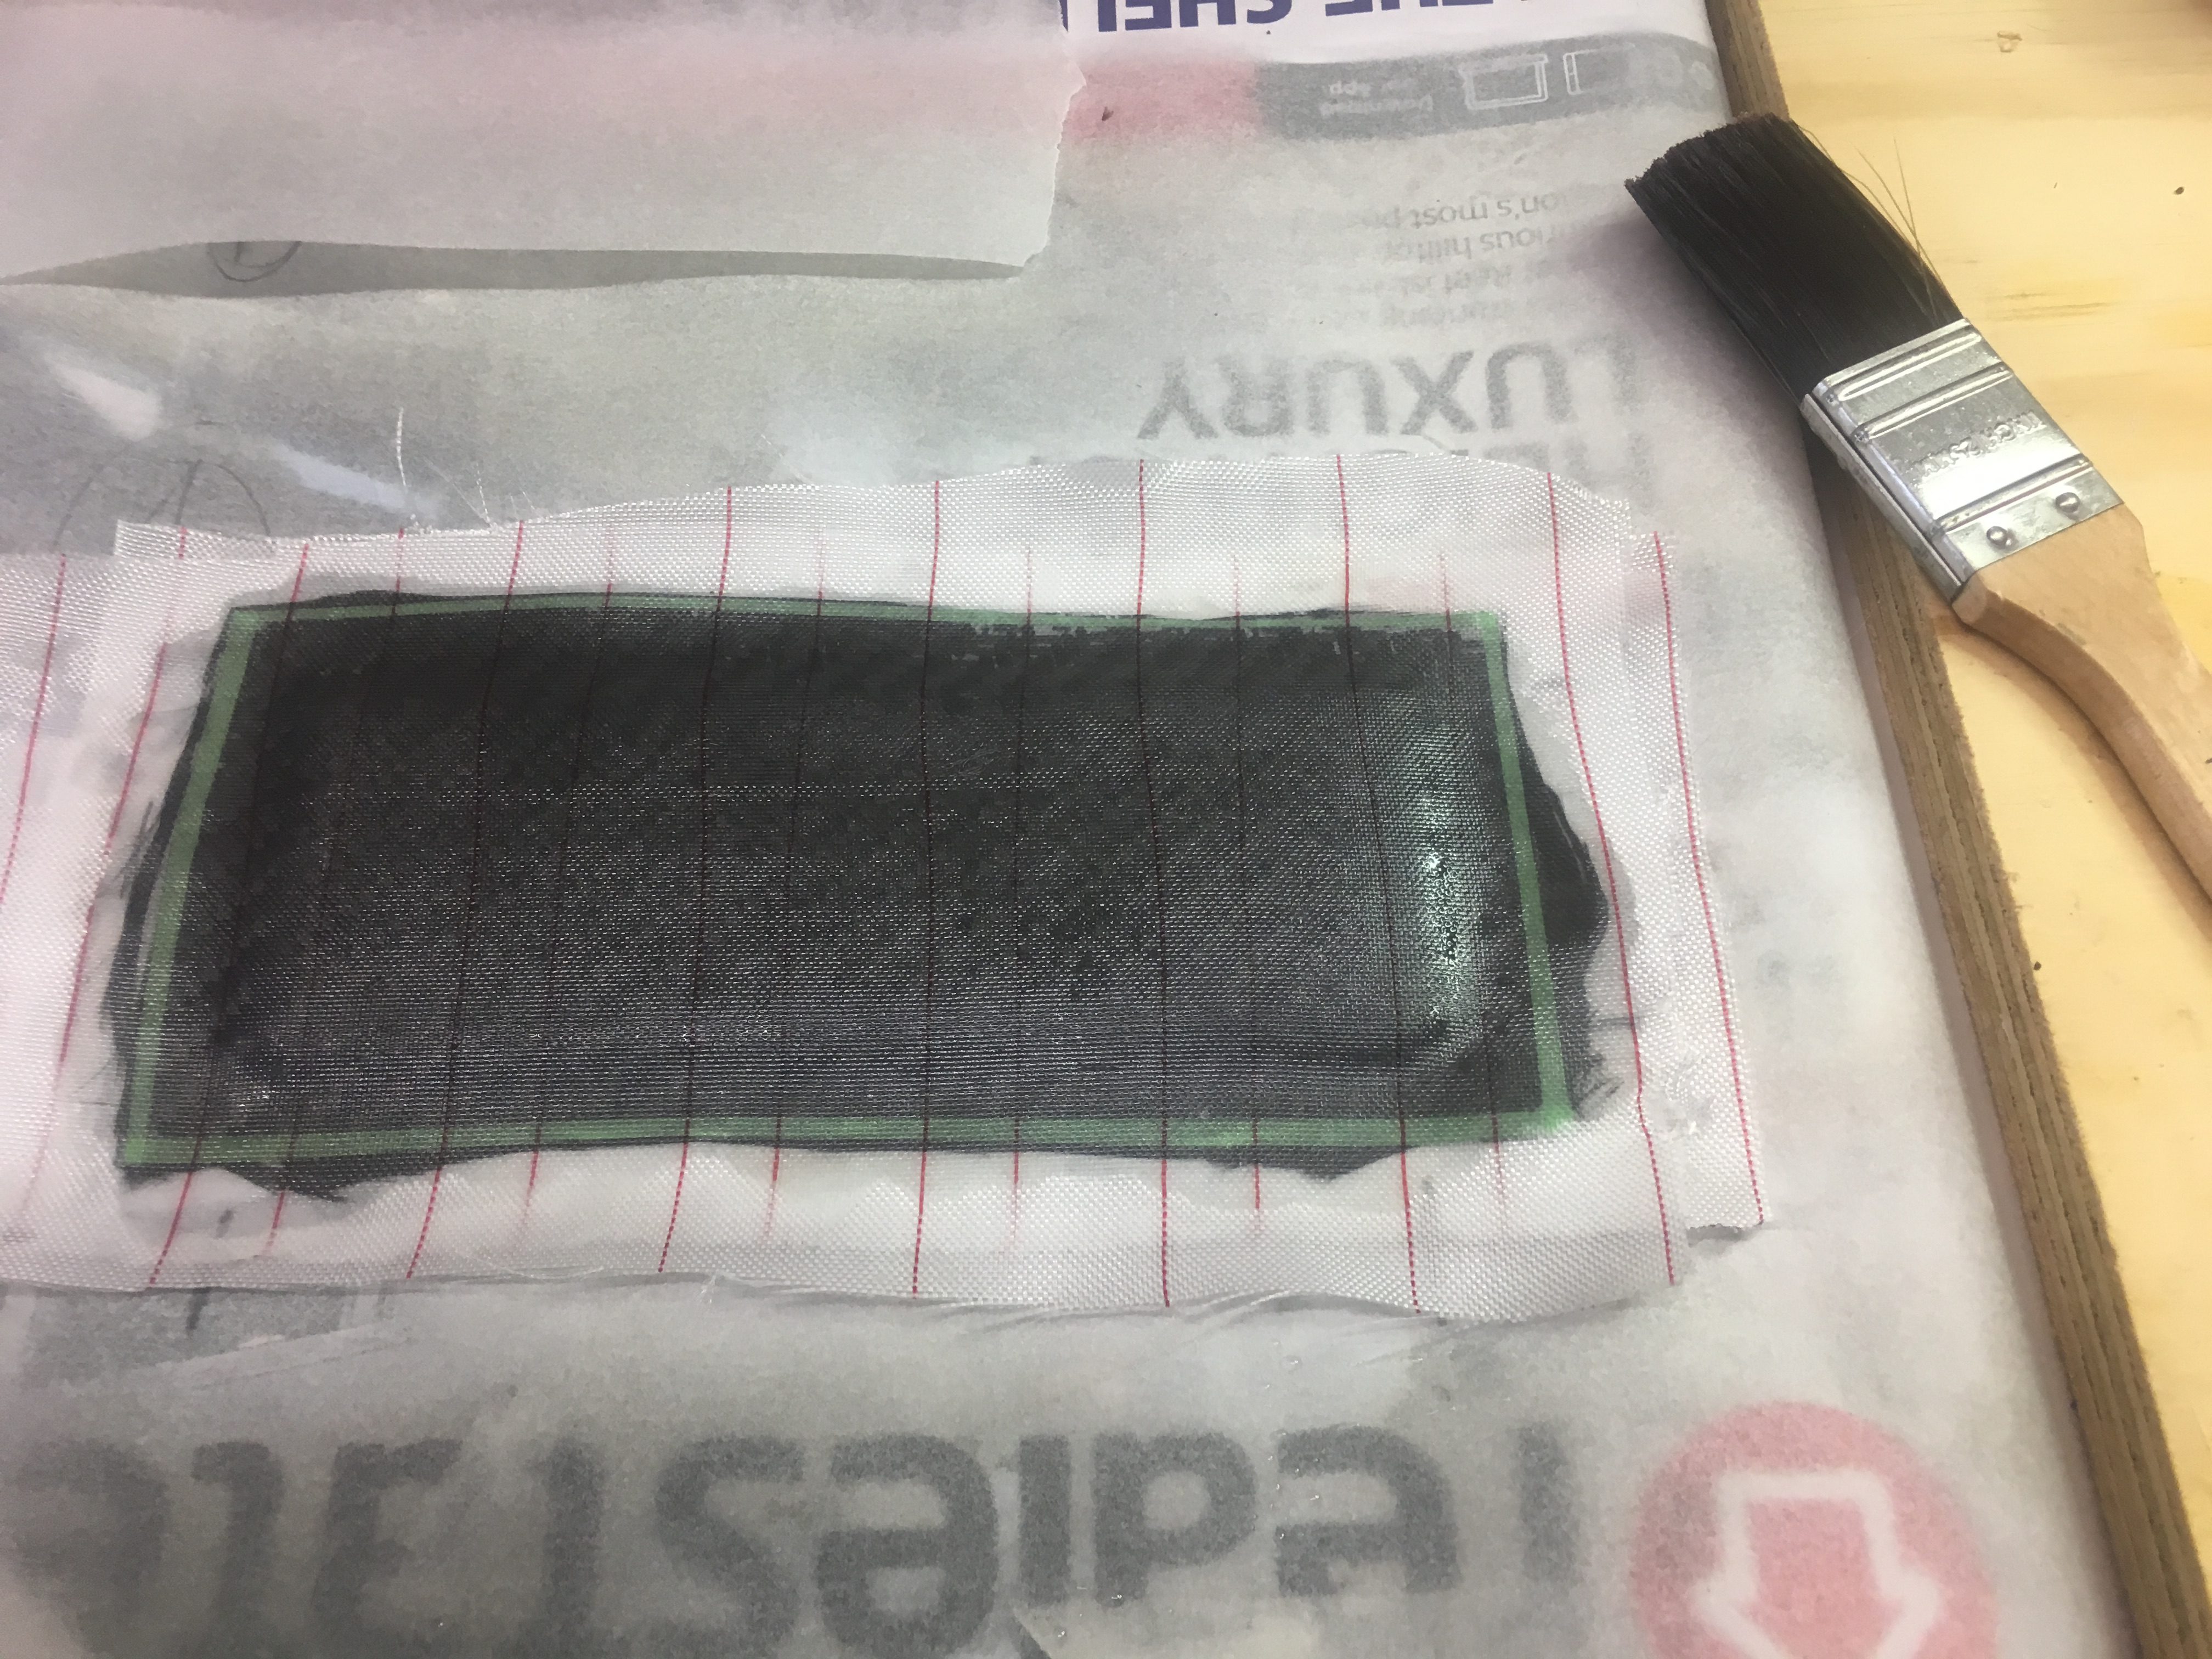
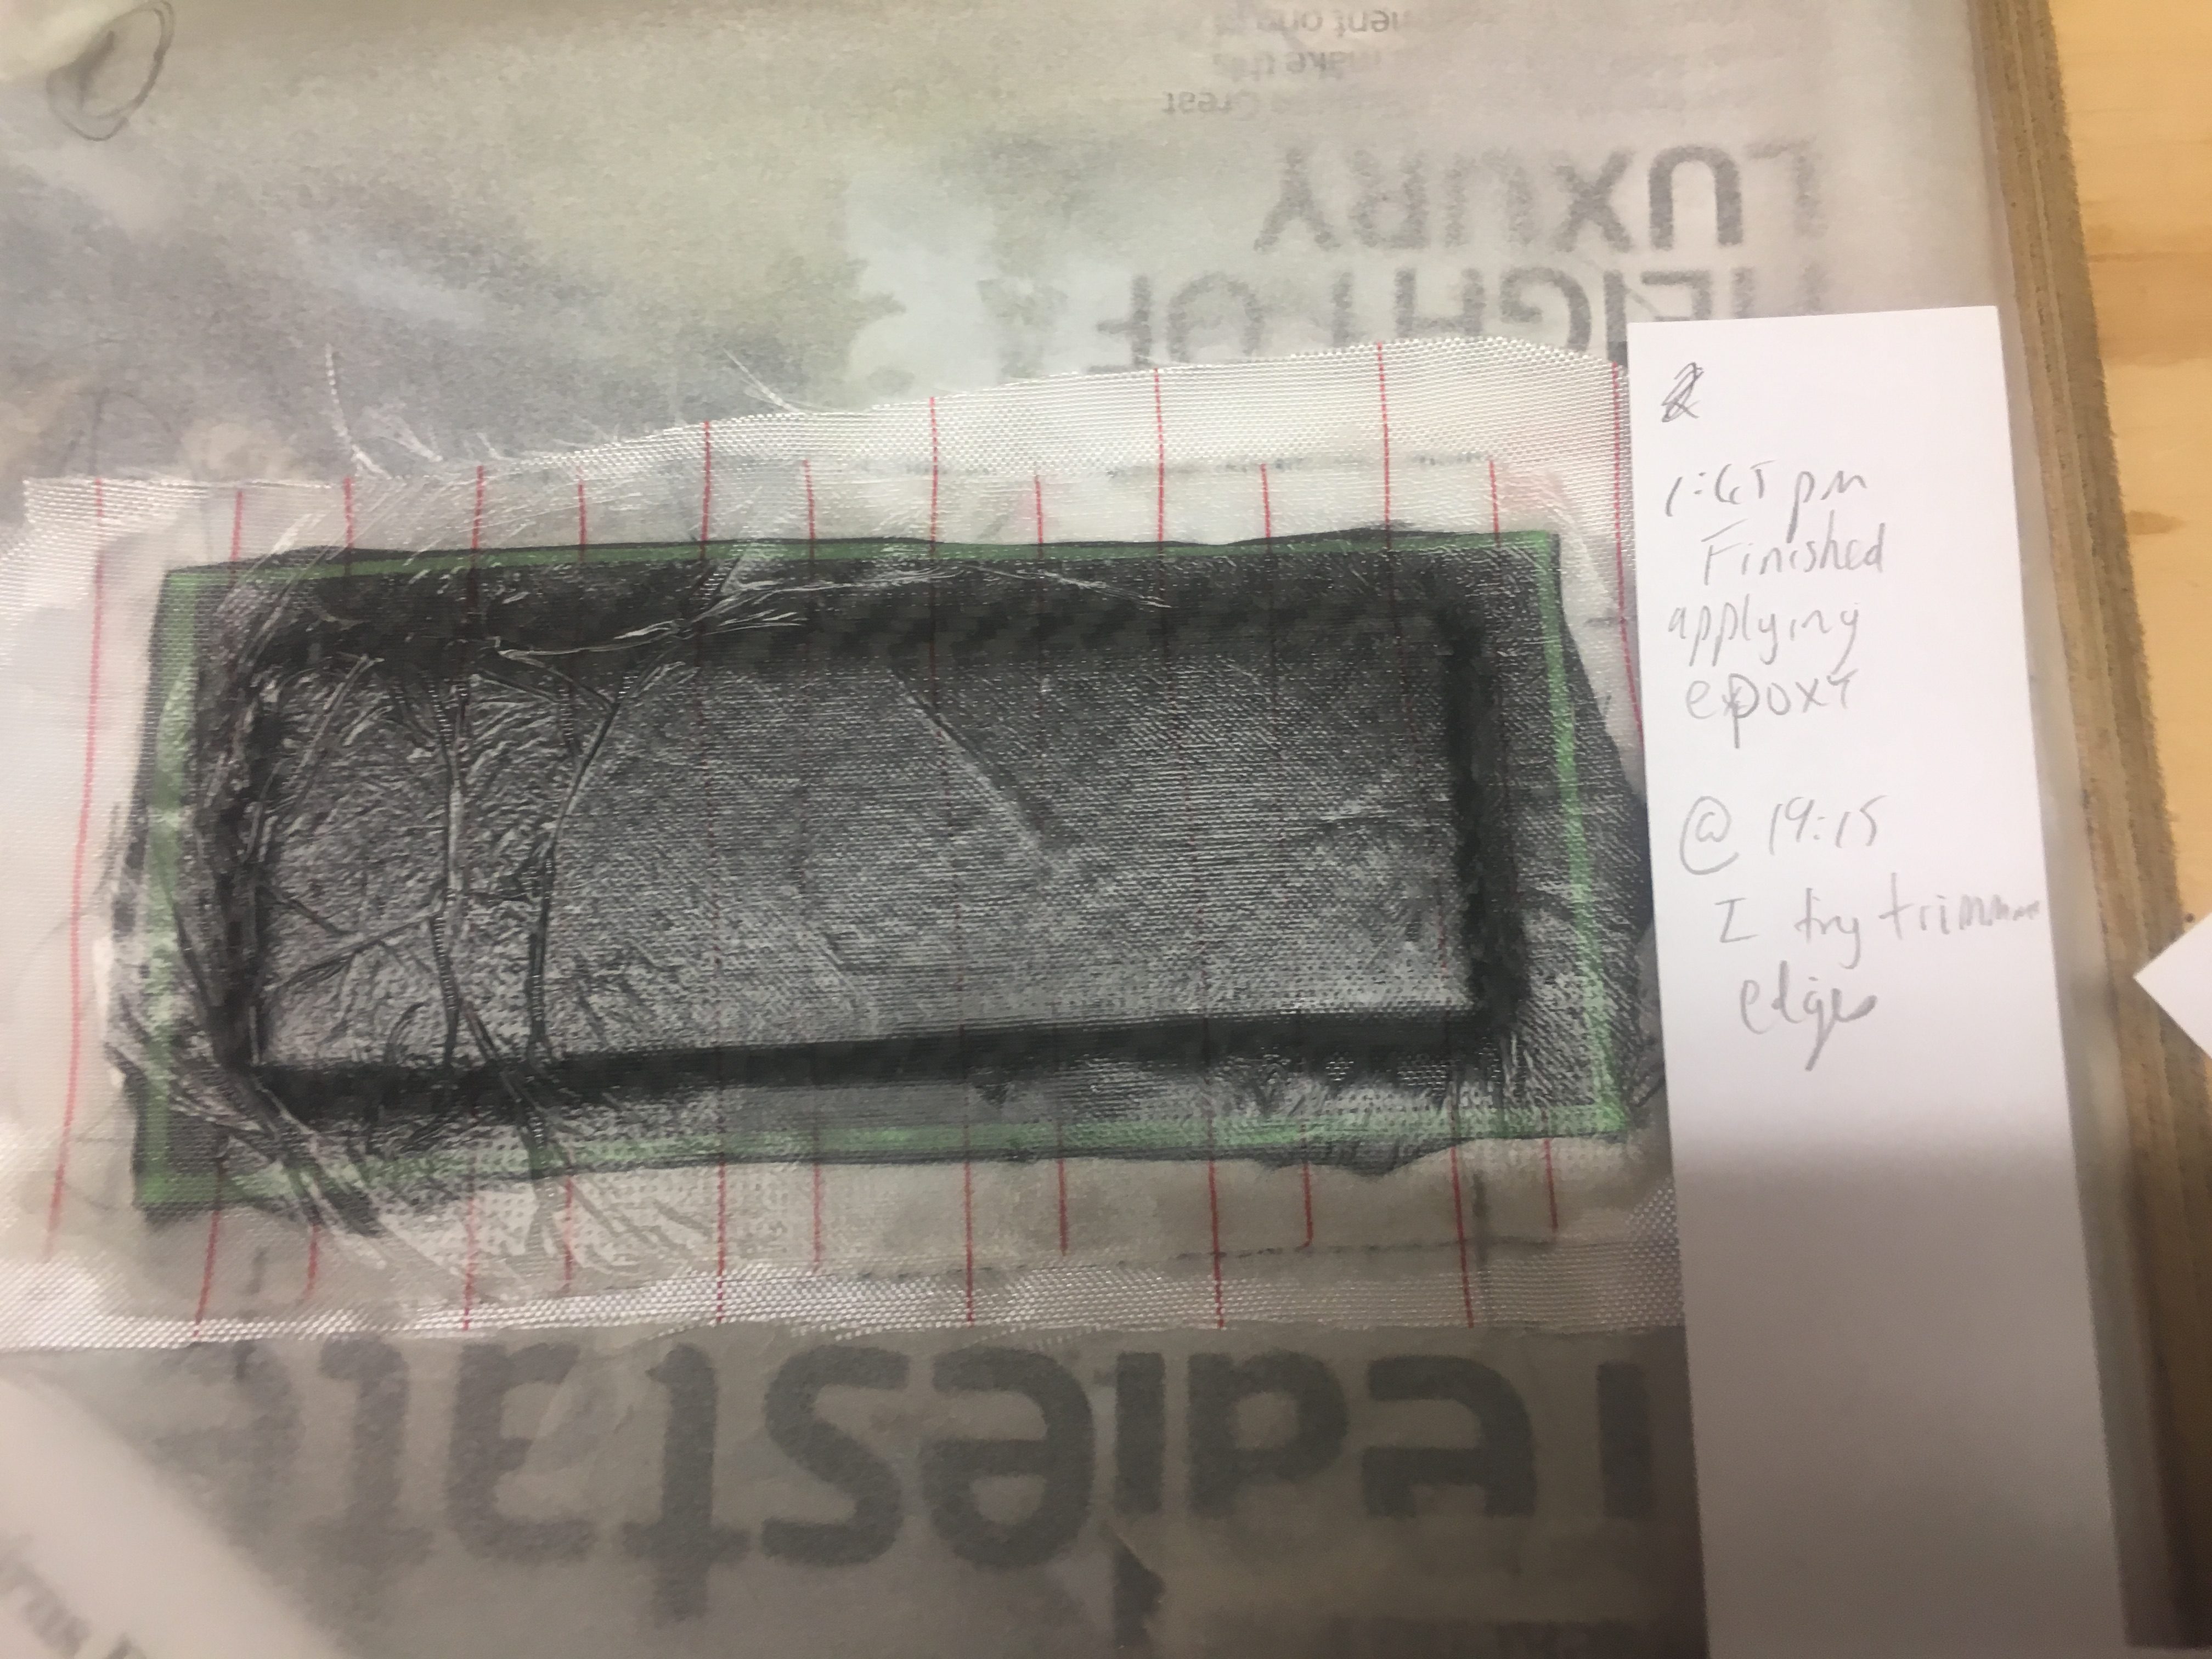
Applied two layers of Nylon Peel Ply
Nylon Peel Ply completely wetted out.
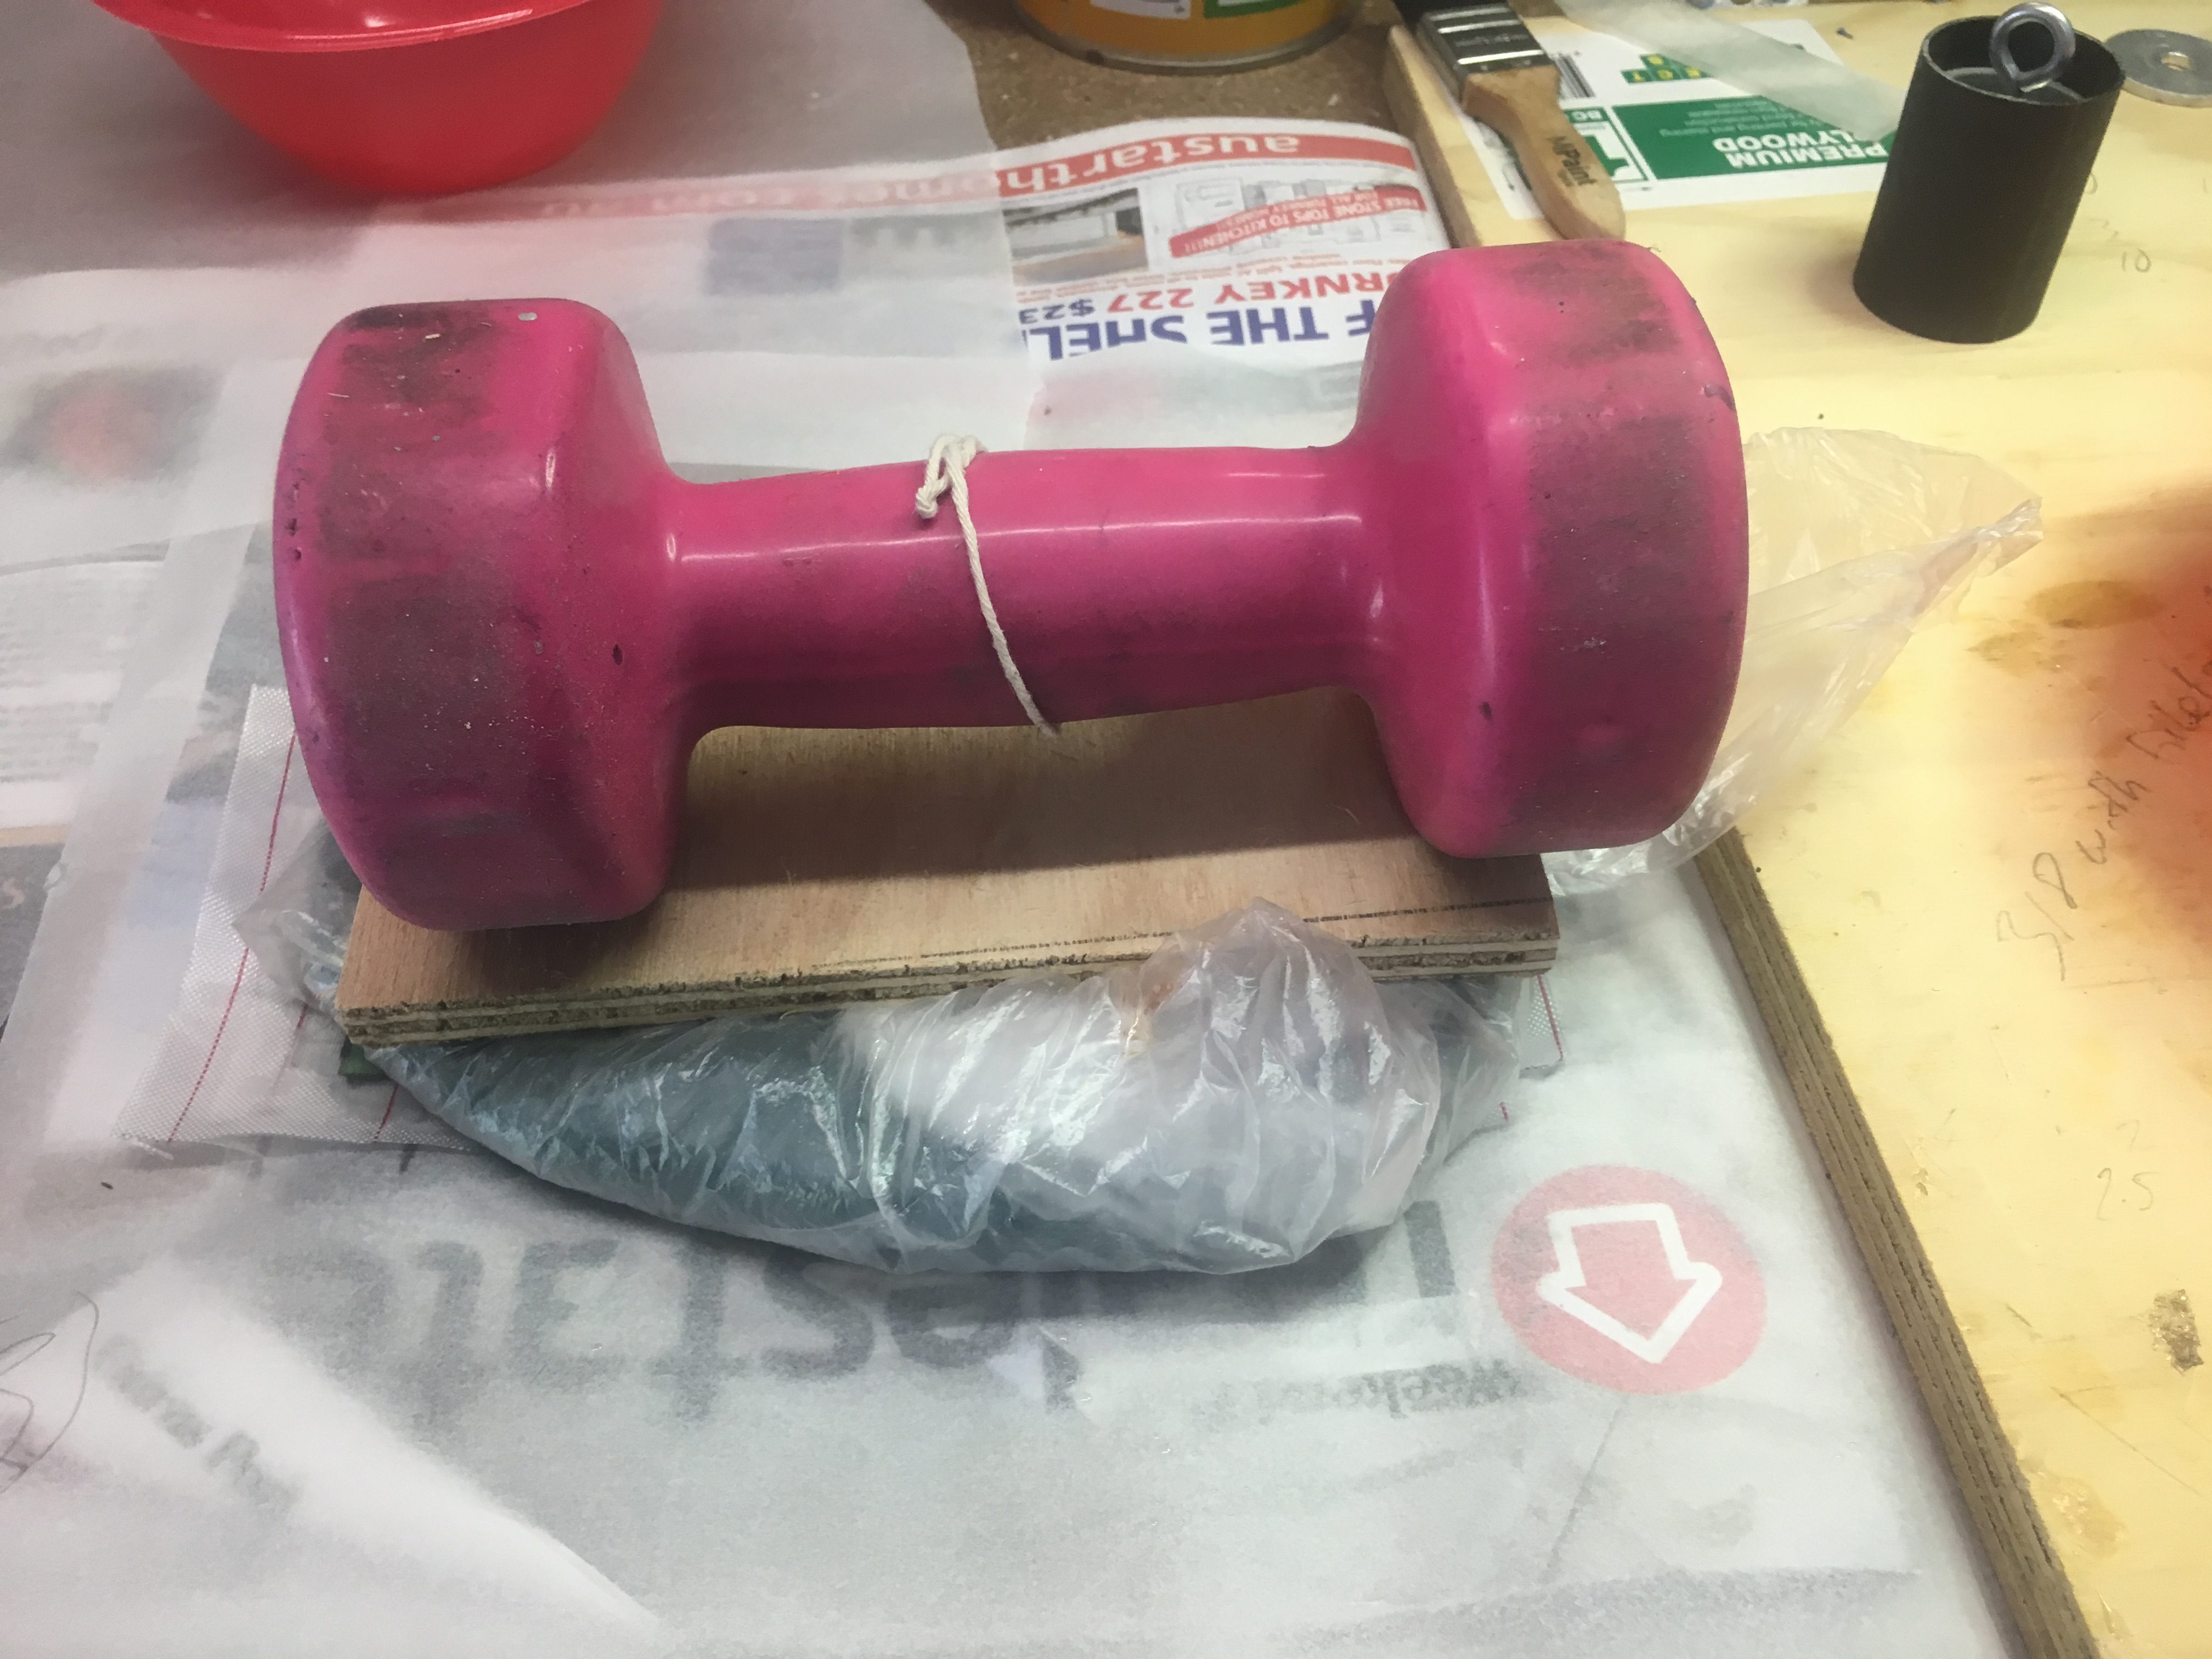
Added Magnetic sand (in two bags) on to the job. Then placed wood and 4kg weight on top.


5.5 hrs has passed and about to trim off excess material.
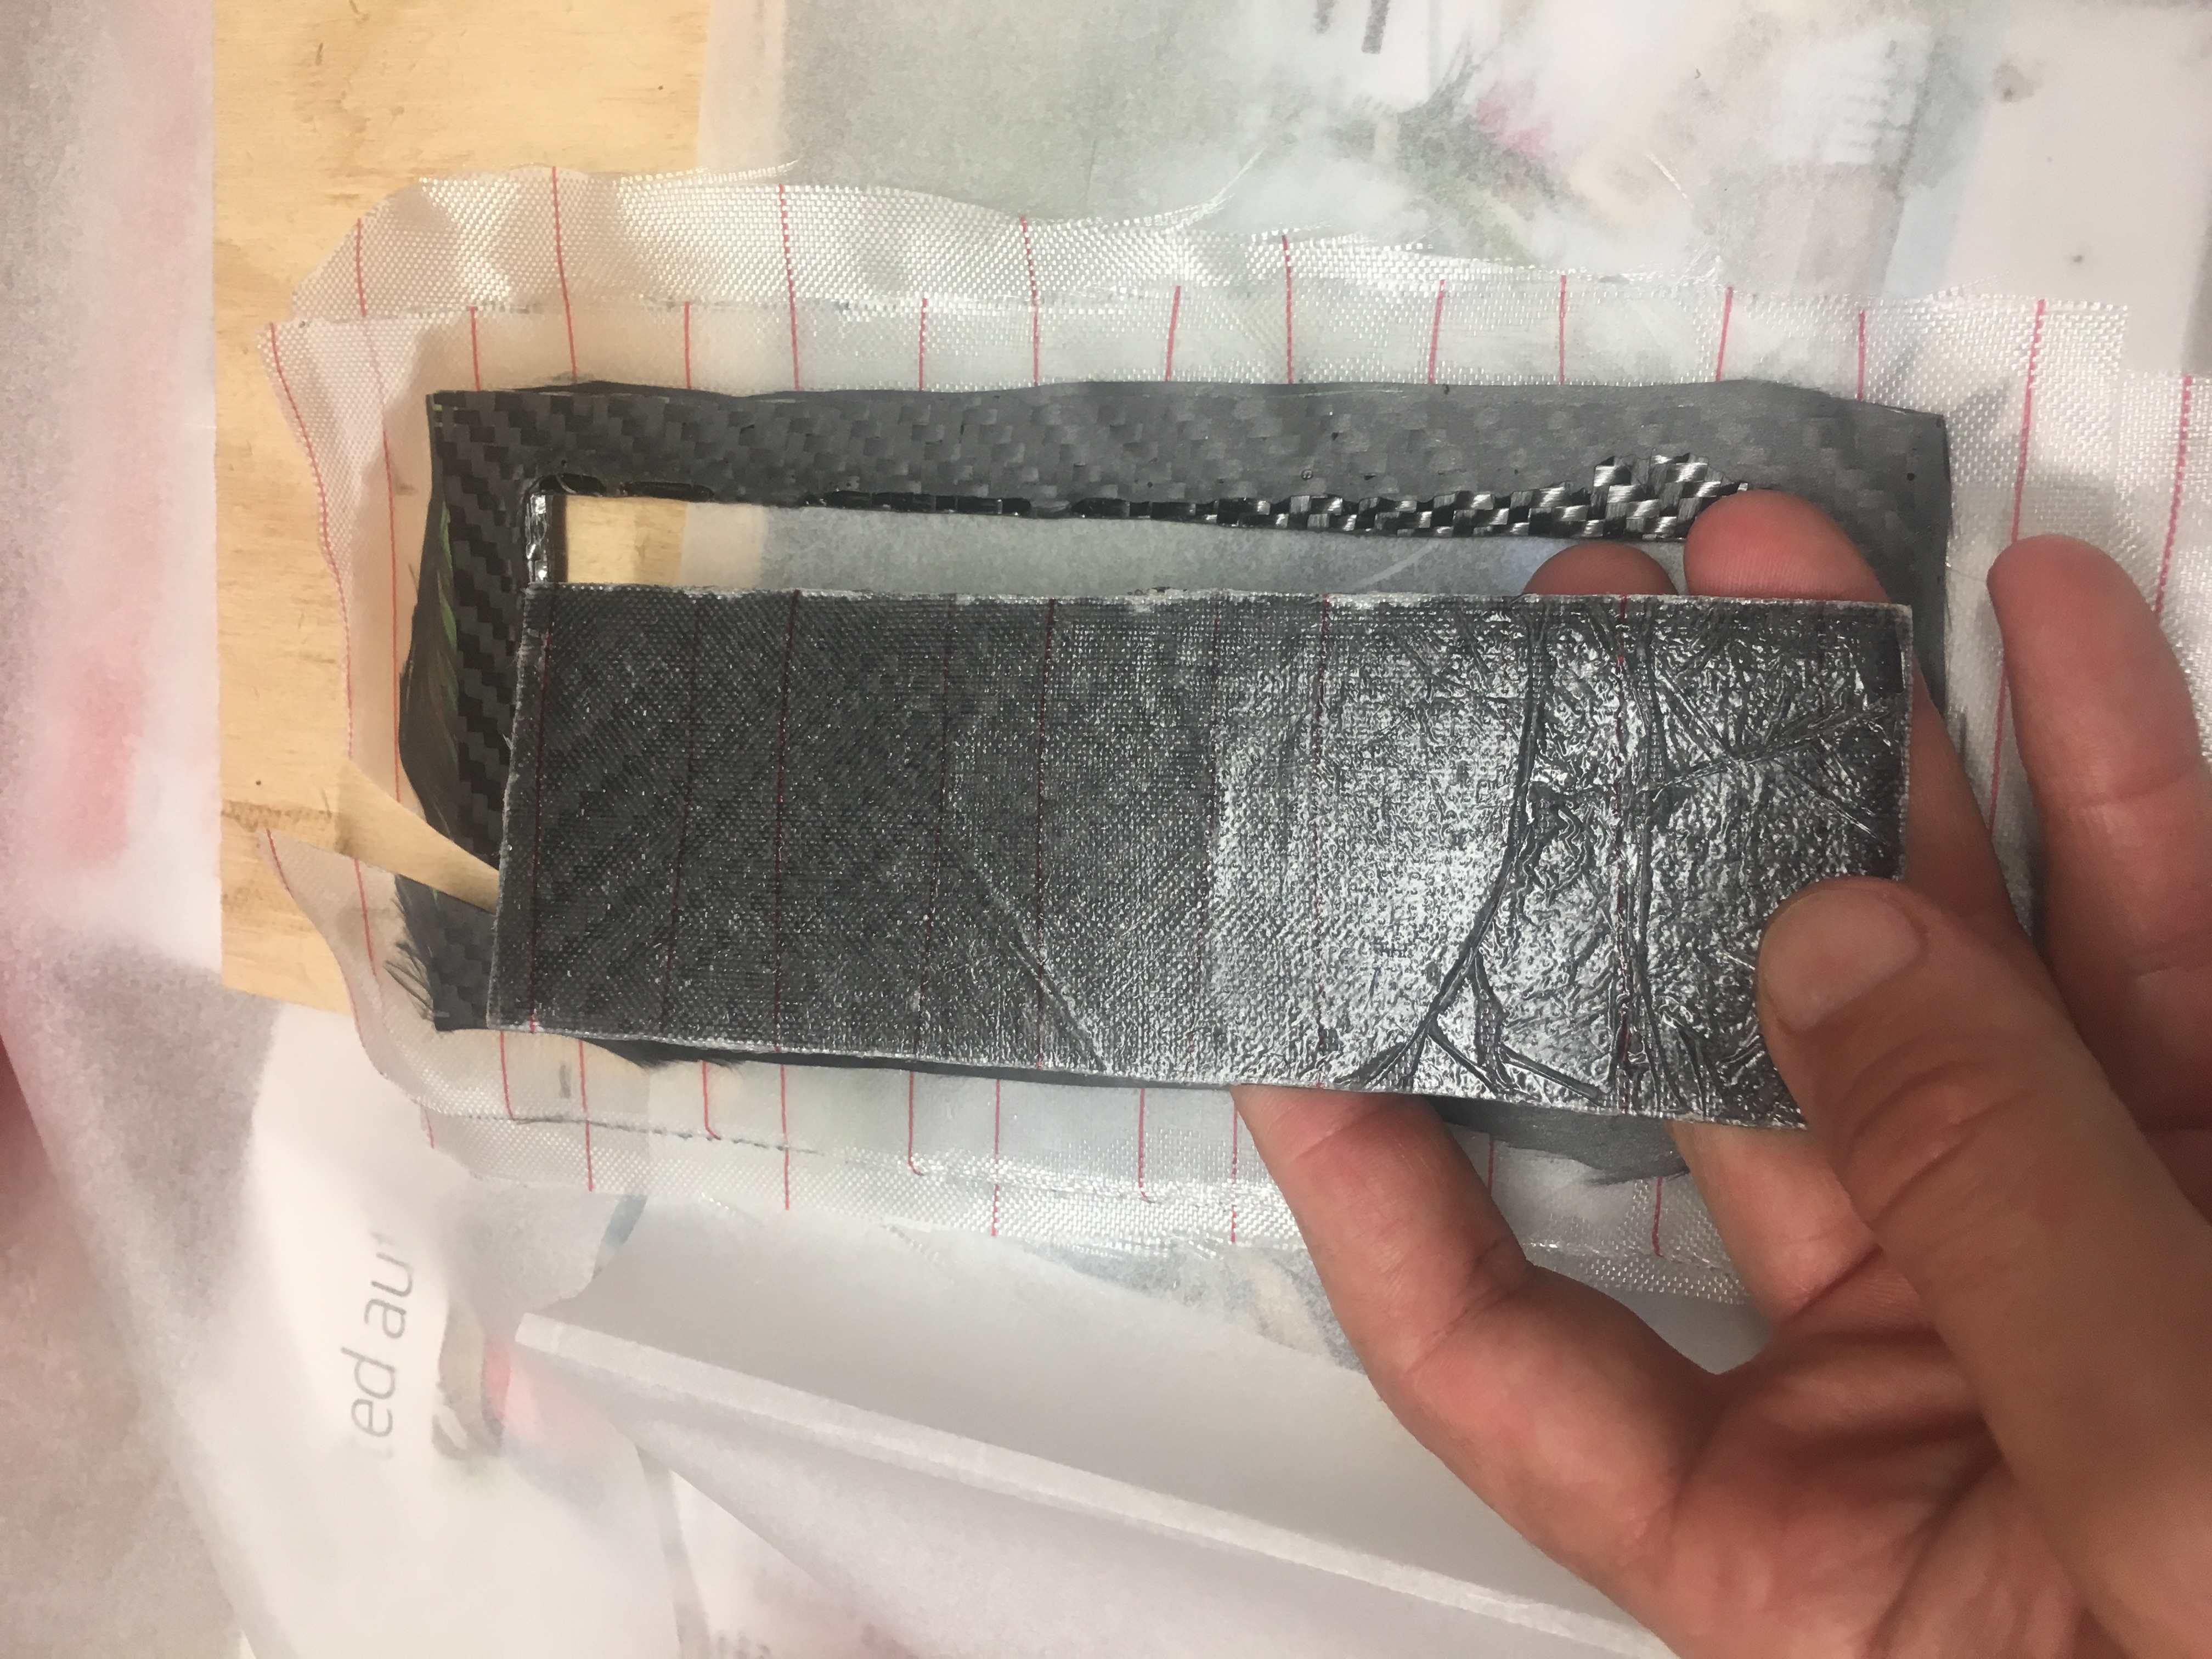
Trimmed excess quite easily/quickly with a pair of scissors.
IMG_6014
Used a sharp knife to initiate removal of Peel Ply ~24hrs after starting Lay up.
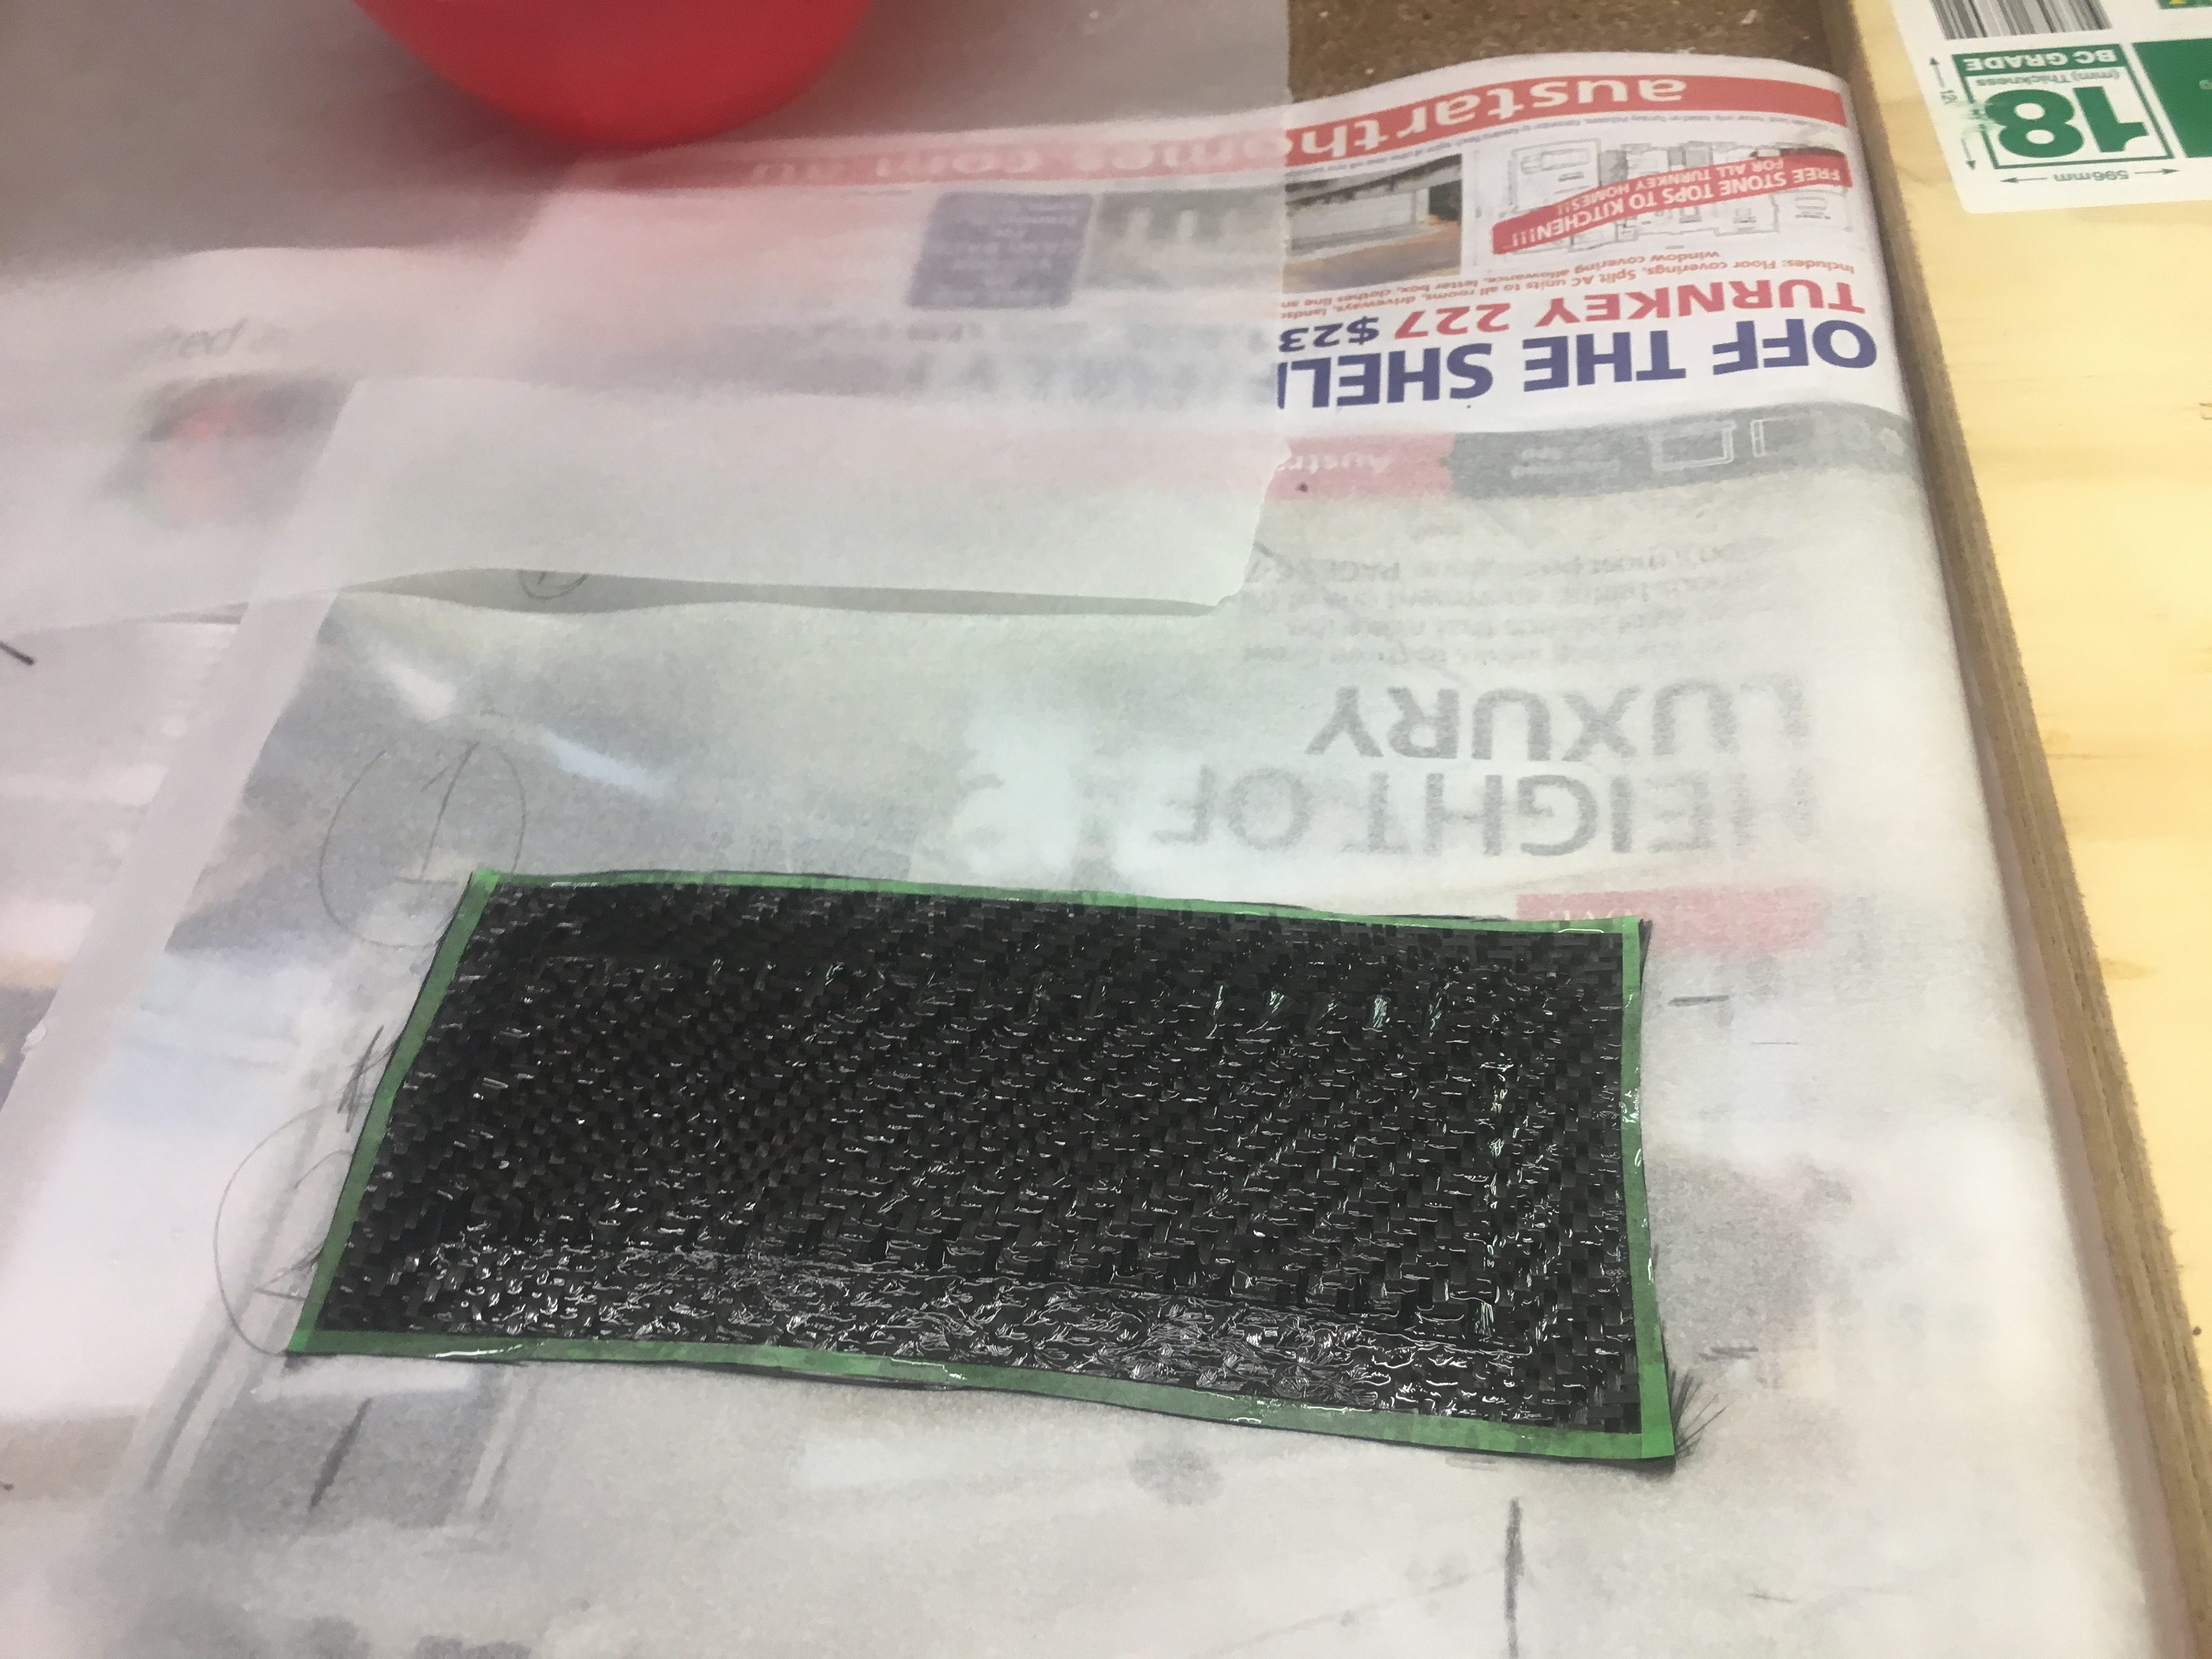
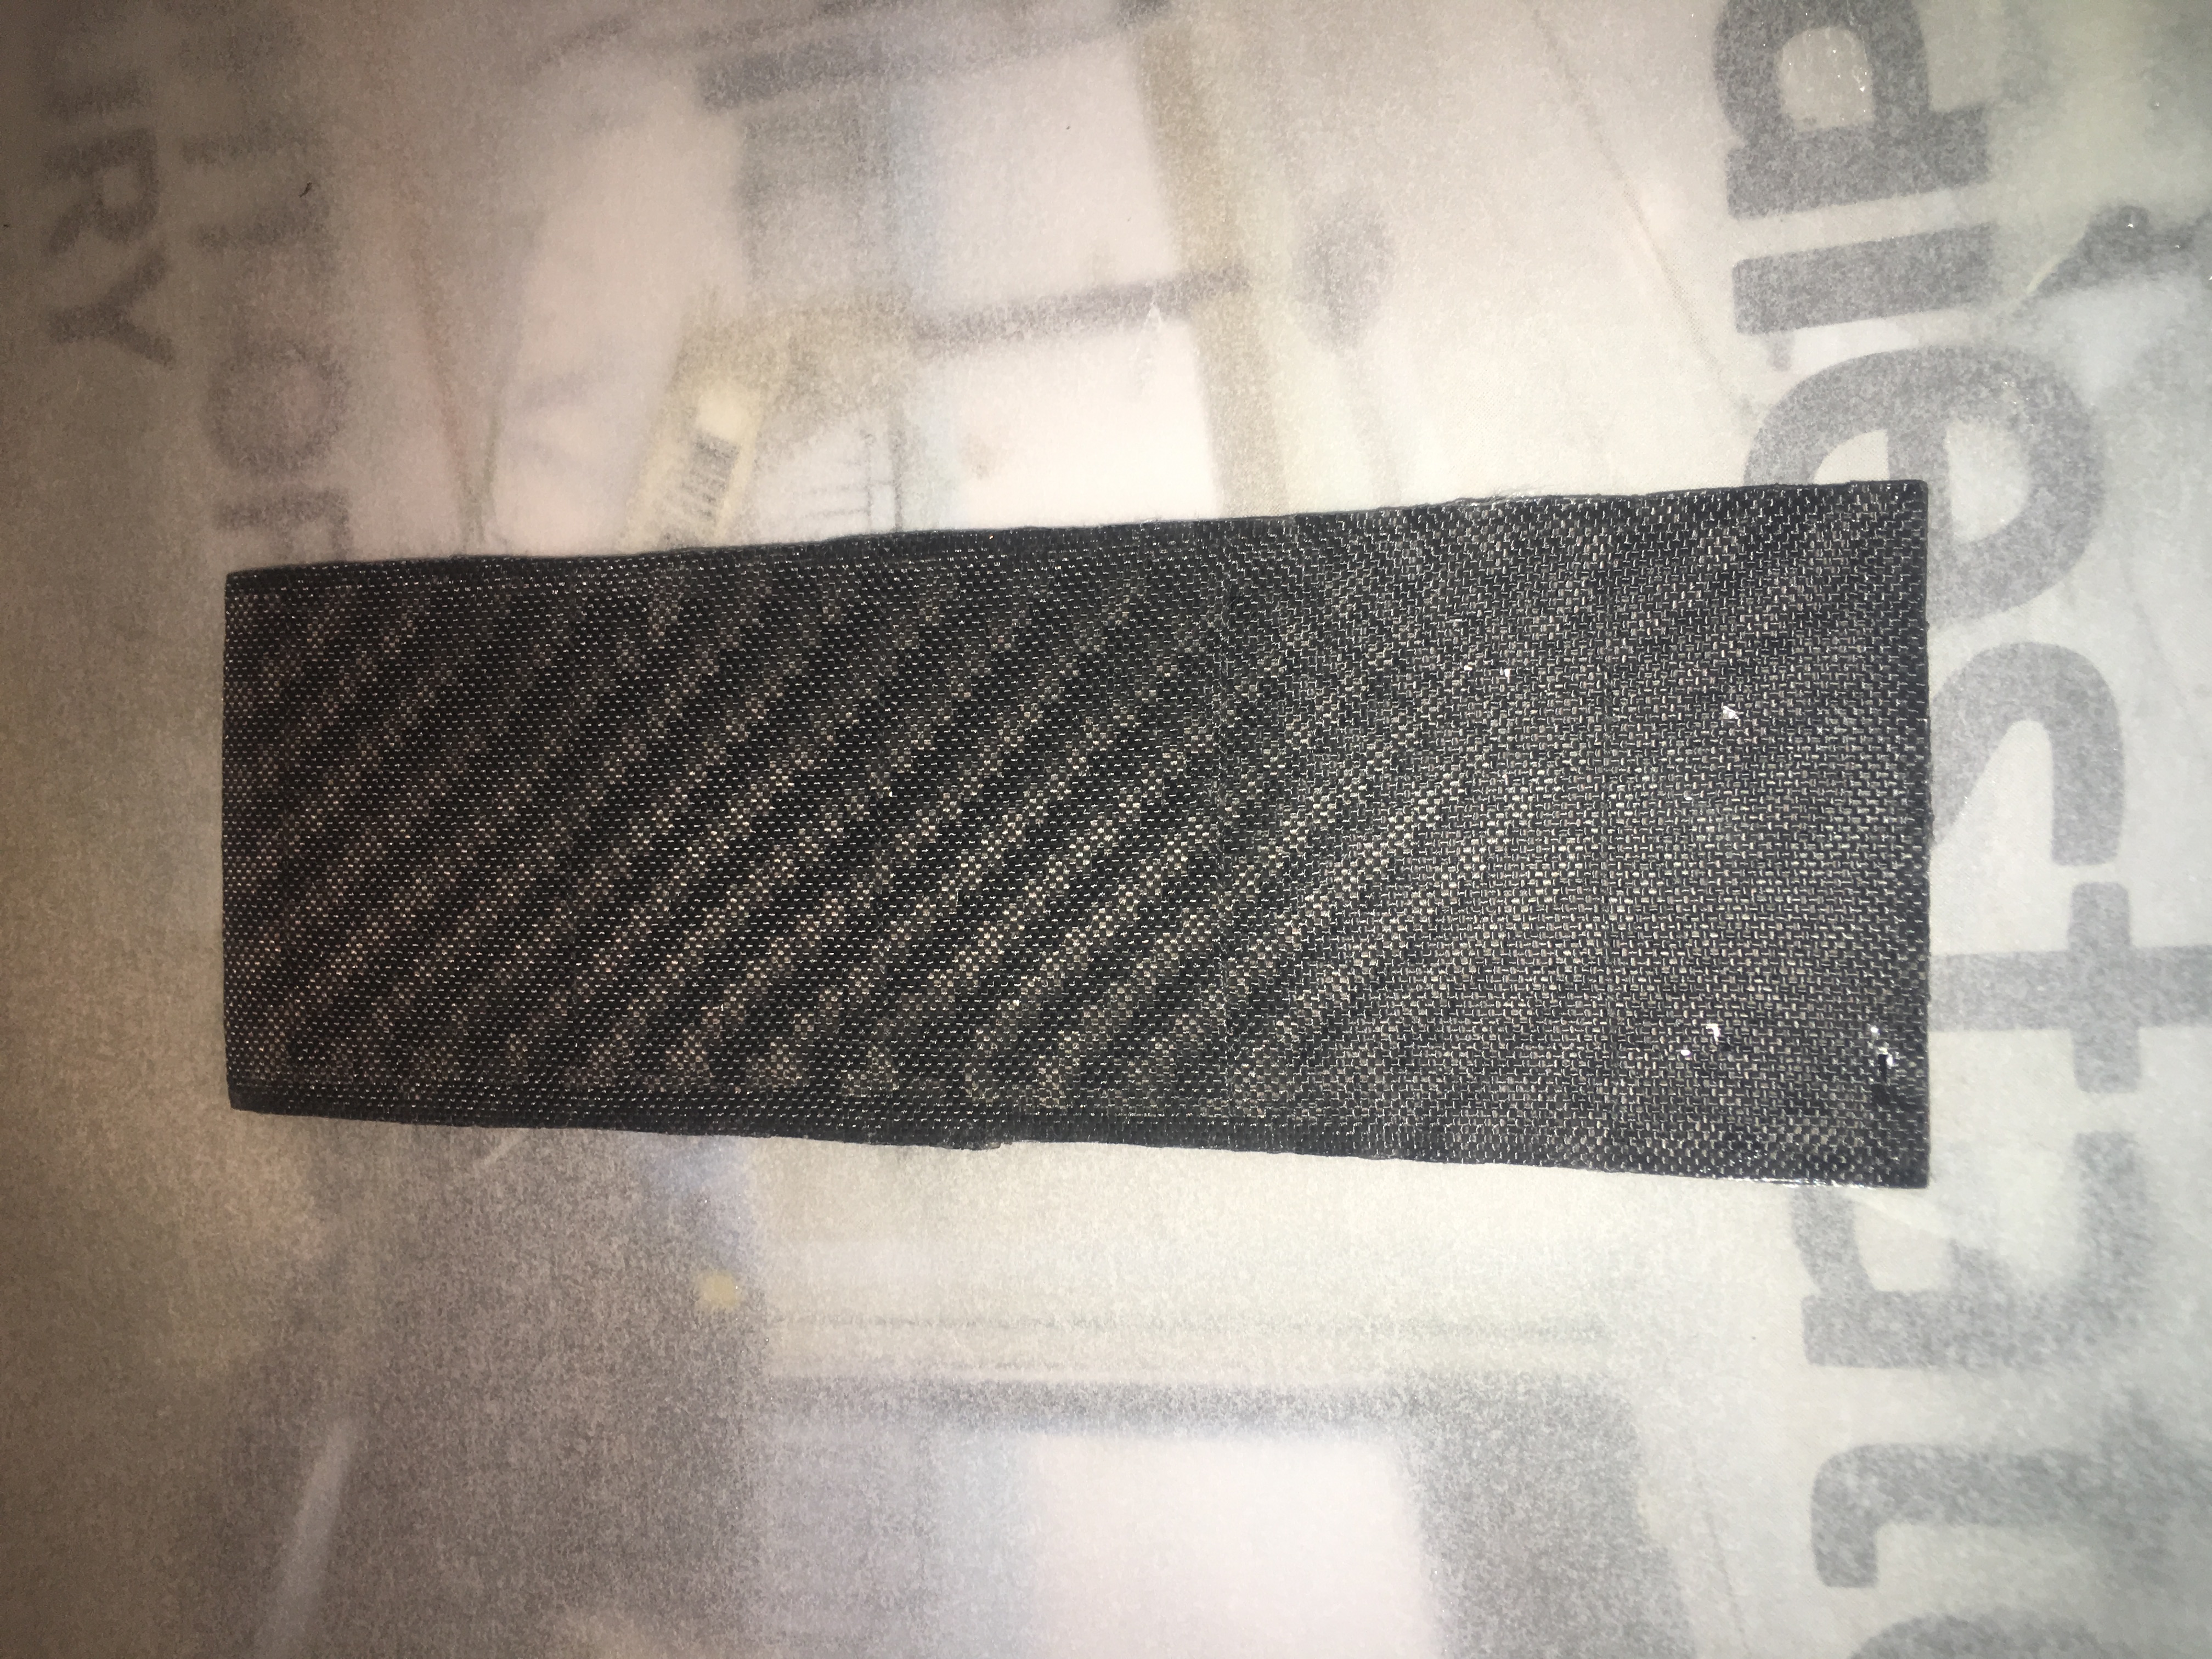
Completely finished Lay up! (except for the finish itself)

Final Weight: 44 grams

This means the Epoxy weight was approximately:  2 grams

So the total weight of the epoxy/CF is 3 + 2 + 2 = 7 grams. Very light!

The carbon fibre seems to have bonded well with the G10 material. The resultant piece is a lot stiffer.

My next step (if this was the real fin) would be to apply a very thing coat of K3600 and then sand with progressively higher grits.

Now considering a real fin layup this weekend.

A new Rocket

Not long after the launch of March Fly, I decided to commit myself to another large and exciting rocket project. This time, to build an extremely high performance 38mm rocket.

Goals

My high level goals for this project are to:-

  • Build a rocket that is capable of very high altitudes for its size. (Open Rocket simulations suggest that with the most powerful motor available, it should be able to reach altitudes of ~4800 metres).
  • To create a rocket that can be used in multiple configurations. e.g. as a medium powered rocket, right up to high powered rocket. Also want it to be usable in two stage configurations.
  • To gain more experience building rockets and designing rockets with new materials and different techniques.
  • Ability to fly faster than Mach 1.65 when equipped with a more powerful motor when flown in single stage configuration.

Rocket Design

All rockets that I’ve built to date  have been from kits. This will be my first scratch-build rocket. I think I’m up for the challenge.

Below is a screenshot of the rocket from Open Rocket.

Preliminary design of rocket

In this screenshot, it has the smaller motor in it. Flying this motor would be good as a shake-down test.

Key Design Features

  • The rocket is to to be Minimum Diameter. It has to be if it is going to go high and fast.
  • The rocket air-frame is to be constructed out of Carbon Fibre. This is very light and very strong material.
  • The air-frame diameter at the back of the rocket is slightly greater than the rest of the rocket. This will allow the rocket to be staged. This is so the motor retaining plug does not interfere with the lower stage.
  • We have 110mm of air-frame below the fins to allow mating with other rocket.
  • We will not be employing lugs, buttons on this rocket. This is to minimise drag.
  • We will use a Classic 2 parachute by Sky Angle.
  • The Nose cone and the coupler will be fibreglass to allow radio signals to radiate, but the remainder of the rocket air-frame will be carbon fibre
  • The fins will be 2.4mm thick G10
  • We will do tip to tip of the fins for added strength.

Scratch-Build

Scratch Build doesn’t mean making up the build as a I go along. I am writing up some documentation to help me refine the design and the building steps. This has proved extremely important for the air-frame build already.