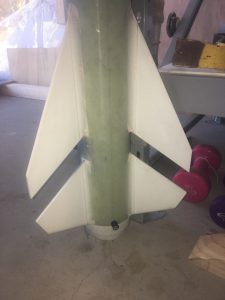
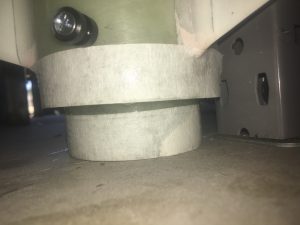
The next step was to glue the centering ring into place.
Decisions
I decided to use 30min Epoxy glue from AusRocketry. I didn’t want to go for 5 minute and I didn’t want to for 24 hour.
Preparation
While every effort was made to ensure glue/mess did not make its way on o the surfaces where the Centering Ring is to be glued, some does make its way and so I had to clean it off. There wasn’t much. I used some Methylated spirits to clean the surfaces as well.
Next I wanted to tape up the motor mount exterior, so I would not get any epoxy glue. I also taped up the exterior of the airframe, just to help reduce chance of getting Epoxy on there.
I also decided to stuff some paper up the Motor Mount tube to ensure nothing got up there.
Insert centering ring in ~6mm and mark on the motor mount three places with pencil. This helps us know how far we have to push it in.
Gluing the Centering Ring
This was a carefully thought out job.
- Internal and External ring is sanded with Grit 60
- Sand internal/external with Grit 60 sand paper
- Mix the epoxy resin and hardener
- Apply some of epoxy to the external surface of the centering ring. Need to be liberal in application, but not so much it drips too much or make a mess.AS YOU DO THE JOB, rotate the rocket so the glue doesn’t drip down to one area of the rocket!
- Apply liberal amount of epoxy on inside of air-frame (a ring)
- Apply liberal amount of epoxy on outside of the motor mount (a ring)
Remember, keep rotating the rocket.
- Slide the centering ring on
- Double check the depth the centering ring has been push in
- Remove the wire holding the centering Ring
- Take the rocket out of the Jig and attach to pole and cable-tie up
Here are some pictures.
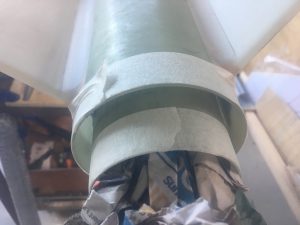
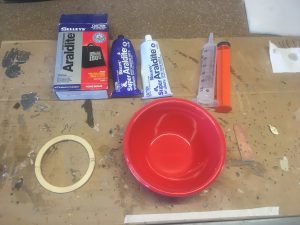
Never used the Syringe in the end. Used chopstick instead.
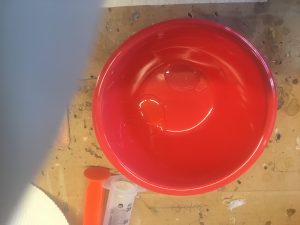
Mixing 24 Epoxy.
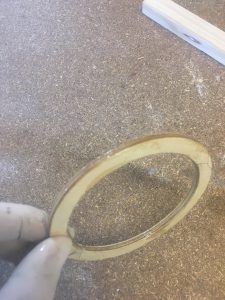
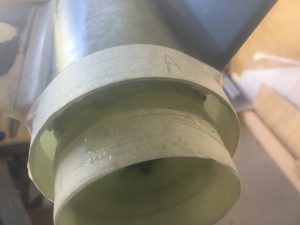
After this I slid the Centering Ring on. This requires two hands, so no photos.
Then I erected the rocket against the workbench, so that Gravity would bring the Epoxy on to the top of the Centering Ring.
