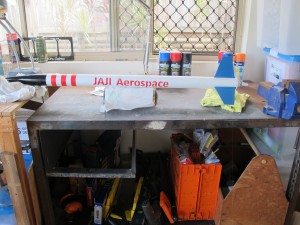
Next step was to paint the rocket.
A number of designs were done up using Blender. I did this by measuring the rocket and creating a file. I then played about with different combinations. Below are some examples.
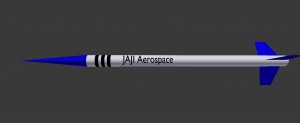
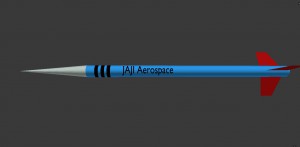
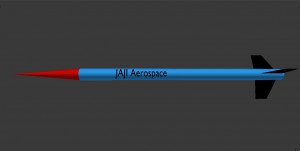
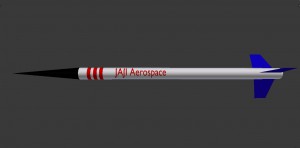
I also managed to figure out how to put some ‘text’ on the rocket tube to realistically show how it would look. Jeremy my son provided some possible designs and we ultimately adopted one of this designs; the last one shown.
The painting process was long and complex. There were times when I had to walk away to allow it to dry and then turn it over to paint more. Often I did very light coats, so as to avoid dripping. This meant I had to come back and do several coats though.
The basic steps followed were:-
- Sand and clean up any imperfections in the rocket
- Create a clean/free area (our garage) and put down newspaper
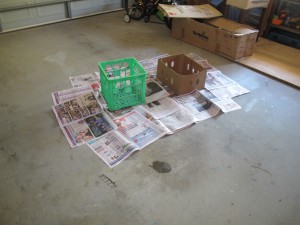
- Prepare rocket on stands, with nose cone slightly withdrawn from tube and taped up together (in recess).
- Cover up areas of rocket we do not want painted
- Completed painted with white Primer
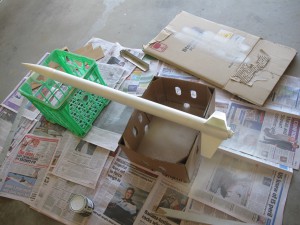
- Painted fins blue
- Painted nose cone black
- Painted body white
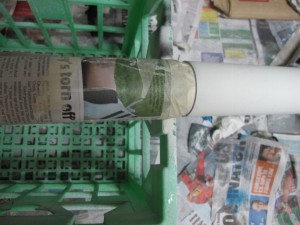
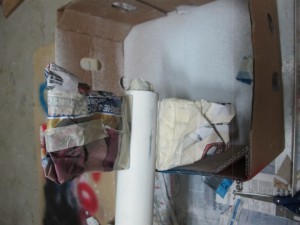
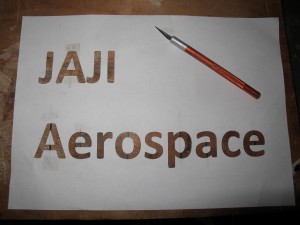
- Created stencil from a computer print out….using a scalpel blade. Carefully placed on rocket. Also attached bands to make the red stripes
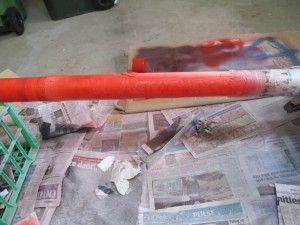
- Carefully painted red writing and stripes.
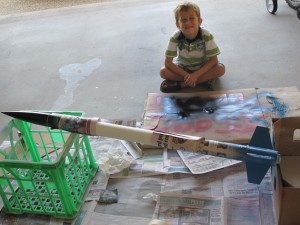
- Very VERY carefully remove tape and paper to reveal the finished item.
