
The rocket hasn’t been completed…the launch buttons haven’t been installed. There is a reason I’ve decided to hold off on the install of the buttons/lugs is to complete the launch pads.
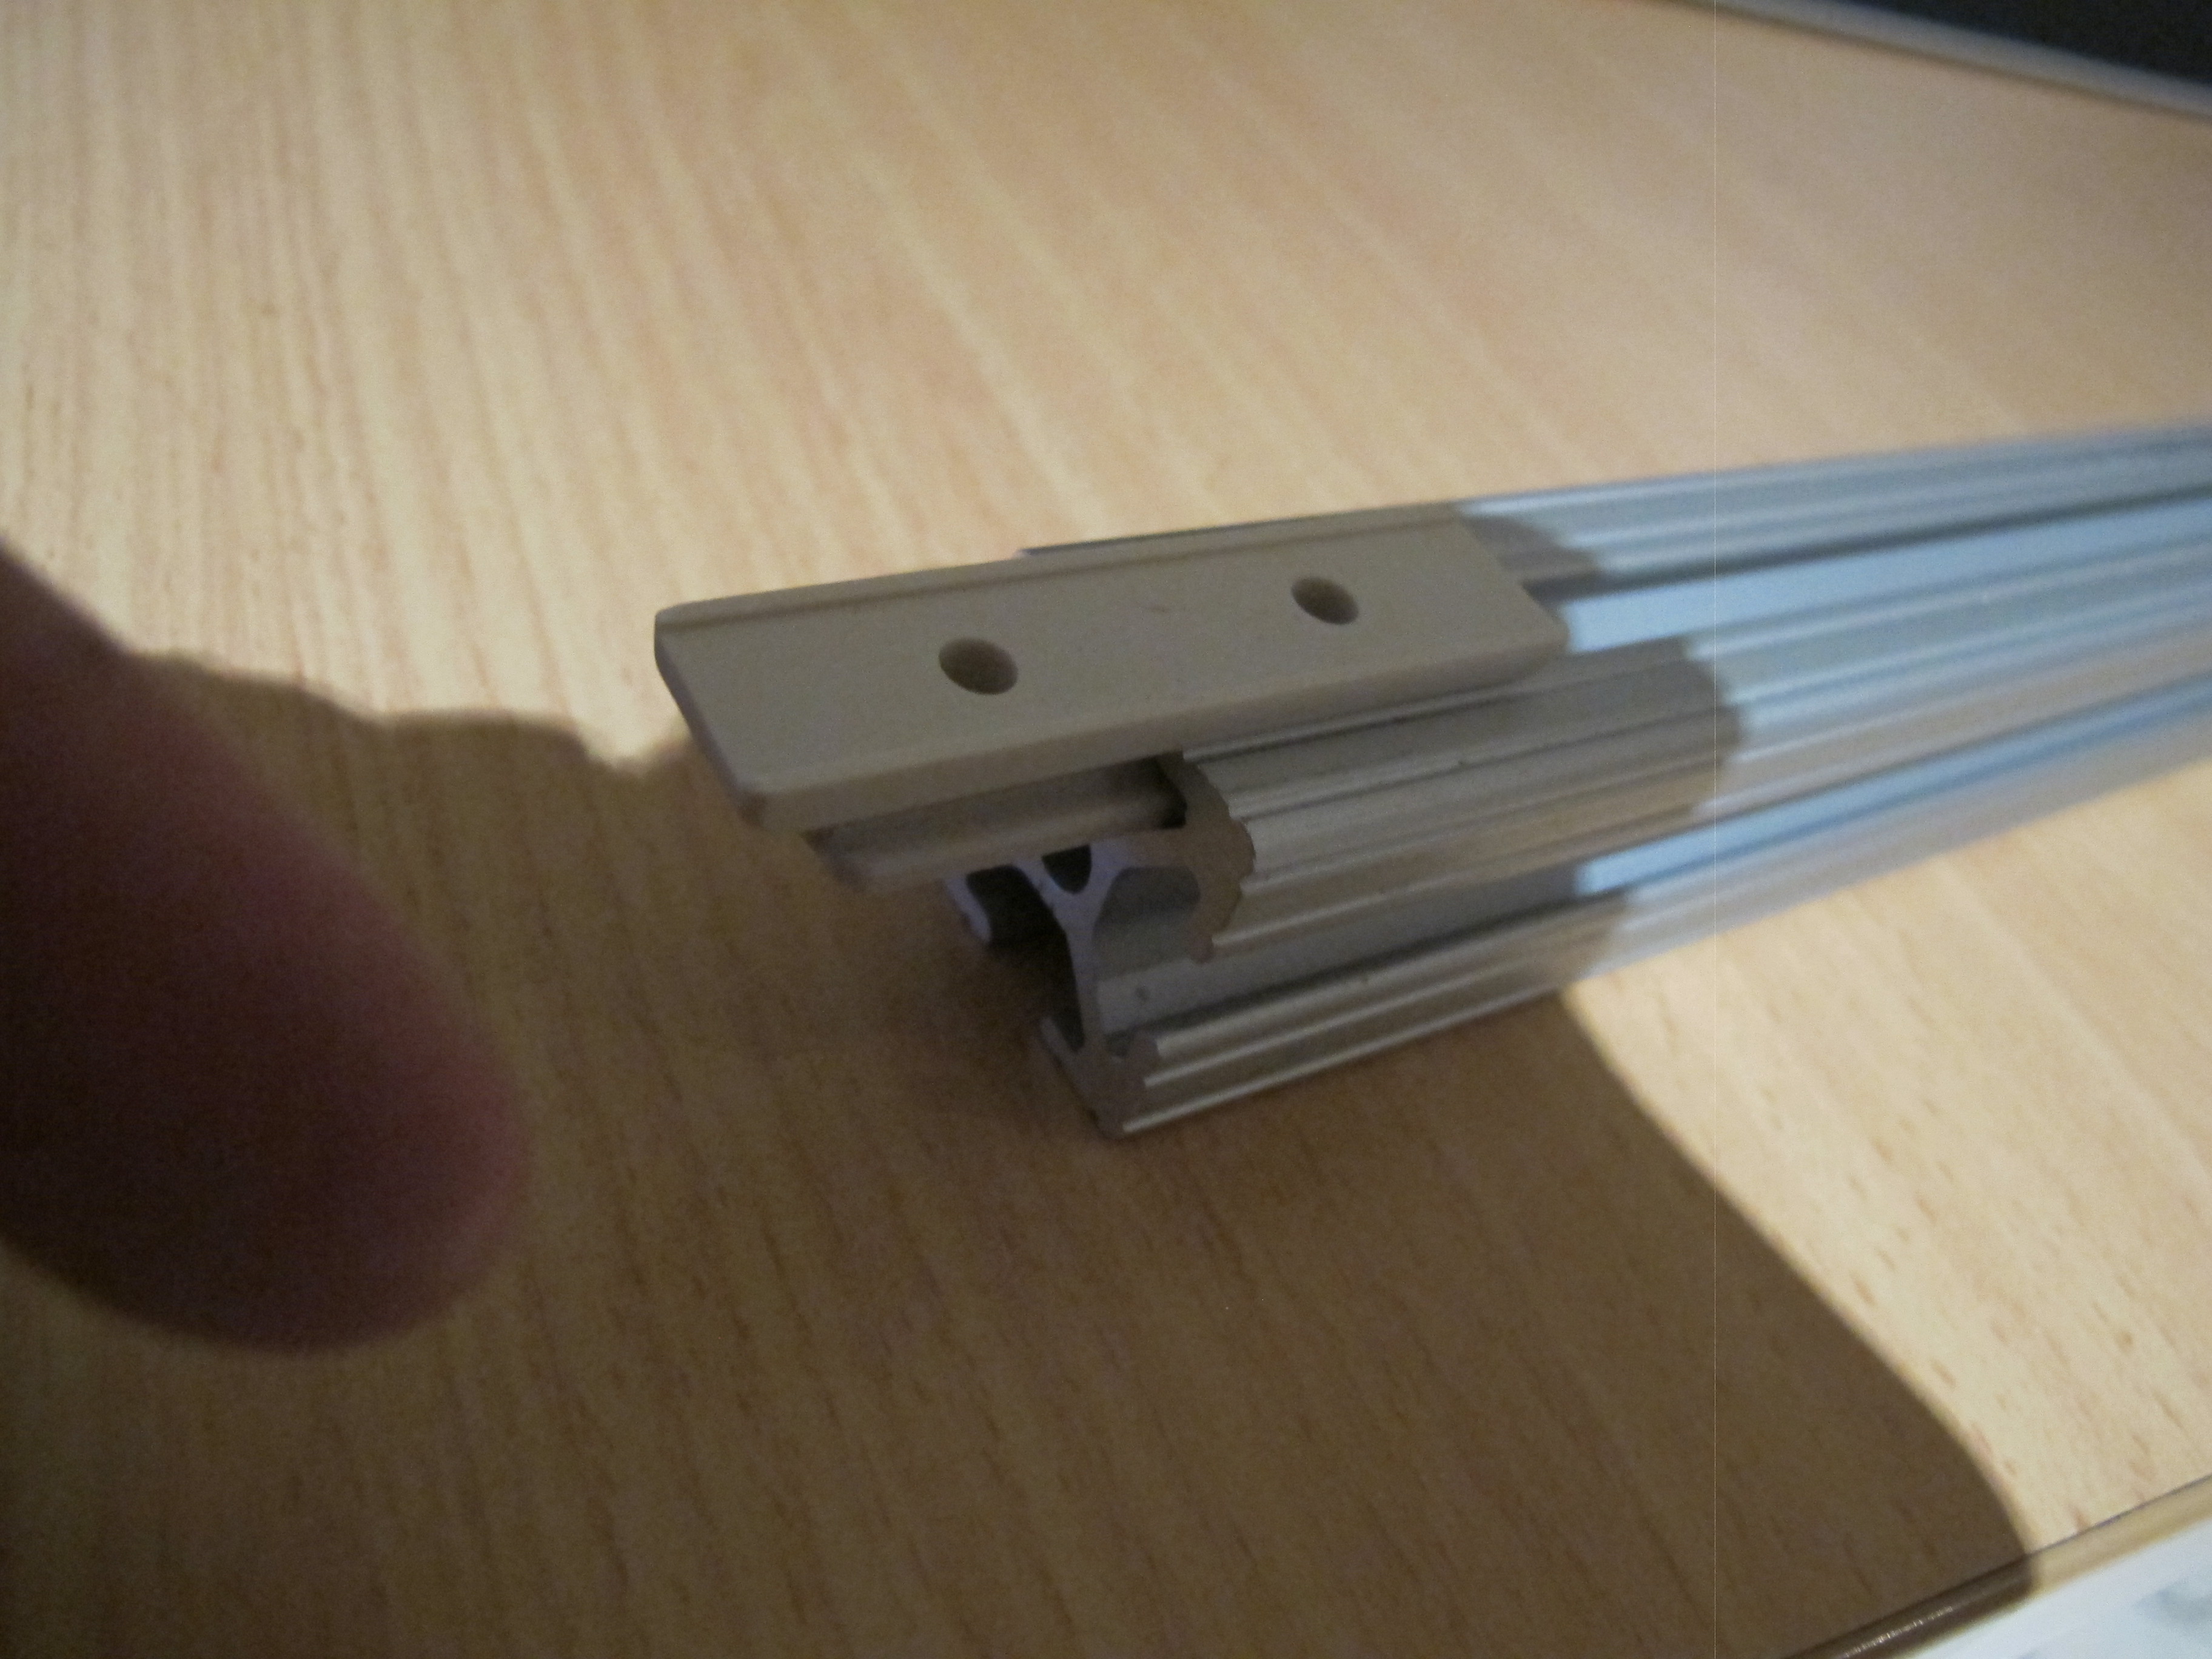
For those who do not know, the launch buttons/lugs are what we install on the rocket to guide it up the rail. See Picture below of a lug inside some 1010.
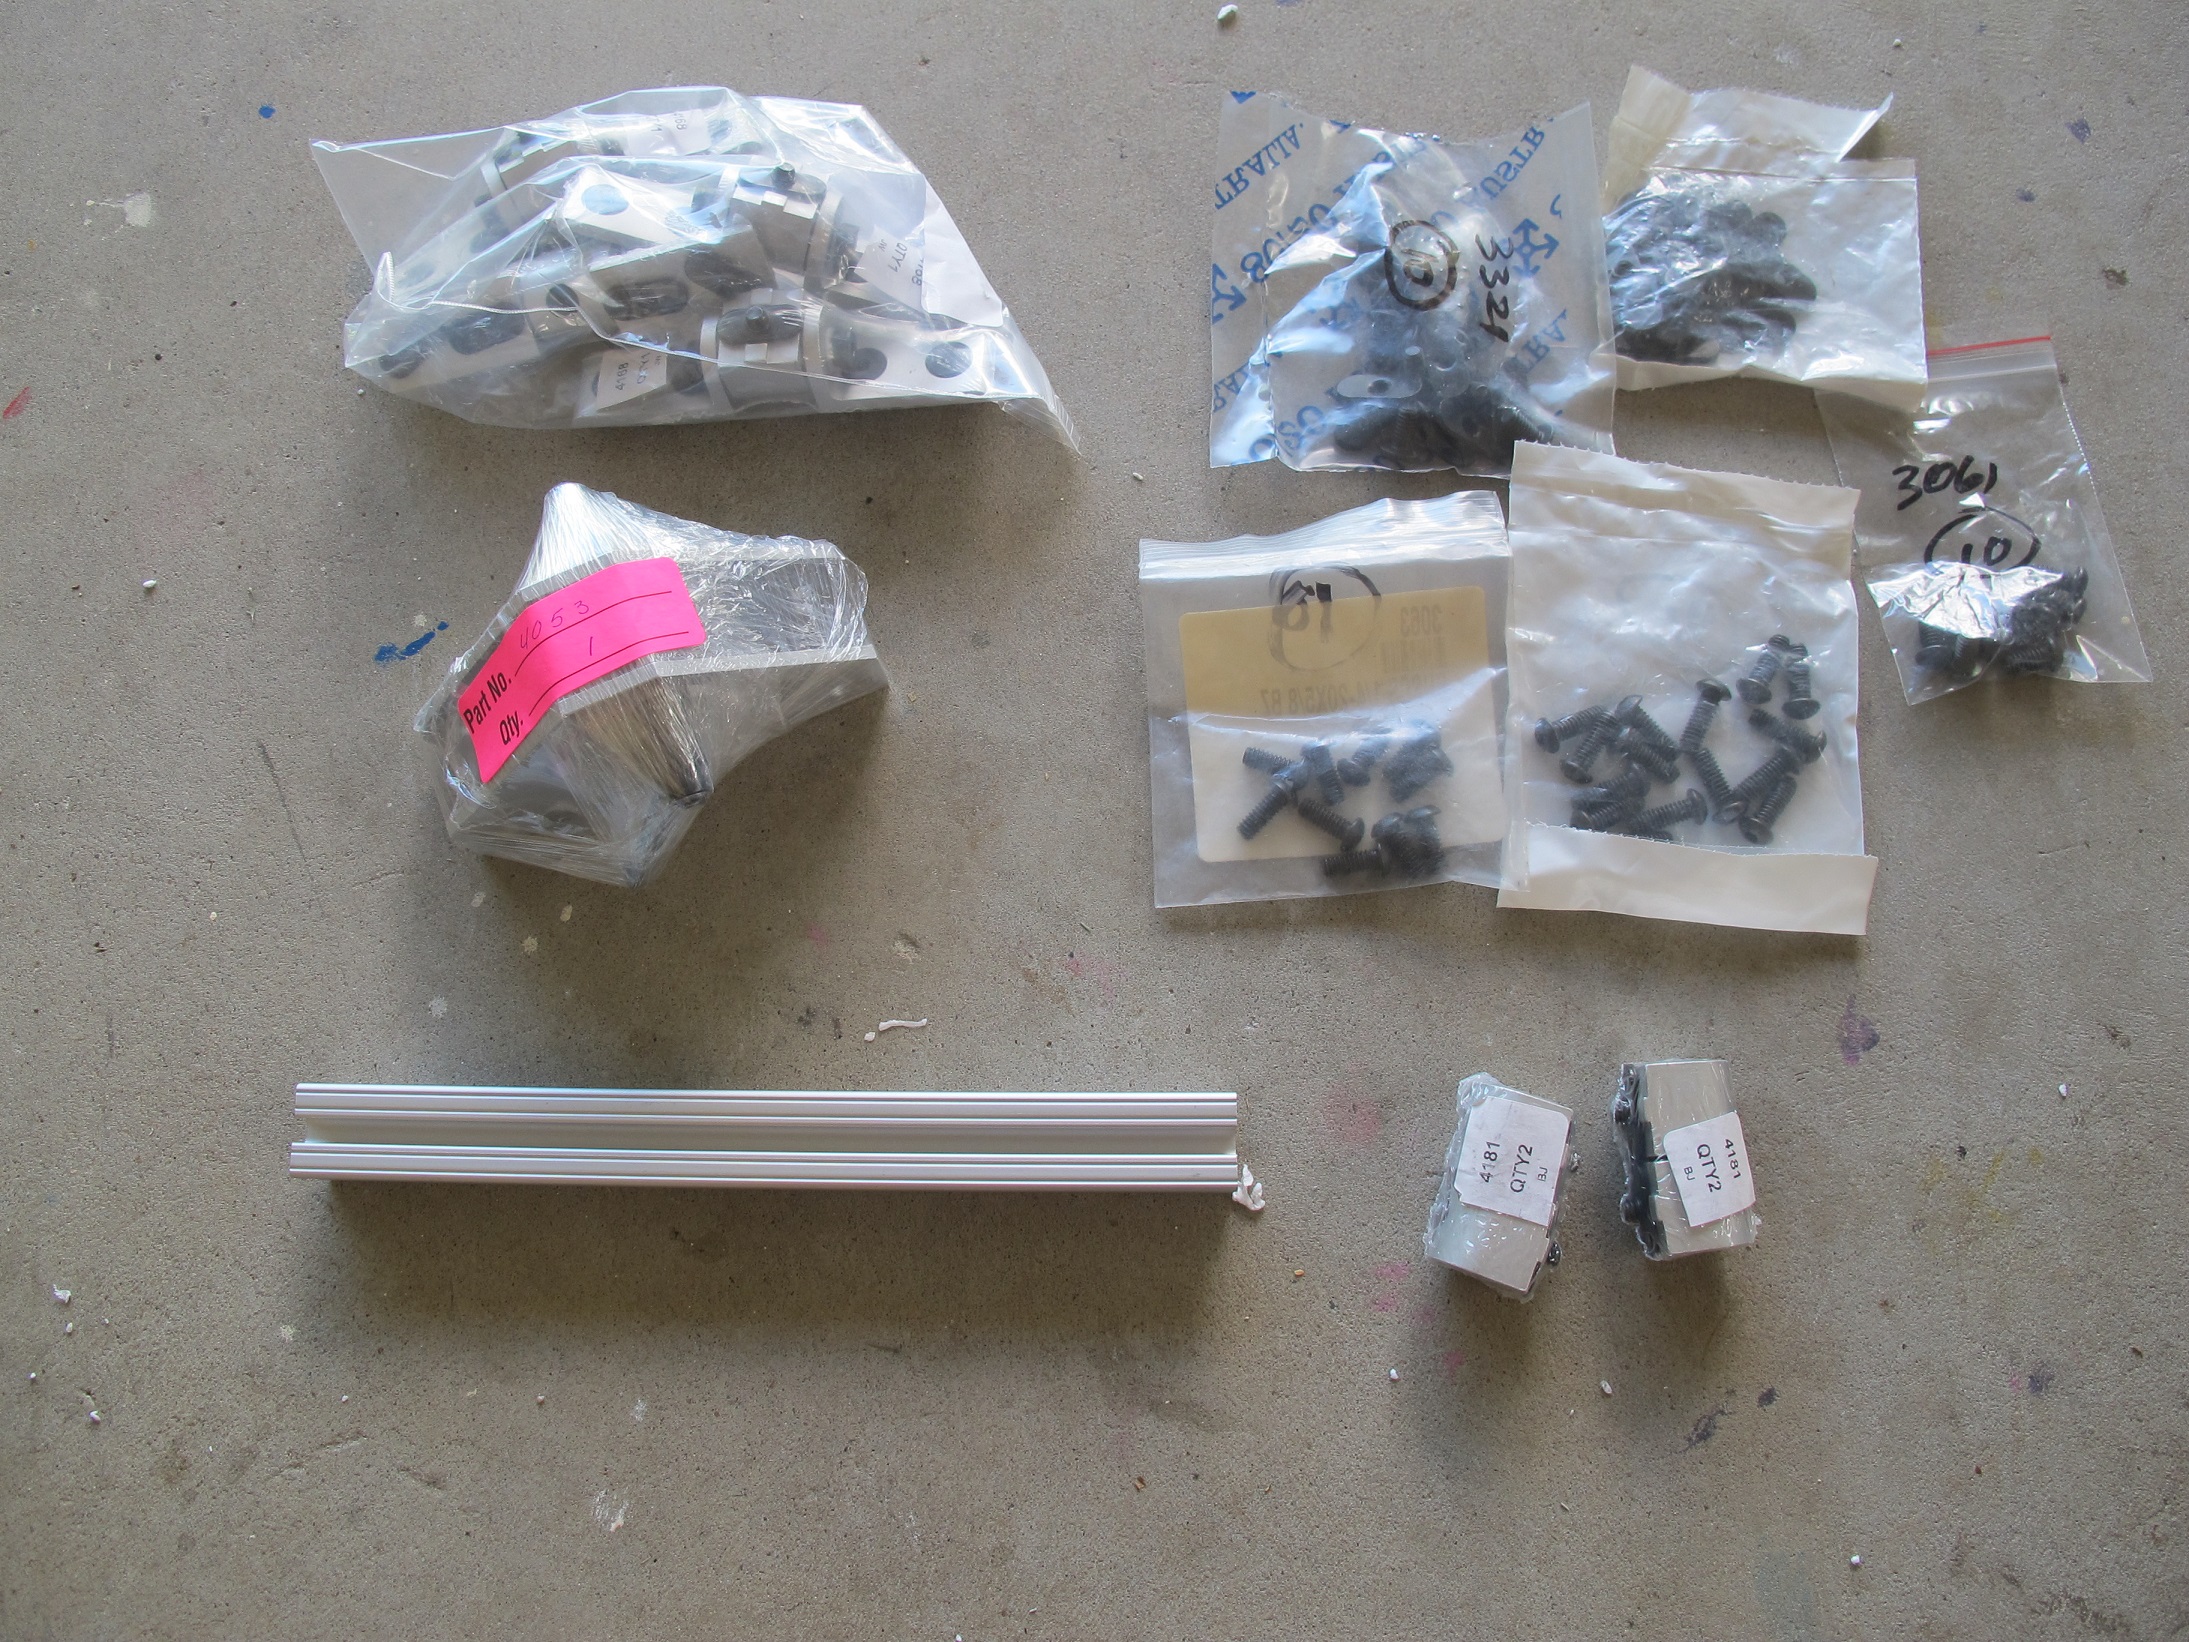
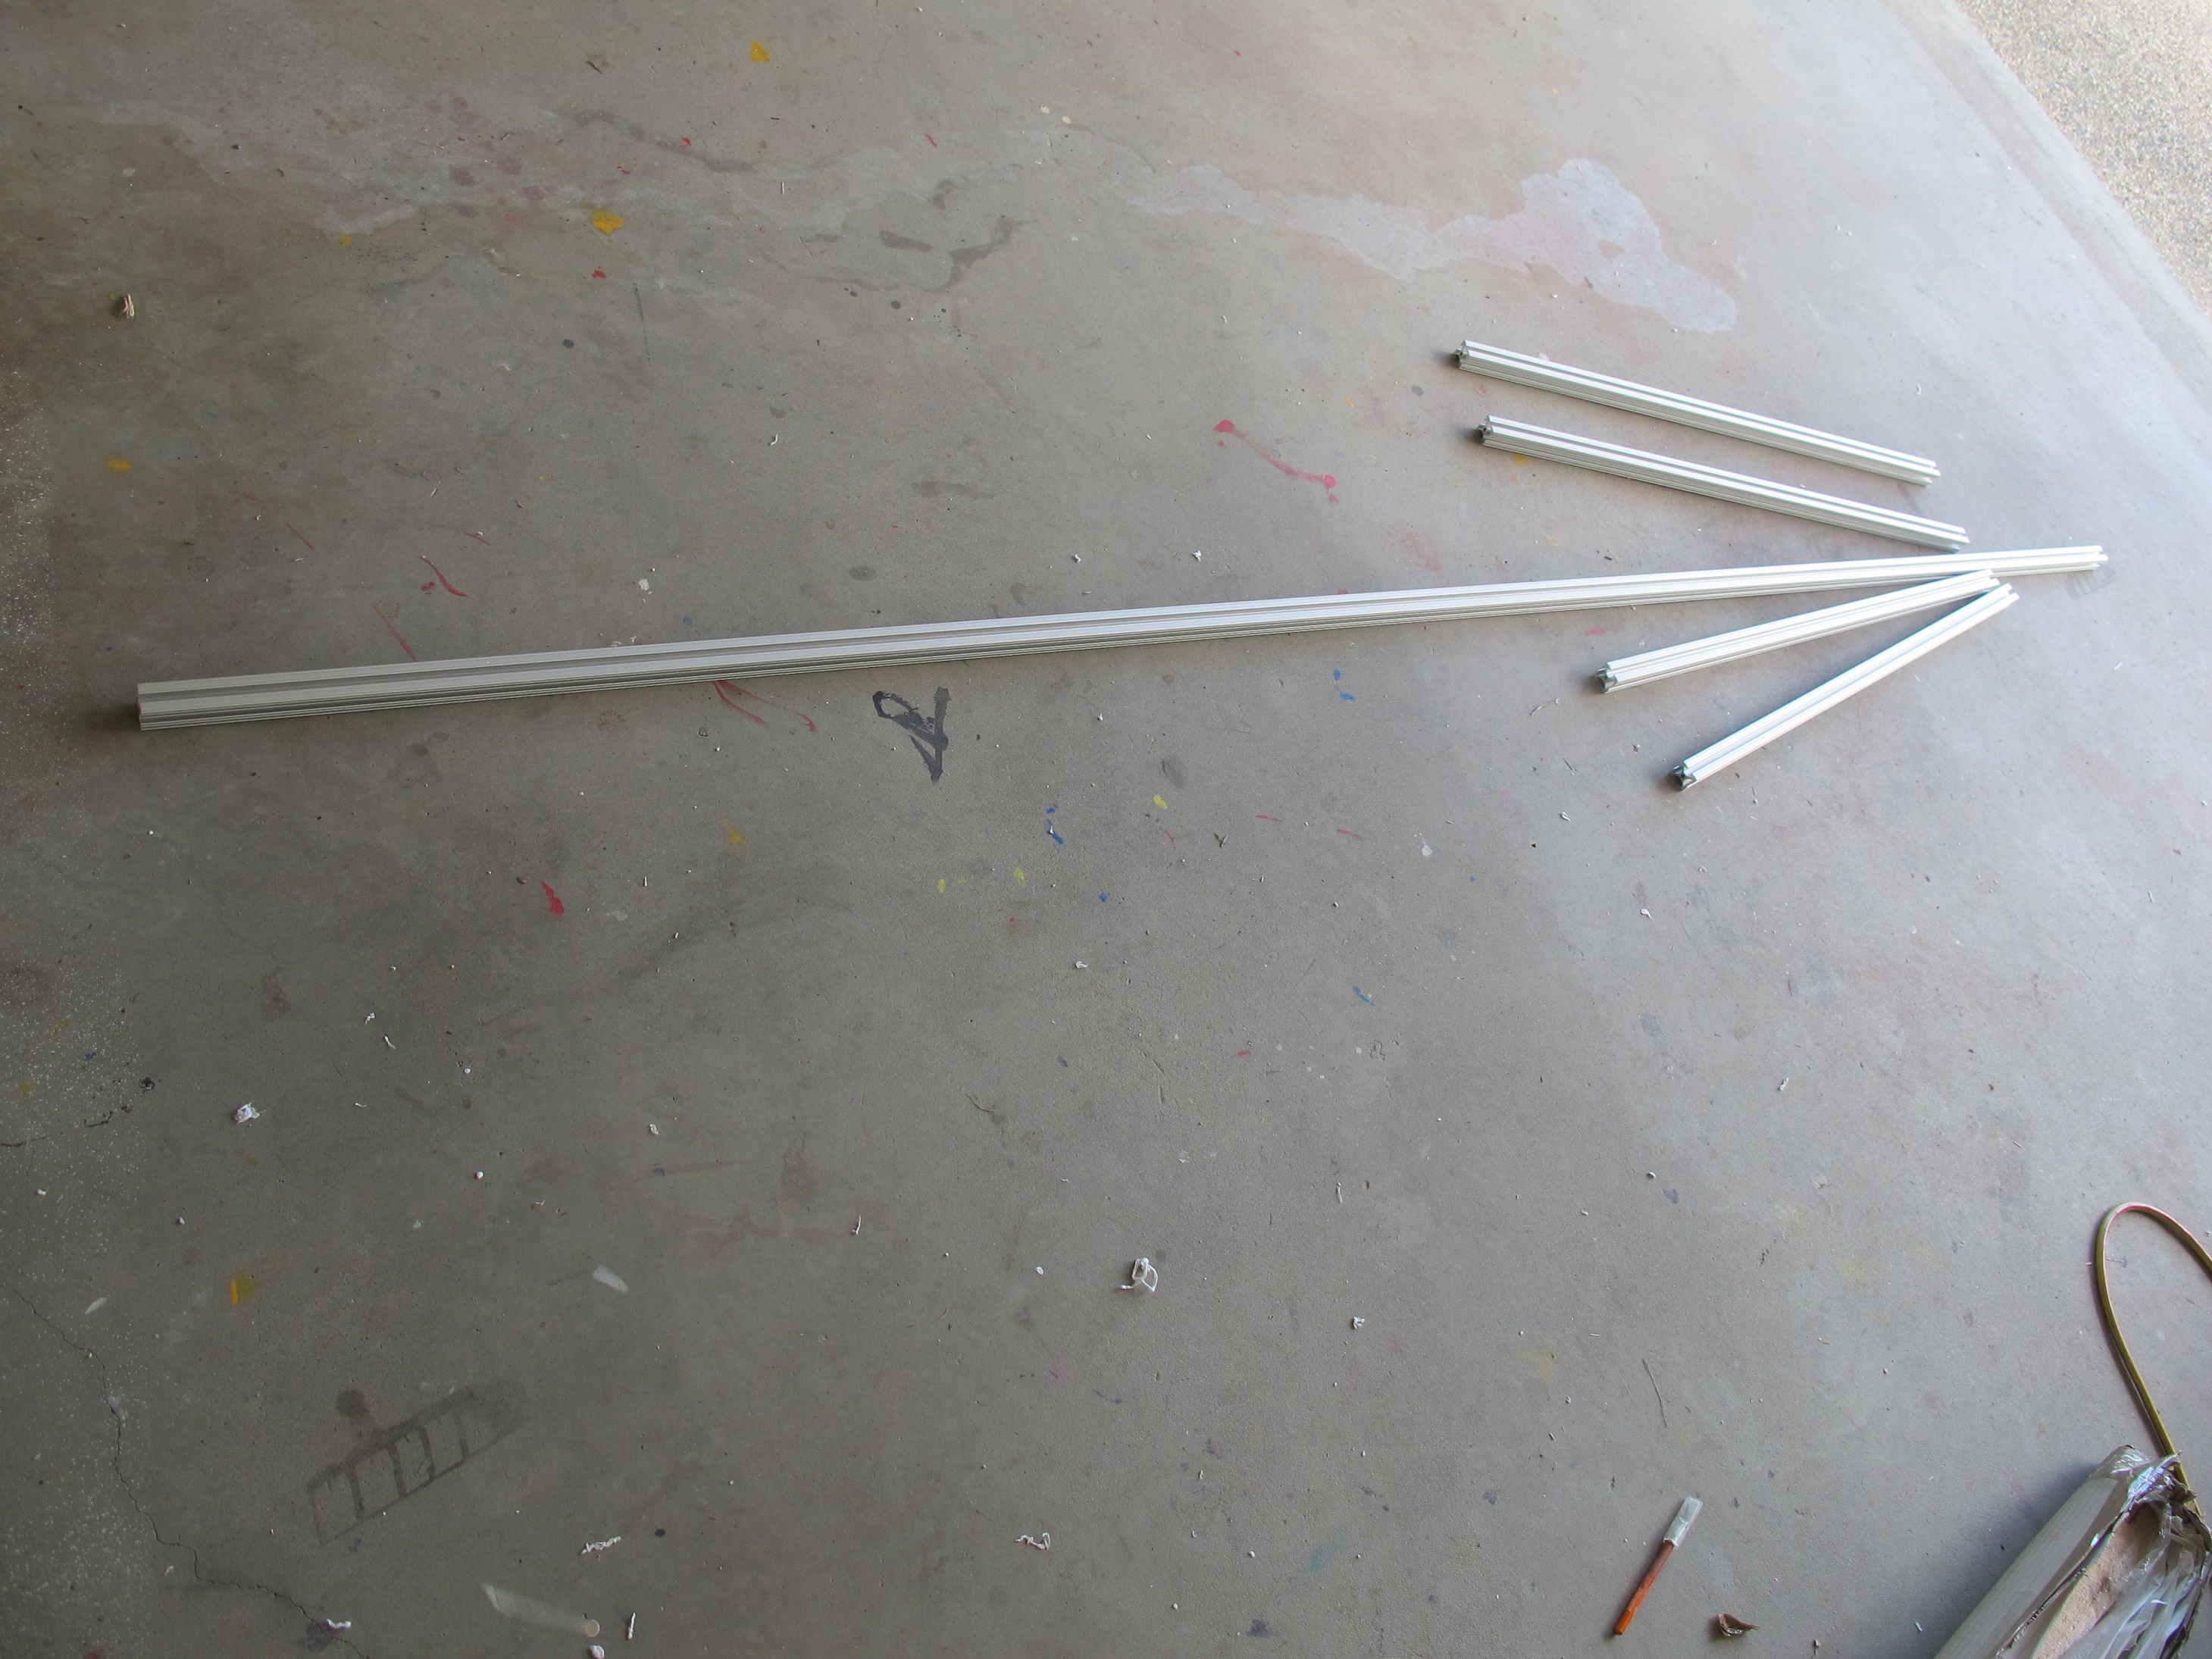
Anyhow, I’ve received all the parts from 8020 that I need. A mong these parts is:-
- 4 x 80cm length of 1010 for the legs
- 1 x 25cm lenght of 1010 to mount 4053.
- 1 x 2.5m length of 1010 for the rail
- An assortment of T-nuts and screws
- 1 x 4053 – 180 degree Pivot Bracket Assembly with “L” handles
- 4 x 4168 – Living Hinge Assy 0 degree
- 4 x 4181 (0 degree Living Nub …one at each end of the four legs)
Pictures of these below.
I need more parts and tools to complete this part of the project. I needed to obtain :-
- Aluminum Sheet – 500 x 500 x 5
- 3 metre length of 1inch Square profile Aluminium tube
- Tap & Die kit
- Four M6 screws
- 25 x 3/16″ screws with nuts and washers
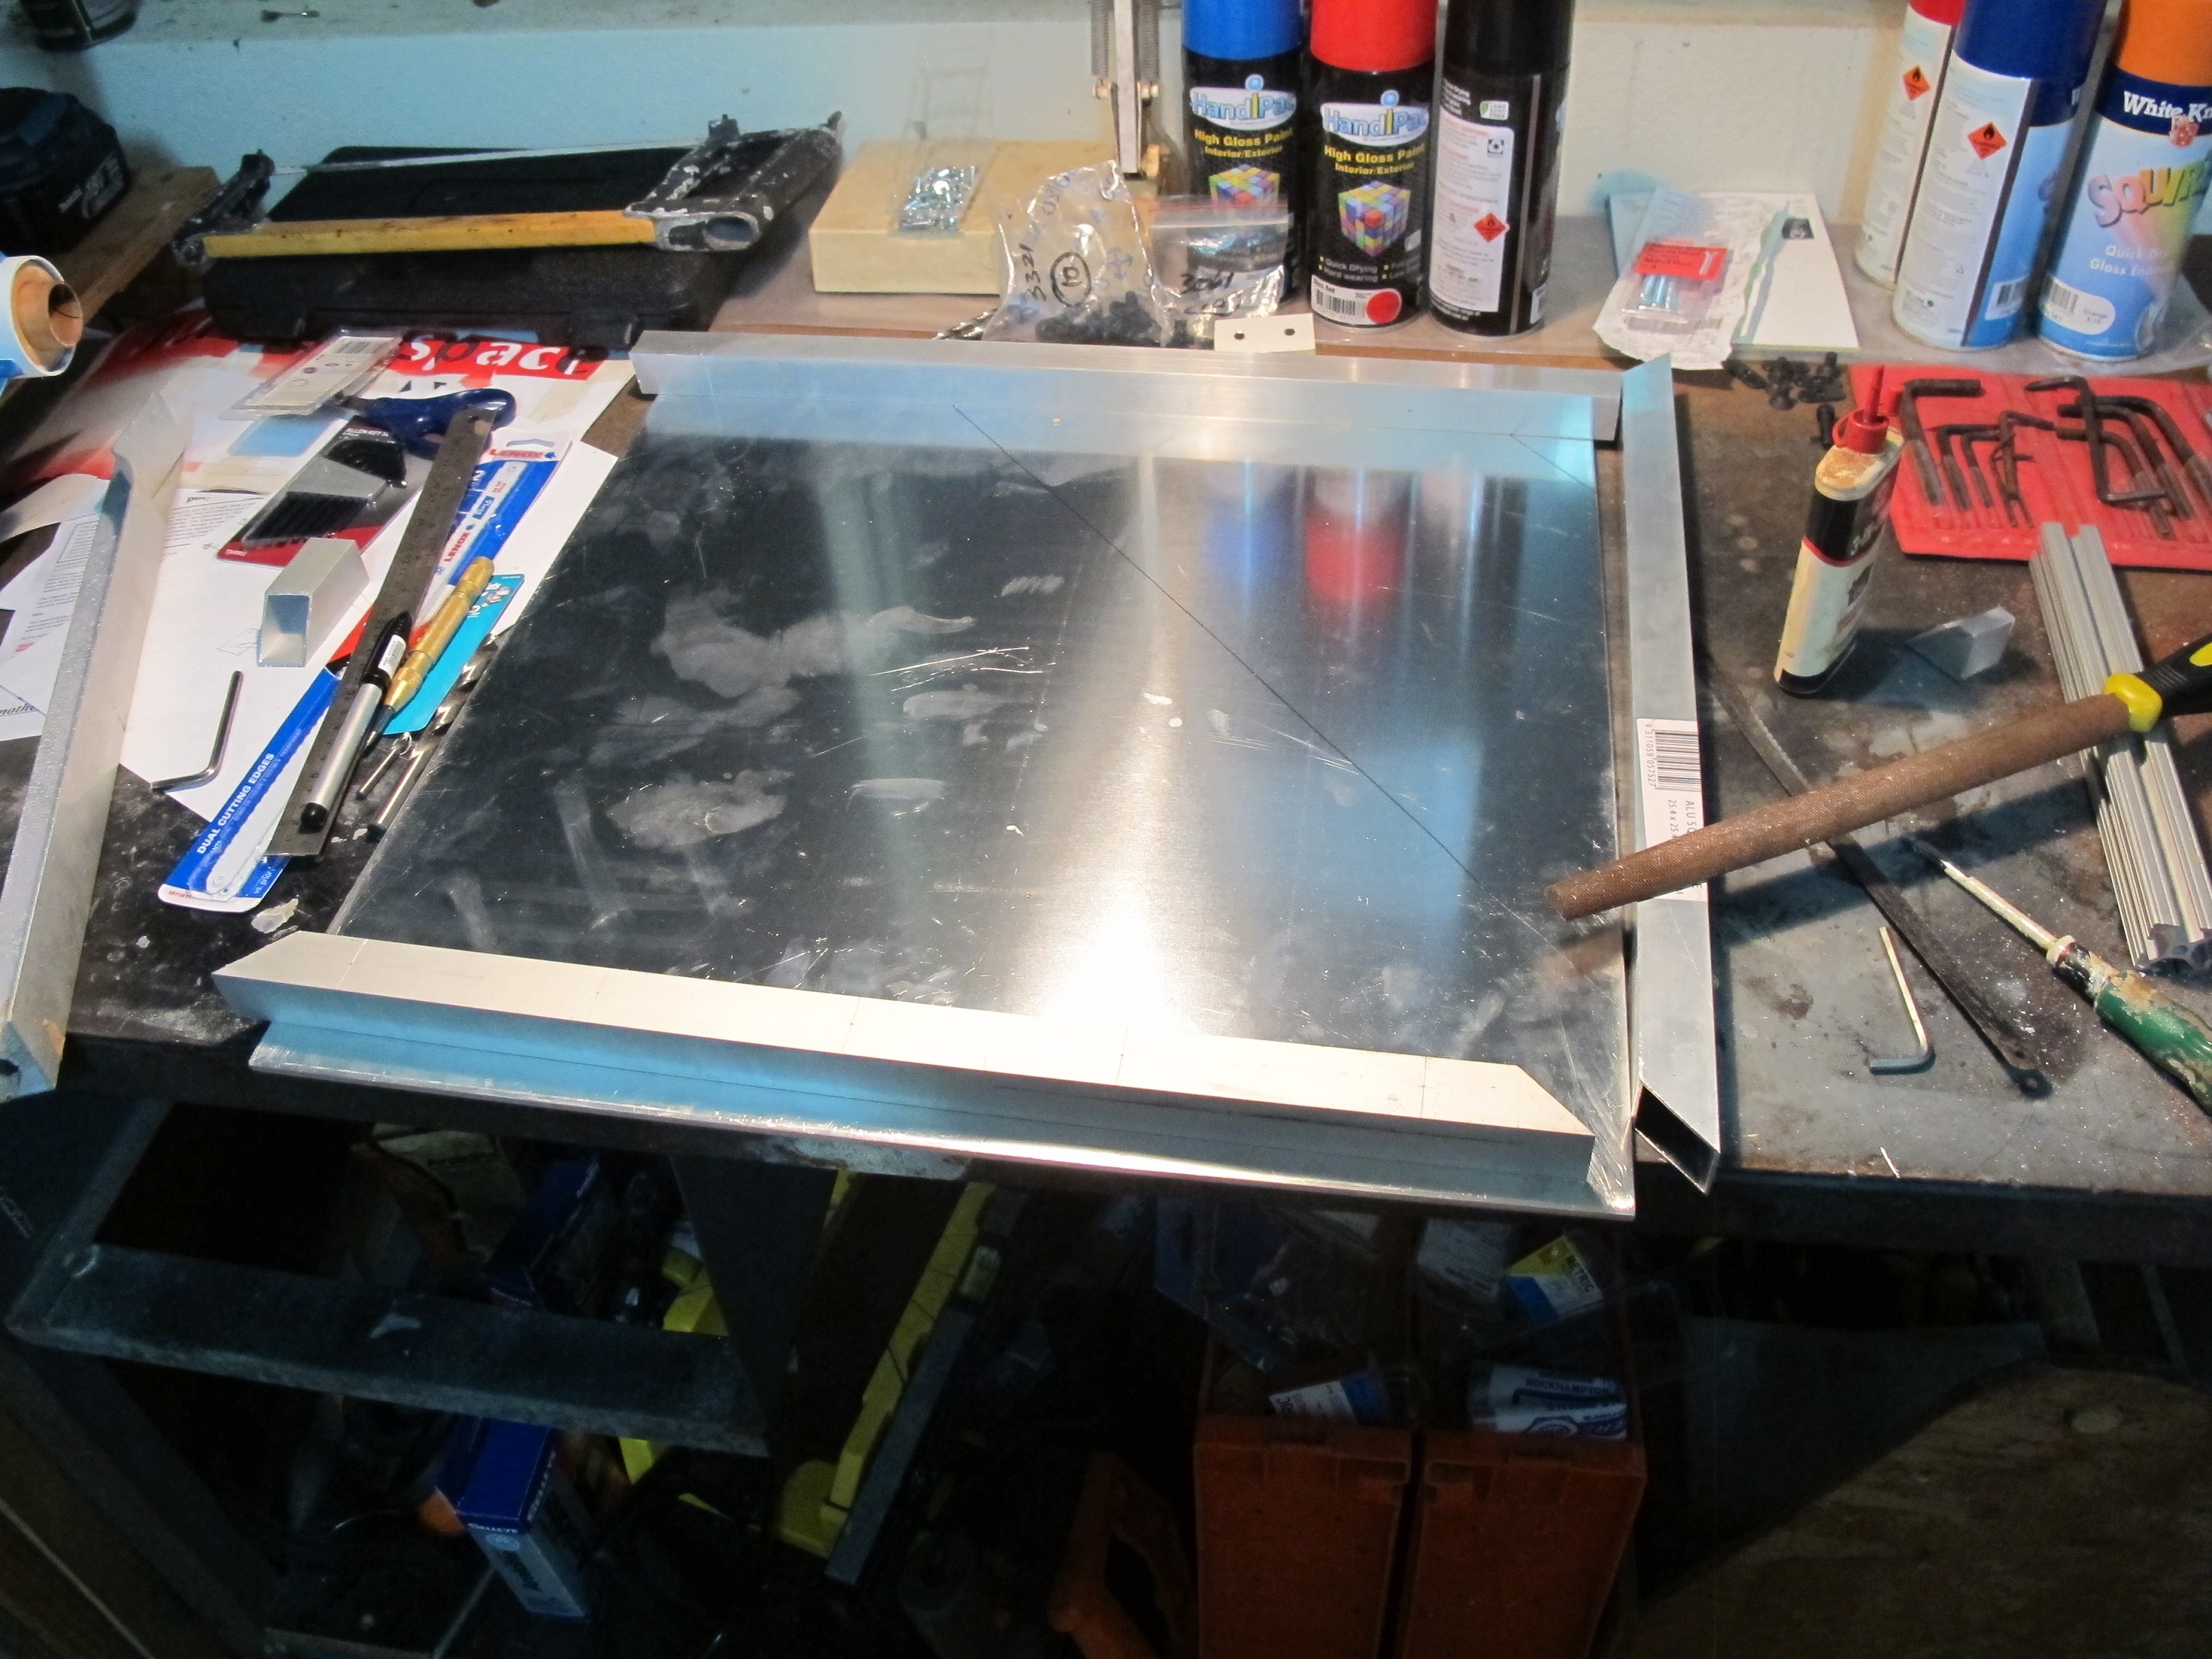
Below is a picture of the Aluminum sheet with some of the square profile pipe cut into pieces…almost ready for assembly around the rim of the square.
Below is a picture of me Tapping a M6 hole into the ends of the Legs.
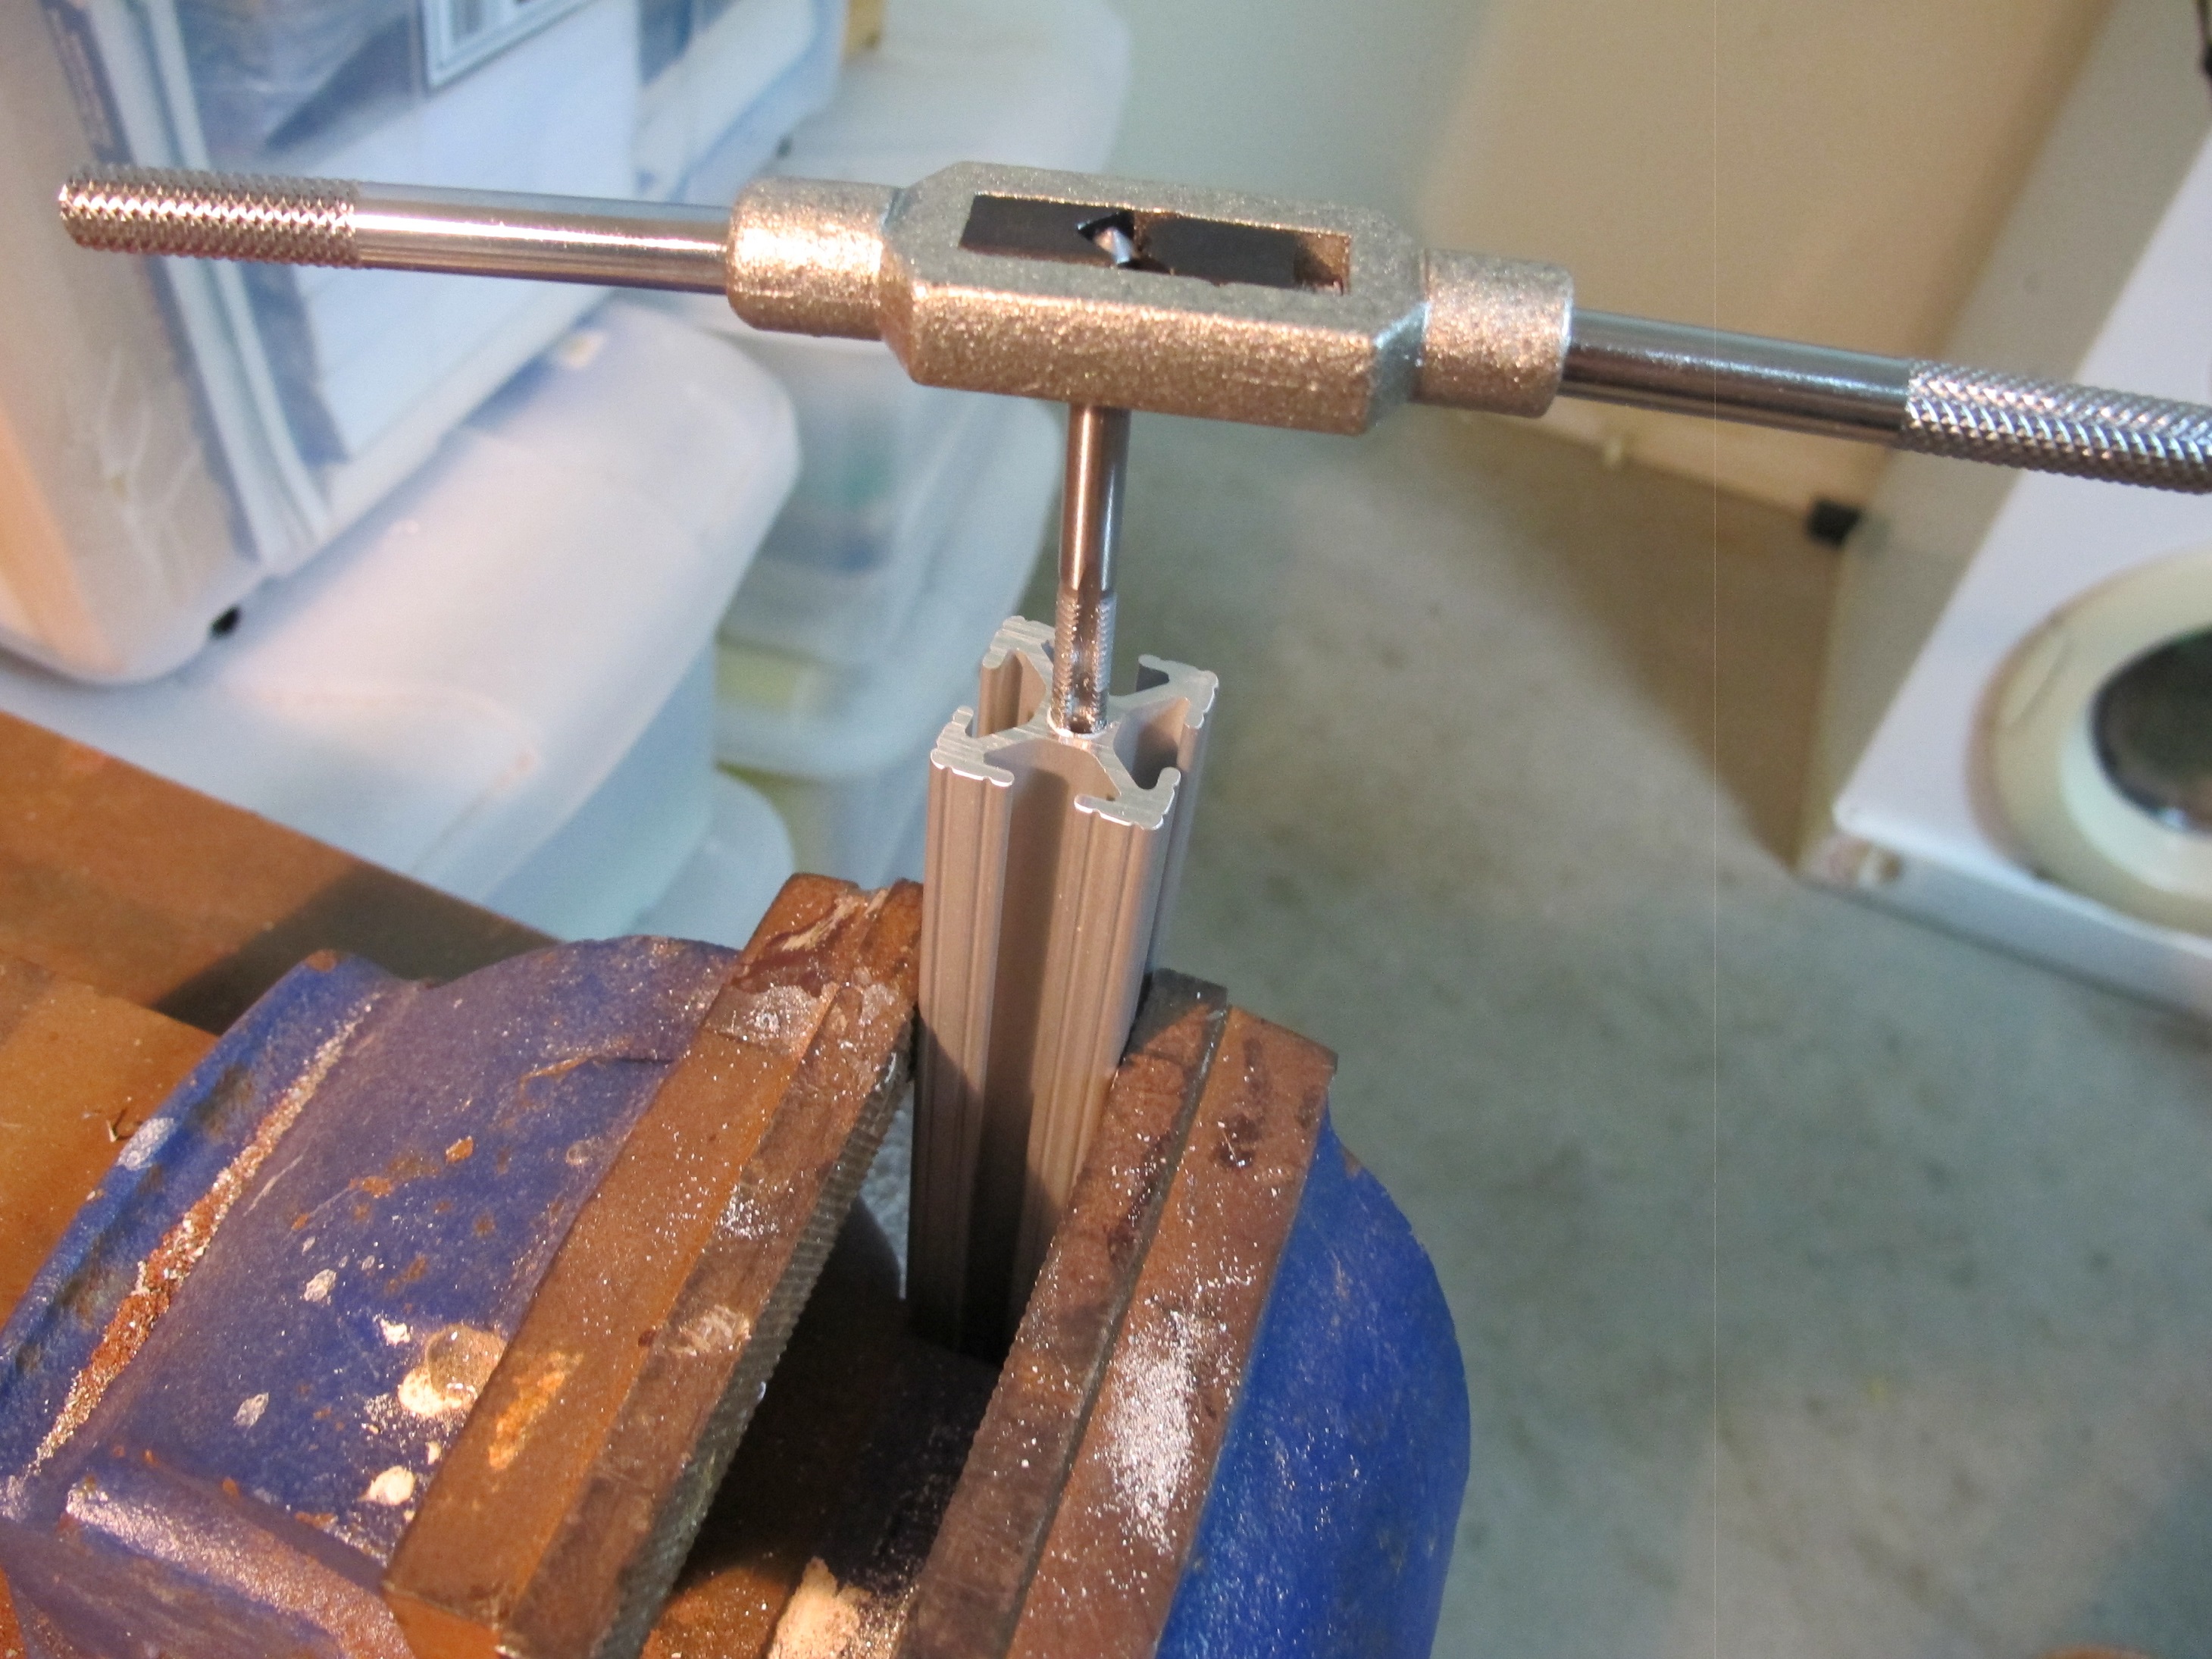
The holes were already 0.205 ” which is 5.207 mm. This is not too large for a M6 tap job.
Below is a picture of all legs with the Part #4168 attached.