
I’ve already started building the Avionics bay, admittedly a little early in the steps, but decided that it would be good to see how it fitted in with everything else. There was a bit of gluing here, but decided that constructing parts of the Avionics Bay is not going to stifle the remaining construction of the rocket.
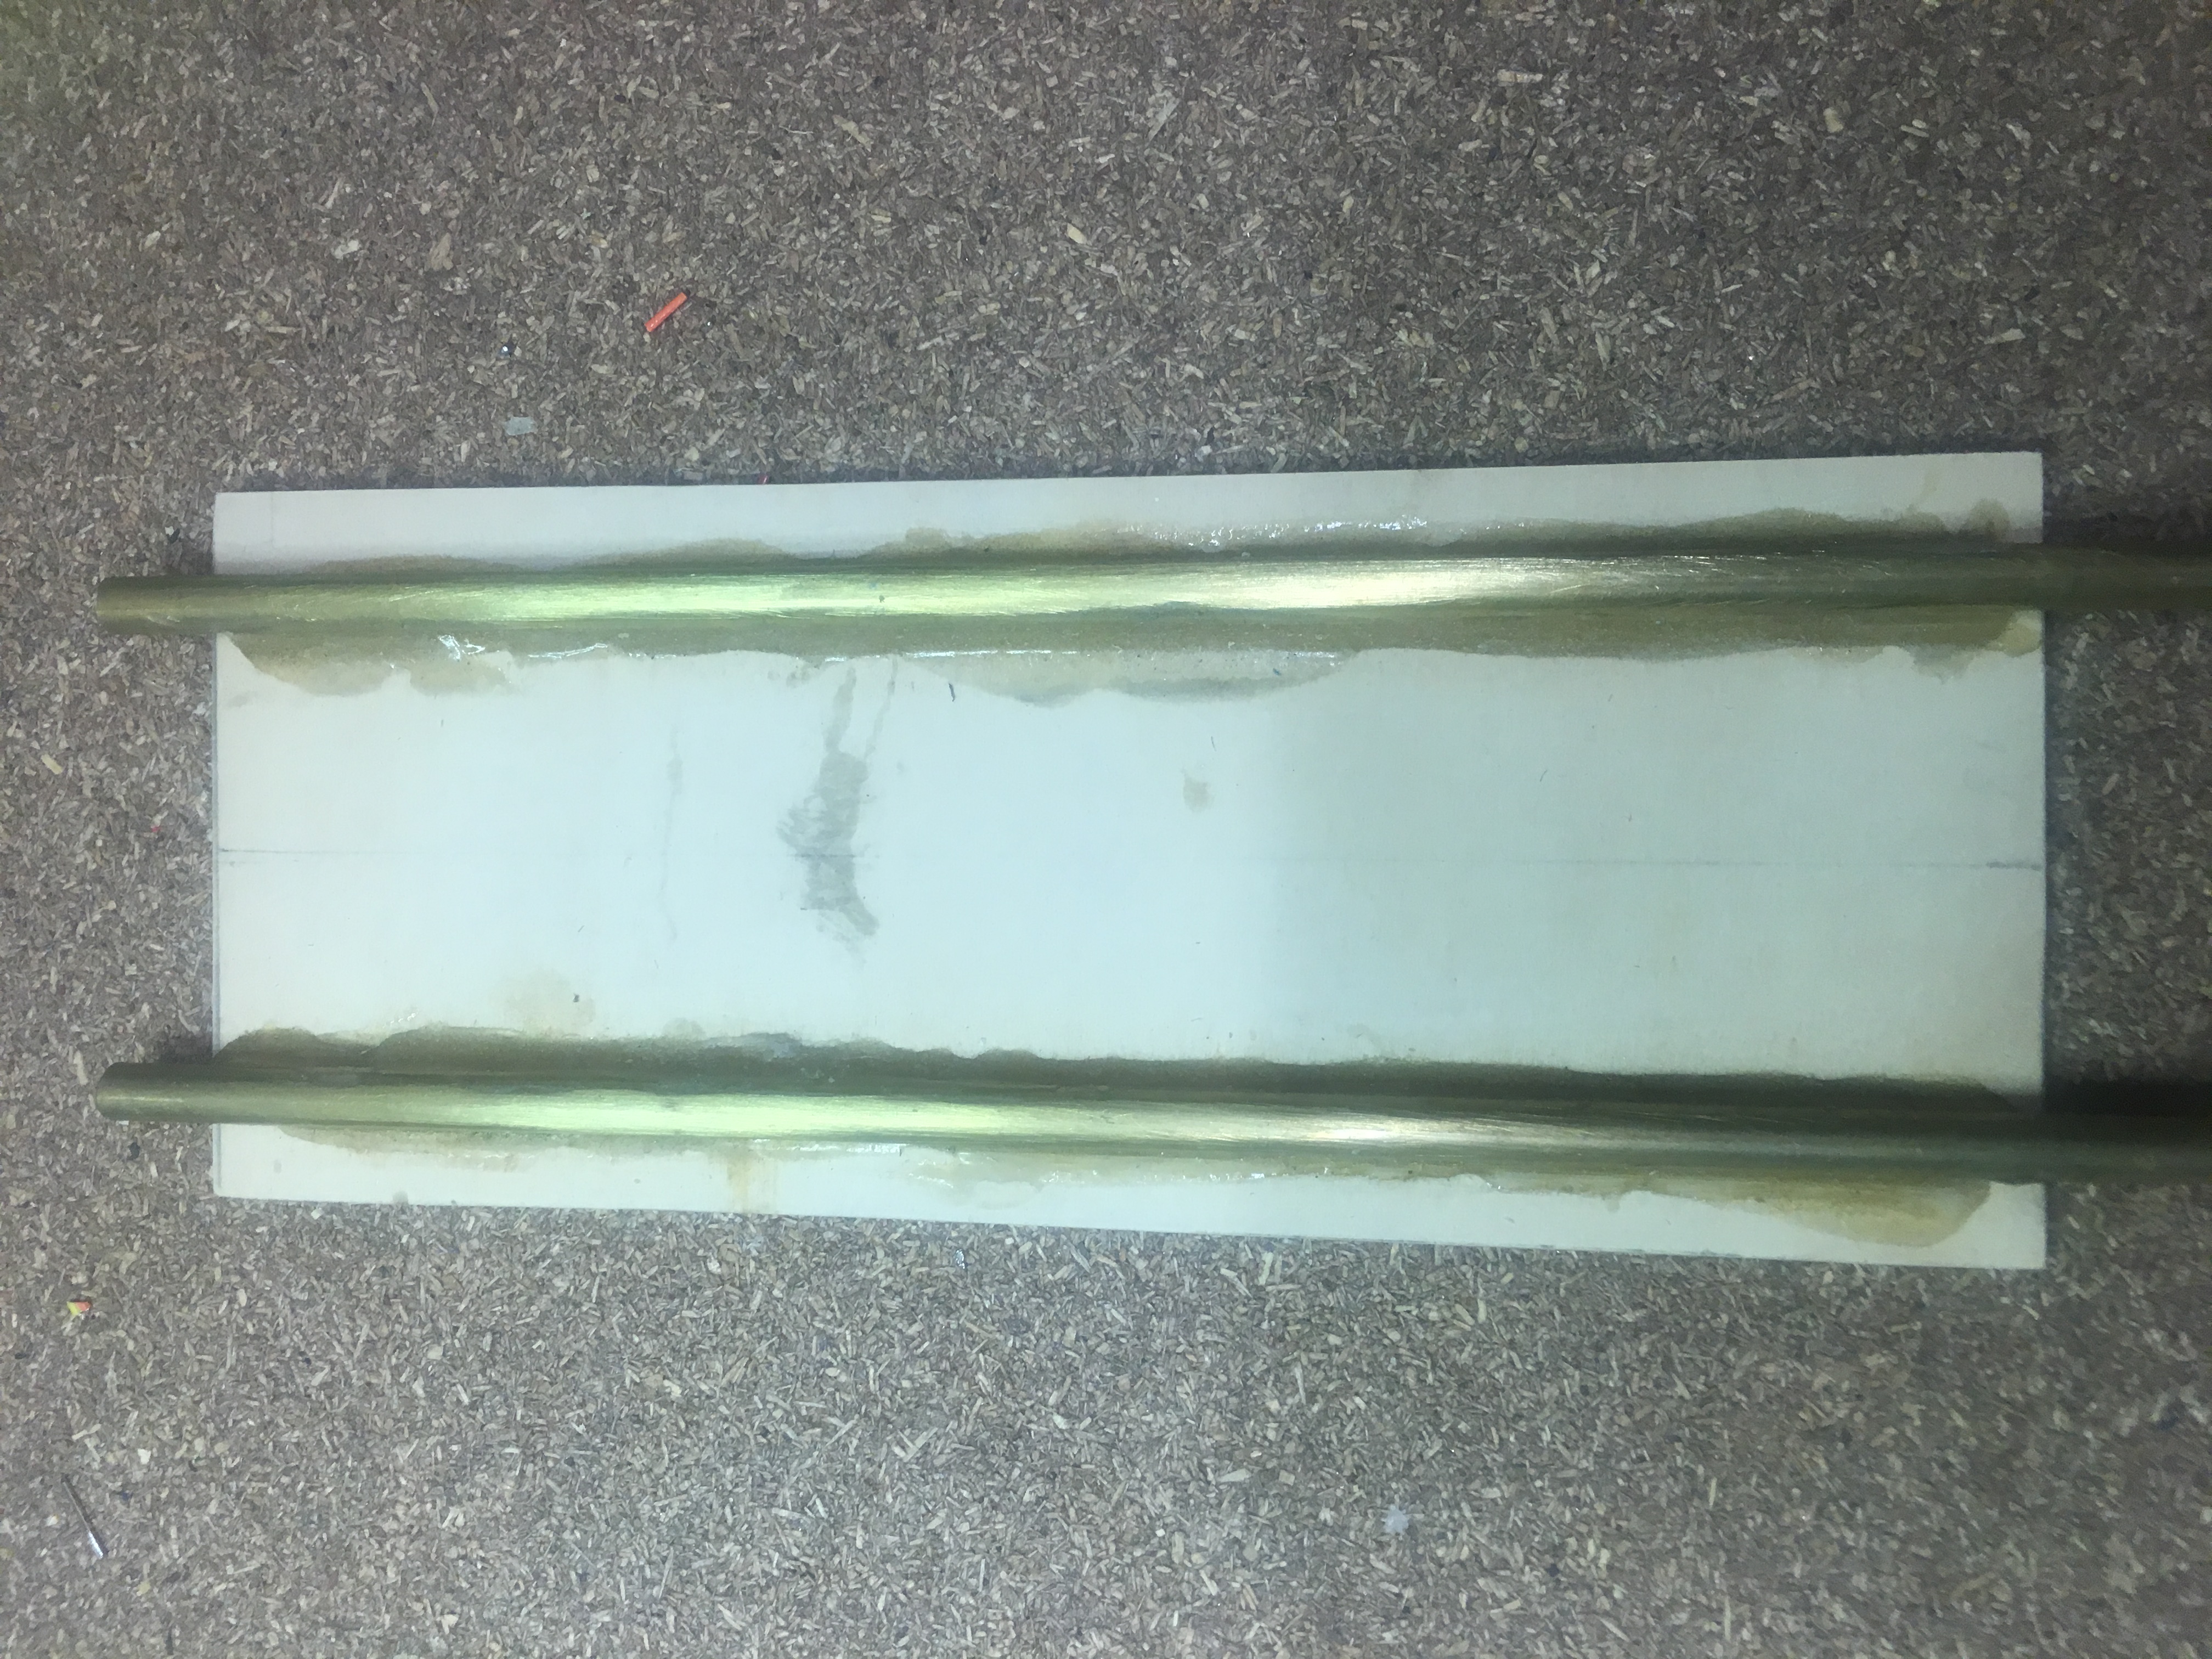
I wasn’t terribly with the result of the tray. I should have laid down some tape to ‘restrict where some glue could go. I’m sure it would work (be strong enough), but from a cosmetic point of view – not good.
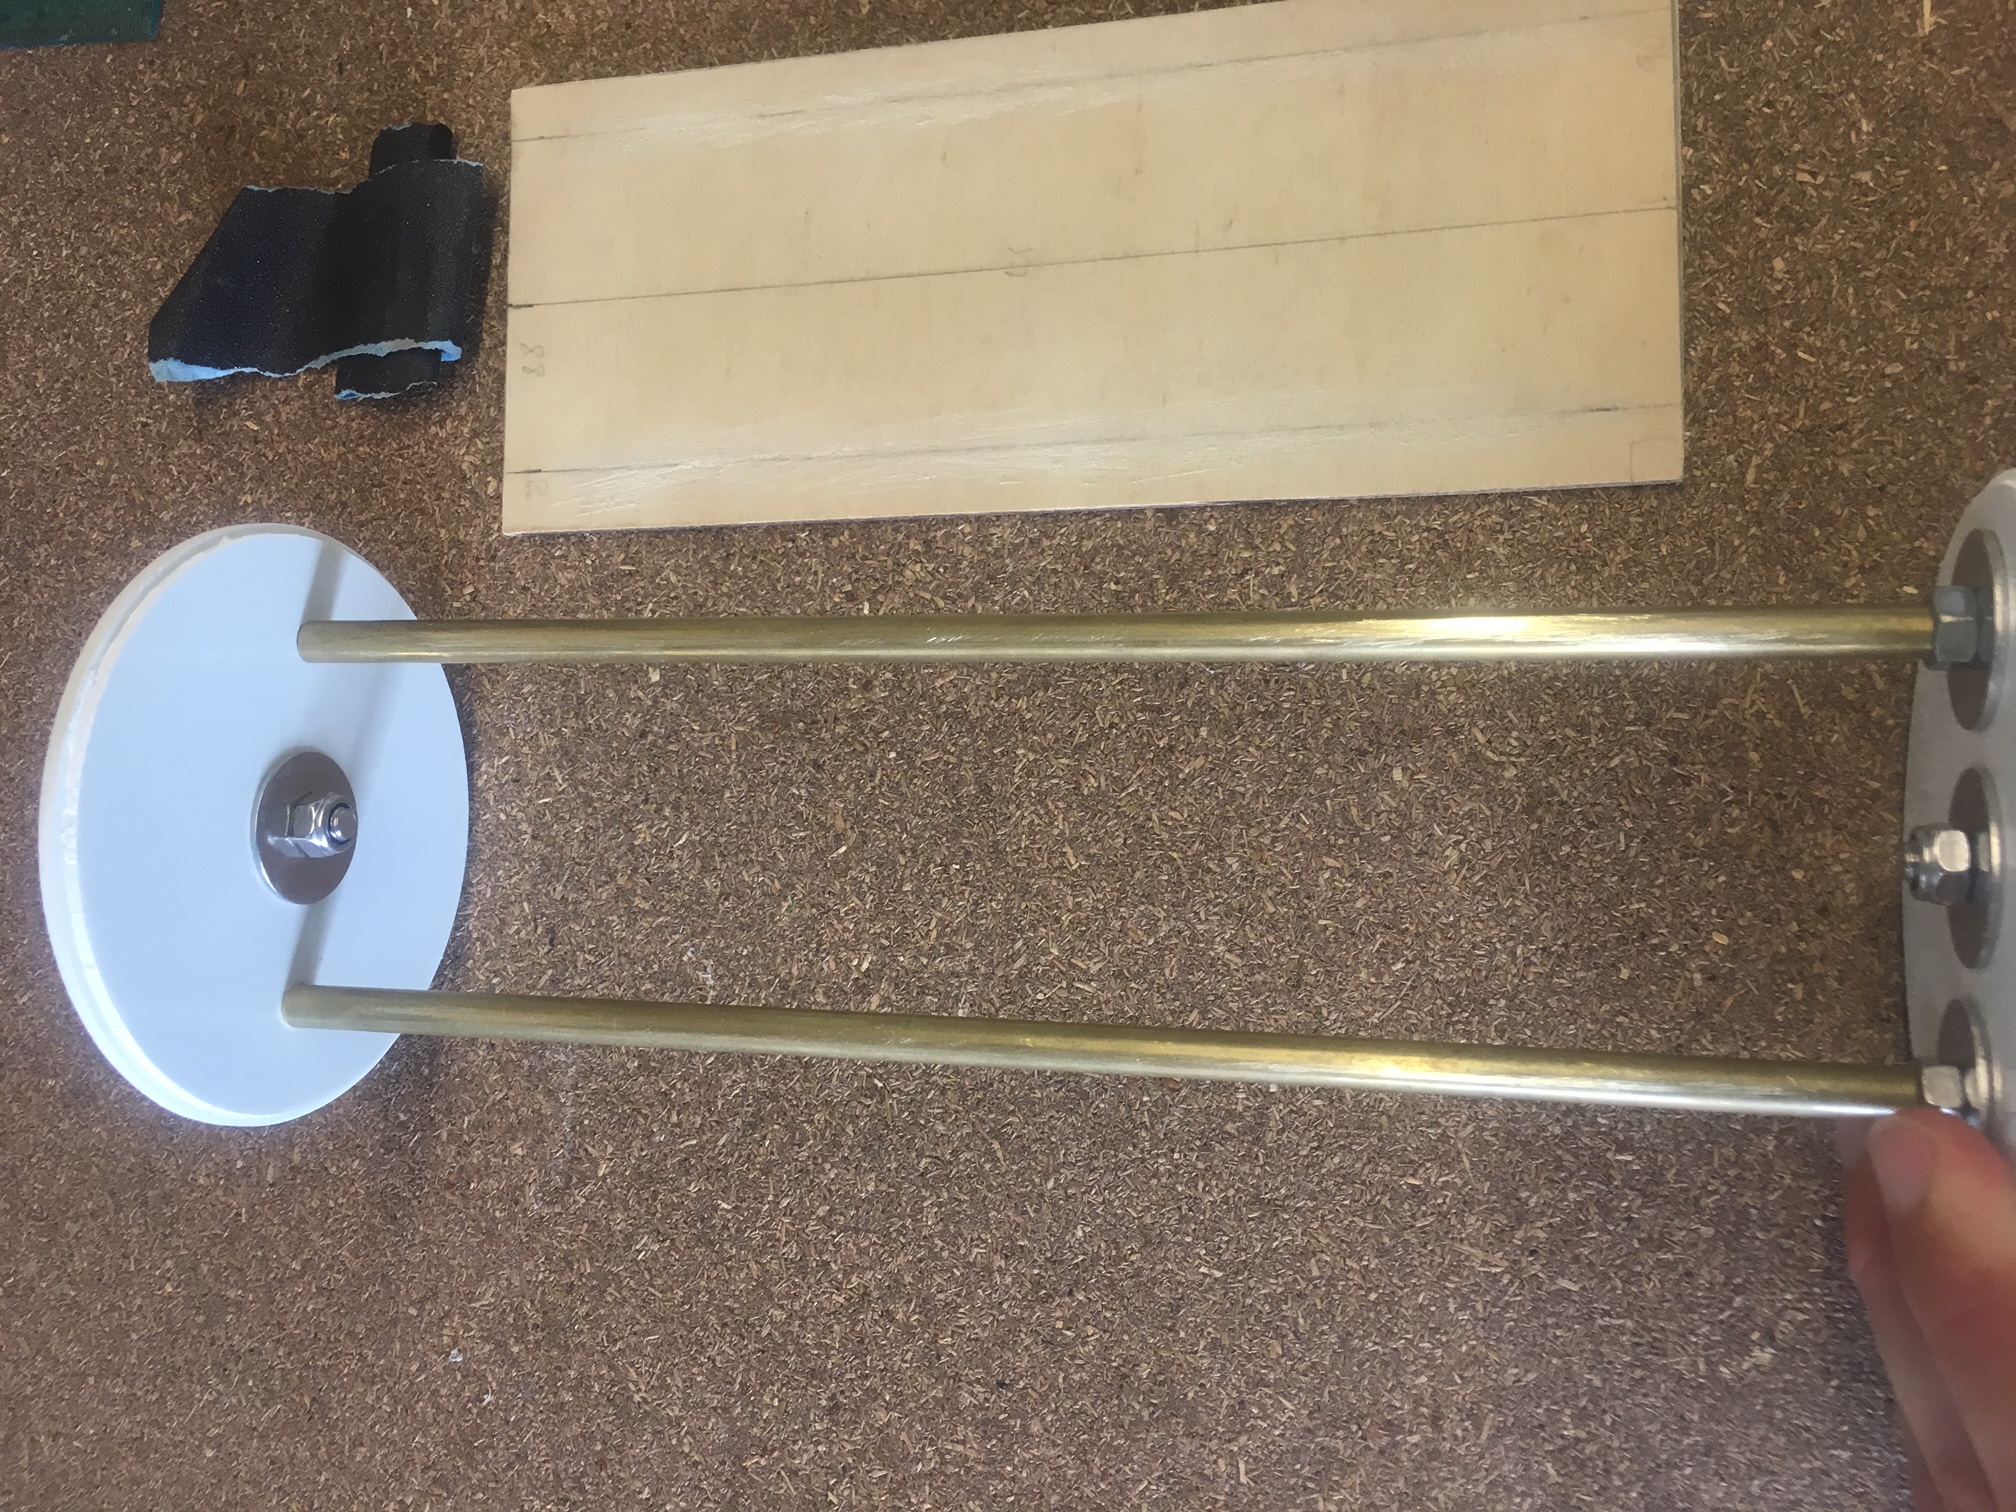
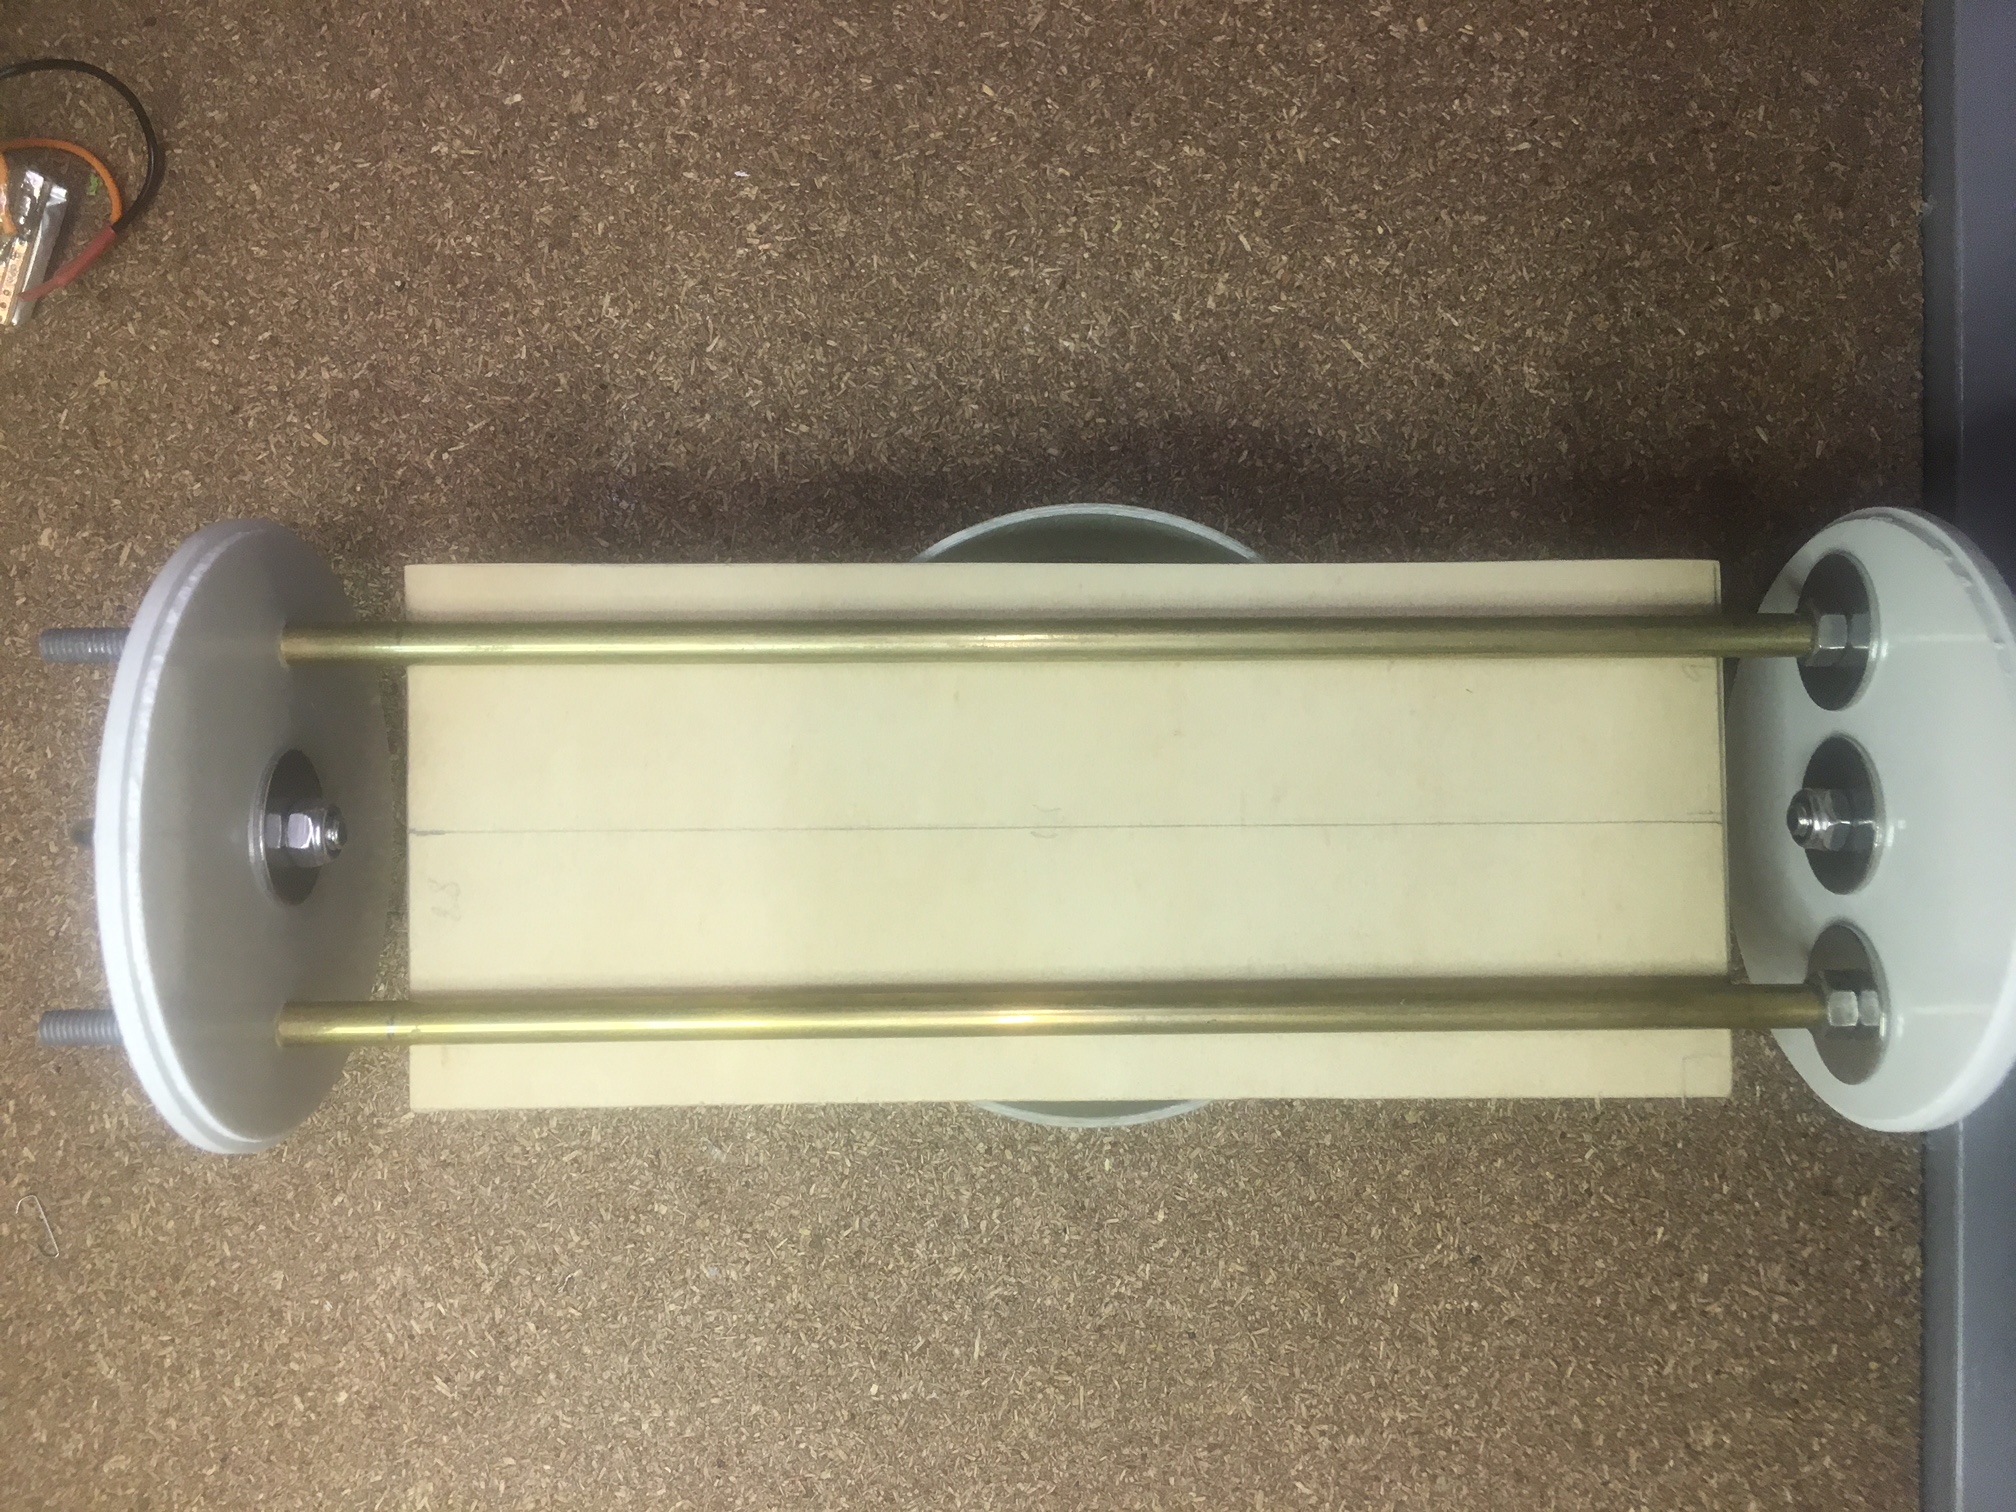
So, I’ve decided to make my own tray. See pictures below.
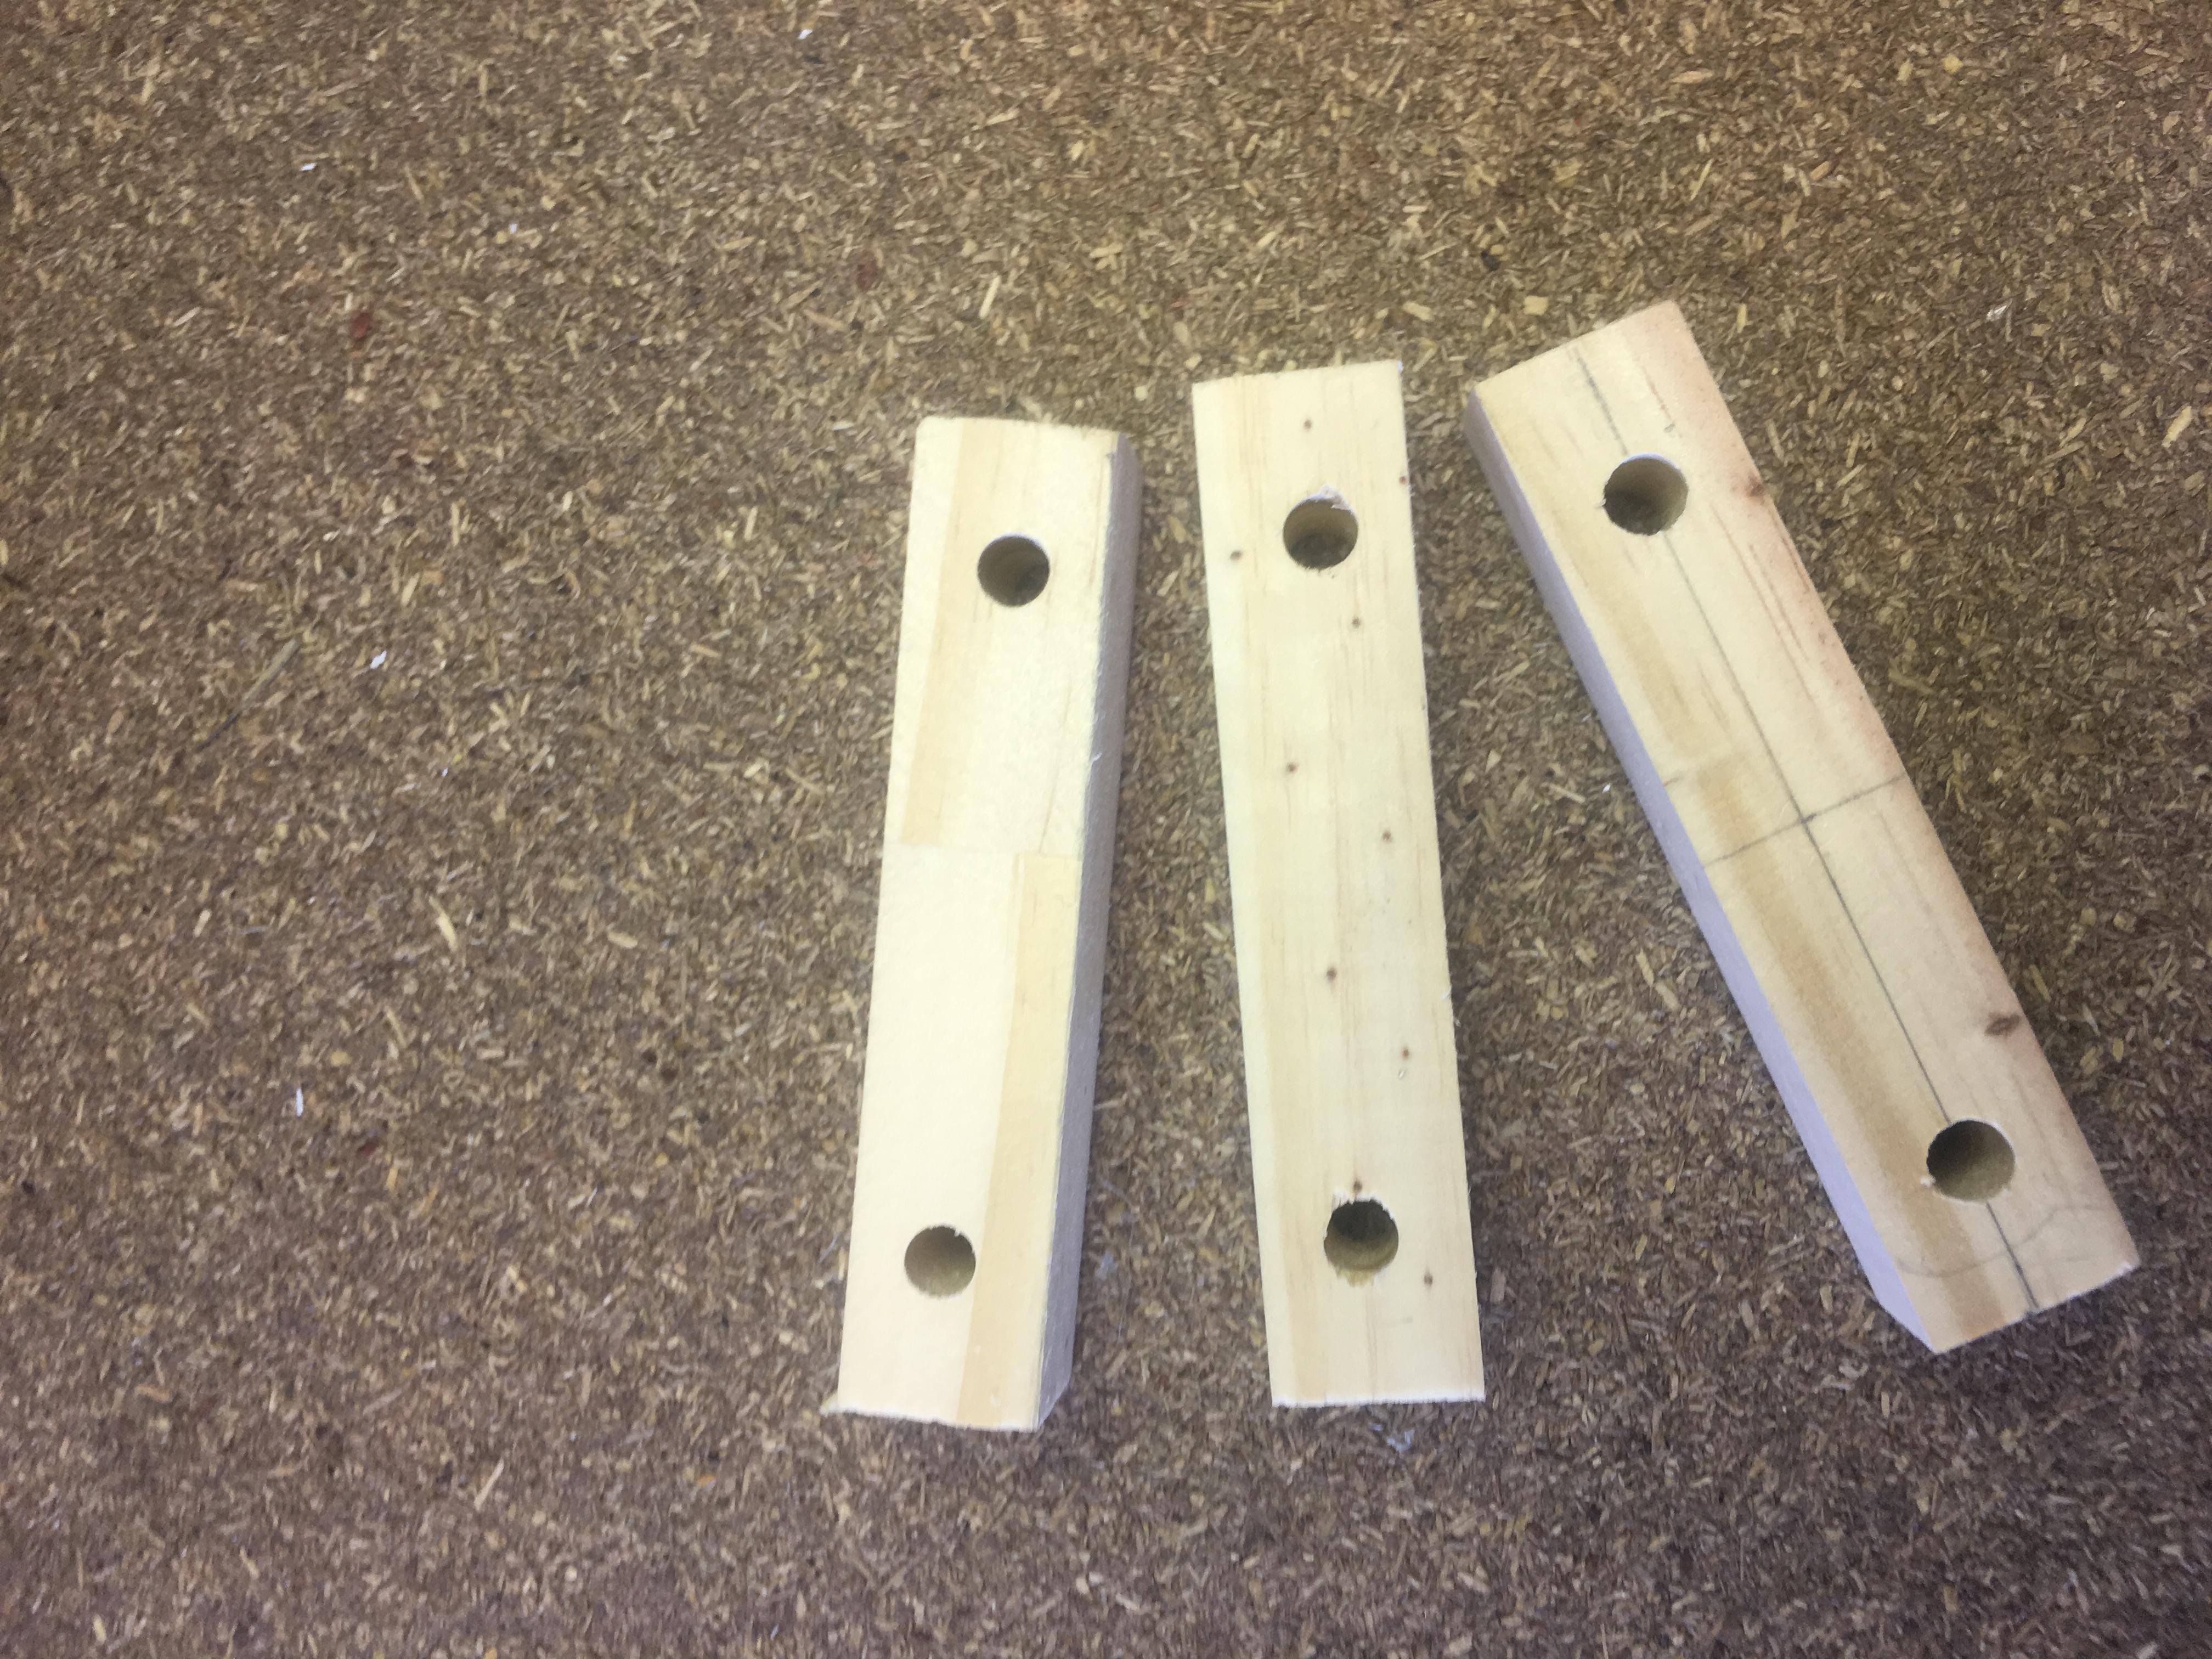
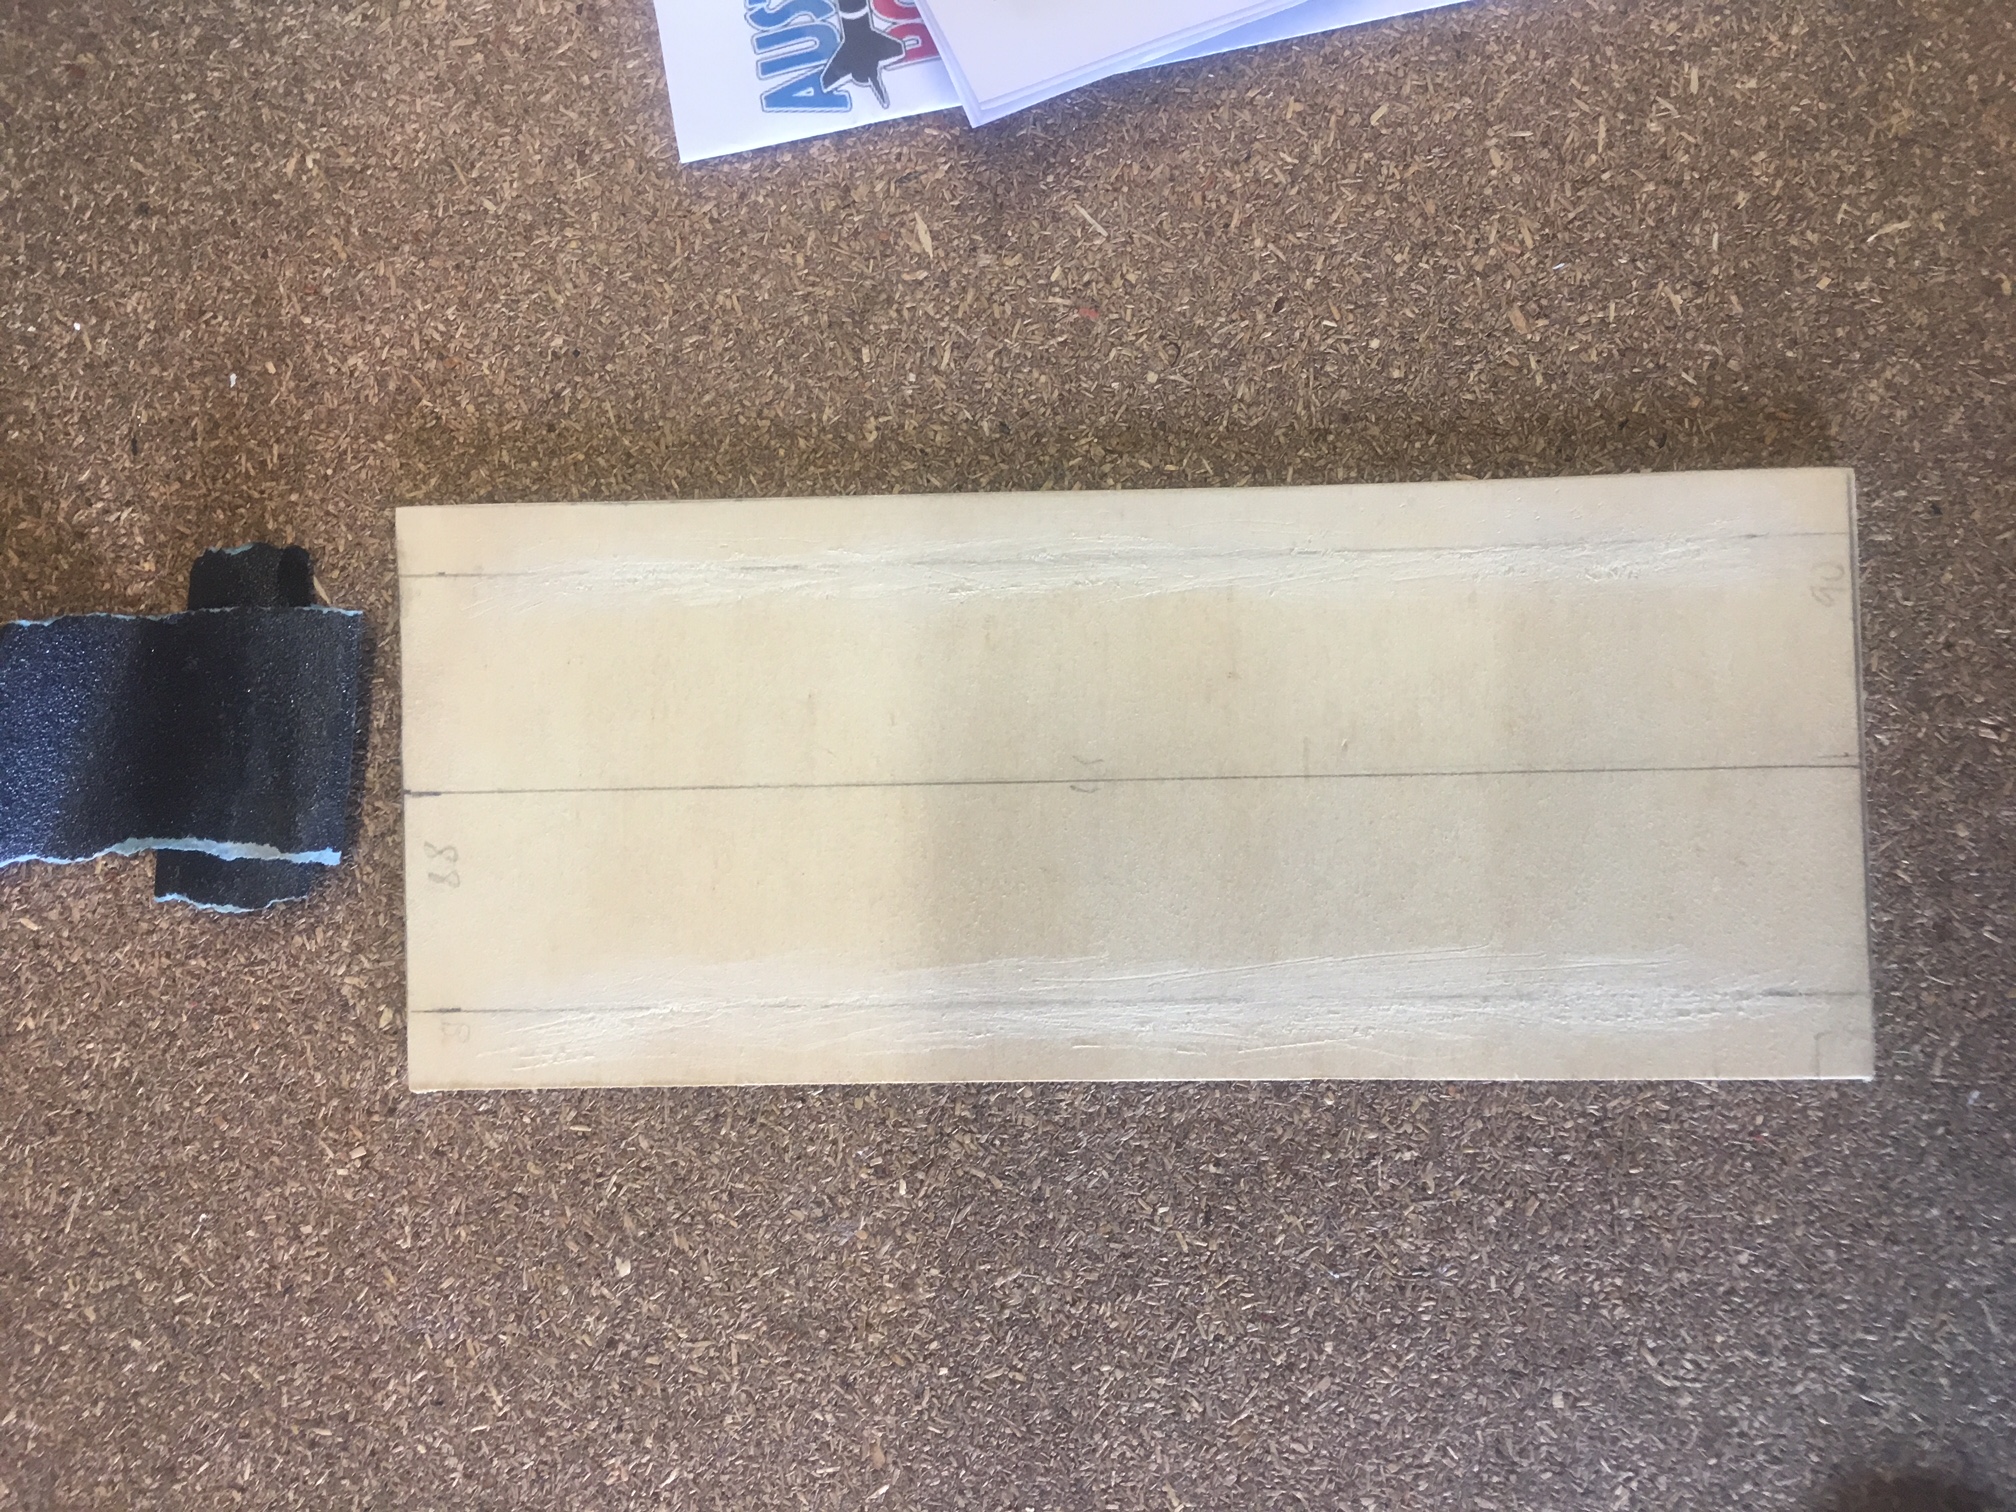
Wood pieces, all identical
I had to take extra care in creating these wood pieces. I performed just TWO cuts of three pieces sticky-taped together in a special decide to ensure that all the cuts would be square. Because I cut them altogether, this meant they were precisely the same length.
In terms of drilling holes, I just took my time and very carefully ensured the drill was level and the markings were as close as possible.
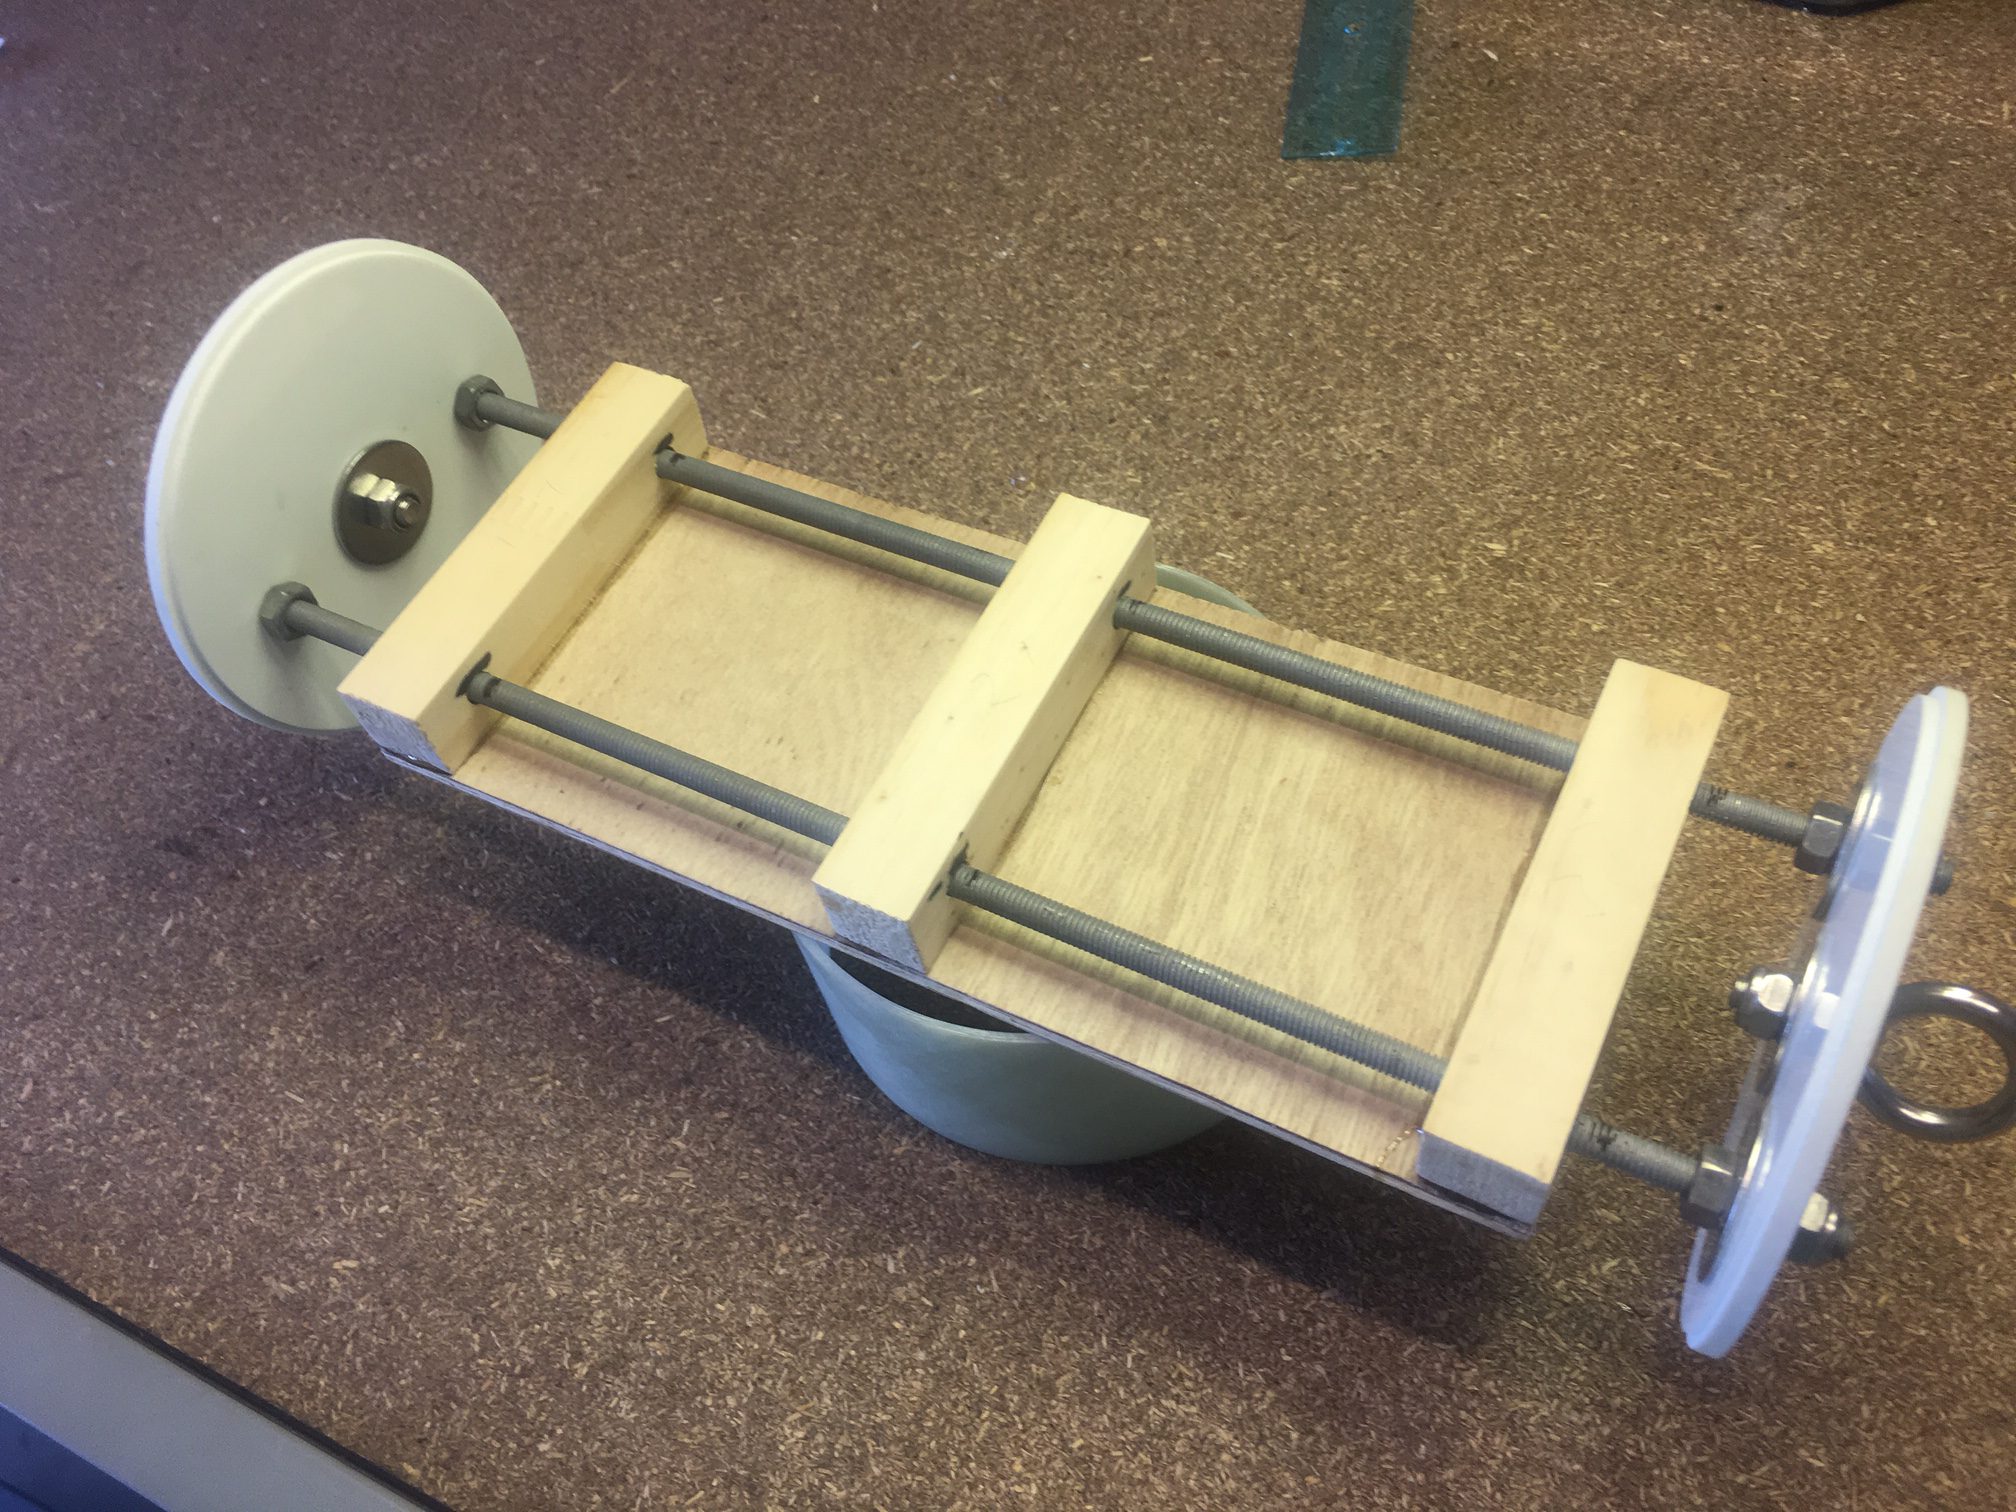
This to me is a much nicer job.