
Practice makes Perfect
I wanted to practice the external fillets again. I have only one chance at this , so the procedure needs to be clear in my mind.
My Test bed
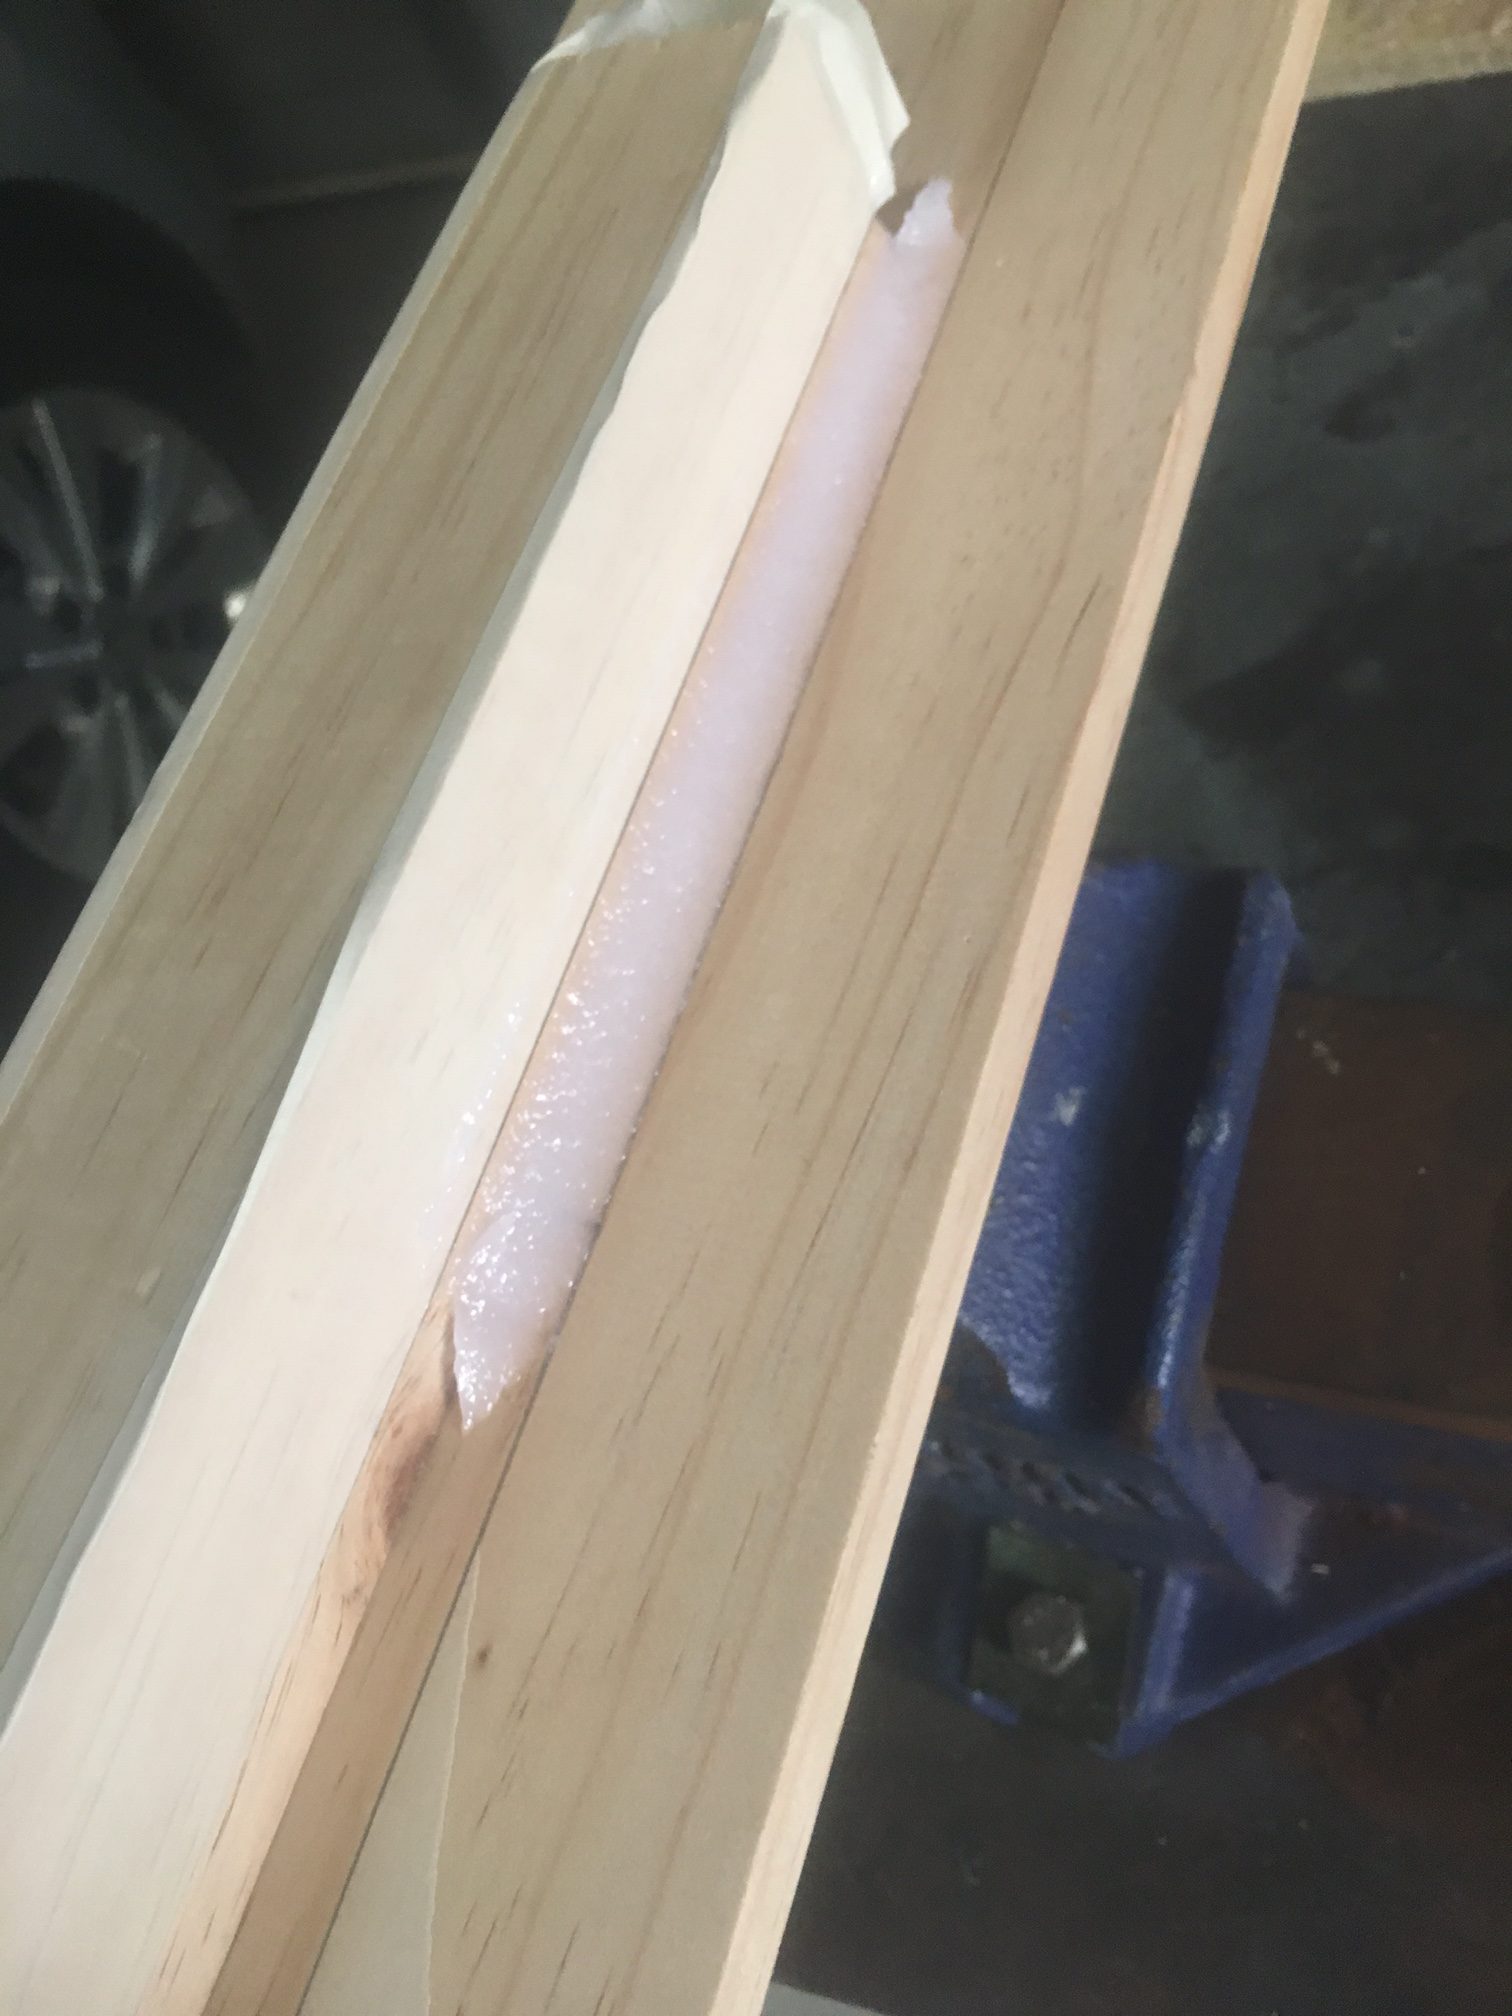
I nailed two pieces of wood. Then I used a 10mm aluminium rod to accurately measure 10mm lines on each edge. Then I taped up the wood, so that fillets can’t extend past 10mm. Below is a photo of this set-up.
The Epoxy
I wanted a proper peanut epoxy mix – no drooping at all, no dripping. So I went for the 105/206/403 mixture.
I mixed 15/3 of 105/206. This did two 15cm lengths with a little bit left over. With 6 fins (both sides) we have 204cm of fillets. So we will need about 7 times this quantity of epoxy. i.e. 105/21. Though we are very likely to do this in 6 (possibly 3 if we are feeling extra confident) jobs.
I was careful not to introduce any air while mixing and I carefully filtered the 403 twice to ensure that I didn’t have any clumps. I had about 10 mins of 20 mins time left to apply the epoxy to the filleting area and create the required profile.
Delivery of Epoxy to Join
I don’t need to pass this epoxy through any tube (like before), just from a syringe. I just packed it in and then squeezed it into the spot. I made sure that I was putting in enough epoxy along the fillet join.
Sanding
After it had dried, I did the sanding using a specially made sanding stick. I made the sanding stick by Gluing Grit 60 Sandpaper to one end and Grit 240 at the other end. I used Selleys Glue to attach the sandpaper. It had to dry overnight. (Yes, lots of waiting).

The (almost) Final Product
Here are two pictures that compare one side (sanded) with the other side (un-sanded)
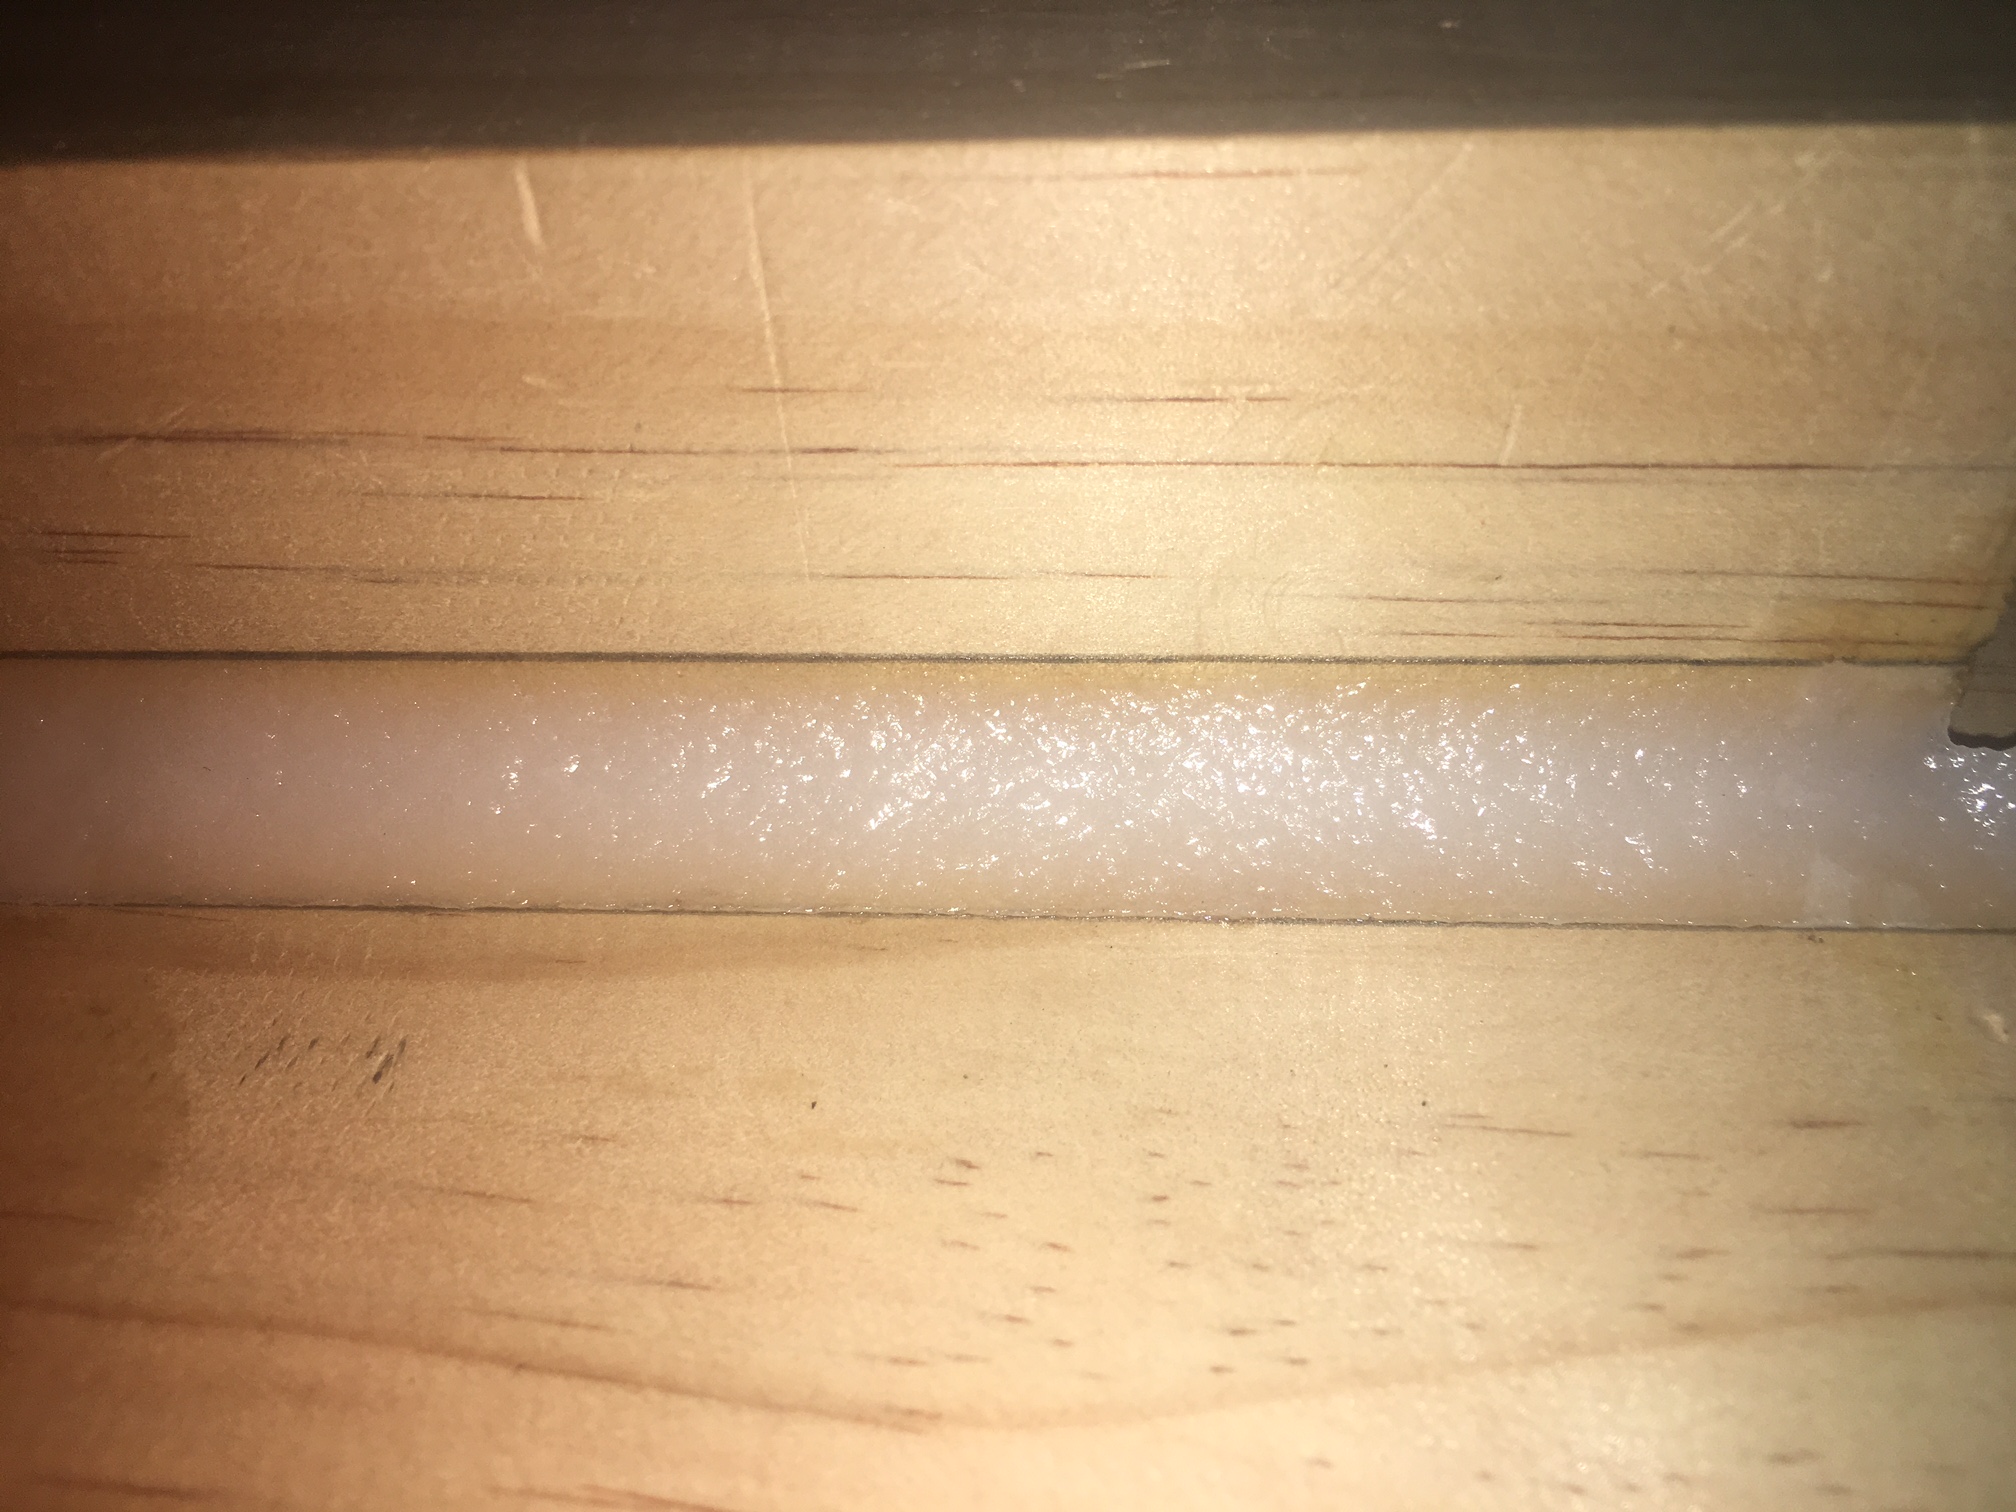

The finish is excellent – very smooth. There is still a line where the masking tape was. This line needs to be removed by using filler to bring it to the fibrerglass air-frame.
As a reminder, this effort is being made because we want to reduce Interference drag which can have a significant impact on a rocket’s performance.
Removing the line
My neighbor suggested the filler as a technique for removing the line. He had a go on this test fillet I did. I took some pictures of what he did. (Of course I’ll be doing this myself when it comes to the real thing).
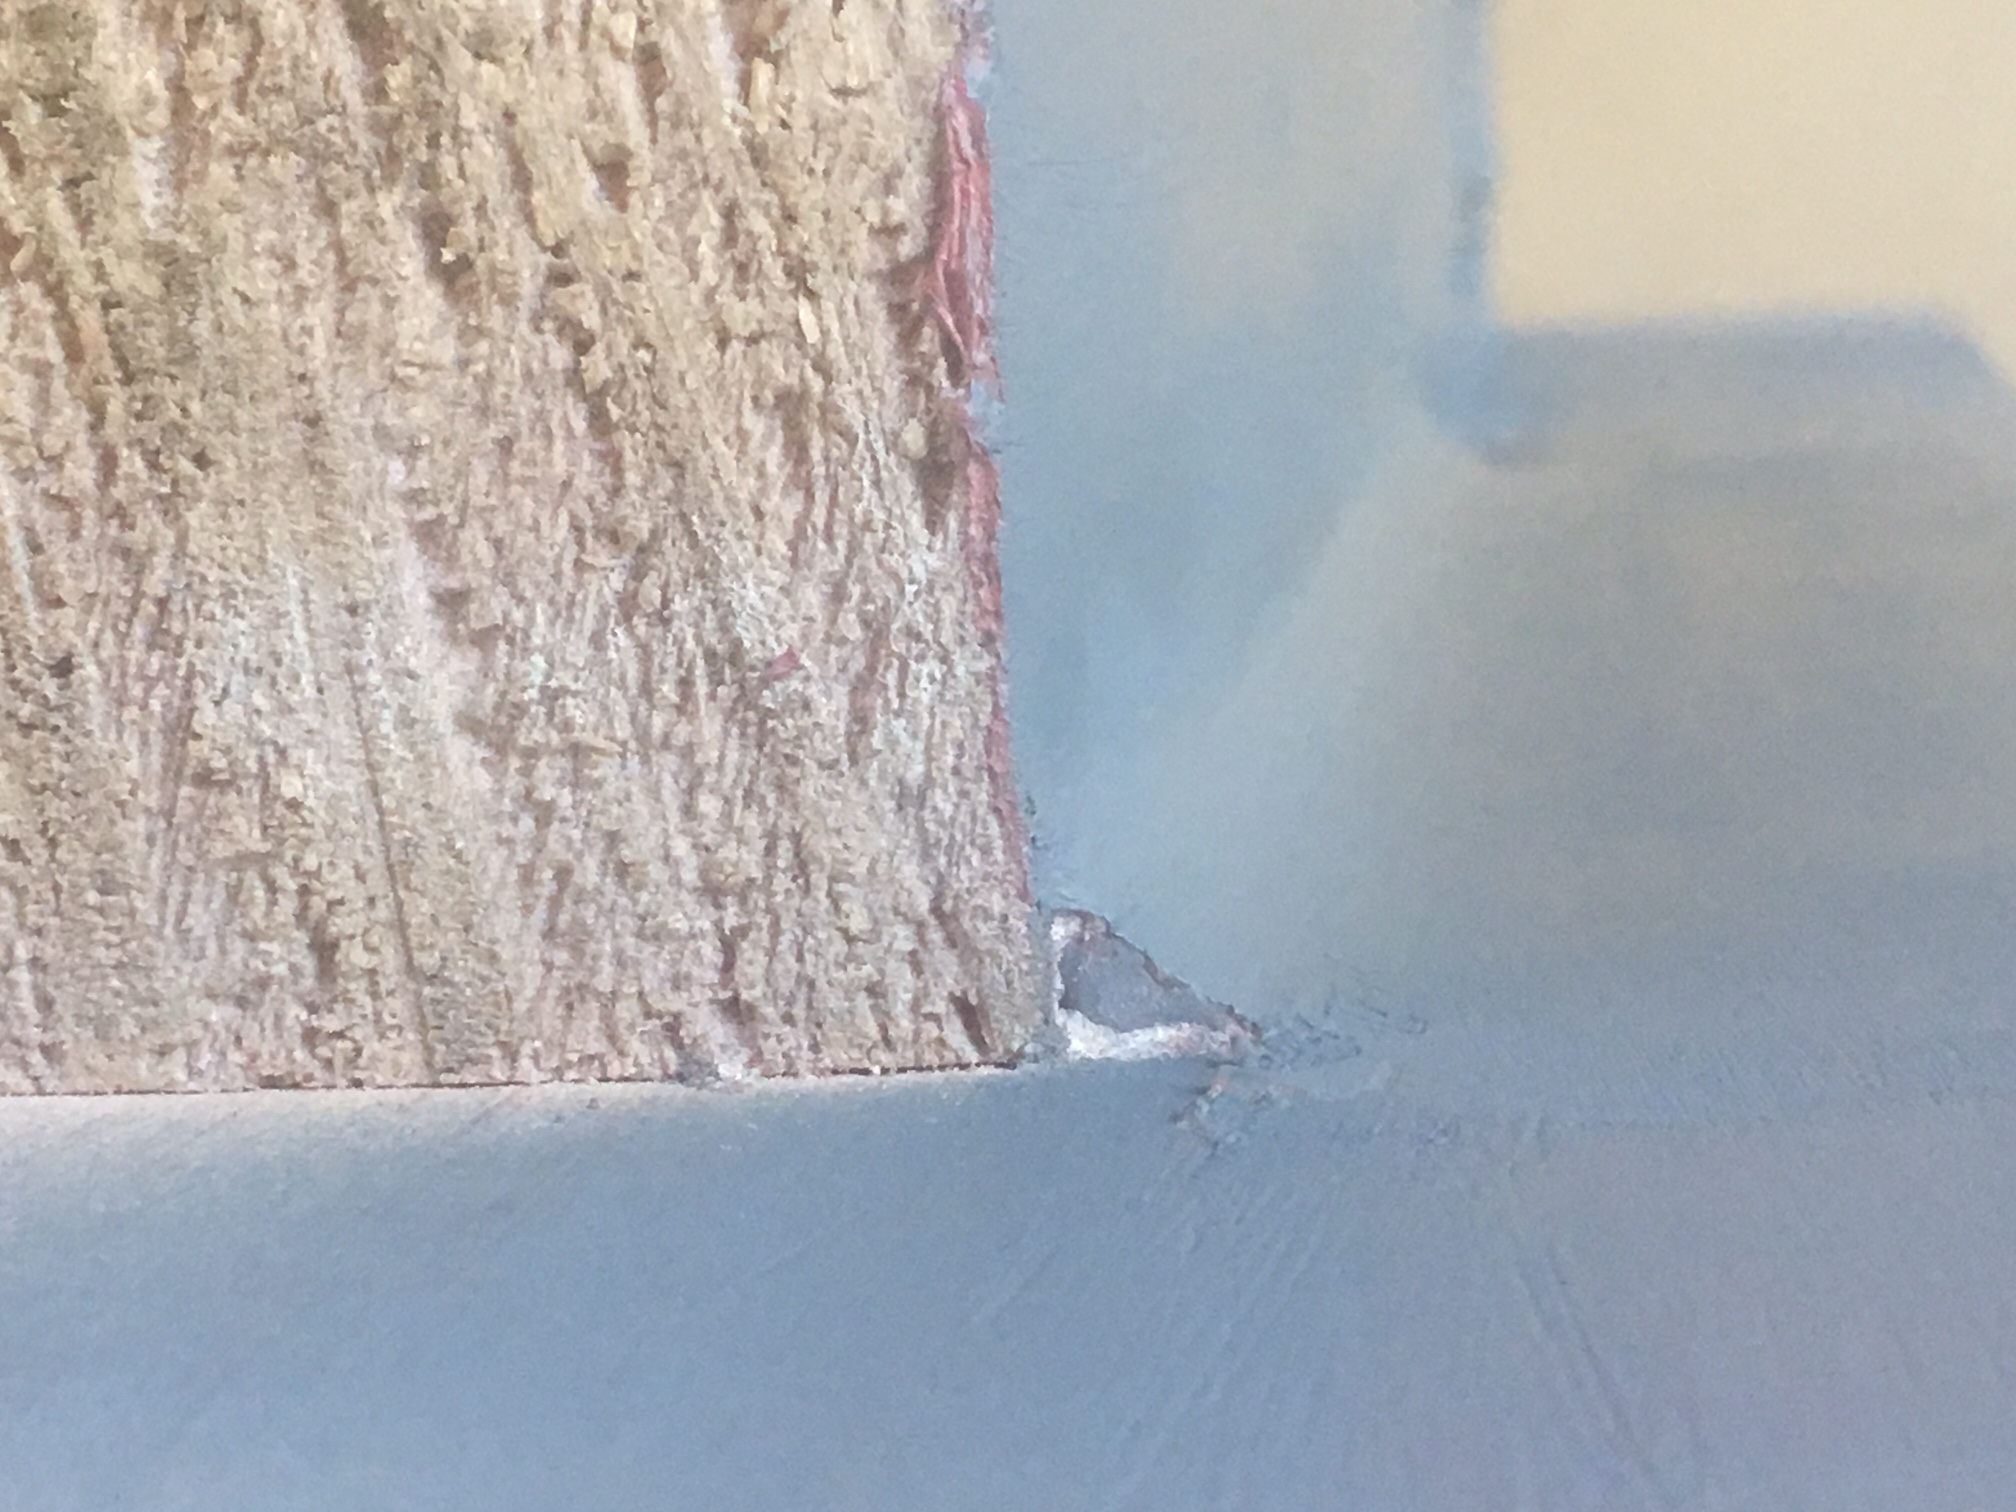
Good aye? Can you tell where the fillet starts/ends?