Thought processes
I decided after much internal debating to create a fillet between Fin and the air-frame. (Though it is more from the previous fillet to the air-frame). I decided to do this because the instructions for Katana 4 mention Internal fillets to the Air-frame. I know some people don’t bother with these fillets and I can probably get away without having them for smaller motors. But if I want to fly larger motors or lots of flights I might experience issues with fins/air-frame.
So much focus has been on attaching the fins securely to the motor-mount and air-frame that it is easy to forget other possible modes of failure (other than fins coming off). I was a little concerned that the air-frame, being as thin as they could possibly fail due to loads. So I thought it would be prudent to strengthen the air-frame around the fins with this fillet.
The Epoxy resin
I decided I didn’t want to go through with the 105/206 again with leakages. The space is much more restrictive and so bogging up ends could be difficult. The fillets don’t need to look nice and so I decided to go for 105/206/403 – just short of peanut consistency. I decided to go a little under peanut consistency, so that the epoxy could ‘droop’ down and fill up the gaps. I wanted a droop more than a drip so that I wouldn’t get a large mess. After about 20 mins of curing, it’s viscosity increases sufficiently that it stops drooping.
The tools
It was too hard to use really thin tube – 5 mm in diameter, despite the obvious advantages; it can easily fit down into the cavity. The problem is that the Epoxy cannot be easily delivered due to the viscosity.
So I had to go for 6 mm internal diameter tube. The extra mm makes a big difference. A problem with 6 mm tube is that I couldn’t attach the normal doweling to get it down into the cavity. It just won’t fit. 6 mm tube by itself is so snug that it somewhat deformed (squashed a little). I also wanted an arc (1/4 circle bend) at the end to direct the epoxy into the gap between the air-frame and the fin and the only way I could do this was with 3 mm diameter copper rod that I bent into shape. I used narrow lengths of Masking Tape to bend the tube at the end to the copper rod.
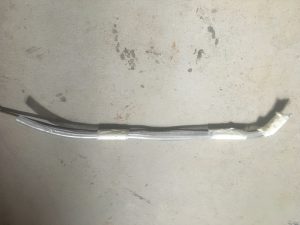
It worked! I could then withdraw the tube and push the epoxy in and was even able to just see the epoxy coming out, so I could confirm that it was going into the right place! Very happy with this.
Preparation
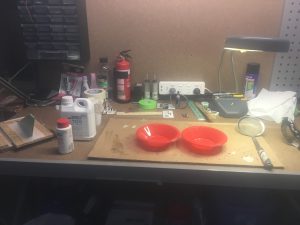
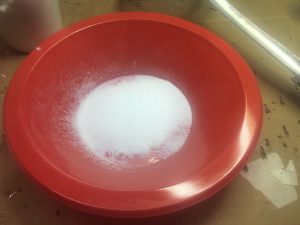
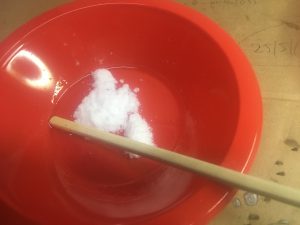
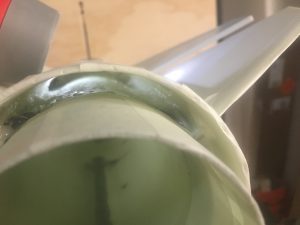
It is a bit hard to notice, but there are internal fillets done here.
