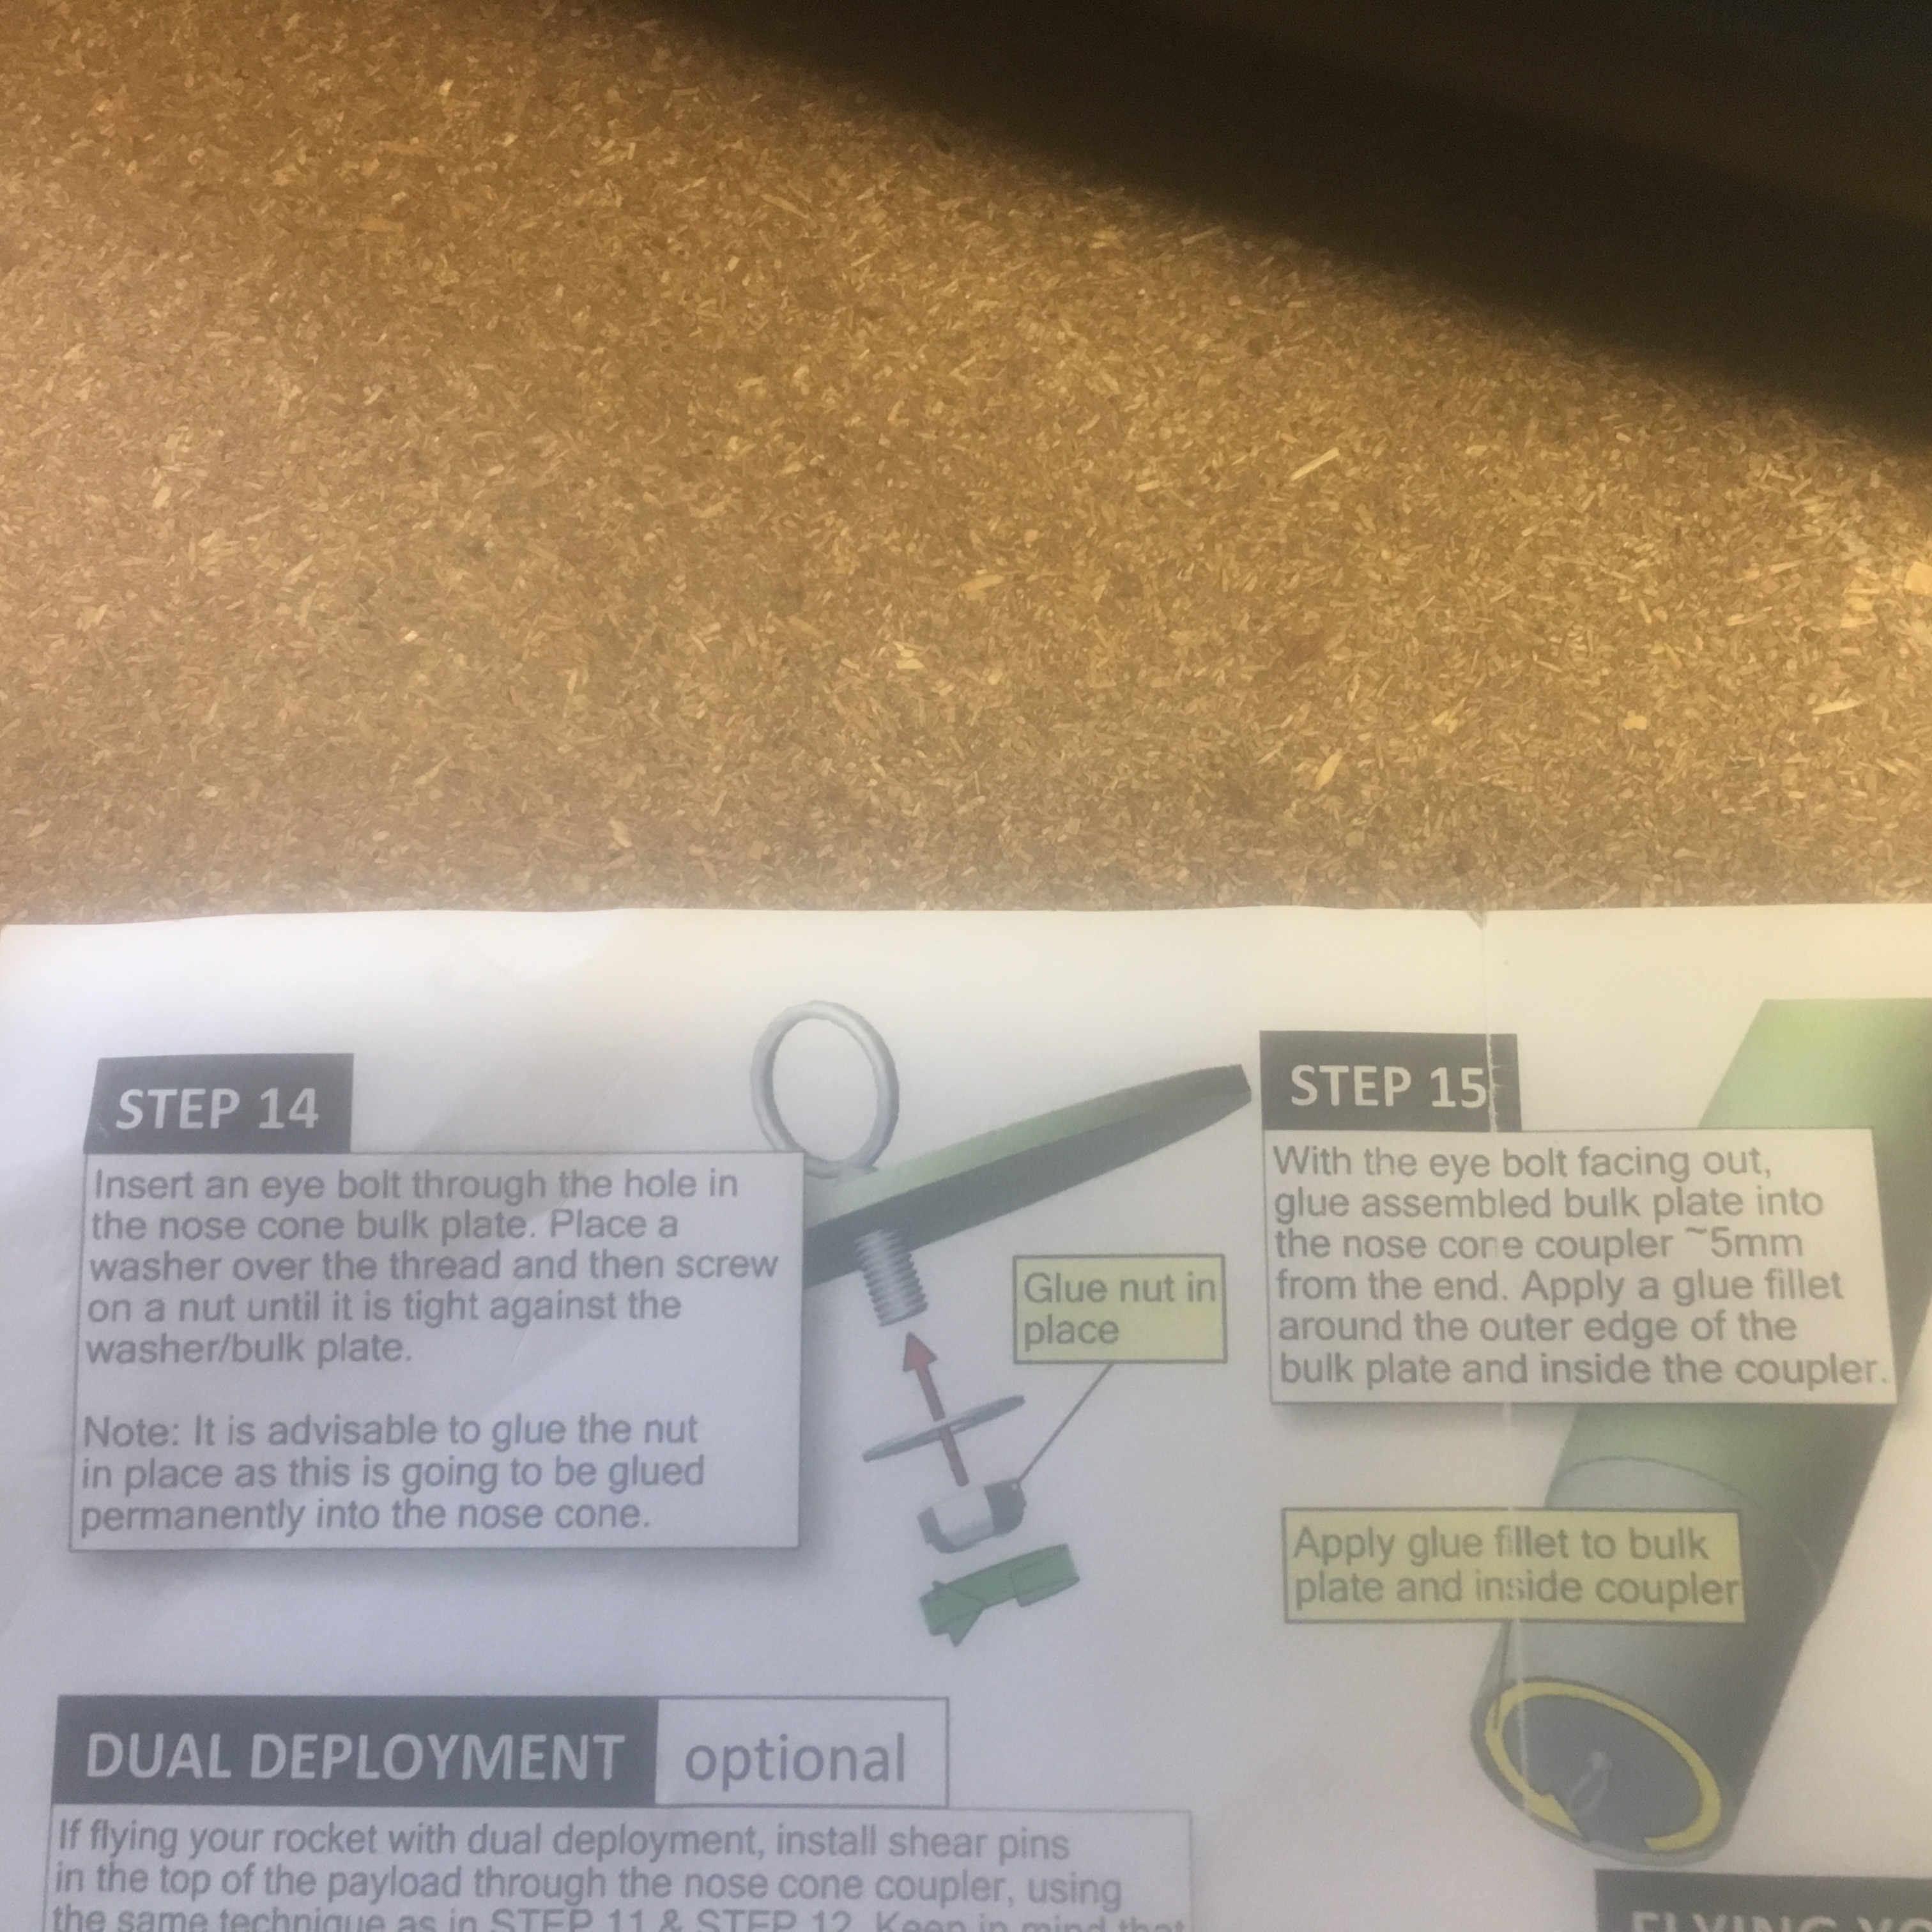
Next step was to attach the Nose Cone Bulk Plate.
I follow the instructions carefully.
I used :-
- 24 Epoxy for the initial join. IT is sufficiently viscous that it won’t run between cracks. It is also stronger than 5 minute epoxy.
- 105/206/403 Epoxy mix for the fillet. It is something I’m very familiar with, has a lot of strength.
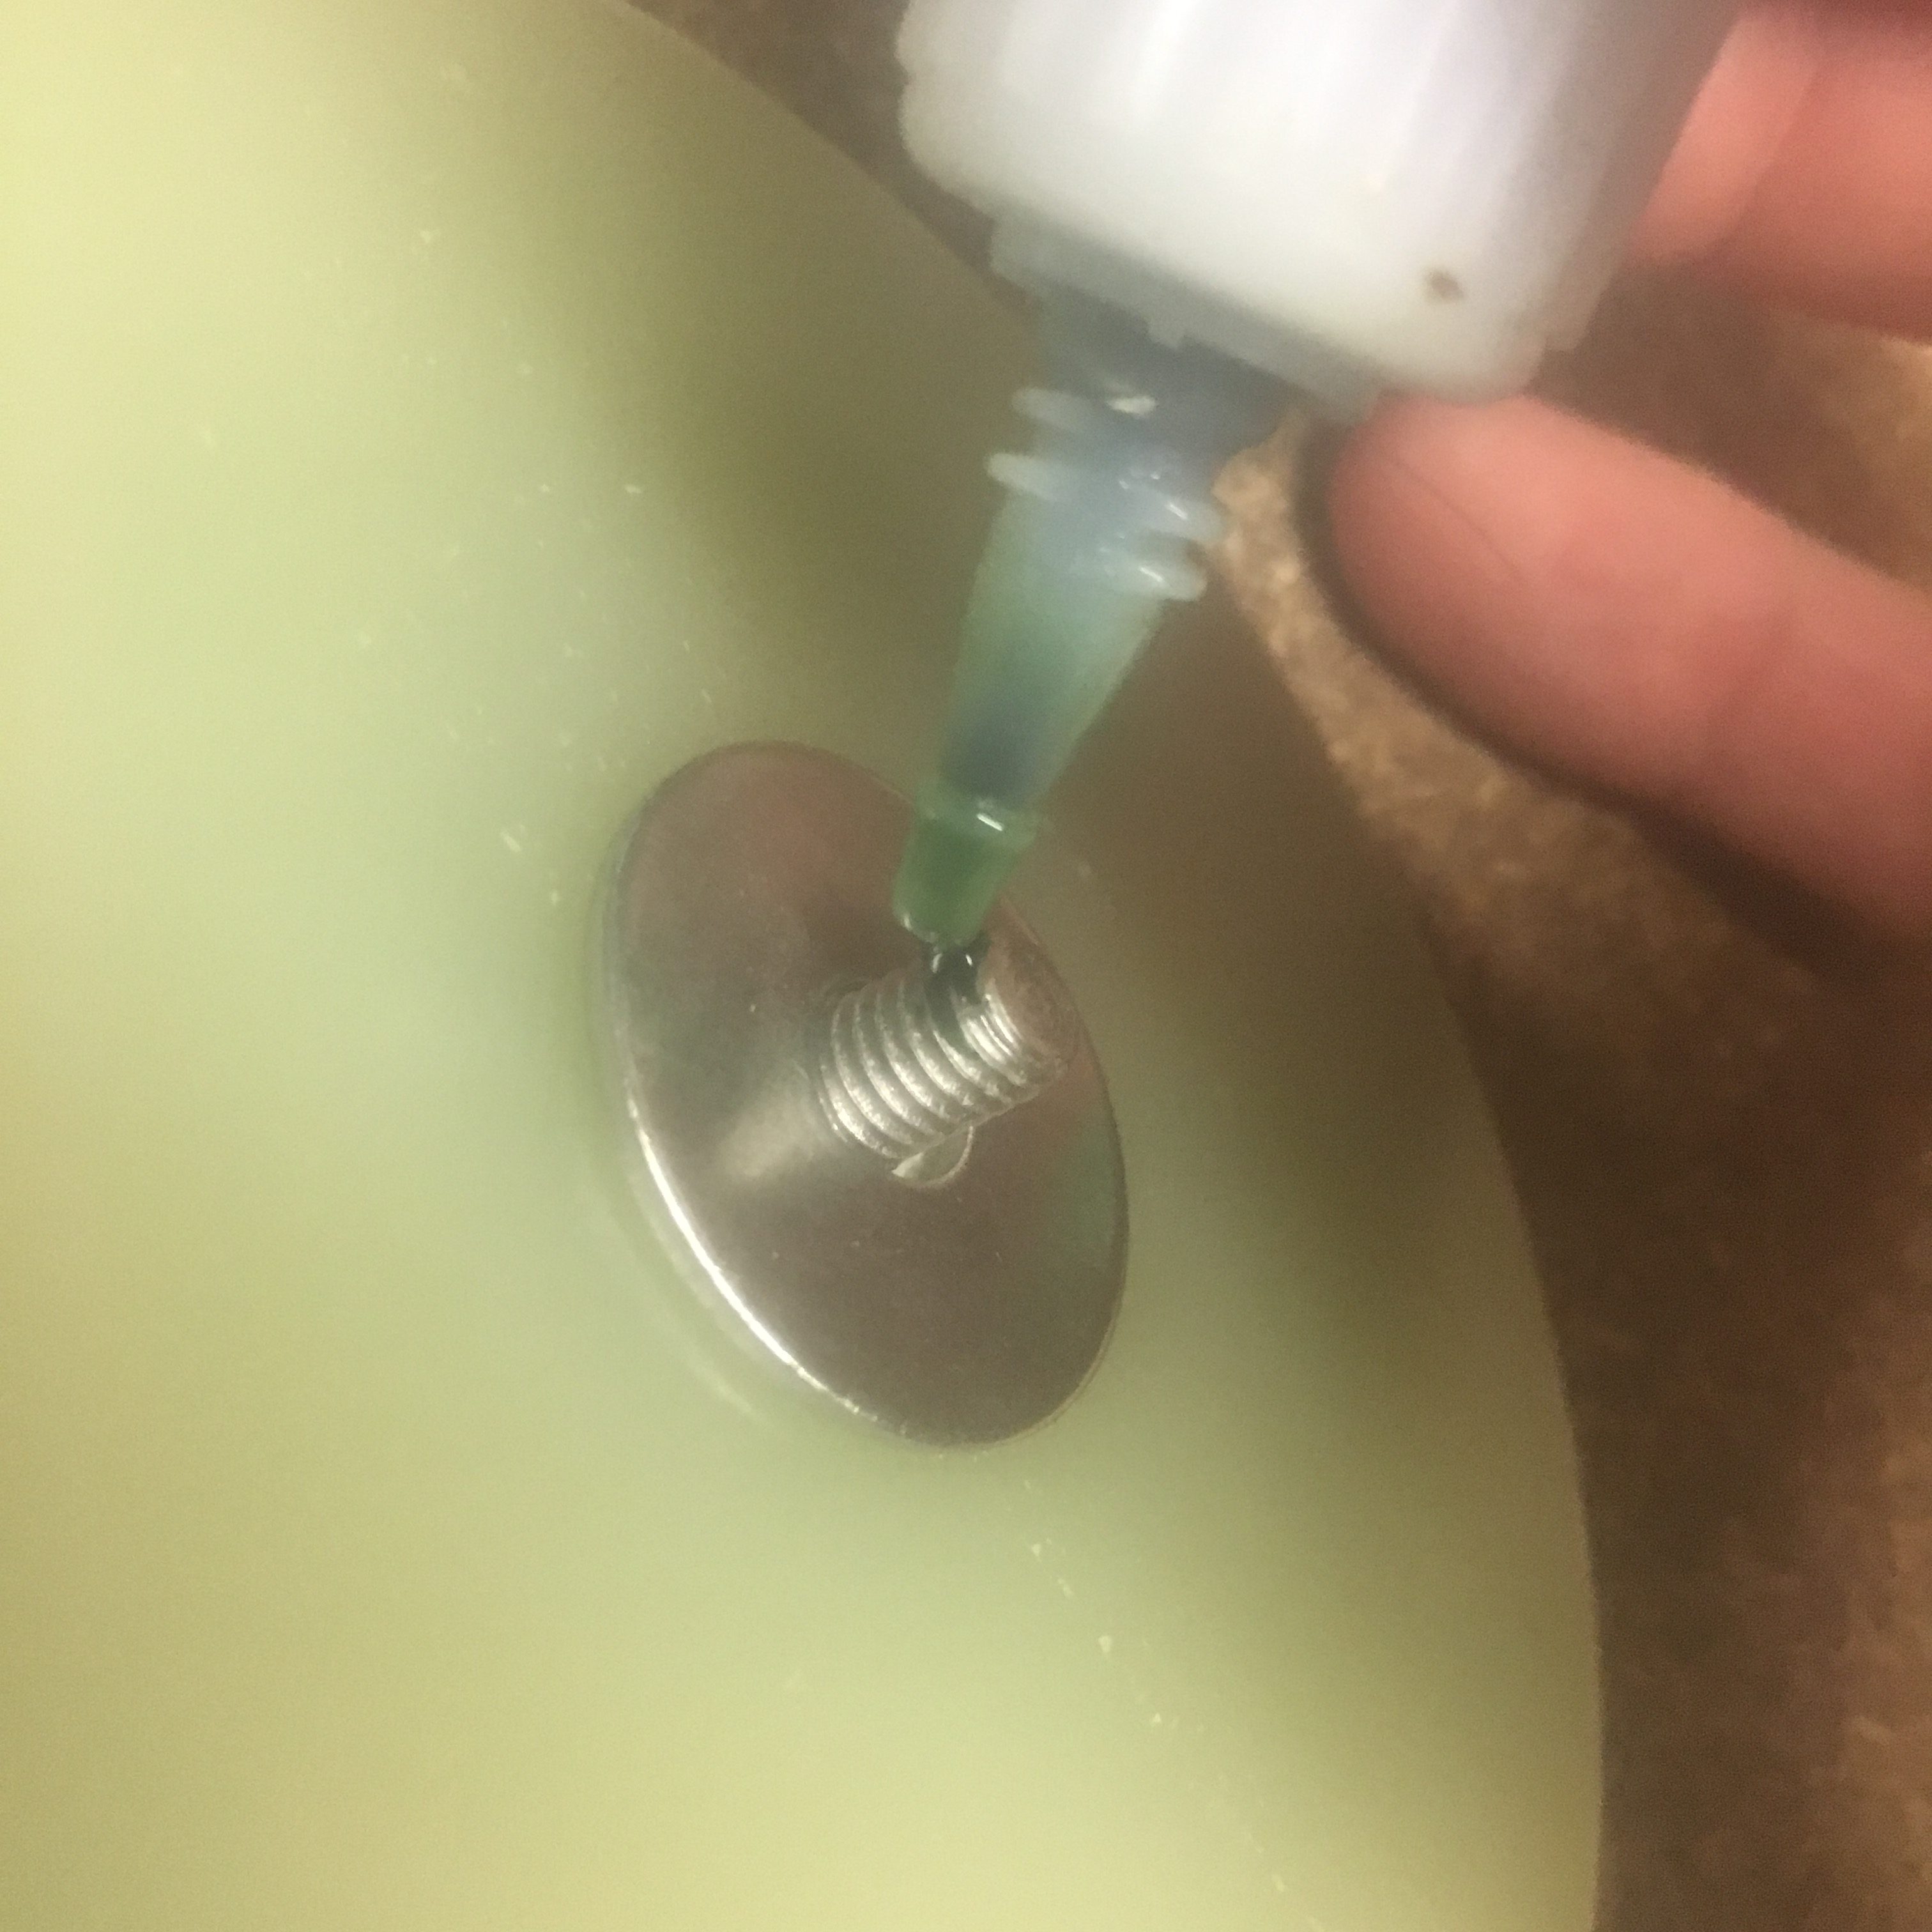
- LocTite like solution for bulkhead screw.
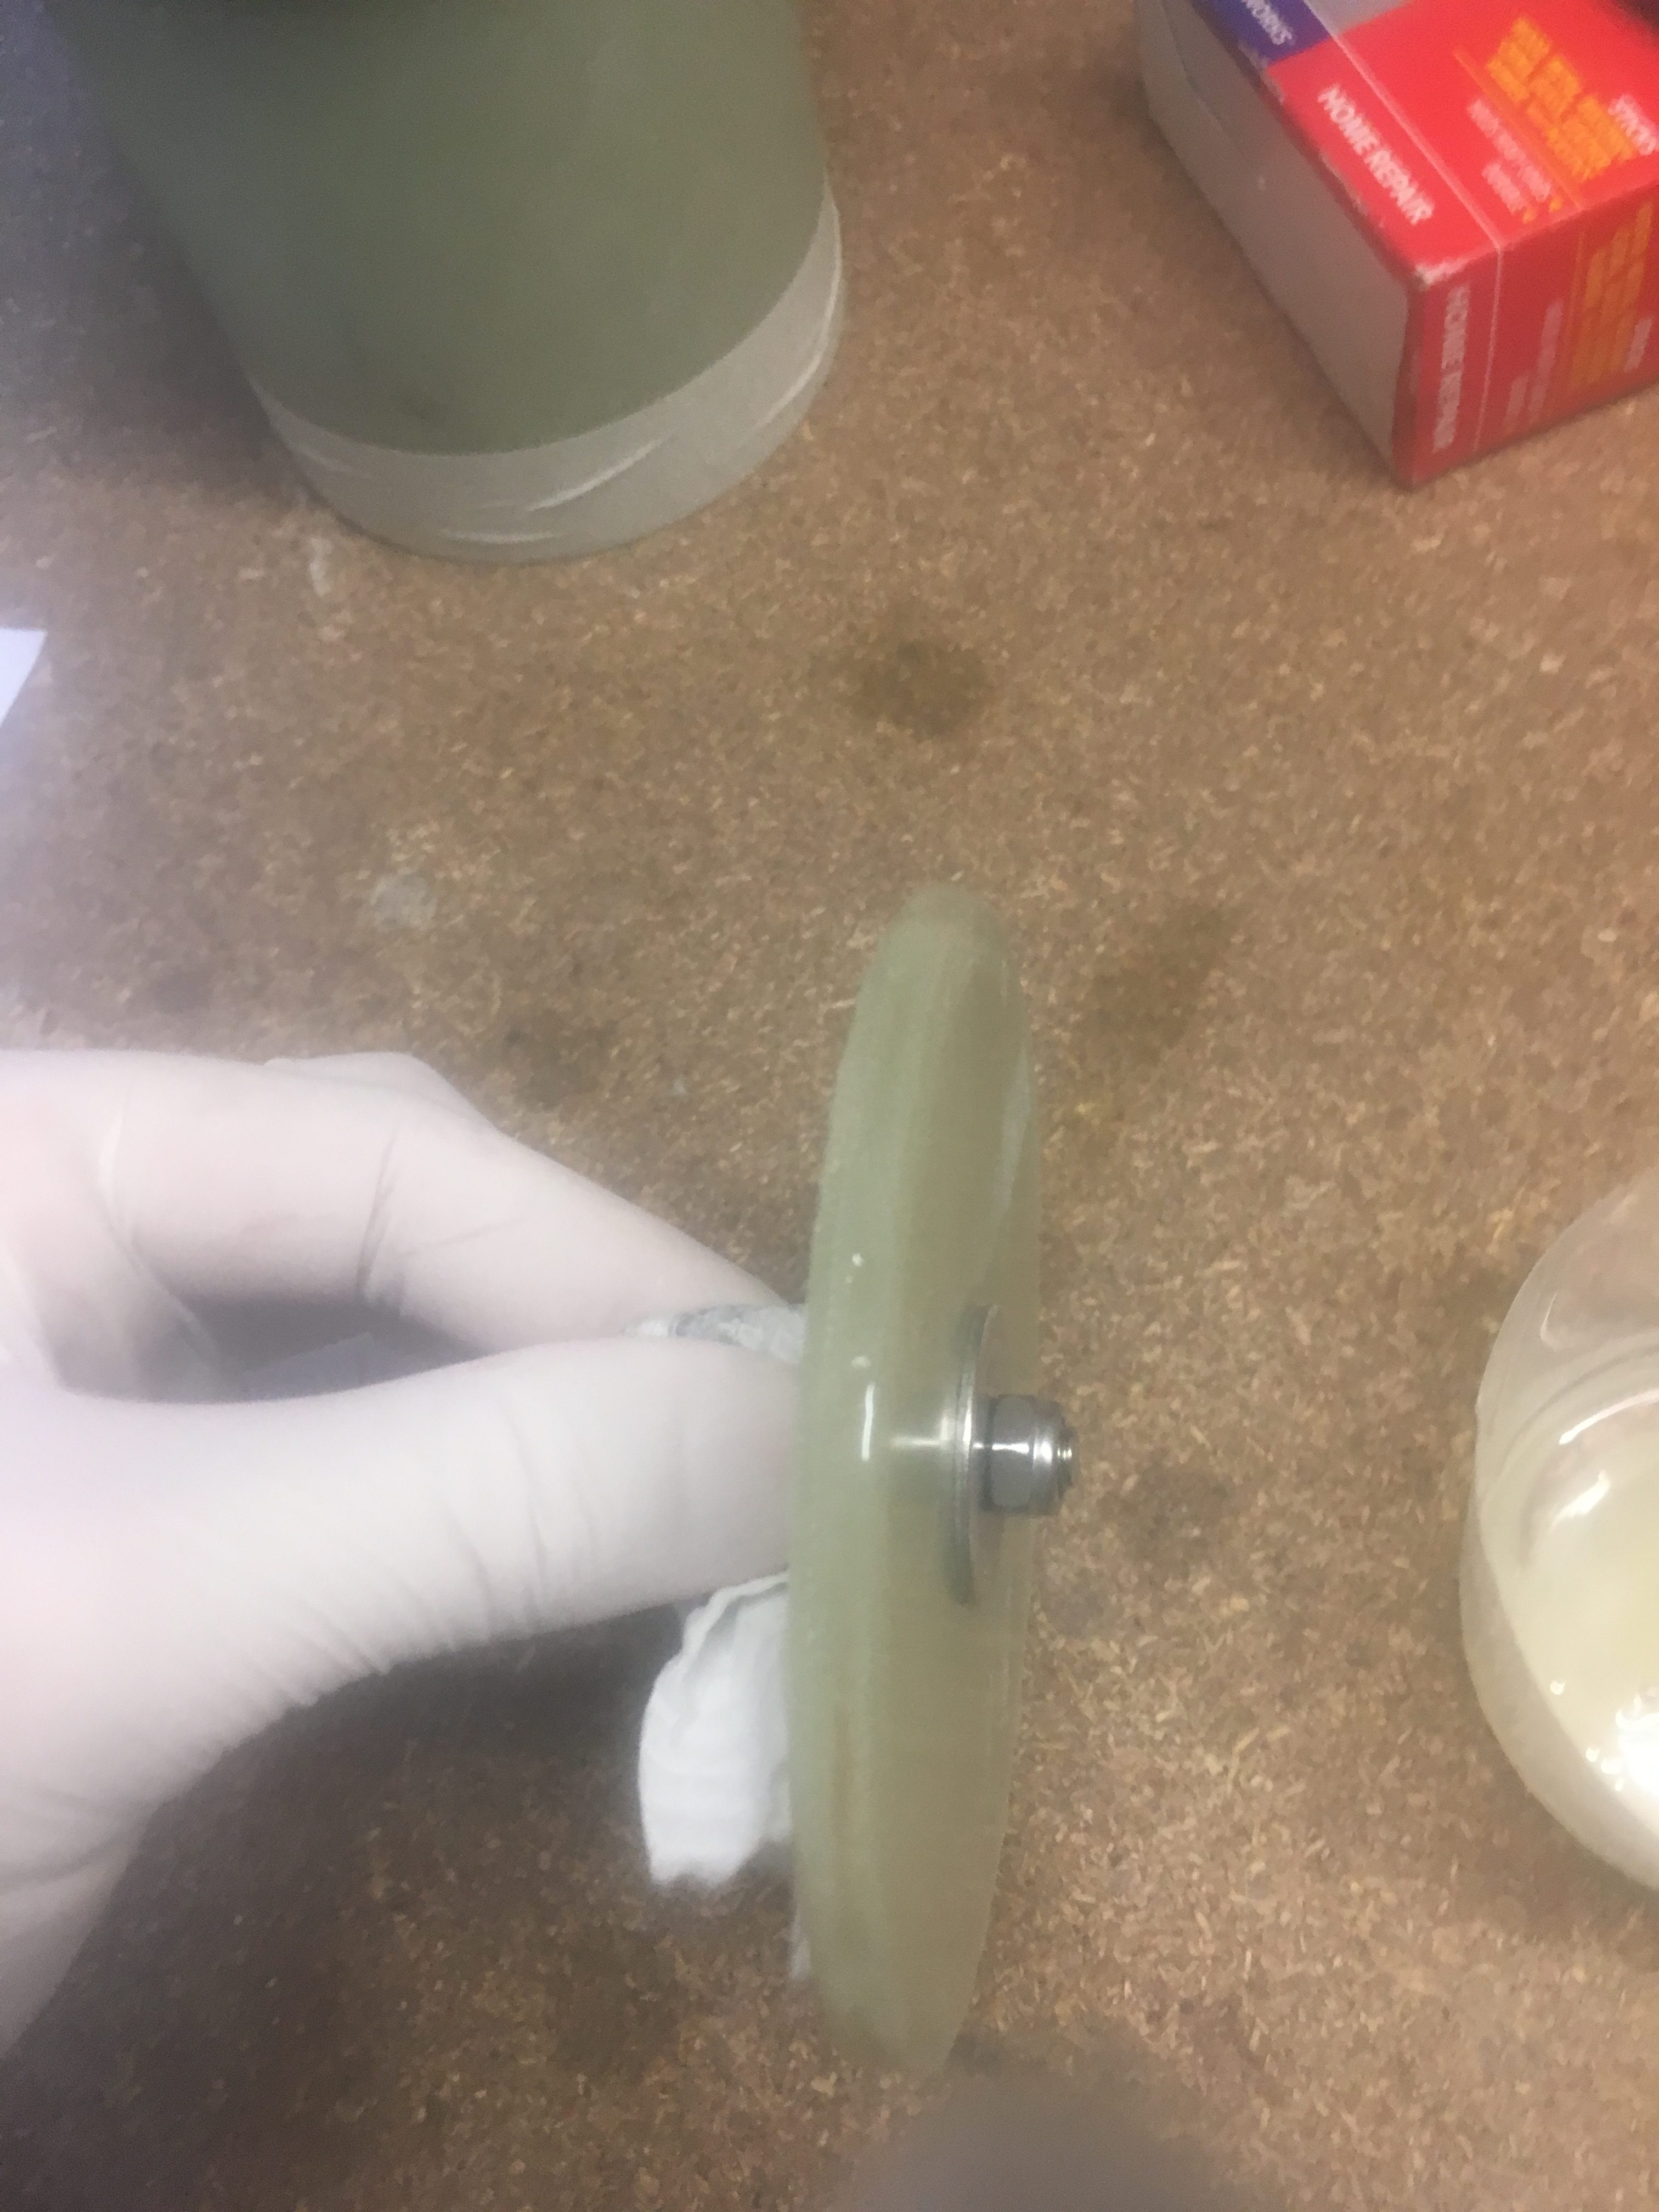
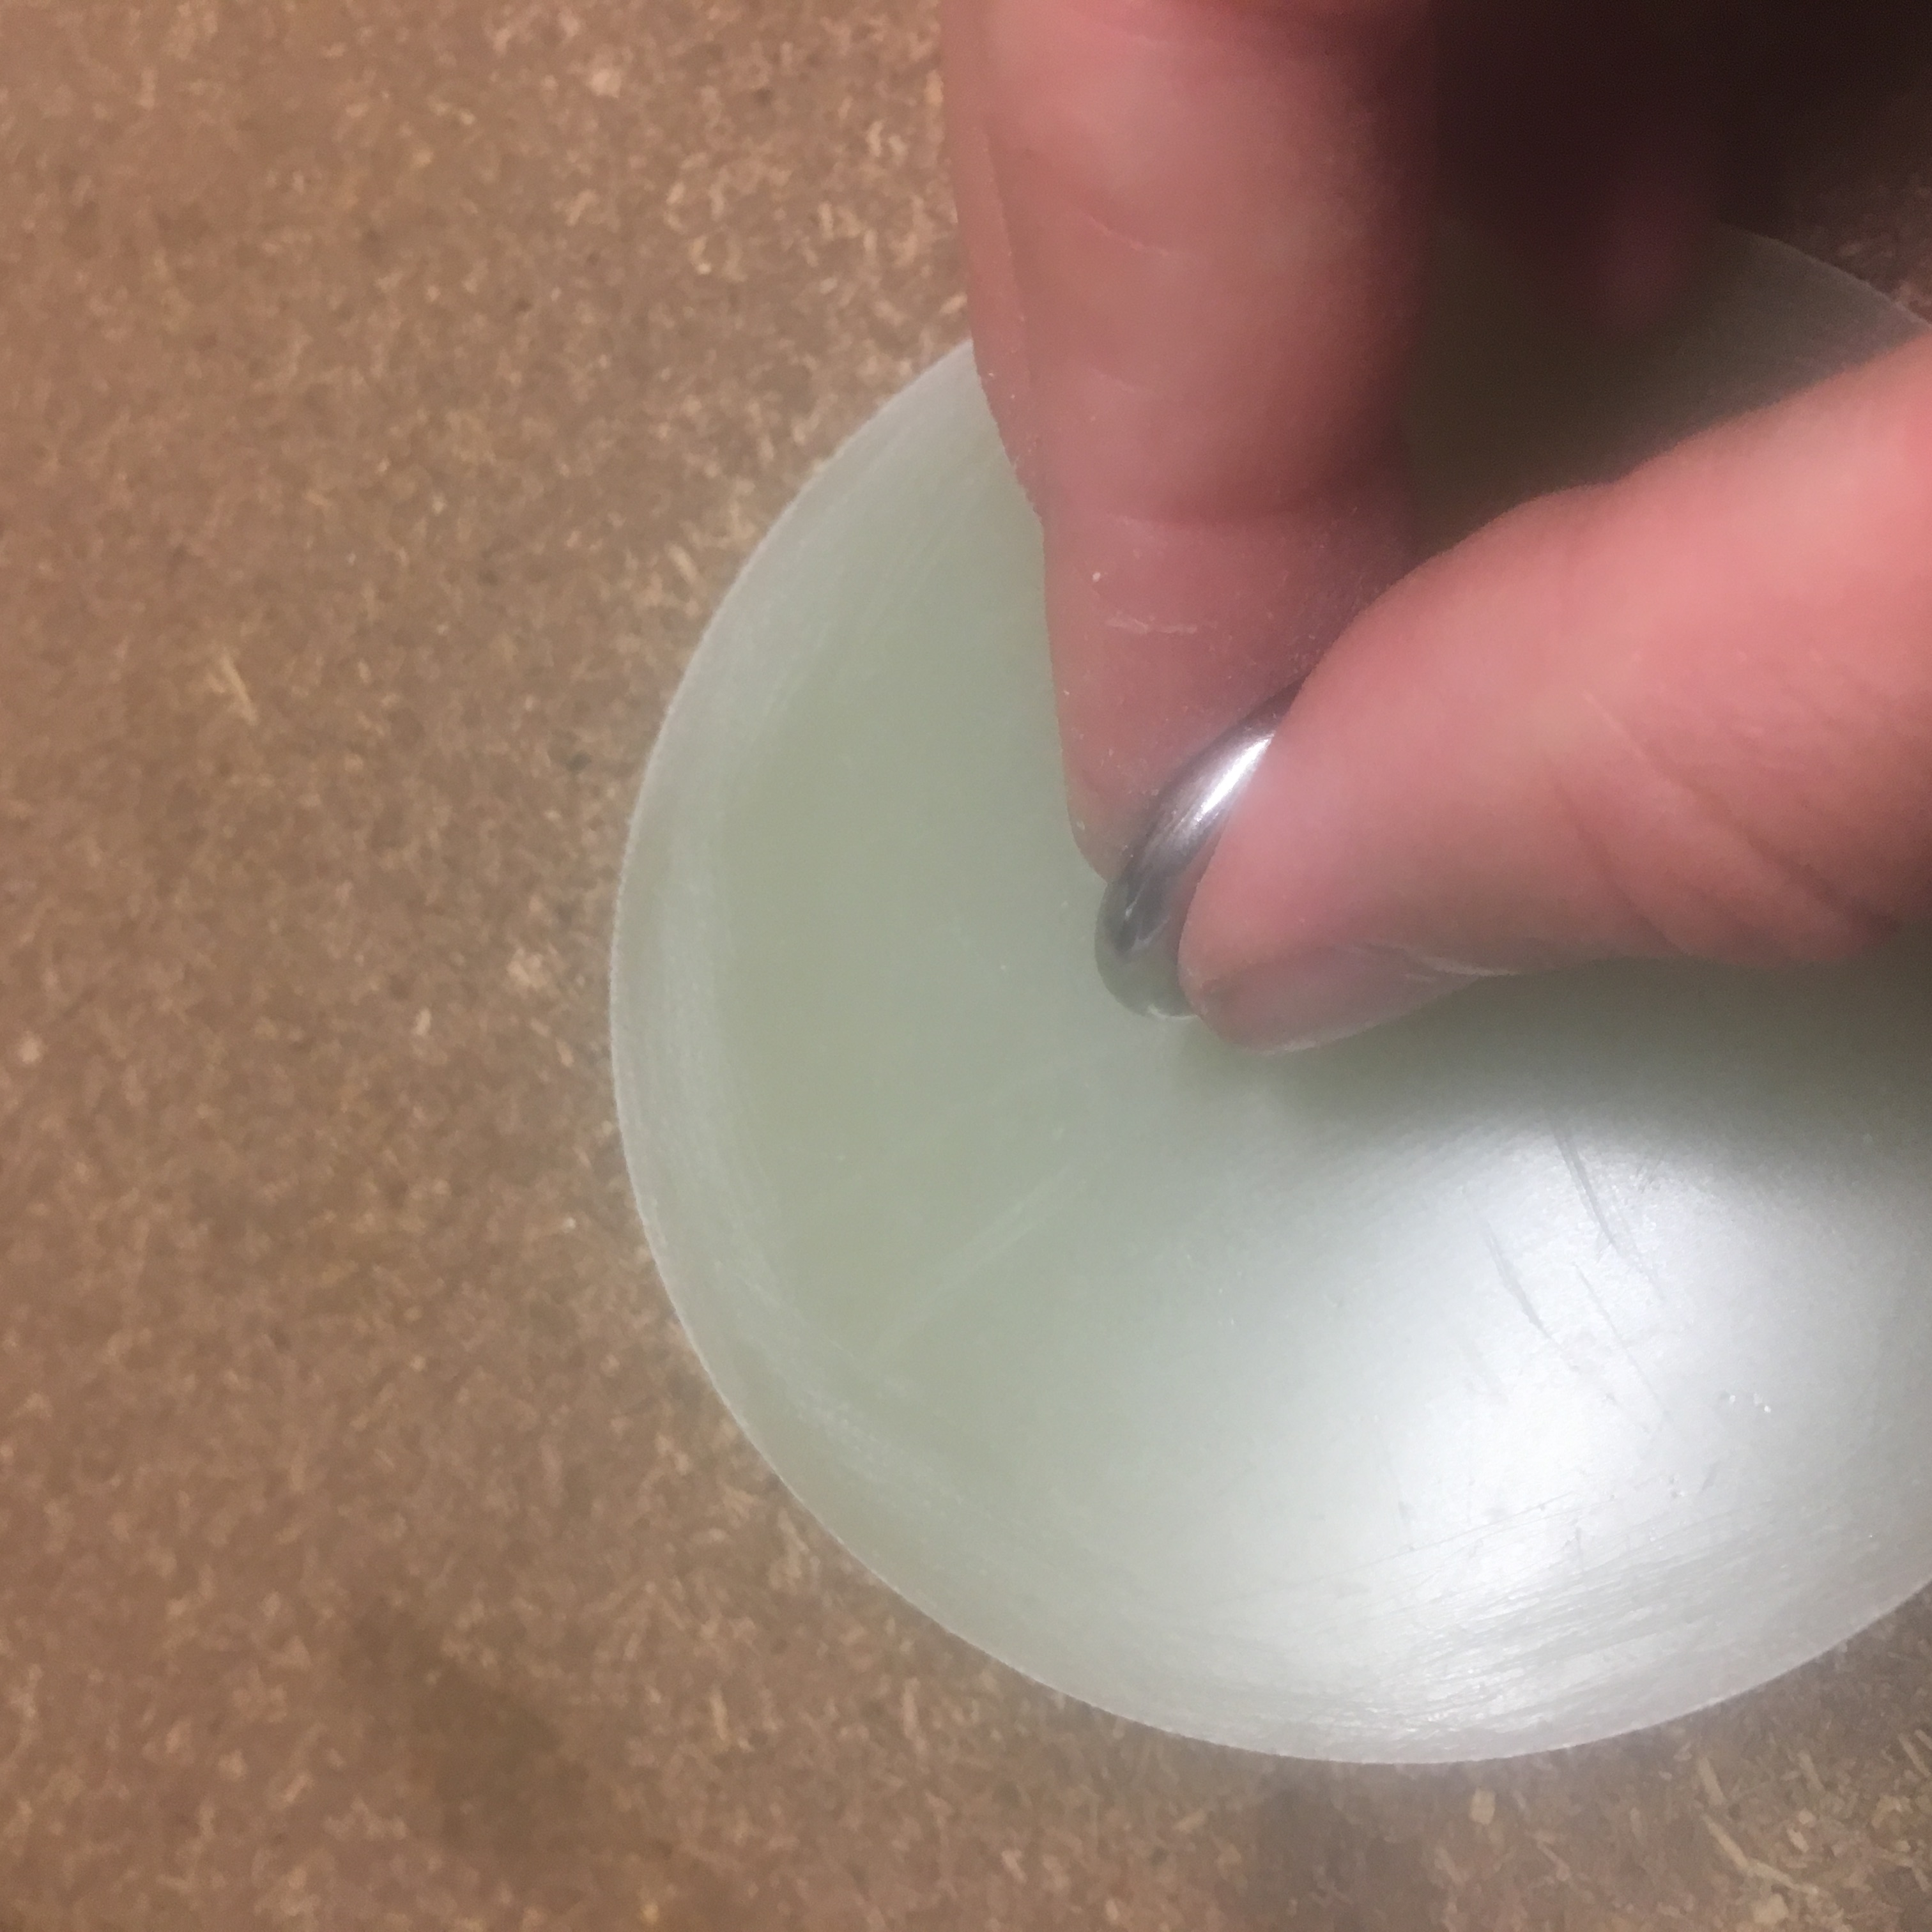
Assembly of the Bulk Plate
Below are some pictures of me assembling the Bulkhead with Ring bolt.
Epoxy the Bulk Plate into Nosecone Coupler
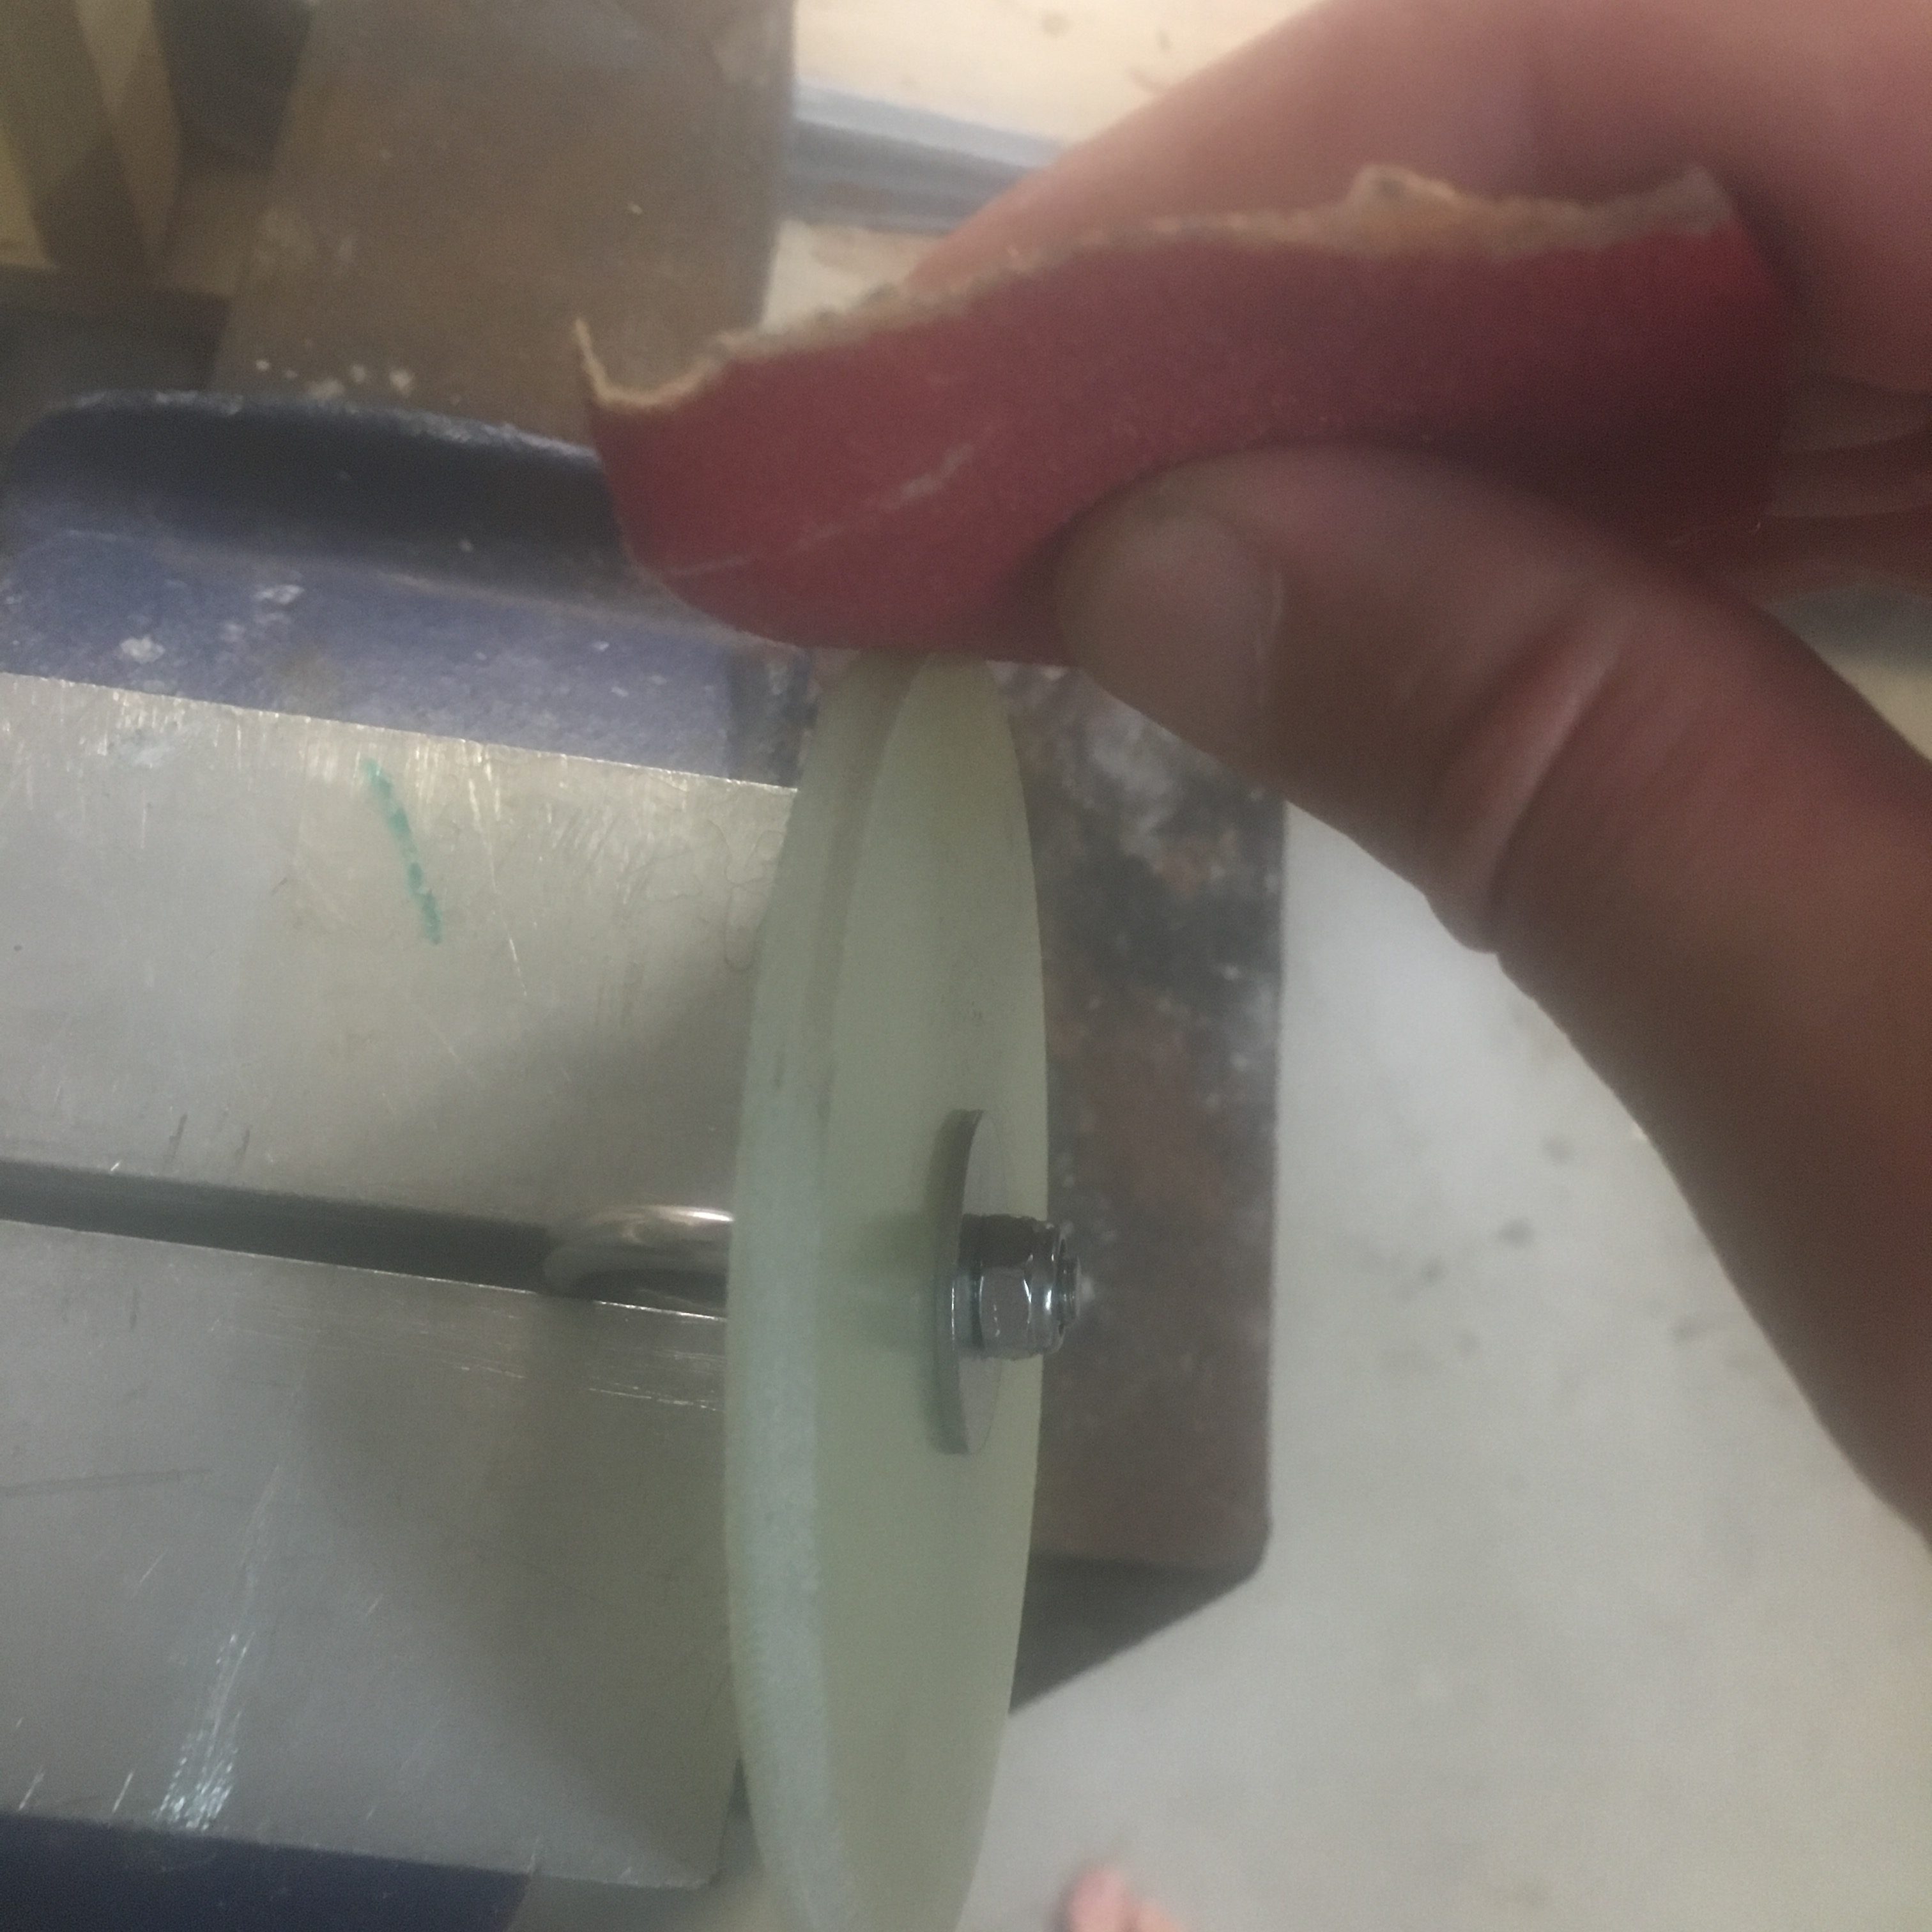
First step was to sand the surfaces ready for epoxy. I also sanded areas of bulkplate that would have fillets.
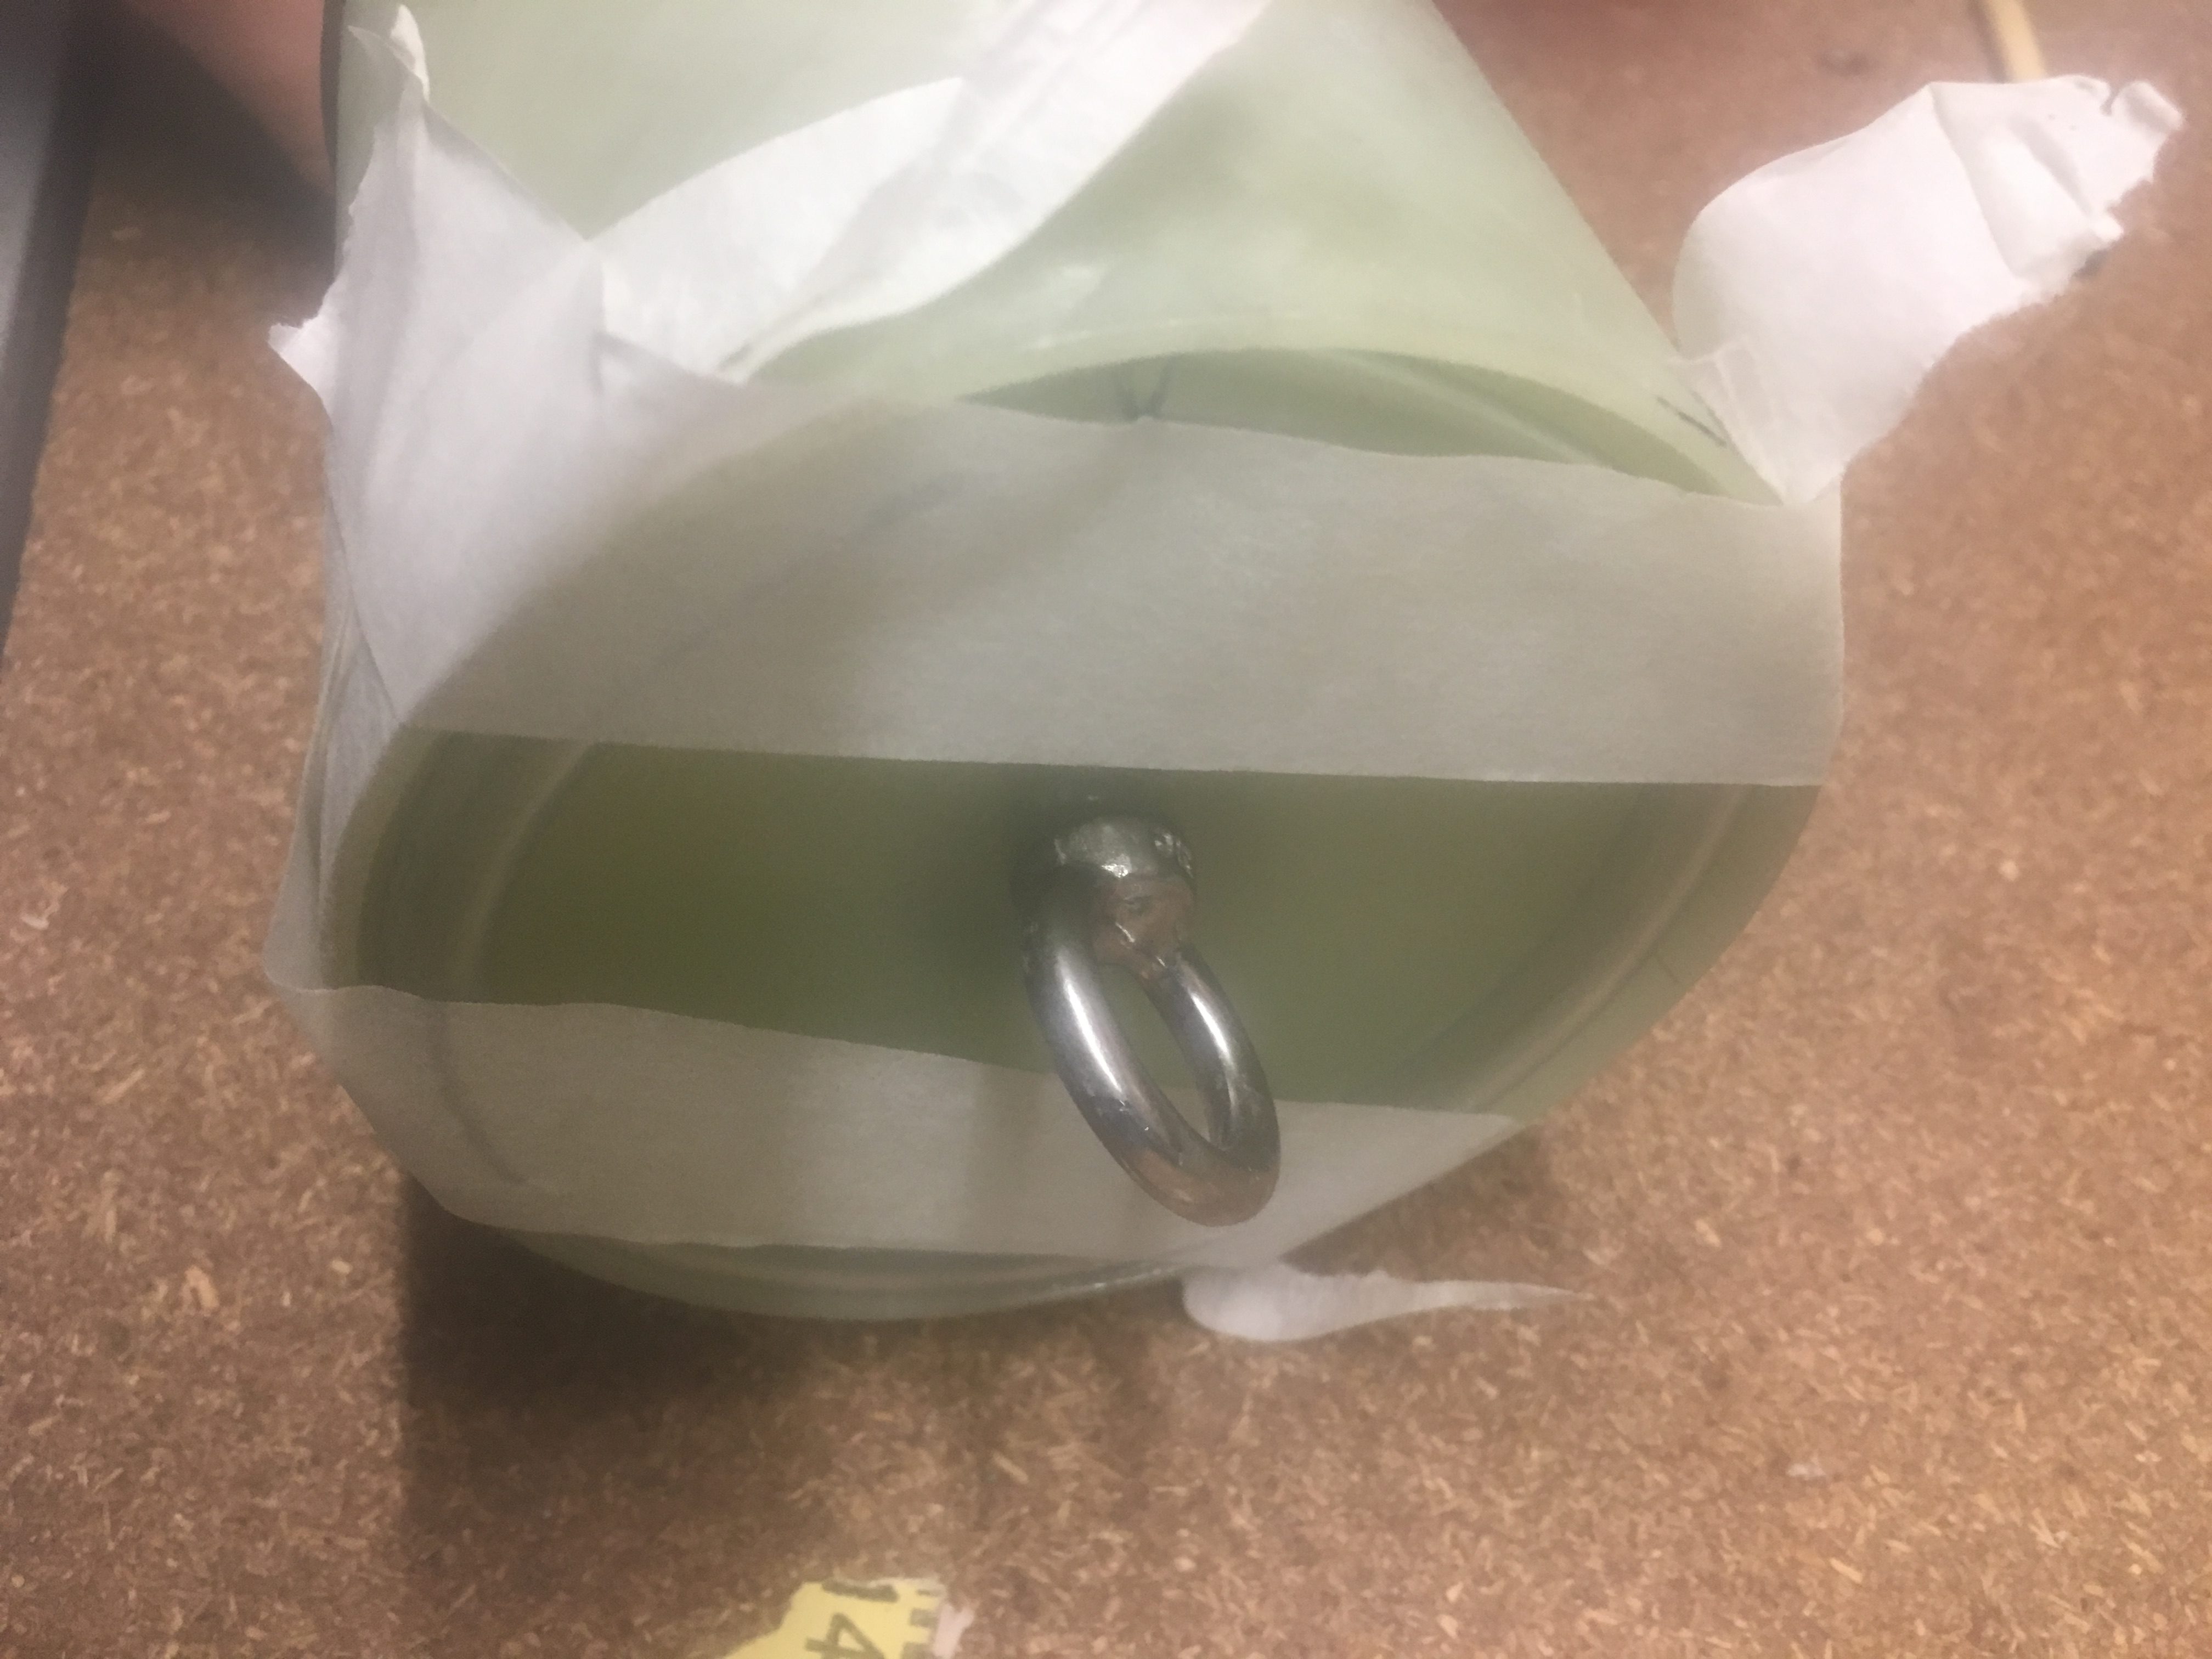
After I applied epoxy to bulkhead rim and inside the nose cone coupler, I slid the bulk head in. It slipped a little and initially I struggled to keep it fixed the SAME distance from the end of the coupler. So what I did was cut some 5mm tube that I had used for Epoxy delivery and curled it inside the recess. I used masking tape to keep it in place.
Then I put it in a vice, to allow the epoxy to settle down and form a strong bond.
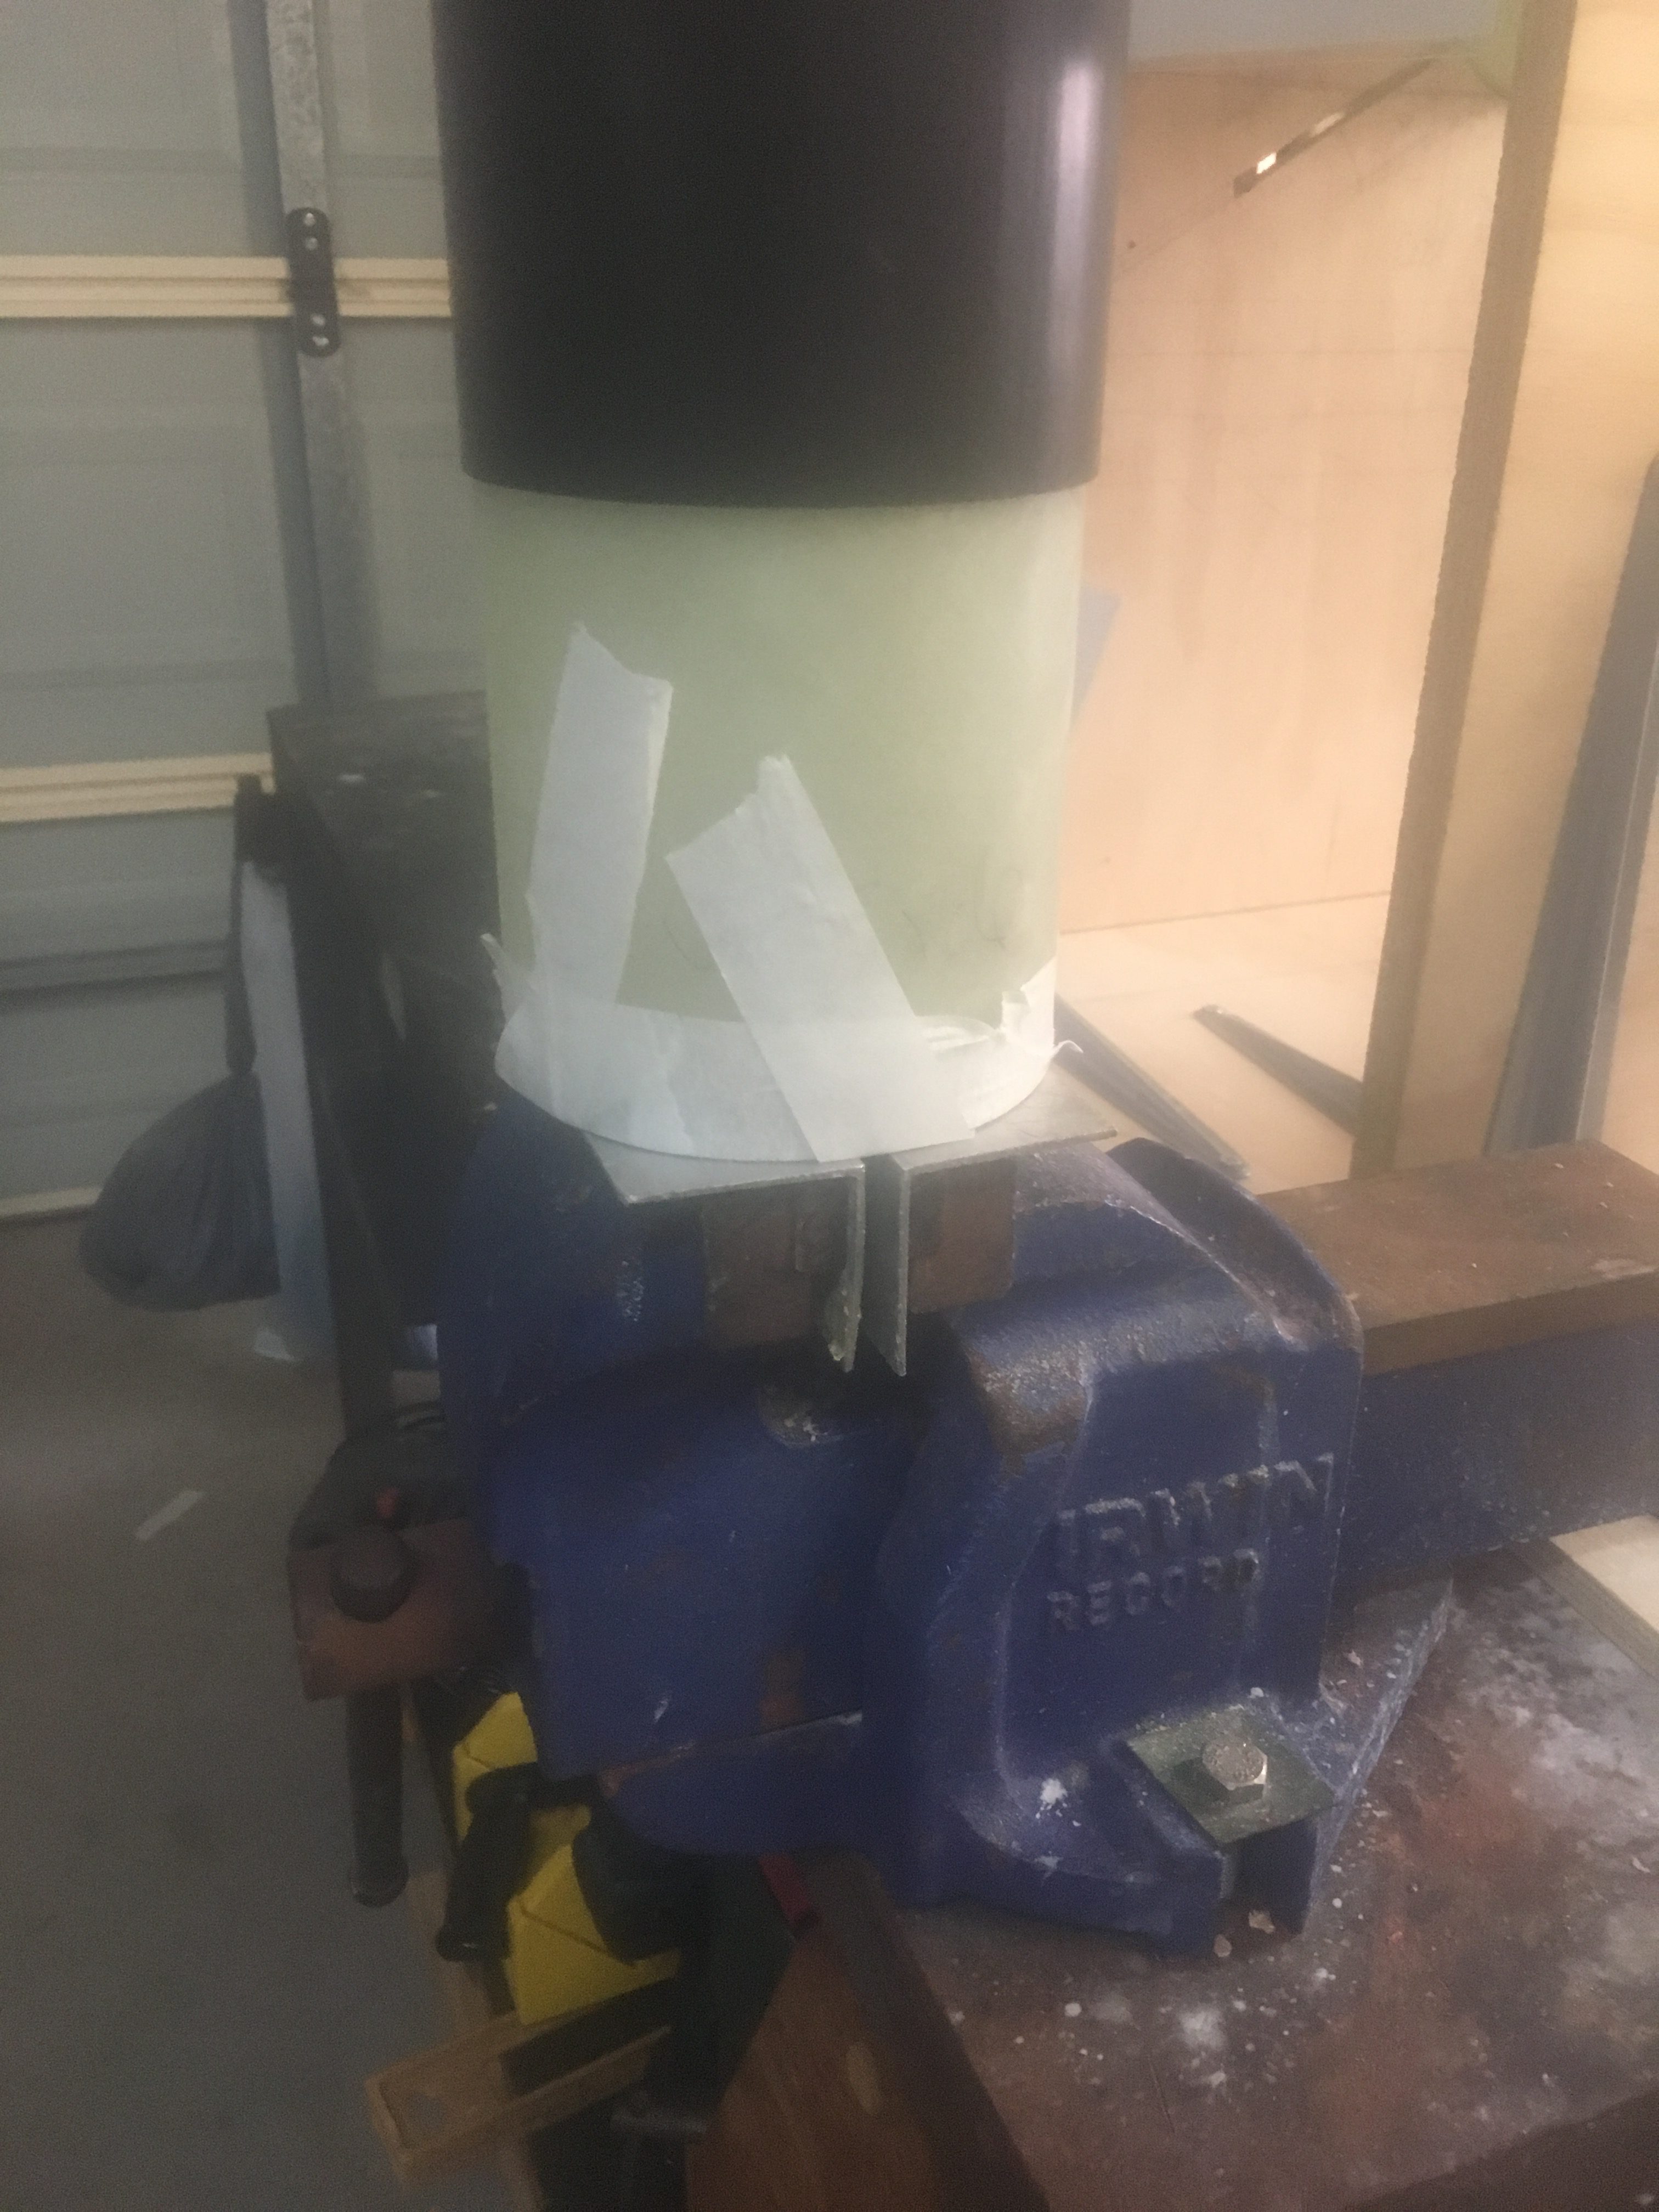
After two hours I removed it from the vice and removed the plastic tube. It was easy to move and I didn’t upset the bulkhead position. Then I left it for another 4 hours before doing any more work.
The fillet
Then I went about taping it up. I’m very particular about creating minimal amount of work (i.e. mess).

Notice how the masking tape also encroaches on the inner part of coupler, down about 2 mm. This is to try and minimise mess, minimise epoxy getting where it shouldn’t.
Then I made up the 105/206/403 epoxy miss and used a syringe to get it into the edge. I applied this in the usual way and then I used a small plate like tool to create the fillet. A few minutes after done, I removed the tape.
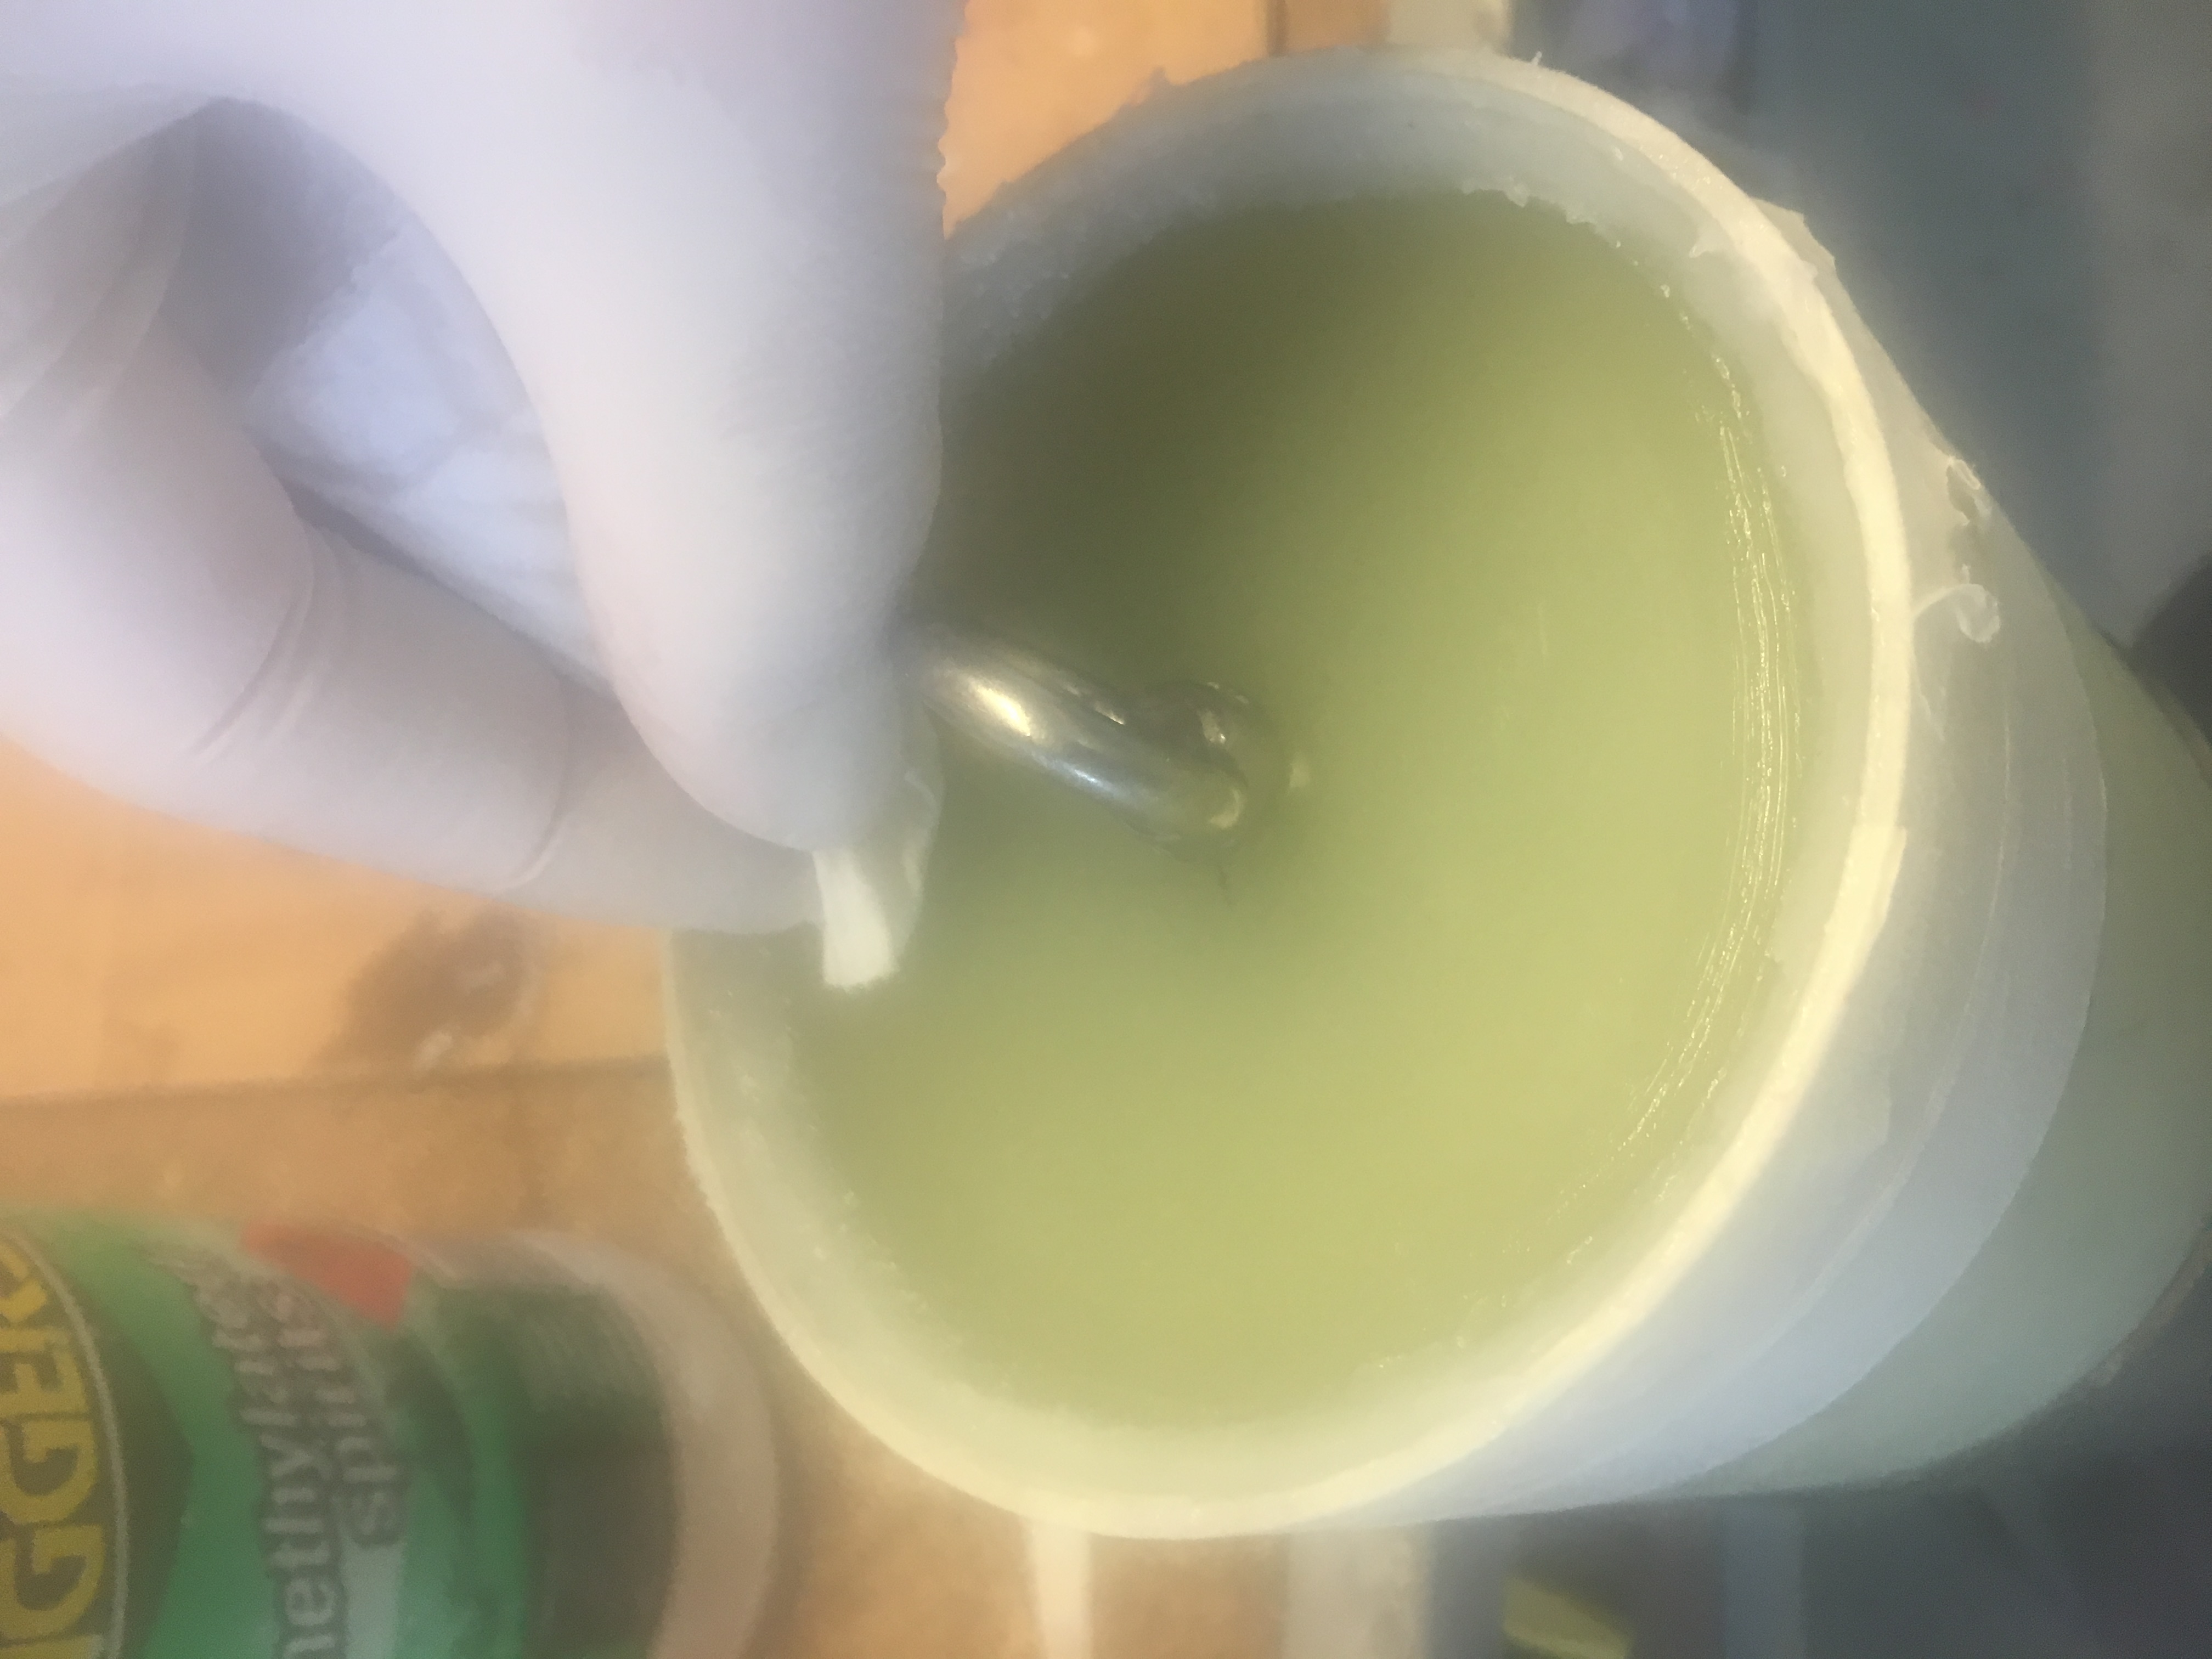
Before leaving it to cure, I cleaned the bulk-head using paper towel and methylated spirits.