Category Archives: L2 Certification

The Centering rings

The Centering rings are what we use to attach the Motor Mount to the Air-frame. The Centering rings provided did not fit the Motor mount, too tight (this is not bad). So I very carefully sanded them down by hand, as evenly as possible. Every few minutes I would check to see if they would fit. The top centering ring is notched, to slide over the Bridle cord. So I marked the top of the Motor mount as ‘Top’. And I marked the bottom of the Motor Mount as bottom.

Eventually after about 30mins of patient sanding I was able to slide both centering rings over the Motor Mount.
 

Centering rings on Motor Mount - Dry Fit.
Centering rings on Motor Mount – Dry Fit.

Building the Avionics Bay

I’ve already started building the Avionics bay, admittedly a little early in the steps, but decided that it would be good to see how it fitted in with everything else. There was a bit of gluing here, but decided that constructing parts of the Avionics Bay is not going to stifle the remaining construction of the rocket.

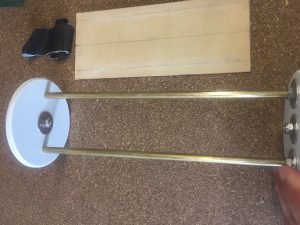
Markings on wood tray to help with alignment of the brass tubes
Making sure everything lines up well.


Roughing up the wood to ensure really good glue joint.
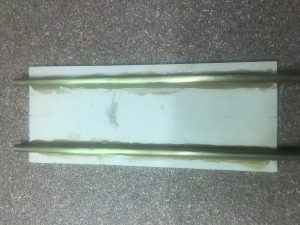
Brass Tubes areldited to the wood
Brass Tubes araldited to the wood

I wasn’t terribly with the result of the tray. I should have laid down some tape to ‘restrict where some glue could go.  I’m sure it would work (be strong enough), but from a cosmetic point of view – not good.

So, I’ve decided to make my own tray. See pictures below.

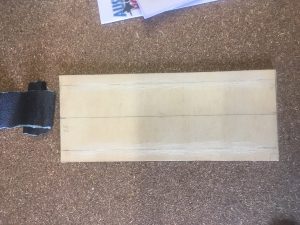
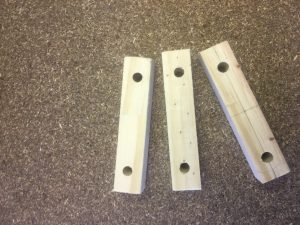
Wood pieces, all identical

Wood pieces, all identical

I had to take extra care in creating these wood pieces. I performed just TWO cuts of three pieces sticky-taped together in a special decide to ensure that all the cuts would be square. Because I cut them altogether, this meant they were precisely the same length.

In terms of drilling holes, I just took my time and very carefully ensured the drill was level and the markings were as close as possible.


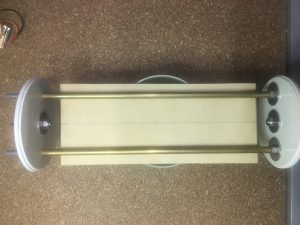
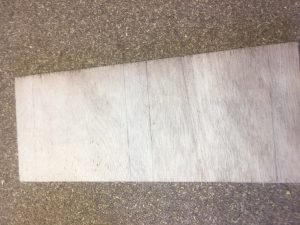
Tray cutout with markings for where wood is to be glued.


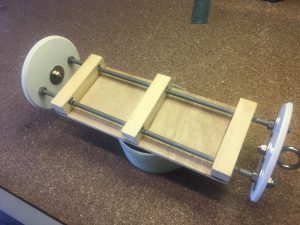
All components glued and everything assembled.

This to me is a much nicer job.


Katana 4 – Material Weights

I’ve weighed all the components of the rocket. I’ve tabulated them below.

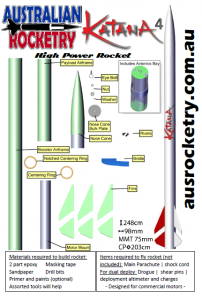
To identify which parts I’m referring to, I’ve included a picture of the components on the installation instructions.


front-page-components


Booster Airframe: 1494 grams

Motor Mount: 443 grams

Payload Airframe: 721 grams

Nose Cone: 349 grams

Nose Cone Coupler Tube: 222 grams

One Top Fin: 151 grams

One Bottom Fin: 113 grams

Bridle Strap: ~40 grams

Avionics Bay Fibre-Glass (52mm length): 60 grams

Avionics Bay (Wood + Bulkheads + threaded rod + nuts + washers + eye-ring bolts : 395 grams

Nose Cone Bulk plate + Eye Bolt + Nut: 90 grams

Avionics Bay Coupler (275 mm): 322 grams

Centering Rings (2 of these): 15 grams

We need to know these weights so that we can create a simulation file in Openrocket to simulate the flight of the rocket.


NOTE: I’ve opted to use a different sled arrangement in the Avionics Payload. Wasn’t happy with the one provided. The weights are almost the same, just a few grams lighter.

L2 Rocket – Looking at components

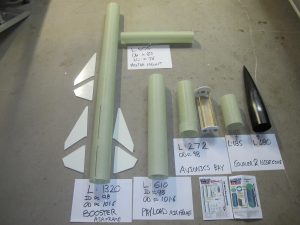
I have finally purchased and received my L2 rocket parts; a kit called Katana 4 from AusRocketry. It is a fibreglass kit, 4″ suitable for J, K and possibly L motors. I’m going to take my time making this one, making sure I get all the joins really well done, the holes in the right place, the paint just perfect!

The first step has been to identify all the pieces.

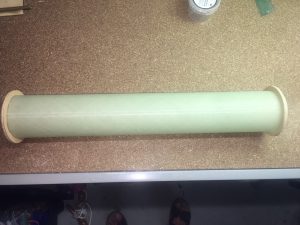
Main components of Katana 4 laid out. Measurements included.

Well, not quite all the pieces, but some of the main ones. I will get myself a weigher (previous one stopped working) so I can get the individual weights. Then i’ll be able to create myself a simulation file in OpenRocket and work out how it will perform.

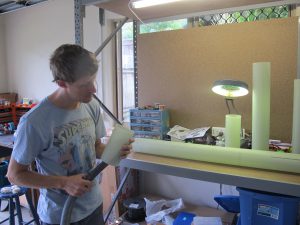
The second step has been to clean them up, vaccuming off dust and wiping any residual dirt. . See some pictures below.

Cleanliness is very important. We want to reduce chance of dust getting in the places we don't want it, e.g. Gluing, painting
Cleanliness is very important. We want to reduce chance of dust getting in the places we don’t want it, e.g. Gluing, painting


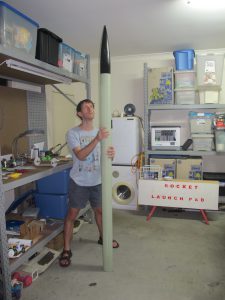
Here are some other pictures to put the rocket into perspective.

The rocket stands approximately 2.4 metres and has a diameter of just over 100mm.
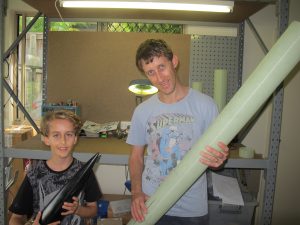
Jeremy and myself holding parts of the rocket.